Yippee! Another Tip Tuesday, where I share (what I hope is) a super-helpful crocheting tip. Today, I’m going to talk you through what to do when you arrive at an oh-so-pesky knot in your yarn.
Knots in yarn are a part of life. Even in commercial yarns, knots occur when the manufacturer needs to join two (very long) lengths of yarn together. Unfortunately, that knot has to go somewhere – and sometimes it’s your skein! But fear not- I’ll show you a couple ways of handling it.
Option 1: Check if the yarn is actually broken
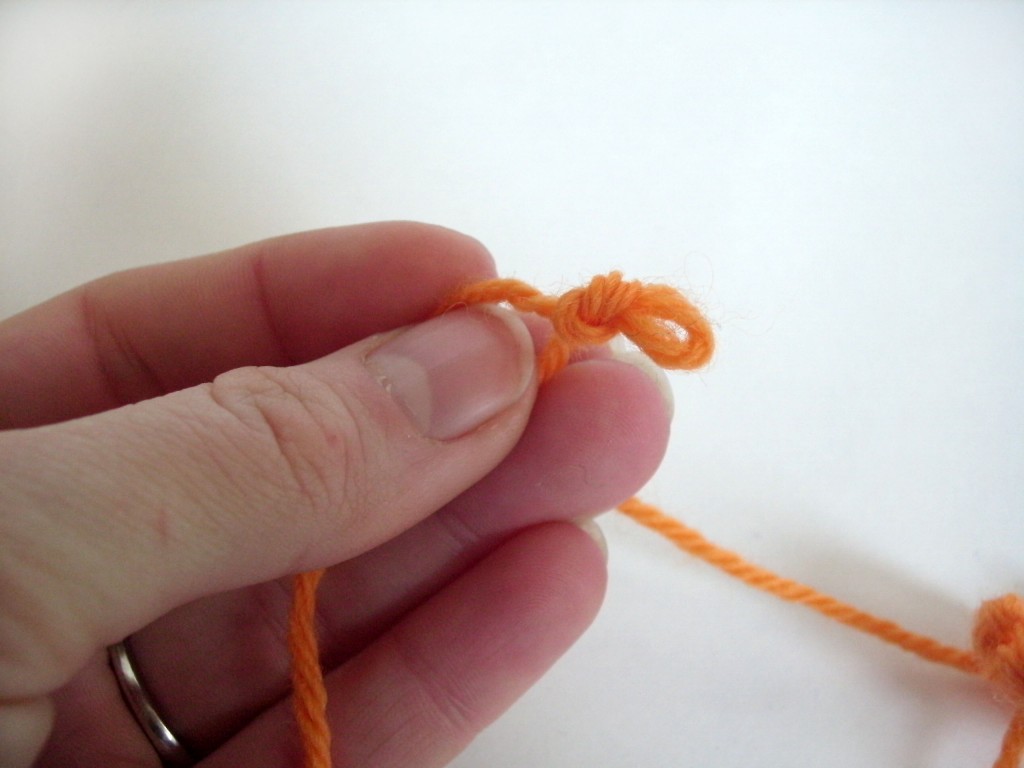
Sometimes, there’s a knot in your skein because the yarn has gotten a bit tangled.
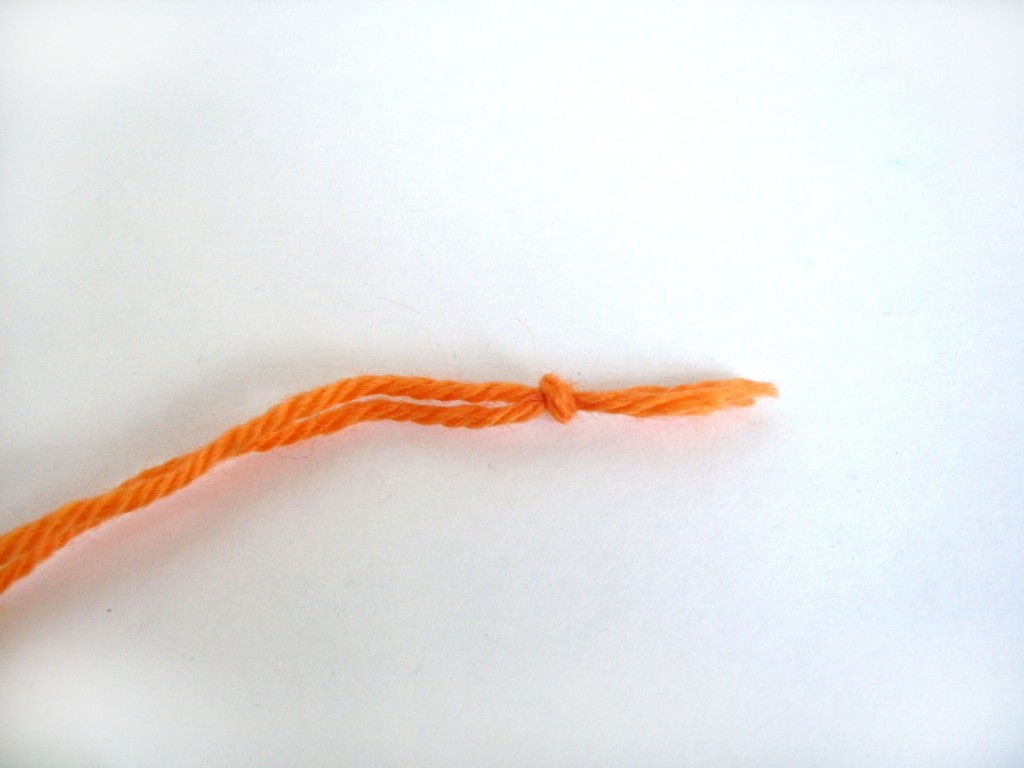
I’m not sure if you can tell from the photo, but this knot is just a tangle- there’s no break in the yarn. Gently work to untie the knot, and you can just keep on crocheting! Like nothing ever happened!
Option 2: Continue crocheting with the knot in place
What if you’re not so lucky and there is actually a break in your yarn?
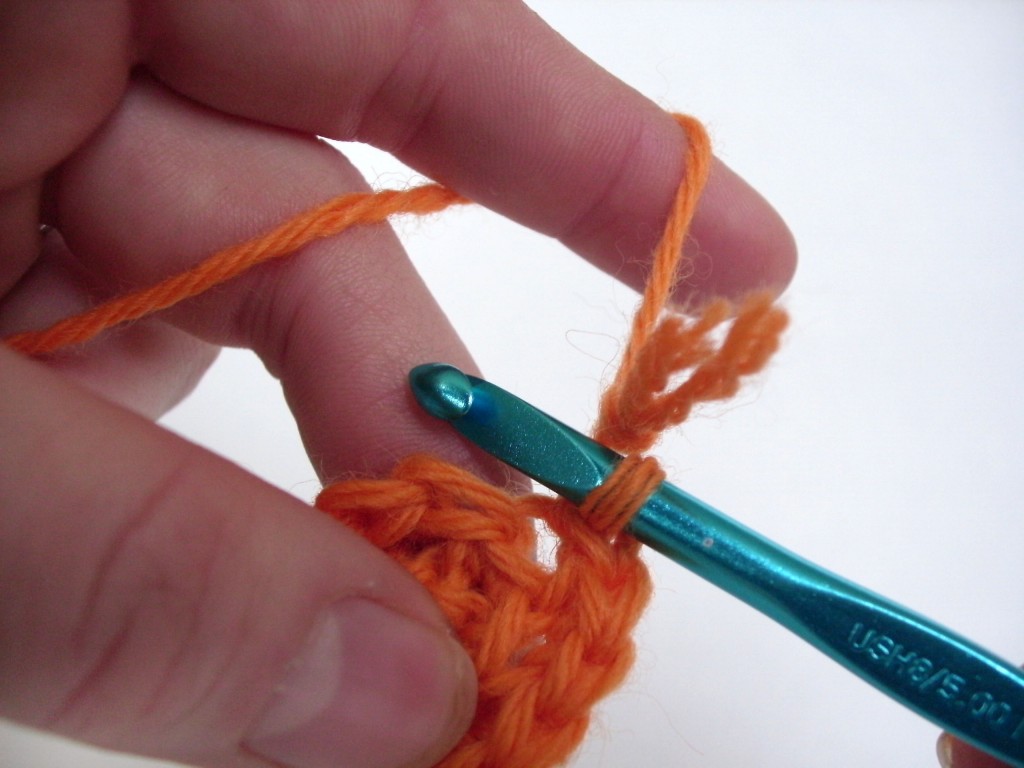
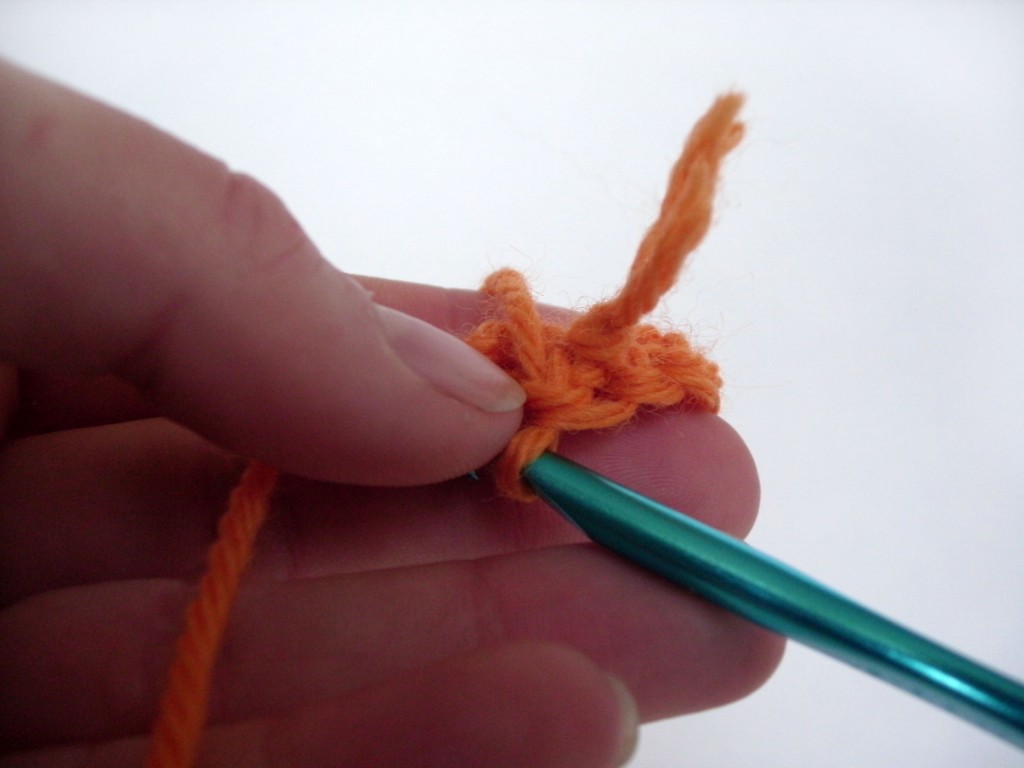
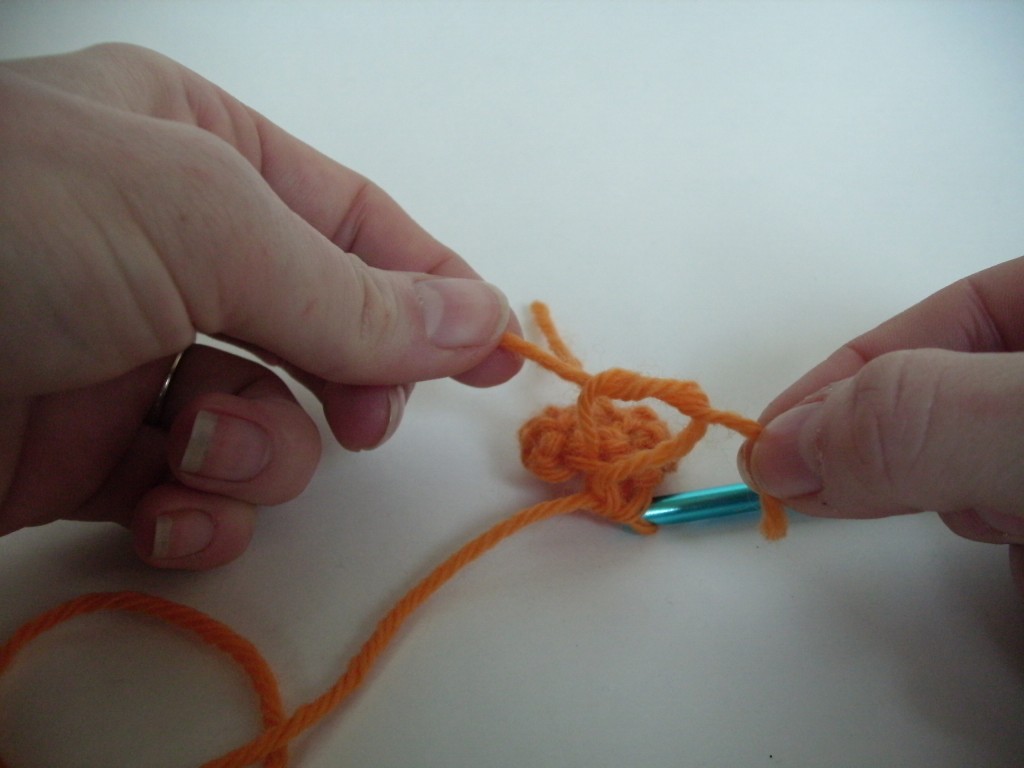
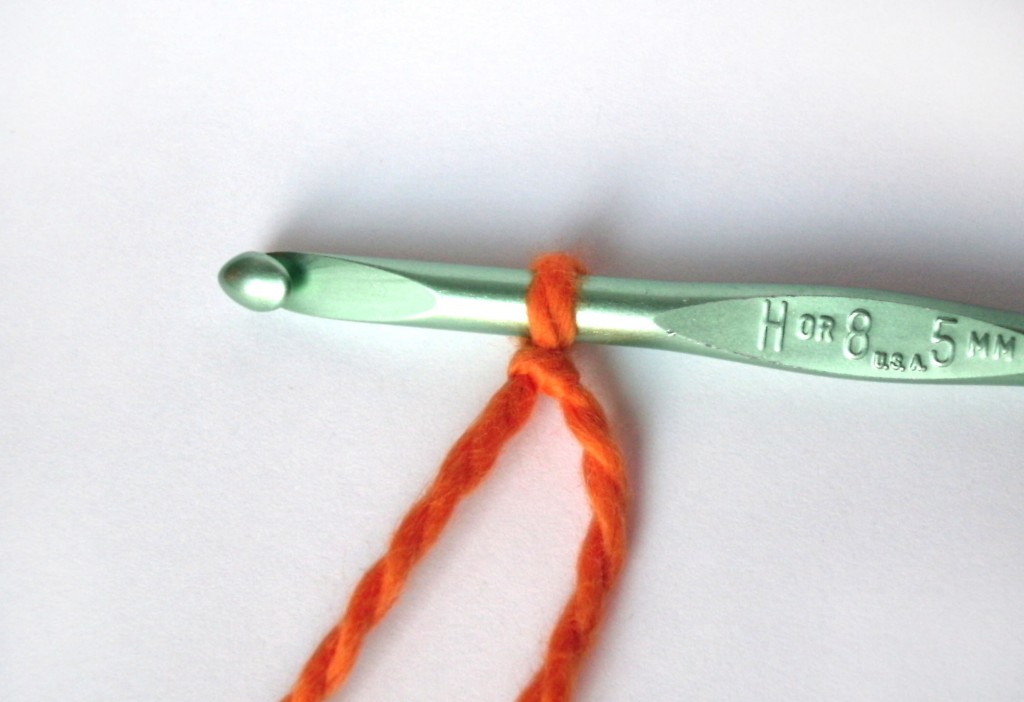
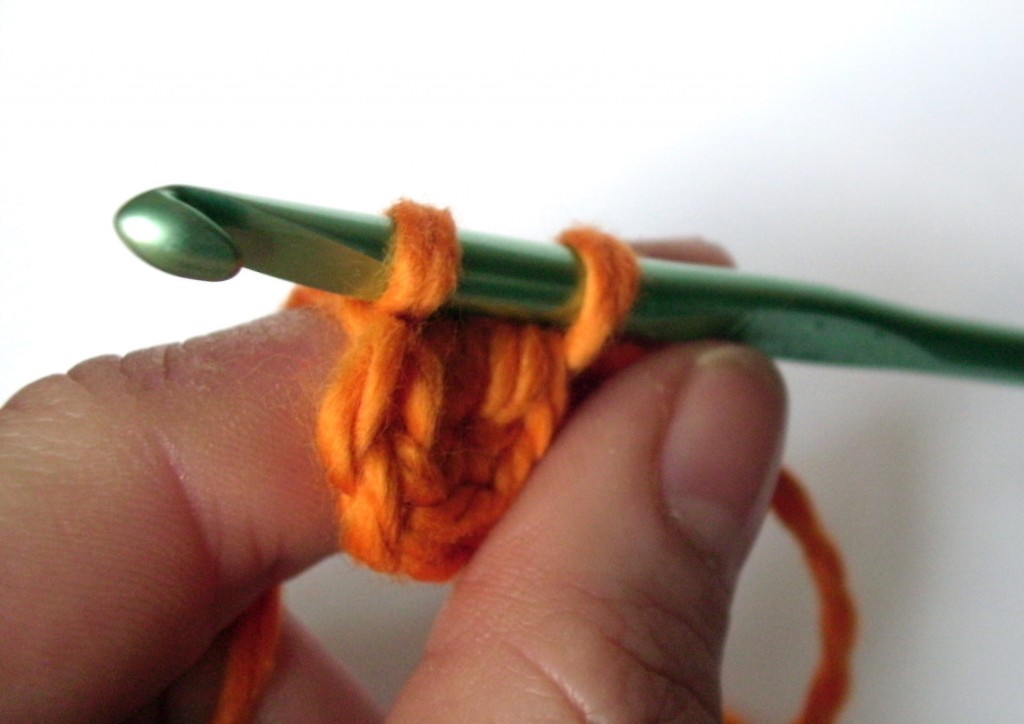
Sometimes, you can keep right on crocheting! You can see here, I’ve crocheted until I’m at the knot:
Can you tell that the knot is very close to my hook? That’s a good sign! It means that I’ll be able to crochet right over the knot, and just push the knot to the wrong side of my work.
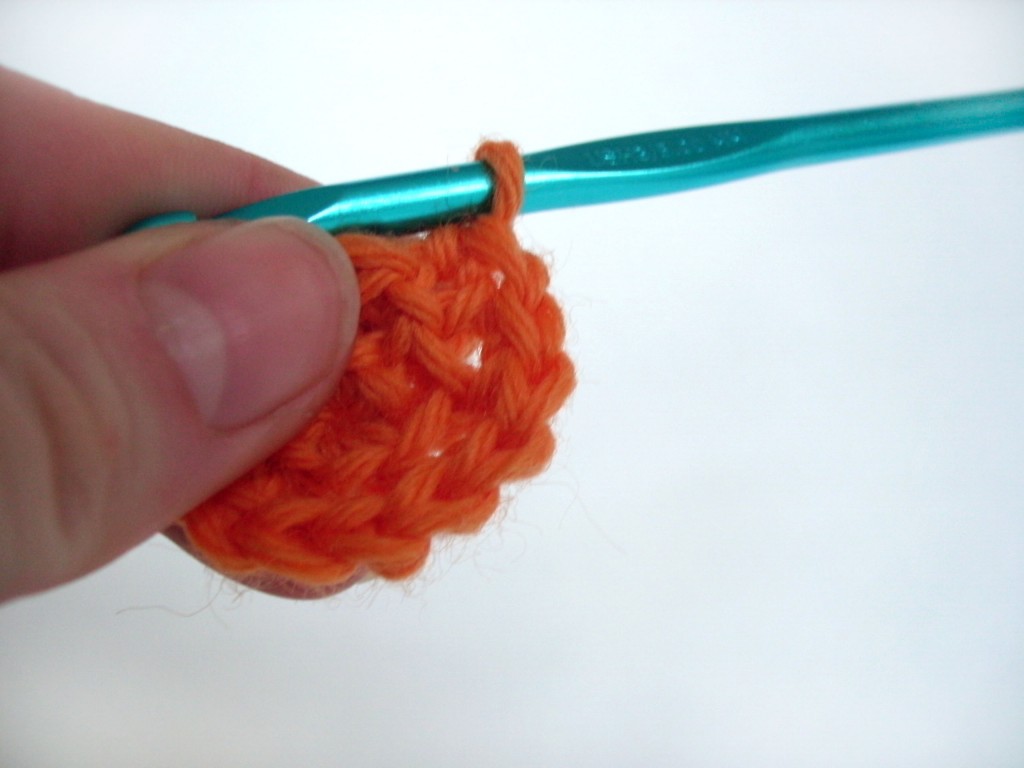
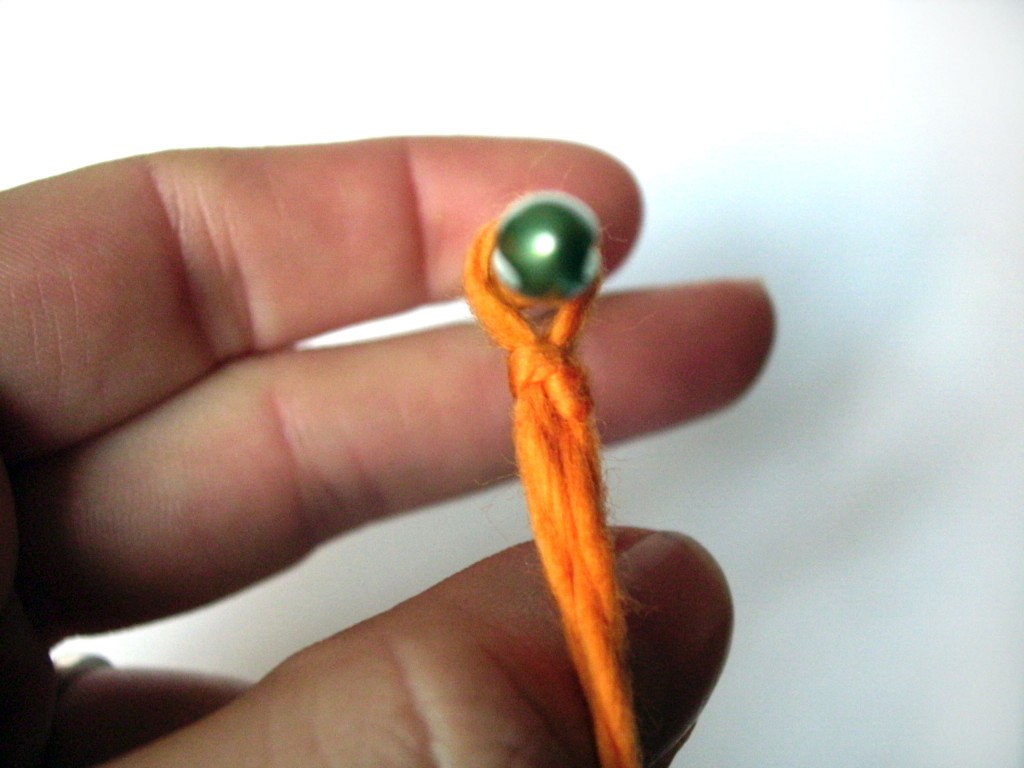
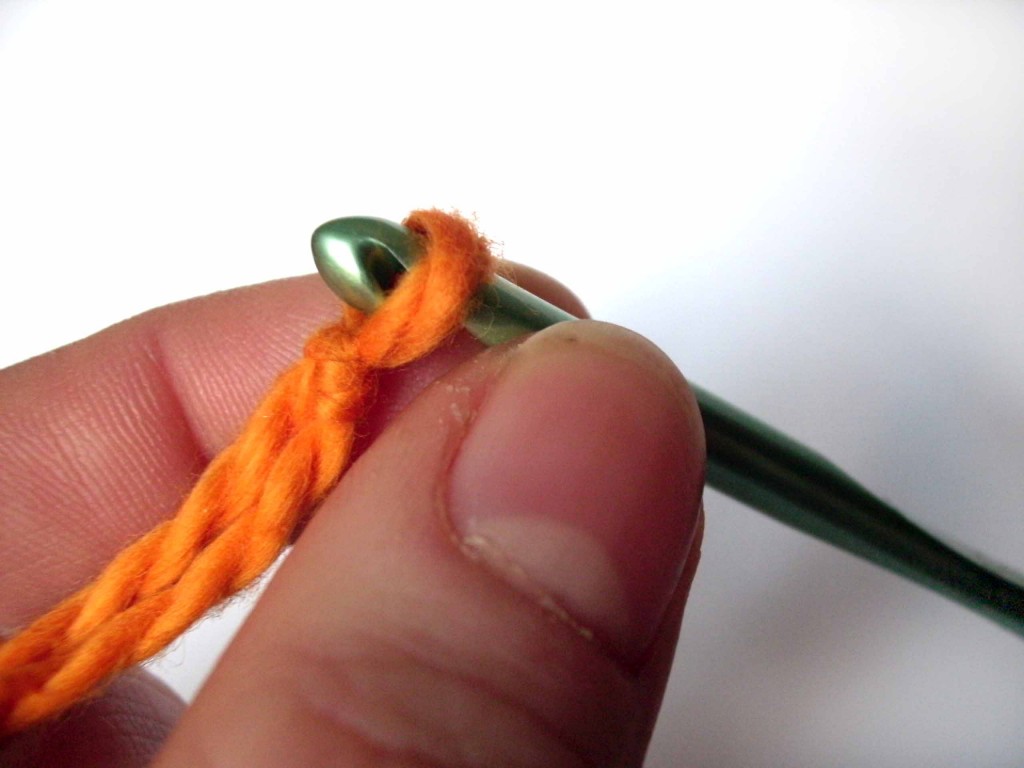
To do this, I continue crocheting- coaxing the knot to stay on the wrong side of my work:
And the right side looks marvelous!
Crocheting over the knot only works if:
- The knot happens to fall in the right place while crocheting. A centimeter further along, and it might end up smack in the middle of your stitch. Bleh.
- You don’t mind having a knot in the back of your work. I make a lot of stuffed animals, so I don’t mind (the inside gets stuffed). But if you’re making a shawl, this may not be ideal.
So what if crocheting over the knot doesn’t work? Onto option 3…
Option 3: Cut the knot
If the knot happens in a funny place (so that you can’t hide it on the back of your work) or you don’t want a knot, then you’ll need to cut the knot.
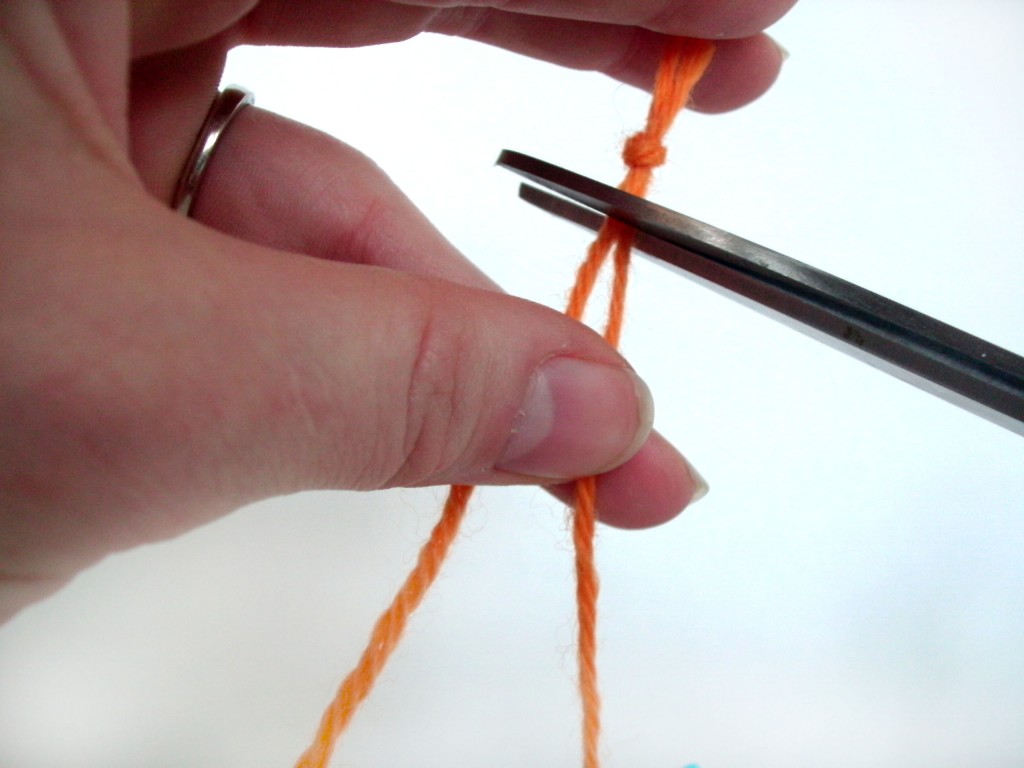
To do this, stop crocheting a few inches before you get to the knot, and cut the knot off:
Now you have no knot, but two pieces of yarn. From now on, you’re going to work as if you’re changing colors… but you’re really just changing yarns!
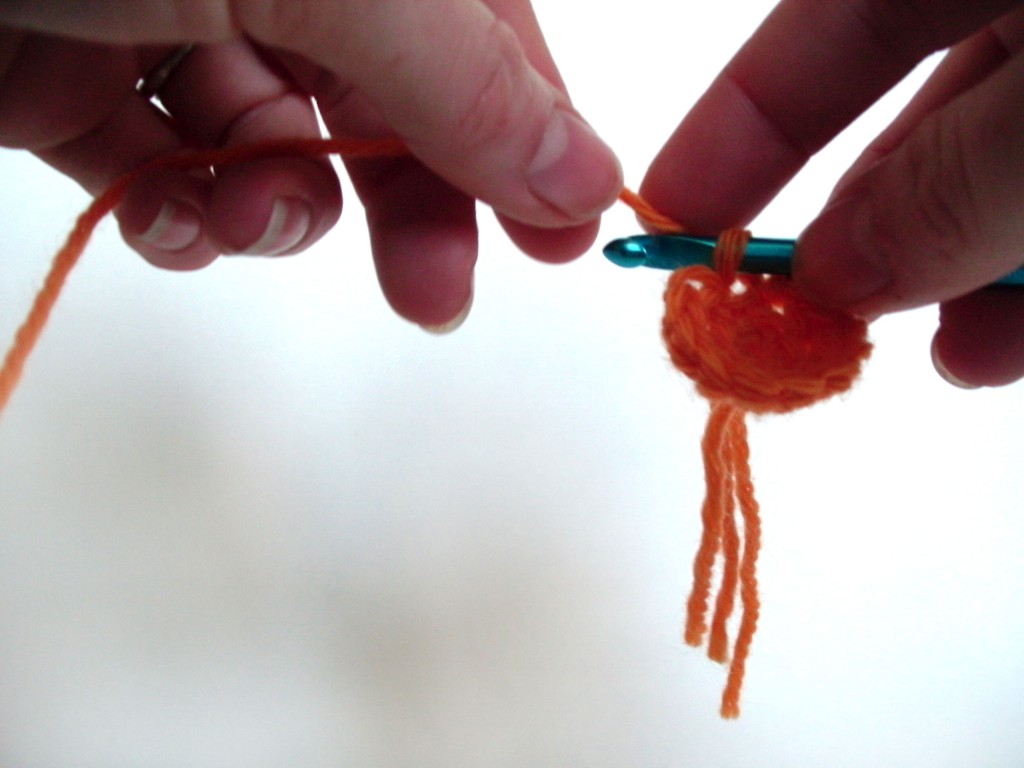
As if you’re about to change colors (check out this video on color changes if you’re unfamiliar), begin working with your new yarn:
and continue working with the new yarn.
You’ll have 2″ or so of tails (one from each piece of yarn) on the wrong side of your work… and you’ll want to handle them the way that suits your project best. For a stuffed animal, I would tie a knot:
If you’re making a shawl or another piece where you don’t want a knot, you’d want to weave the tails in to secure.
And that’s it! No matter where the knot turns up, now you know how to tackle it!

Here are handy links to all the posts about yarn. . .
- How to Join Yarn with No Knot
- 3 Ways to Join Yarn without Tying a Knot
- What to Do If There’s a Knot in Your Yarn
- How to Work with Eyelash Yarn
- How Much Yarn Do I Need?
- How to Calculate Yarn Weight from Length
- How to Make a Magic Ball
- How to Use a Ball Winder
- Using a Nostepinne Replacement to Make a Center-Pull Yarn Ball
- How to Make Yarn from Fabric Strips
- Dye Yarn with Wilton Icing Dye
Return to the main table of contents for Let’s Learn to Crochet Amigurumi.
Move on to the lessons for the basic crochet stitches.
Happy stitching!


