Lessons on how to wear a long scarf

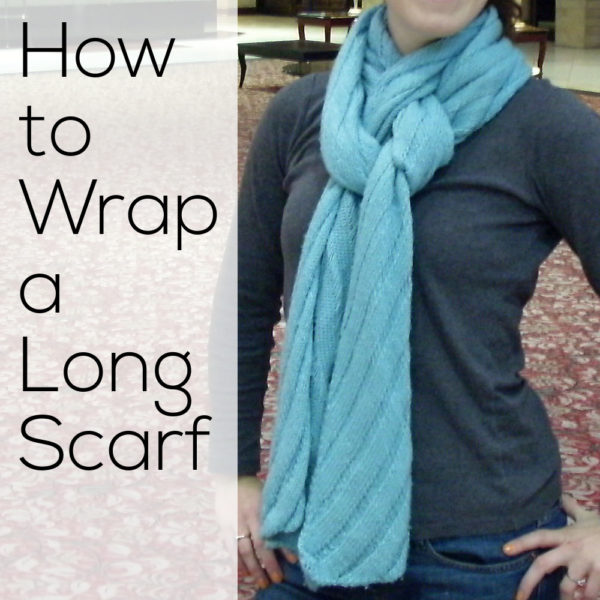
How to Wrap a Long Scarf

As you may know, I’ve spent this weekend at the Pittsburgh Knit and Crochet Festival… and I’ve been having a great time. I’ve learned a lot… but do you want to hear the most exciting thing I’ve learned all weekend?

I learned a super-awesome new way to wear a long scarf!

If you’re like me (well, at least the me a few days ago), your standard way to manage a long scarf is to fold it in half, and tuck the ends through the loop. Easy, but leaves a giant bulge around your neck. But, Steven Be, fiber stylist extraordinaire, taught me a new way to wear a long scarf! Squee! And I’m so excited about sharing it with you that I took photos of how to do it in the hotel lobby!

Super-stylish way to wrap a long scarf

First, fold your scarf in half:
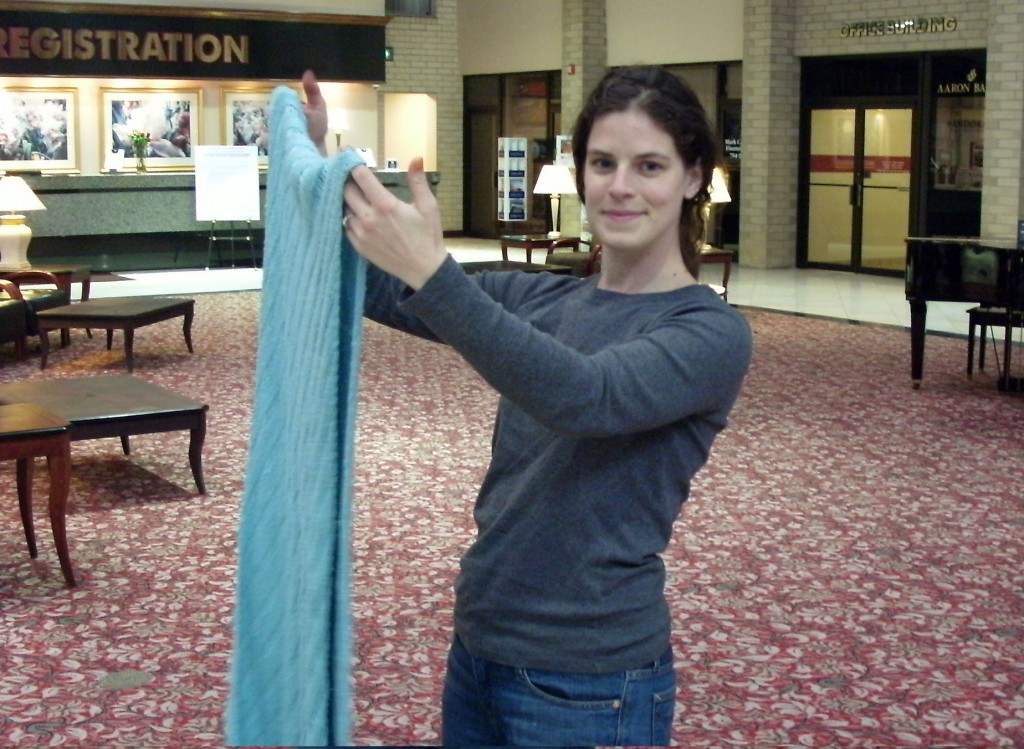
And then put it around your neck (so far… just like the old way!)
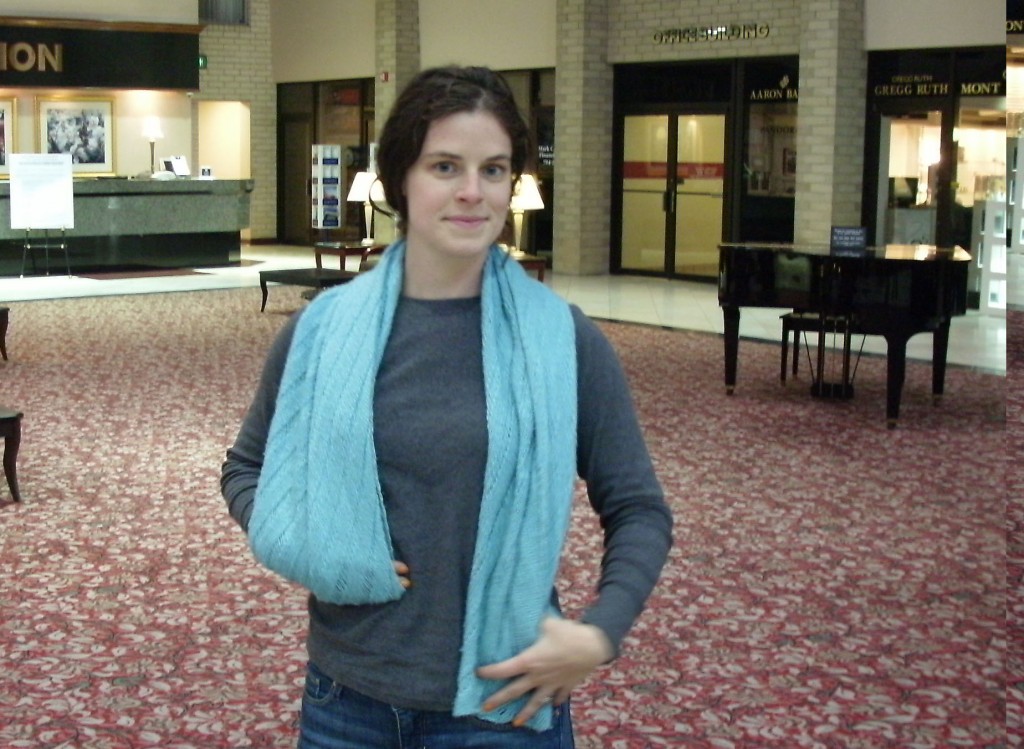
Now, here’s where it gets new! Pull only one tail through the loop:
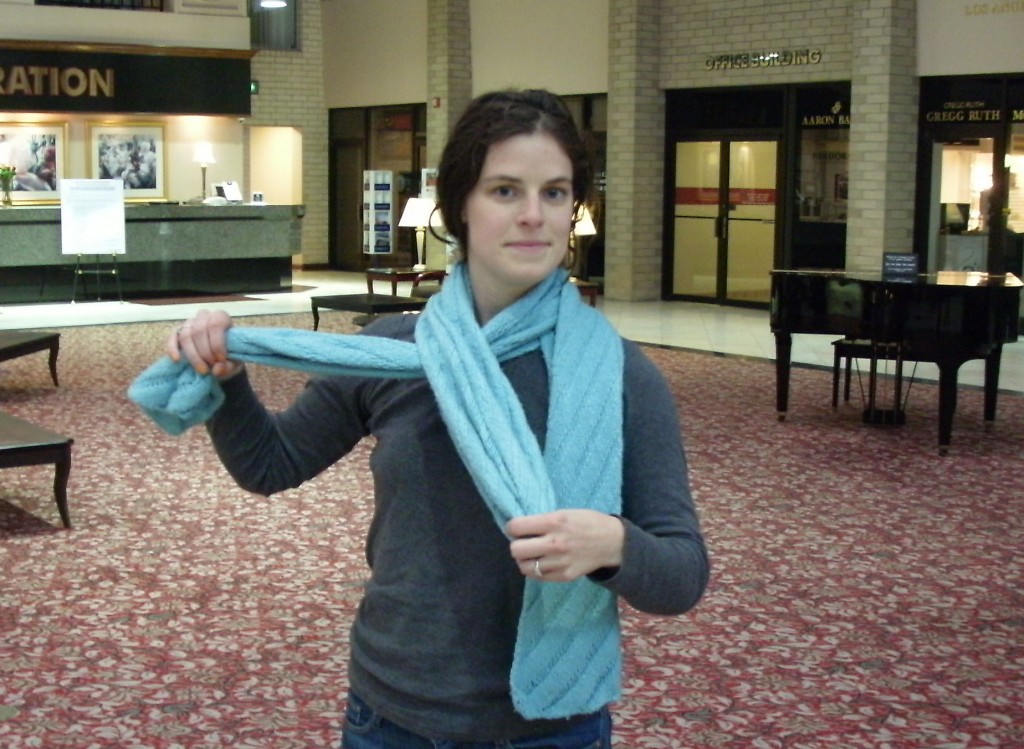
Now, scoot that tail up a bit, and twist the loop once. The first tail should be above the twist. Pull the second tail through the loop you’ve just twisted:
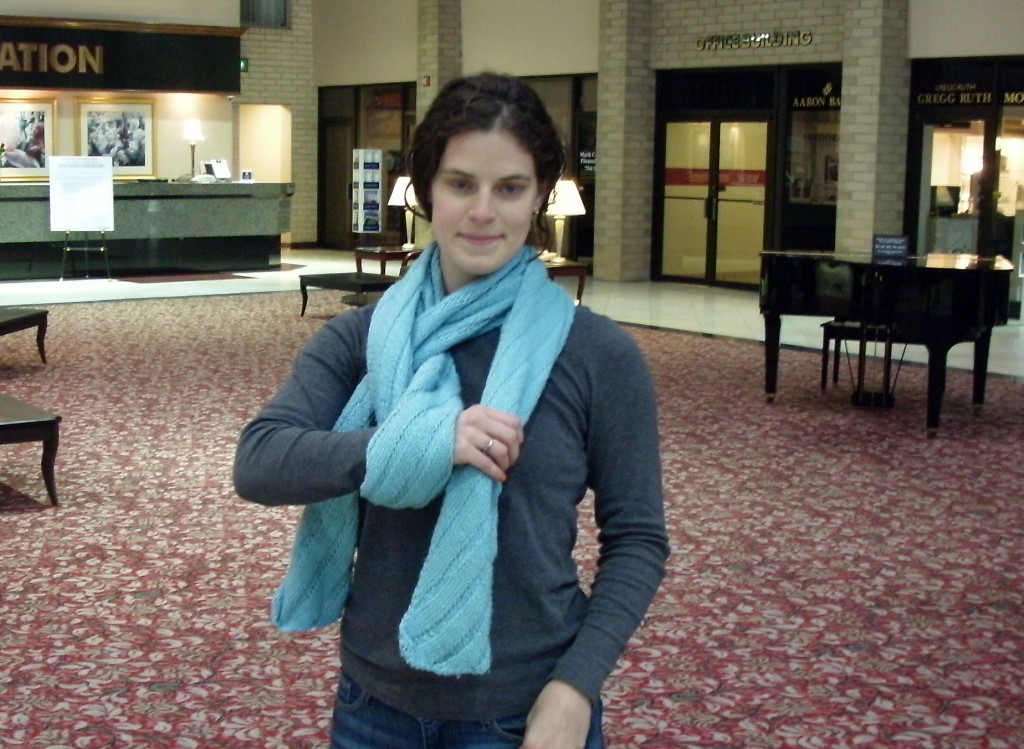
Pull it all snug… and ta-da!
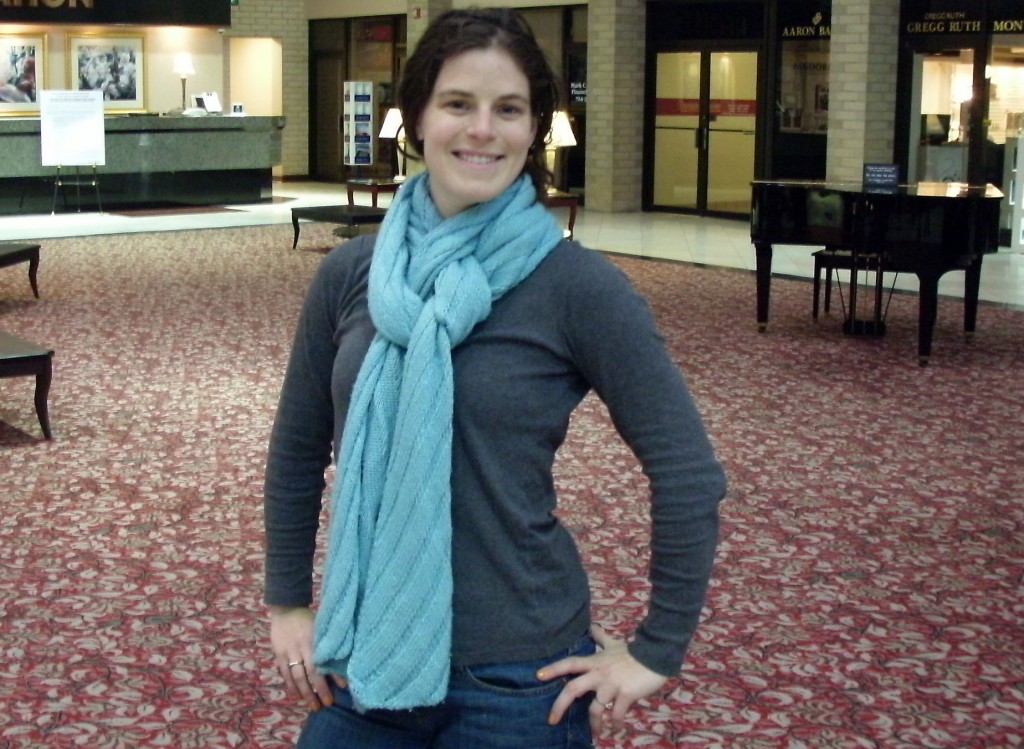
It looks like an awesomely-intricate knot… and lies really nice and flat. Look how nicely it fits under my coat:
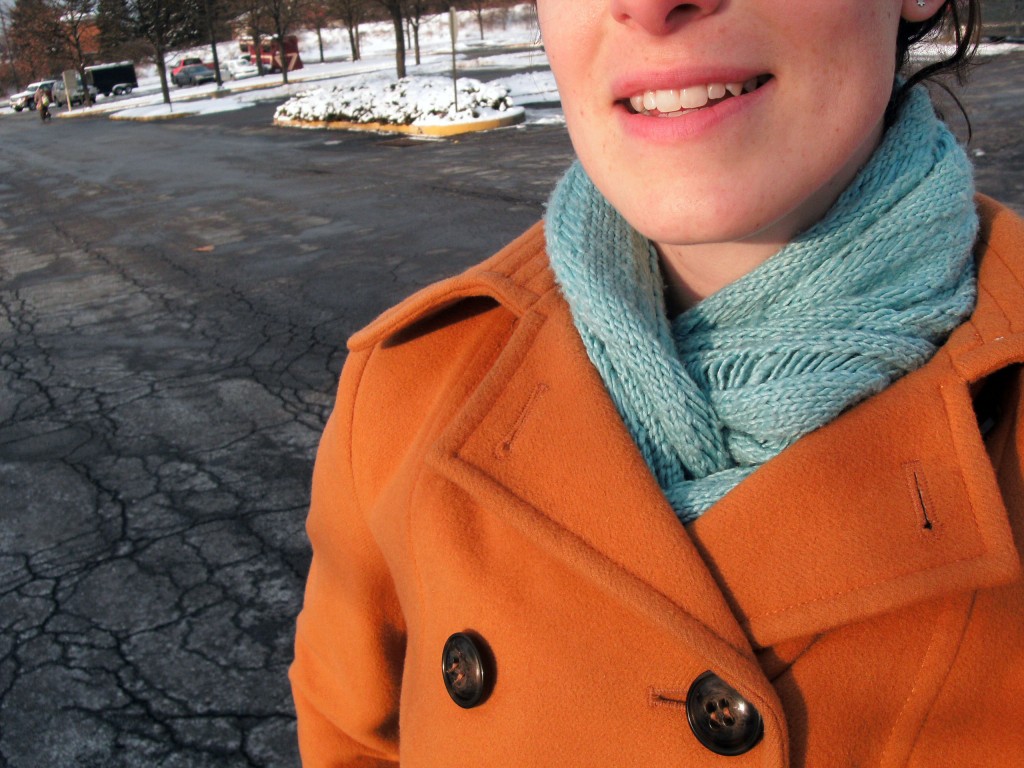
Hooray! I’m wearing my scarf like this every day!

Do you have any cool ways of wrapping a scarf to share?

When do you need to "true up" fabric?

Back in this video about cutting strips using a rotary cutter I showed folks how to “true up” the edge of your fabric. That is – make sure that you’re cutting straight strips with the grain of the fabric.

Loretta asked. . .

This makes sense for when you have a piece of fabric that you might get from the store that has selvedge edges. But what if you are using scrap fabric – like you are cutting up an old shirt or pair of pants to make bean bags? Do you need to make sure that your fabric is true?

Ooooh – good question! It’s really a judgement call and depends on what you’re making.

A good guideline is to ask yourself if the finished thing you’re making is going to hang – on the wall, in a window, on your body, etc. If it’s going to hang, you usually want to make sure you’re working on the straight grain. As it hangs, it stretches, and if it’s not cut on the straight grain it will stretch unevenly. Have you ever had a T-shirt that got all twisty over time? Where the side seams stopped running straight up the sides and instead kind of spiraled around your body? That means the grain was messed up. It can happen with pants too. So annoying!

For stuff that won’t hang it’s not as important. So for most softies and beanbags, most patches for scrap quilts, etc. just cut out your pieces to maximize the fabric you have, or to get the pattern to run in the direction you want.

For really precise pieced quilts (like super-fancy stars and things like that) the pattern will often include cutting instructions and a good pattern will let you know if the direction of the grain is important.

Got any other questions? Send them to me here.

Happy stitching!

Best,
Wendi
Applique Wendi (with fabulous hat)

How to Machine Applique Convex Curves – video

How to Applique Convex Curves using the freezer paper method - video tutorial

This is the first in a series of videos teaching a machine applique technique that I used to use for all my applique quilts. In previous videos I showed you how to applique with fusible adhesive and how to do needle-turn applique. This technique is kind of the best of both worlds. It’s almost as fast as using fusible, but without the potential stiffness and sometimes clunky outline. It’s similar in look to needle-turn, but not as slow. It’s a great technique for snuggly quilts that you want to wash and dry in the machine without a lot of fuss.

So – in this video I’m using the technique on a specific pattern (the Peekaboo Bear Quilt) but you can use it on any convex curves. Those are curves that bow out, like the edge of a circle or oval. In future videos I’ll expand on the info here – showing you how to handle inner points, concave curves, outer points, and more.

See how easy it is? I mostly use fusible adhesive now (I discovered some really nice quality, not stiff options) But I still go back to this every once in a while – especially for big, easy shapes.

Click here for all my posts and tutorials about applique in one handy dandy place.

Best,
Wendi
Applique Wendi (with fabulous hat)

Felt Embroidery – All My Tips and Tricks

Tips and Tricks for Embroidering Felt

I’ve gotten a few questions lately about felt embroidery – and I’m going to answer them all here today.

Most of your patterns use smallish shapes. Do I transfer the pattern, hoop them and stitch, and then cut them out?

Well – I buy the good stuff (there’s no point embroidering it if it’s going to get all pilled and nasty-looking the first time someone touches it) and I don’t like to waste any of it. That means no excess for hooping. You don’t really need to hoop felt anyway – and it’s hard to get the crimp marks out when you do. It’s stiff enough to embroider easily without a hoop. Just be careful not to pull your stitches too tight.

My method is to transfer the pattern, cut it out, and then stitch.

How do you transfer your pattern to felt? You can’t trace through this stuff, and any pen or pencil tends to lift the fibers.

I use one of my favorite embroidery products–I call it The Magical Embroidery Stuff and you can read more about it here. I use it for all of my embroidery, but it really is pure magic for felt embroidery. In fact – it’s so magical that I wrote a whole post here, just about how amazing it is with wool felt.

Where do you find wool felt in such gorgeous colors?

I recommend Benzie Design. They have an amazing selection of colors – including lots of gorgeous felt bundles.

By the way – that picture up at the top is a close up of some of the blocks from the Felt Blocks Embroidery Pattern. Those were so much fun to stitch!

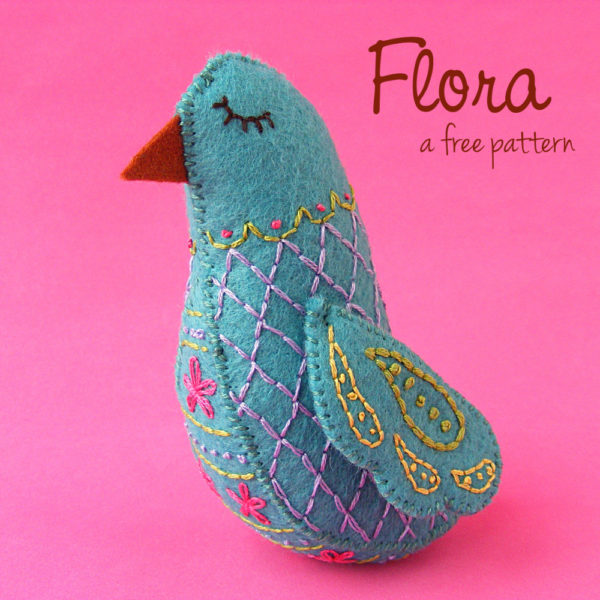
If you’re looking for a free pattern to try, I recommend Flora the felt bird.

Flora the Felt Bird - a free pattern from Shiny Happy World

She’s so pretty!

Here are links to all my posts about embroidery tools and supplies.

For Beginners

Specialty Fabrics

Threads

Stabilizers and Pattern Transfer Tools

Return to the Learn to Embroider main Table of Contents.

Move on to the posts about working with patterns.