I’ve heard it all before. Crocheting makes your wrists hurt. It’s too hard to put your hook into the next stitch. Attaching pieces is a nightmare.
What if I told you that one little trick could totally change all that? And crocheting would become relaxing and easy on your wrists again?
I’ll tell you the one thing you can do! And then I’ll show you why it rocks so much!
Crochet through the Back Loop
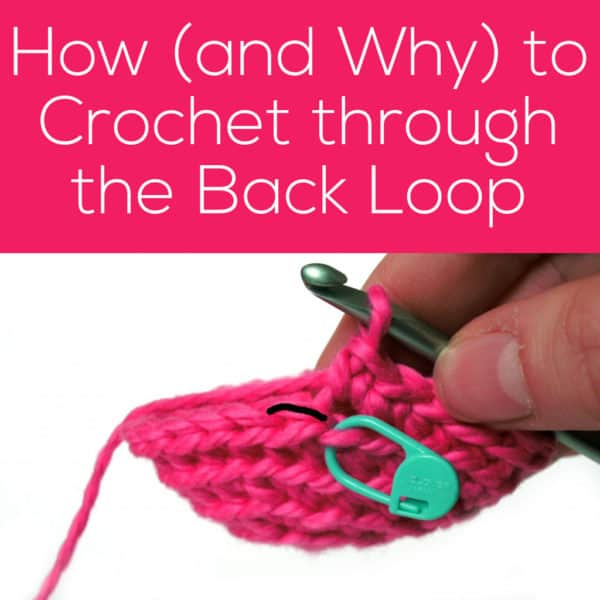
When crocheting, there are two loops: the front and the back (highlighted with a black line in the below photo).
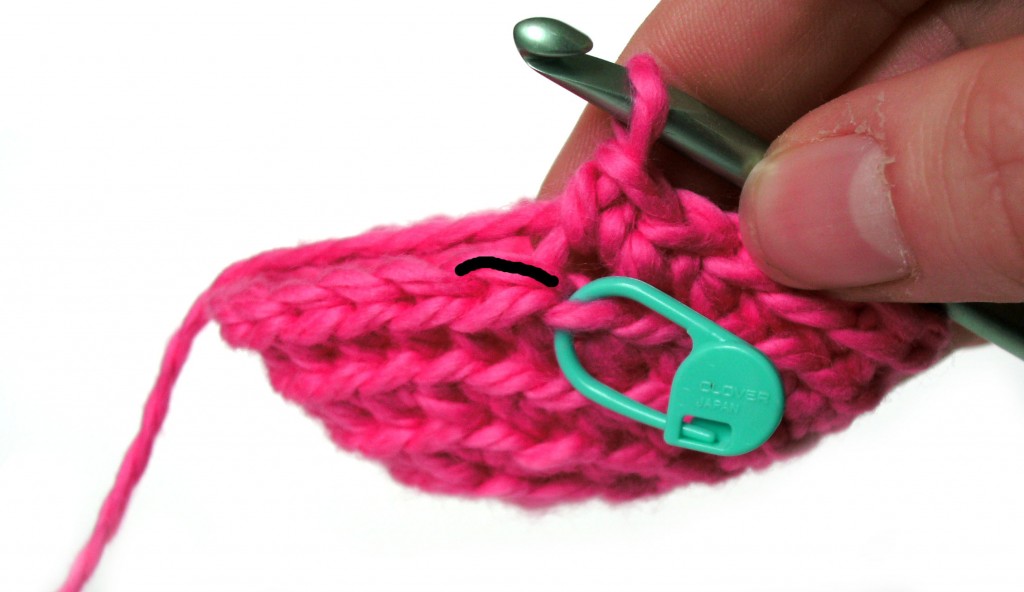
The standard is to insert your hook under both loops when crocheting. But it’s not the easiest way!
Let me tell you all of the amazing reasons you might want to give the back loop a try!
Crocheting through the back loop is easy
See how the back loop is just hanging out at the top? It’s easy to see and easy to stick your hook into.
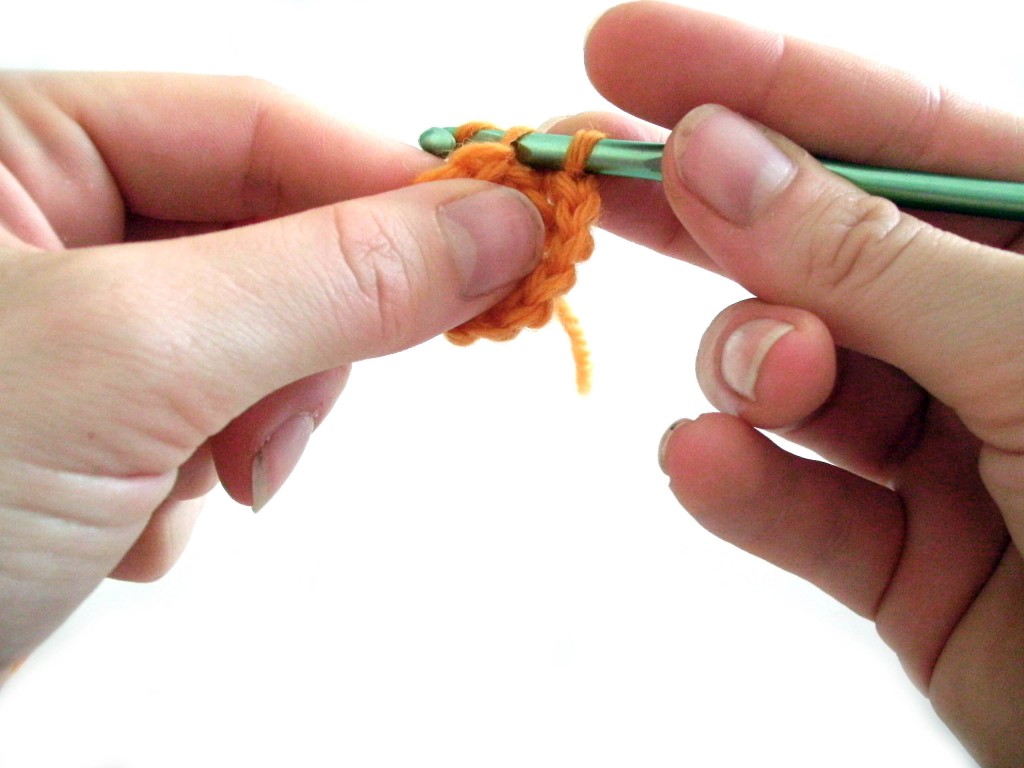
The back loop is able to pull a bit of slack from the front loop, so you can pop your hook in even if you’re a tight crocheter or have a hook with a big head!
Use a Hook that’s Comfortable for Your Wrist!
I have bad wrists. Using a small hook and jamming it into tight stitches makes my wrists sore.
When you crochet through the back loop, you can use a slightly larger hook without getting holes in the fabric, because the front loop gives you some coverage.
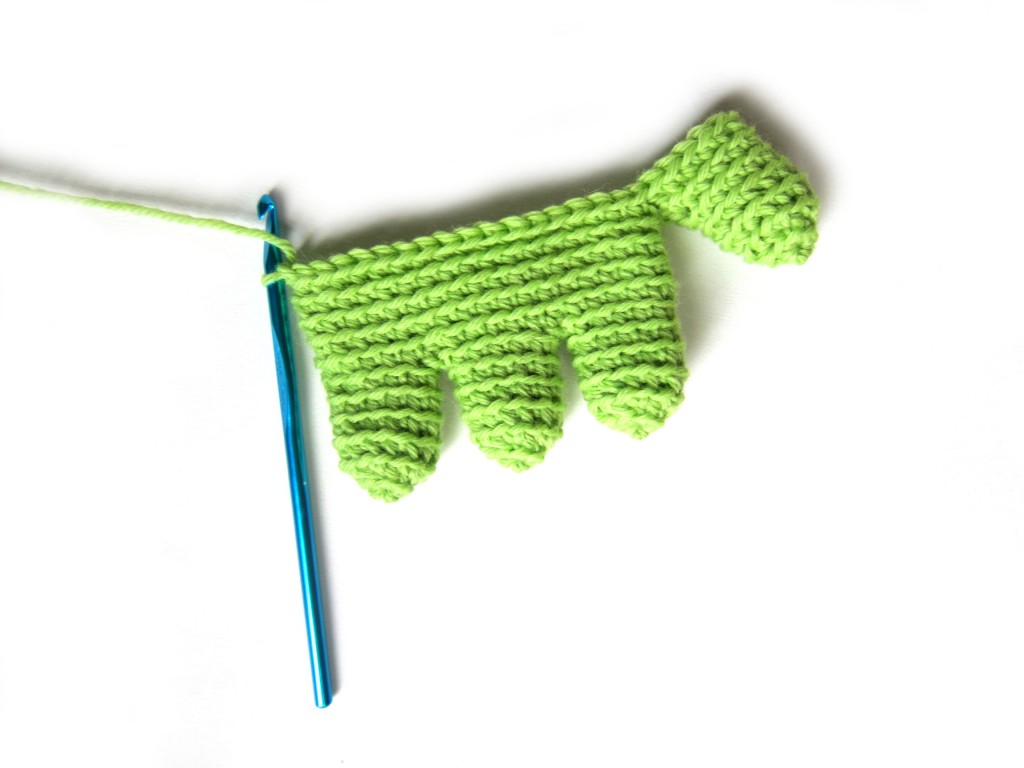
This is especially important with stuffed animals, where you are going to add stuffing and don’t want it to show through. Many patterns tell you to use a size E hook with worsted weight yarn… that’s crazy! Talk about a recipe for sore wrists!
Make it Easy to Count Rounds
Crocheting through the back loop leaves the front loop behind to make a nice horizontal row.
This row makes it super-easy to count how many rounds you’ve done!
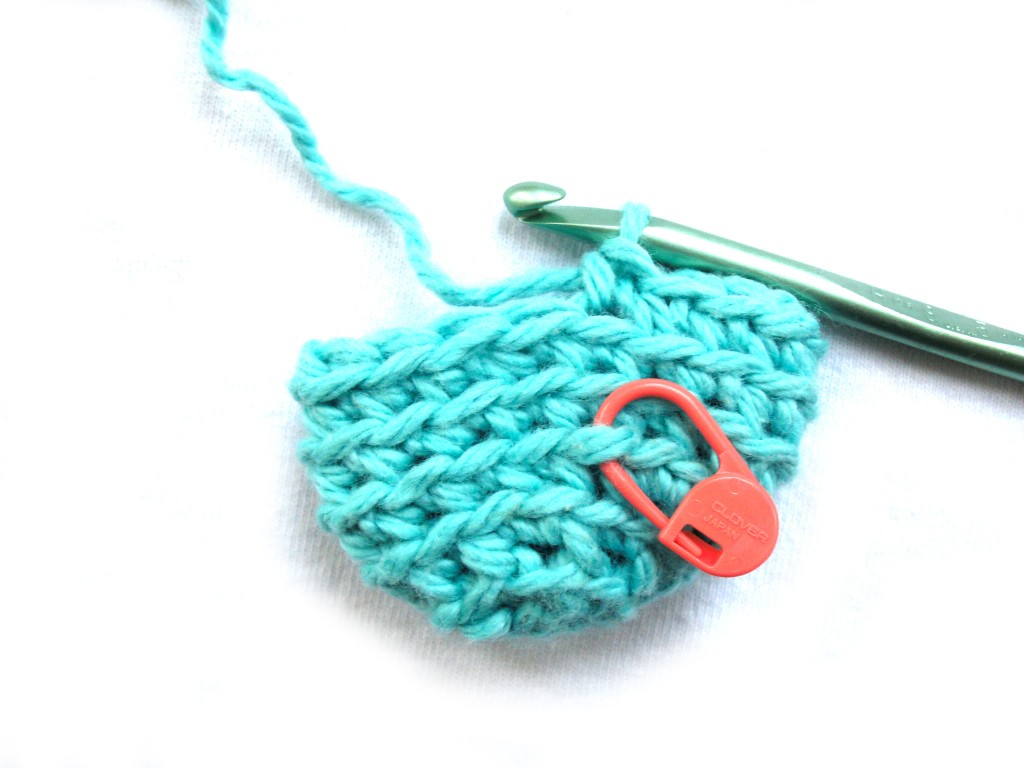
I’ve done three rounds since the stitch marker… isn’t that easy to count?
Read this blog post for more details on using locking stitch markers to keep track of your rounds.
Make Attaching Easy!
That lovely row of front loop stitches makes attaching easy, too!
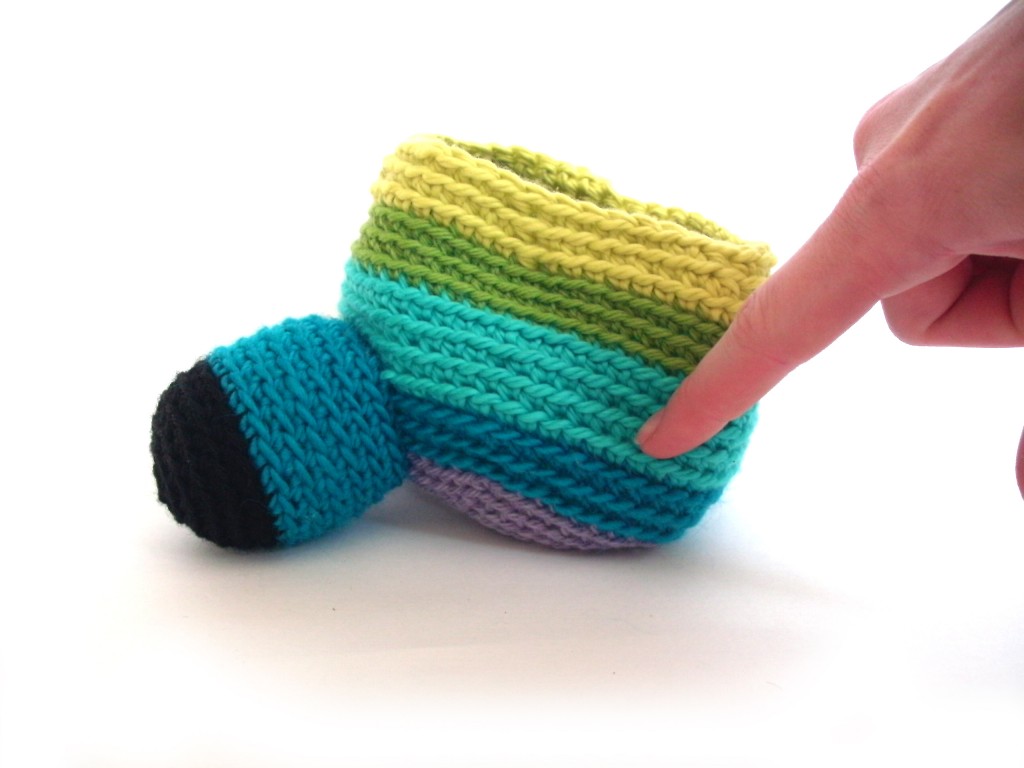
Attaching is usually the worst part of crocheting… but not if you crochet through the back loop and follow these easy tips!
Want to give it a try?
It’ll make your crocheting life oodles easier!

Here are handy links to all the posts about working the first round of your crochet pattern. . .
- Sloppy Slip Knot – the Easiest Way to Start Amigurumi
- Magic Ring (if you must – but it’s not as easy as the sloppy slip knot) 😁
- How (and Why) to Crochet through the Back Loop
- How to Find the Second Chain from the Hook
Return to the main table of contents for Let’s Learn to Crochet Amigurumi.
Move on to the lessons for round two and beyond of your pattern.
Happy stitching!



I’m a longtime knitter and started crocheting just to make amigurumi… and I HATED crocheting, but did it anyway because I loved the finished objects. It wasn’t until I discovered your patterns and the joys of crocheting through the backloop that I realized that crochet could actually be easy and FUN! Thanks so much for bringing this technique into my life! 🙂
Oh my goodness, Pepper… you’re not just saying that to completely make my morning, are you? I’m so happy!!!
thanks for the reminder…this does make life easier !
I taught myself to crochet about 15 years ago. Then, a few years later, I taught myself how to knit. Knitting was so much easier on my hands and seemed to flow better and faster so I kind of gave up on crocheting. A few months ago I discovered amigurumi and loved it, but I cringed at the thought of picking up a hook. Then I found you and your fabulous back loop technique and it totally changed my view on crocheting. I am now obsessed with it! I crochet all the time now. Thank you for what you do. It helped me bring much needed creativity back into my life!!! 🙂
I am so happy to hear that, Penny! 🙂
Crocheting through the back loop rocks, my grandmother taught me that particular trick and you are right – it sure makes things easier. Now that I am older though I find my hands hurting from holding the working yarn… I have your class on the Woodland animals and it looks like it doesn’t bother yours at all – how do you hold your working yarn?
Here’s a blog post of how I hold my yarn: http://www.freshstitches.com/how-to-hold-yarn-with-pinkie-crochet/
But, you should do what works best for you!
I have stiff, sore hands from Lyme Disease, and seeing people run the working yarn over their pointer finger makes my hands ache to even watch, but if i just let the yarn run up the front of my hand and use both my finger and thumb to put it over the hook, I find my hands are ok. It allows me to keep moving all my fingers in different ways so no pain from that stiff finger, and while it is a tad slower, it seems to work well for me.
I am loving crochet ever since finding you on Crafsty. Love all the great tips. I find using the back loop so much easier, I can keep track of things so much easier. I still hate attaching limbs but at least the placement is always right because of the ease of counting the rows. Thanks for all the great patterns, contests, blog, classes, …..:)
Thank you so much, Becca!
Thank you for the tip! I also changed the way I hold my hook to the knife grip. It’s pretty fast. Sometimes I still used the pencil grip. Haven’t really used the violin bow grip much.
I completly agree with it being easier in all the ways you descripe above. My problem is… I don’t like the look of the finished product. The line all over your work is what I don’t like. But on all the other points… It really is easier.
Well, if you don’t like the way it looks, the both loops option is totally available to you!
I just was referred to your post from another crocheter over at Ravelry. She uses this BLO method for crocheting Mother Bears. I just started my first ever BLO bear and am loving this method. Thank you so much for the post and information concerning the ease of using this technique to crochet.