


You have a few options for enlarging any pattern.
If you’re just enlarging it a little bit, you might be able to get away with following the instructions in this post.
But if you want to make it really big, you’ll need to go to a copy shop with an oversized printer to print your pattern pages. I checked with Kinkos, Staples and Office Max in my area and all of them can print large sheets – so you should be able to find an option near you.
The Kinkos in my town charges $0.75 per square foot for oversized printing – not a bad deal at all. (That’s for black and white printing. Color is a LOT more expensive, so print your patterns in black and white even though the size reference square might be in color.)
Kinkos is my favorite print shop – and the folks there answered all of my questions. Basically – they said you can do either of these options. . .
Have Them Enlarge It for You
You can print your image out (print any page from any pattern at 100% scale) and bring it in to the shop. Ask them to enlarge it for you. They’ll scan the image and print it out to any size you want.
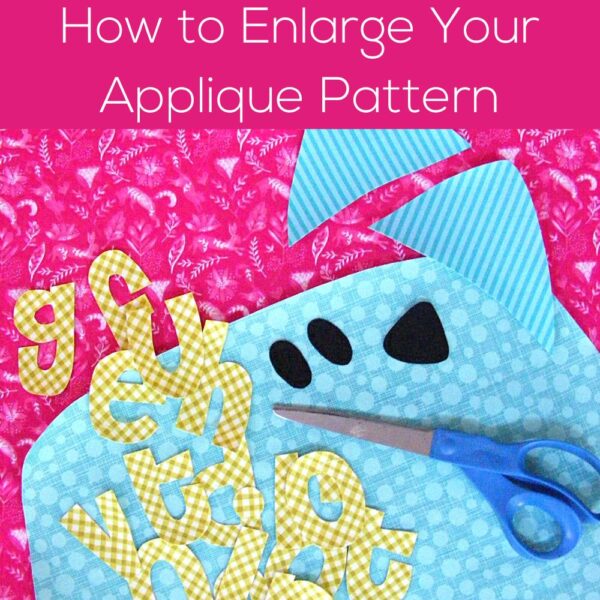
What size should you make it? I design all my applique patterns to fit in a 10 inch block because that makes the math really easy.
If you want to enlarge it to fit in a 14 inch block – ask them to print it at 140%.
If you want to enlarge it to fit in a 25 inch block – ask them to print it at 250%.
If you want to enlarge it to fit in a 36 inch block – ask them to print it at 360%.
Whatever size you want – just add a 0 to the % enlargement. Easy peasy.
They can also do this if you save the PDF to a flash drive. Just tell them what page of the PDF you want printed out and what size.
Enlarge It Yourself Using Any Photo Editing Program
This option allows you to use the self-service printer, if that’s on option at your copy shop. It is at mine.
This option is a little more work for you – and requires a bit of ease with computers – but you don’t need any fancy programs. I’m using GIMP in the video (it’s a free program) but you can use Photoshop (including the bare-bones Photoshop options that you can get for free) or any other photo editing software out there. It’s just resizing – so it’s not an advanced tool or skill.
Here’s a video showing two things – how to import an image from a PDF into your editing program, and how to calculate what size you need the new image to be.
FYI – this video was originally part of a class that included patterns for the projects shown here. Now the lesson is free, but the video still includes references to the patterns included for those projects.
Just to clarify a couple of points. . .
Opening vs. Importing
If you’re using a JPG file, you can just open it in your editing program. You don’t need to go through the extra steps of importing it.
PDFs are designed to be consistent across multiple platforms and operating systems, so you can’t just open them and start playing around. You need to import the specific page you want to work with. The import process converts the image to an editable format. After you import it, you can treat it just like a JPG file that you simply opened.
All of my patterns are downloadable PDF files, so you can use any block from any quilt pattern for any project!
Image Size vs. Block Size
The block size is the finished size of the quilt block that an image is appliqued to.
The image size is the size of the image to be appliqued onto that block. The image size will always be smaller than the block size, so that there’s room between the image and the edges of the block.
So, for the example in the video, the image size is the actual size of the cat drawing. The block size is the quilt block that image will fit into. My finished block sizes are always 10 inches. The images are usually 8-9 inches at their widest or tallest point, so they can fit in a 10 inch block with a little breathing room all around.
That Formula
I don’t want you to have to scroll through the entire video if you’re just reminding yourself of the formula. Here it is.

You can use this formula for reducing an image too. Maybe you want to scale the image down to fit into a 6 inch space on the front of a T-shirt? The same formula will work.

Here are links to all the Think BIG lessons. . .
- Intro and Tools and Supplies – a look some samples of projects made with giant applique, plus an overview of any special tools and supplies you’ll need
- Enlarging Your Pattern – how to figure out how big you’ll need it to be, and how to print giant template pieces
- Tips and Tricks for Giant Applique – what do you do if the pattern piece is bigger than your fusible adhesive, if it won’t fit on your ironing board, and how to scale up your outline stitching