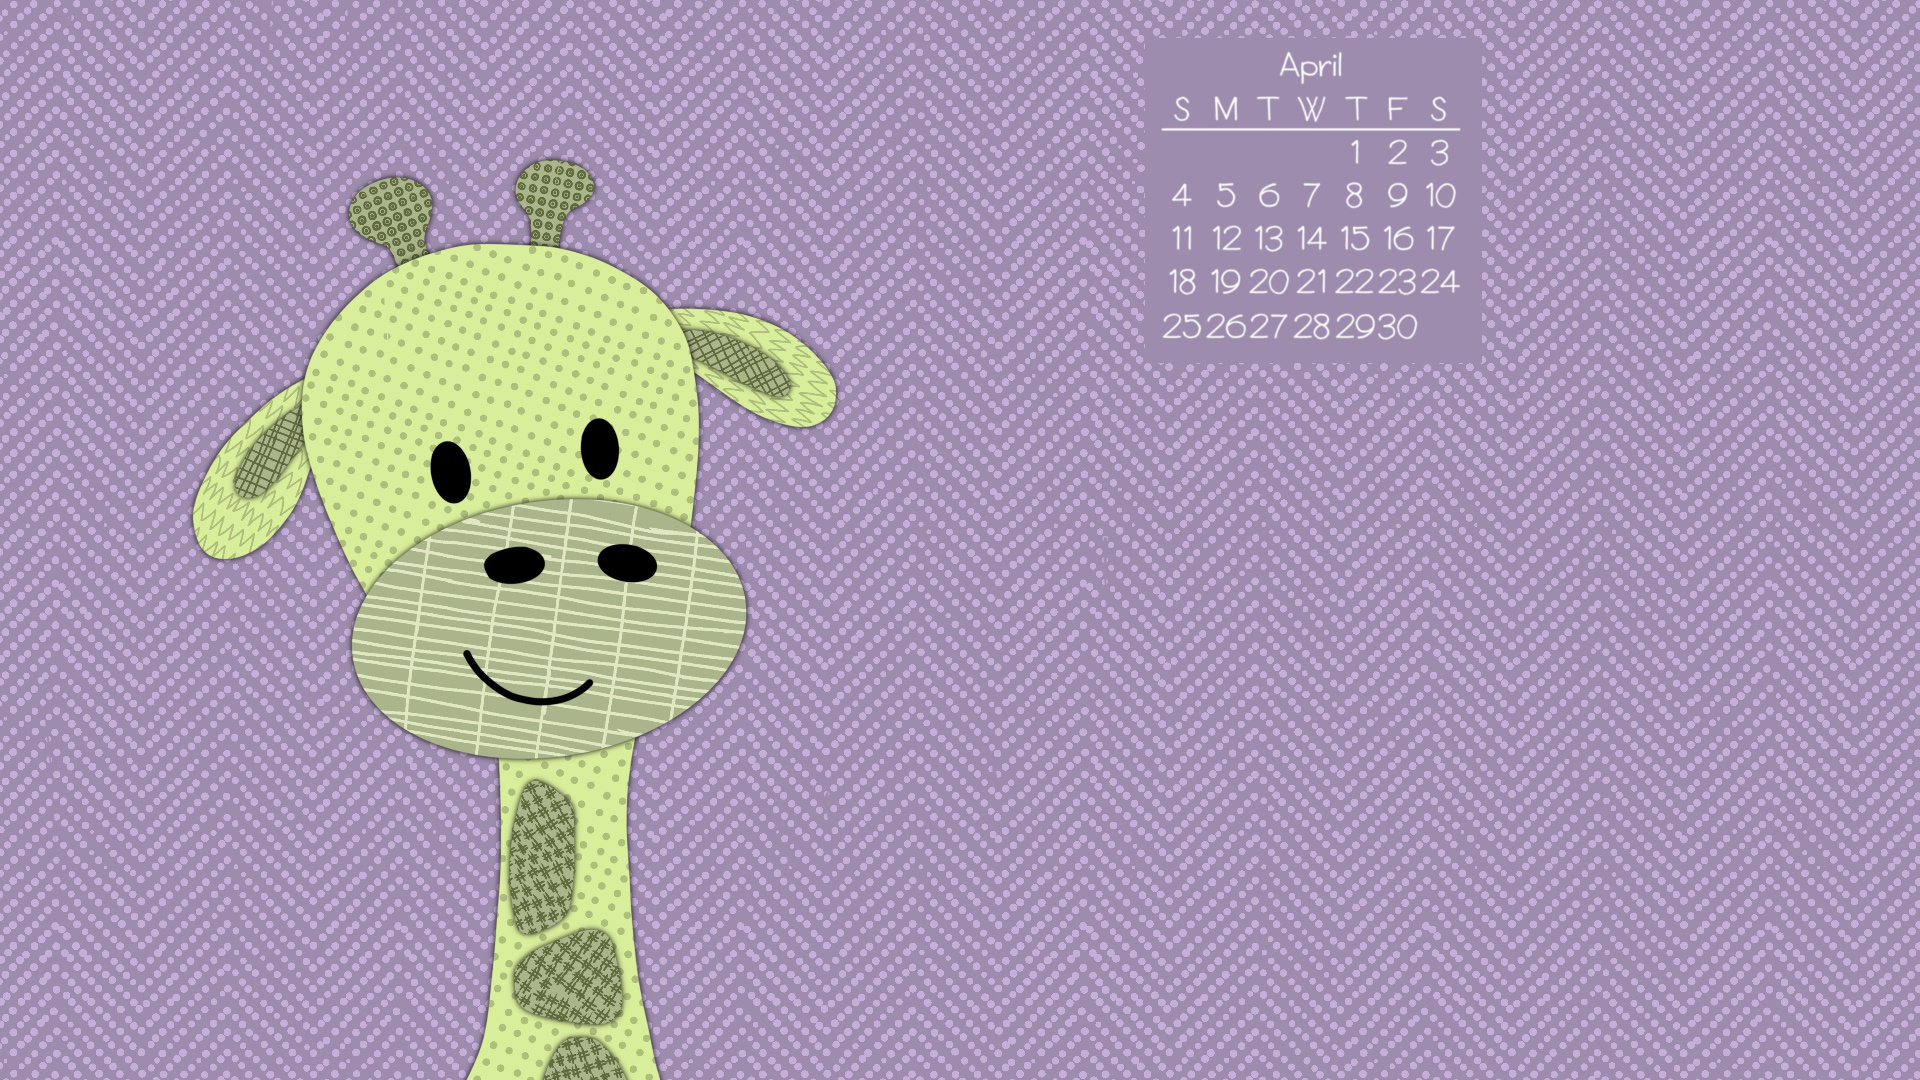
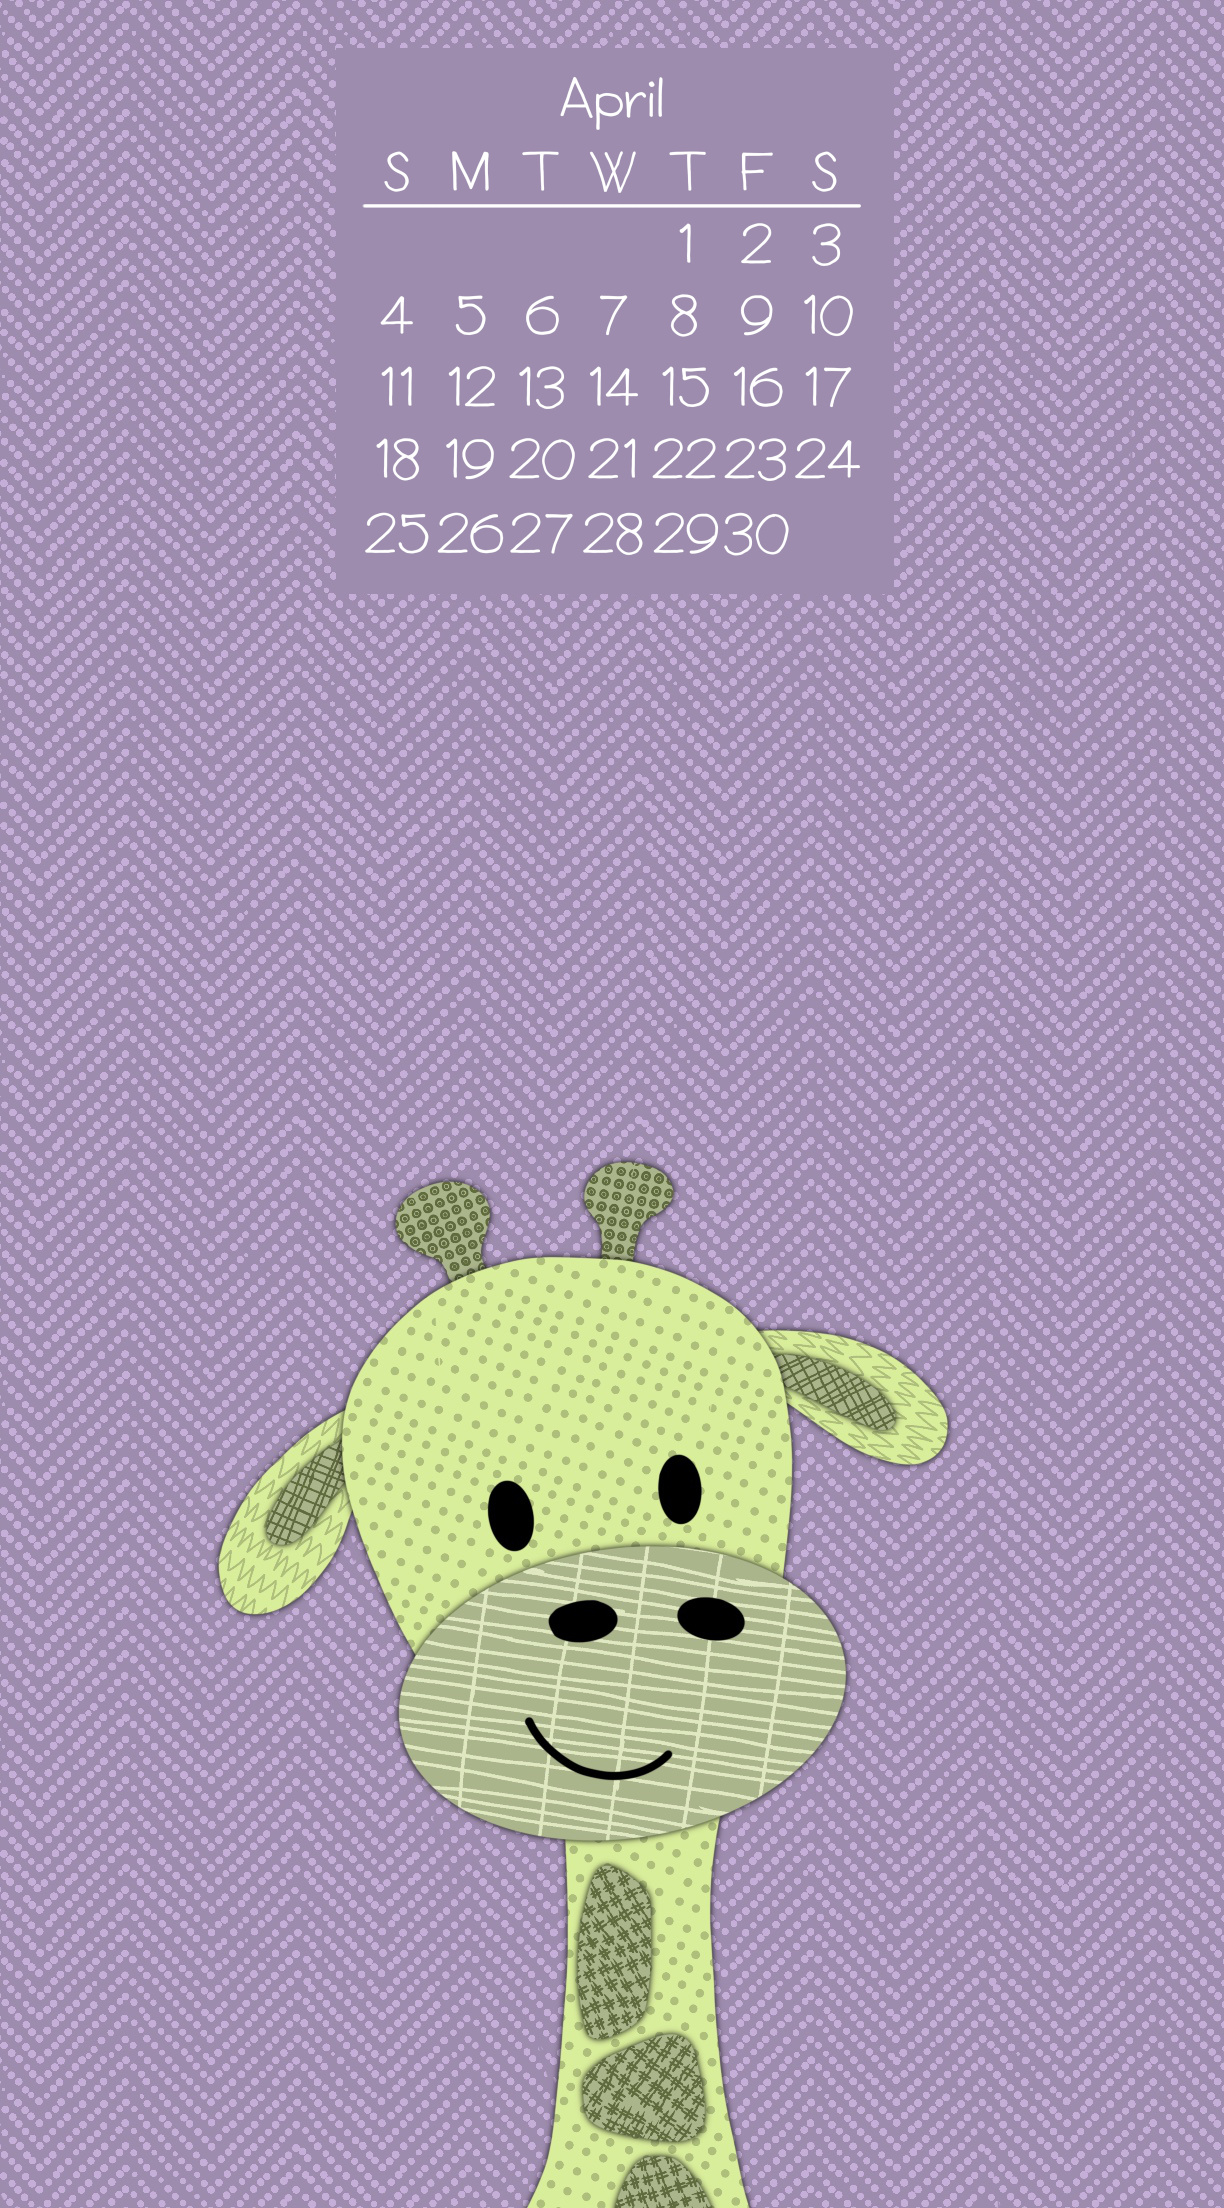
Happy April! Here’s your new monthly background image for phones and other devices!
We had a super warm March – and last night a cold front blew in. My bird bath was frozen this morning! I guess Mother Nature is sending us an April Fools joke. 😁
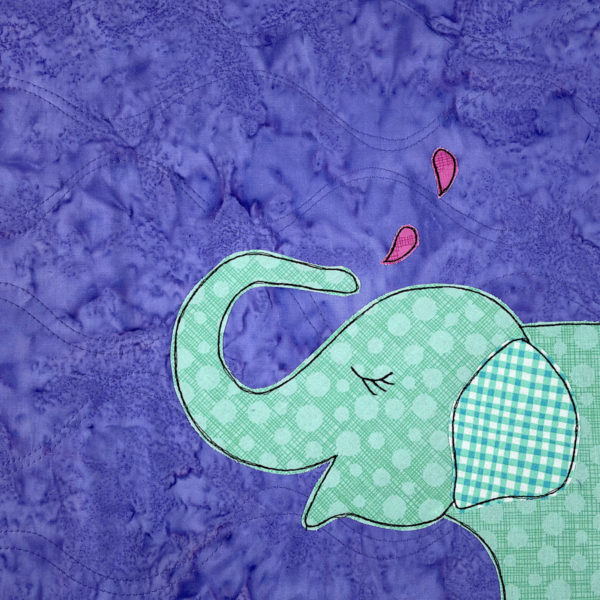
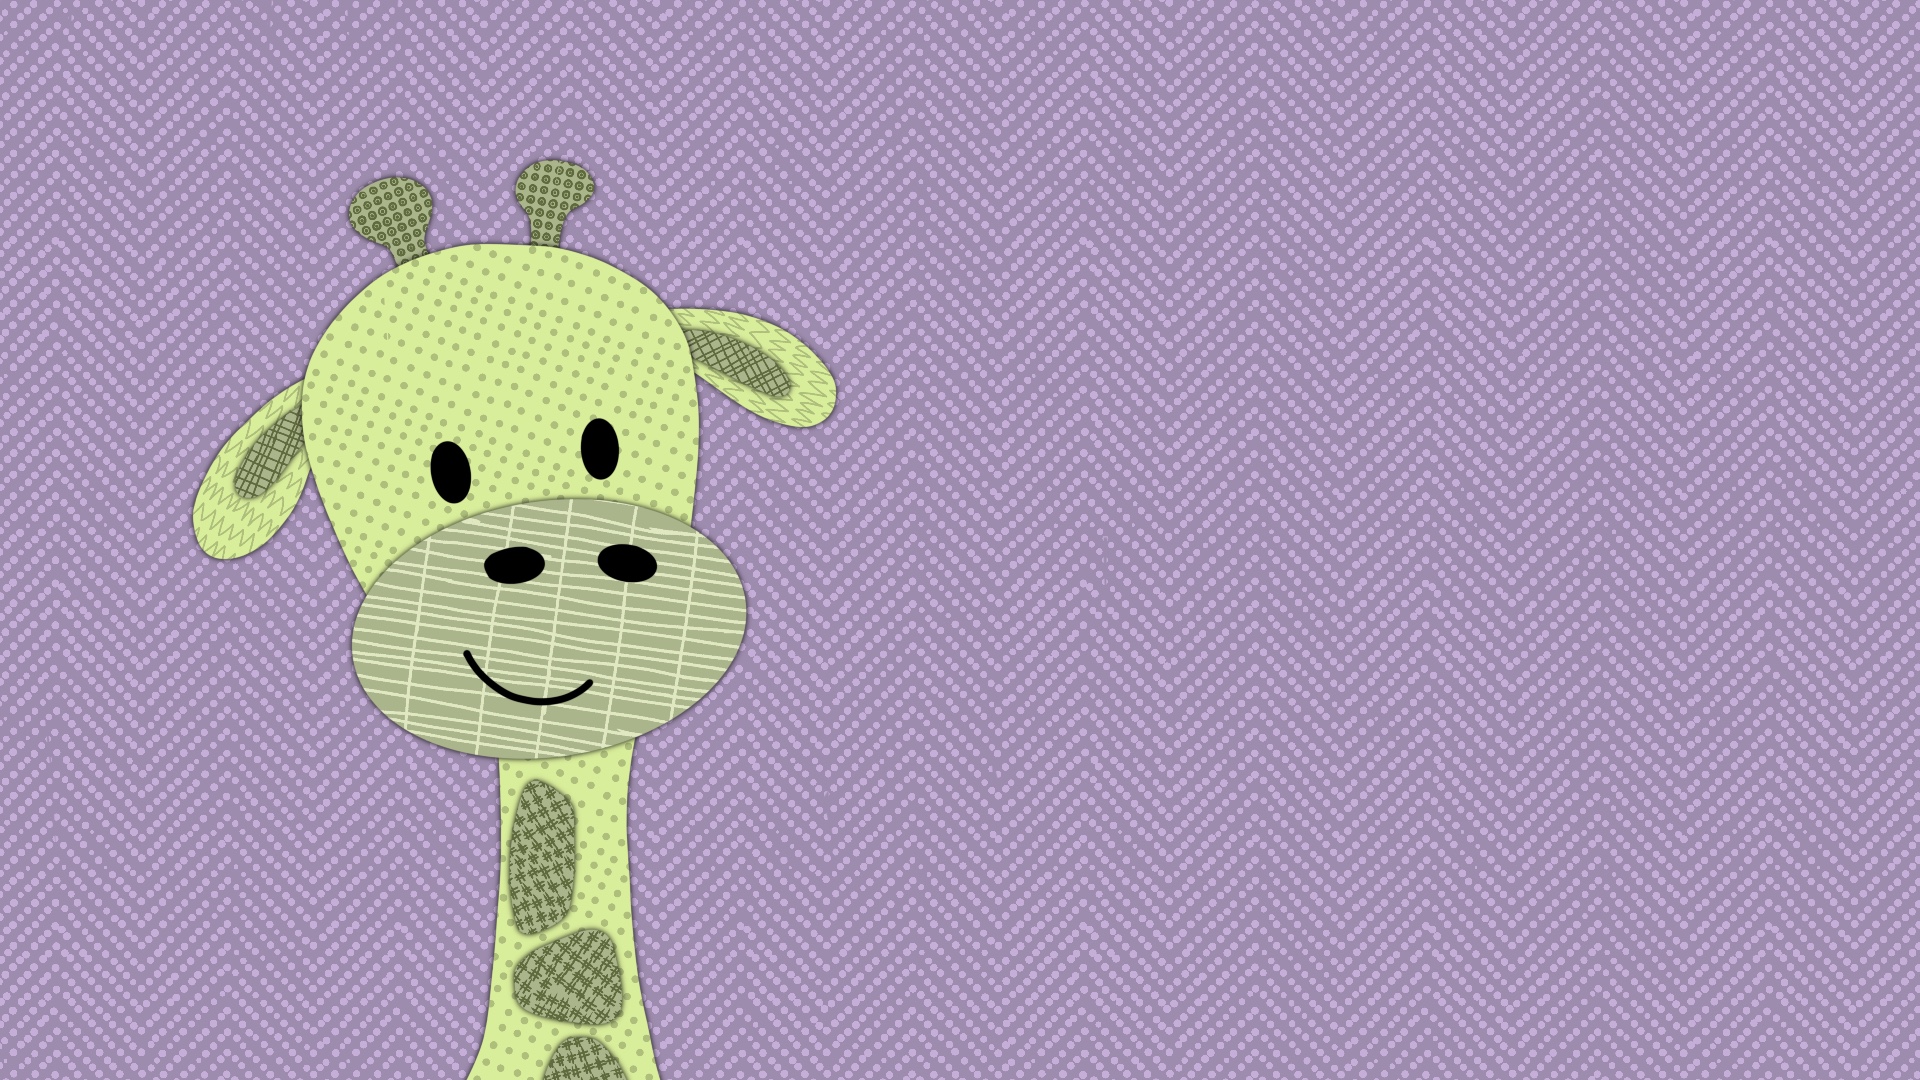
I chose a giraffe this month for no reason except that I think she’s super cute. And I was in the mood for fanciful colors, so she’s a green giraffe.
Download your background image for phones, tablets or computers below. You can get it both with and without the April calendar, in case you want to keep that sweet giraffe on your screens during other months of the year. 🙂
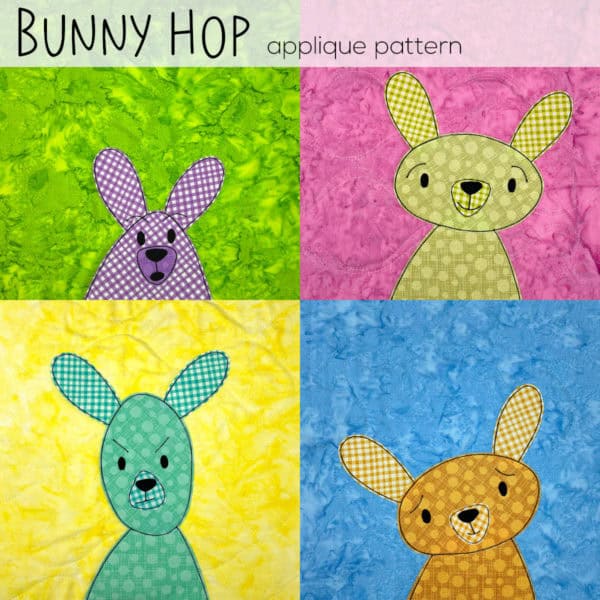
Yep, the 15th of the month means it’s pattern release day in the Funny Faces Quilt Block of the Month Club!
The new pattern this month is a bunny.
But not just any bunny.
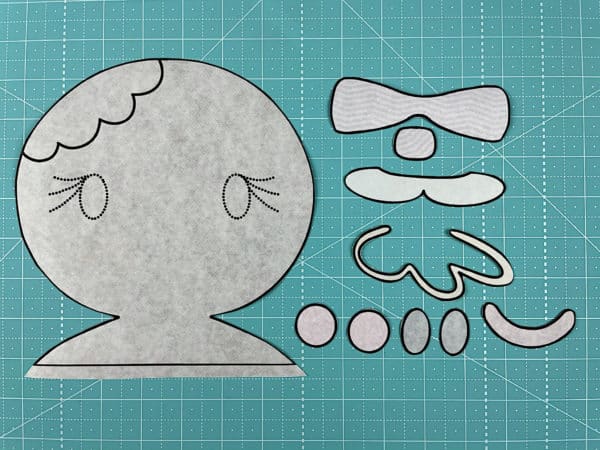
See those four bunnies? They were all made with the same pattern pieces!
The pattern includes one head, one body, one muzzle, and two ears – but it has four different eye/eyebrow sets and four different mouths. By twisting and turning the applique pieces and swapping out the eyebrows and mouth – you can create a kajillion different bunnies.
That’s right – your applique blocks can multiply like rabbits. 🙂
For the last few years I’ve participated in the 100 Day Project. Last year was the first year I actually finished it. 🙂
The 100 Day project is awesome. Participants decide on any creative activity they want to pursue for 100 days. It can be ANYTHING! A few that I remember off the top of my head are a jeweler who made 100 pairs of earrings, a potter who came up with 100 different handles, a baker who made 100 different pies, and an artist who designed 100 different alphabet fonts – the sky’s the limit!
Last year I designed a different repeat pattern every day – AND I used that pattern to mock-up a new applique design. Here’s just one example.
I hoped to have a fabric collection come out of it, but I got something else instead. SO MANY QUILT BLOCK IDEAS!
I love how it turned out – but it was relatively easy. Just design all the blocks, make a sample, record the video tutorials, and write the pattern!
But one of the ideas that the project sparked last year was a Mix & Match Backyard Birds pattern. As I was drawing some of the birds I see at my feeder, I realized that a lot of the basic parts are pretty much the same. I wondered if I could create some basic templates that could be used to applique just about any of those classic feeder birds. I noodled around with the idea for ten of my hundred days, and it seemed like it would work!
I’ve taken the months since then to draw up a bunch of templates and now I’m finally ready to test them – just in time for a new 100 Day Project!
The new tests won’t be mock-ups. They’re actually appliqued blocks that I’ll be able to join into a quilt. So exciting!
Here’s Day 1 – a black-capped chickadee, one of my favorite birds.
Will I be able to make 100 different recognizable birds using just a few pages of templates? We’re about to find out. 🙂
You can follow along with my progress on Instagram. And the applique pattern will be available at the end of the project – maybe even sooner if the testing goes smoothly and I don’t need to design too many additional templates. 🙂
Update! The project is finished and you can find the pattern here!
Want to join in the 100 Day Project? There’s more info here.
If you’e using an electric cutting machine like a Cricut. . .
Upload the file to your machine.
Resize if needed. (To fit a block that finishes at 10 inches square, the image should be 15 inches wide.)
Ungroup the pieces and assign colors
Cut.
Step 2
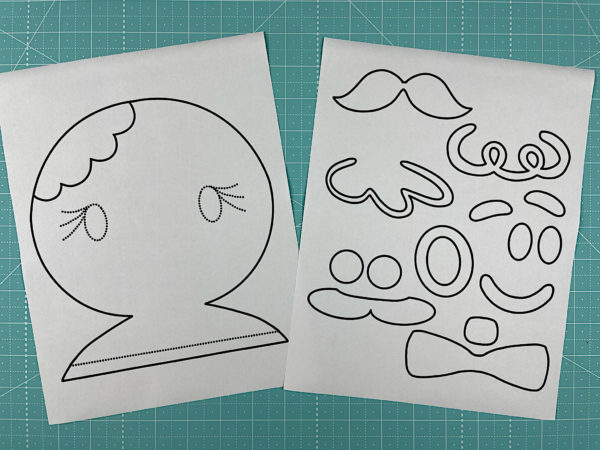
Trace or print the pattern onto the paper side of the fusible adhesive.
I use Heat & Bond Lite for all my quilts, and I love their printable sheets because I’m lazy and hate to trace. 🙂
The image has already been reversed, so just trace or print. If you’re tracing, be sure to trace the eyes and (optional) eyelashes too. You’ll need those for Step 5.
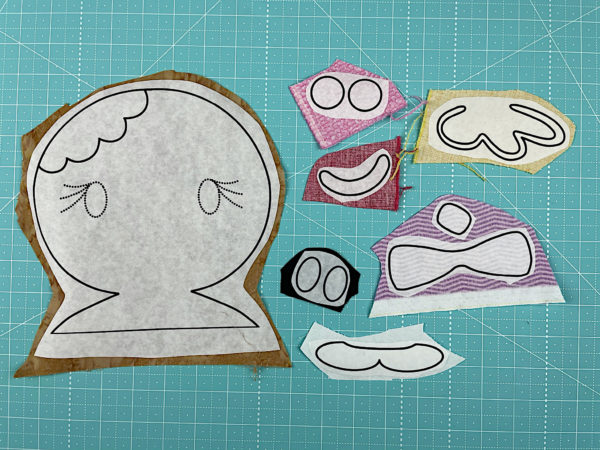
Step 3
Roughly cut around each shape and fuse it to the back of your fabric.
Here’s a video showing those first two steps. . .
Step 4
Cut around each piece neatly.
This time you’re cutting directly on the solid lines.
This video has more info about that step.
Step 5
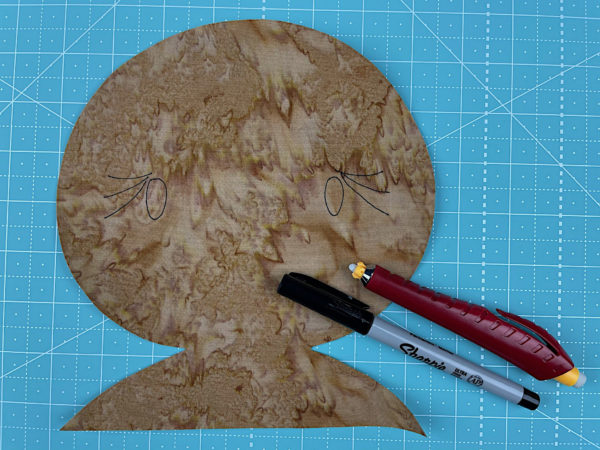
Remember back in Step 2 when I told you to make sure you traced the eyes and eyelashes? Now you’re going to use that. Hold the face up to a window so the light shines through it. You’ll be able to see all the dotted lines, and the adhesive will stabilize the fabric so you can trace on it without it crinkling up.
Trace the lines to show where the eyes go. If your cookie will have eyelashes, trace those too.
Here’s a video with more info about this step.
Step 6
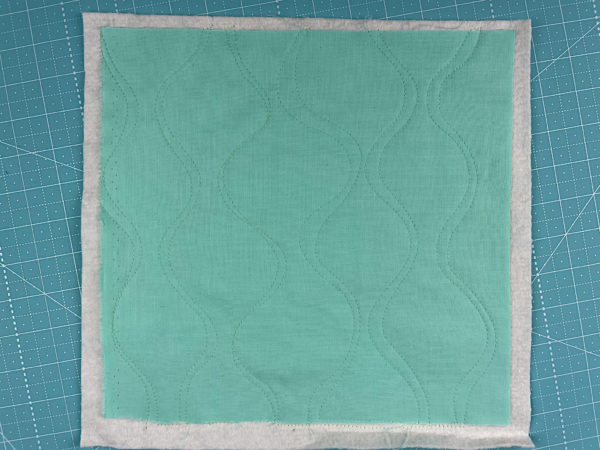
If you’re doing Quilt As You Go (I did) then you can quilt your block before adding the applique. So easy!
Cut your background fabric and a piece of 100% cotton batting 11 inches square.
Layer the block with a piece of 100% cotton batting. Quilt any pattern you like!
Have fun! And share a photo of what you make! You can share it in the Shiny Happy People group or tag it with #shinyhappyworld on Instagram.
If you like this free pattern, sign up for the Shiny Happy News! Subscribers get a weekly newsletter full of sewing tips and tricks, free patterns, special discounts, and other things to make you smile. 🙂
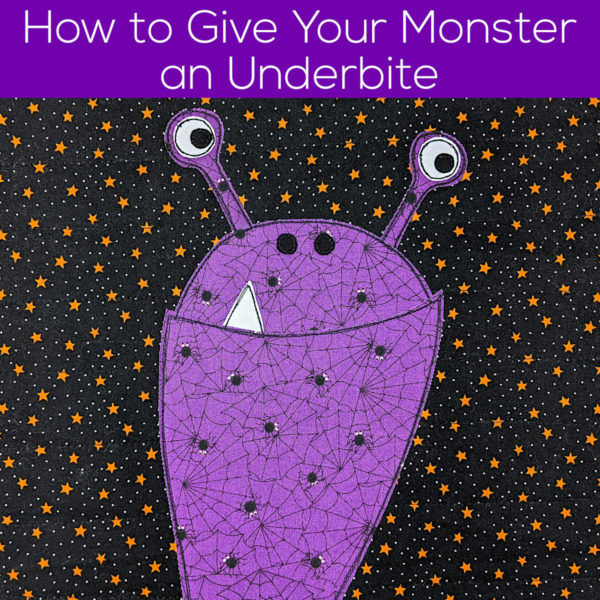
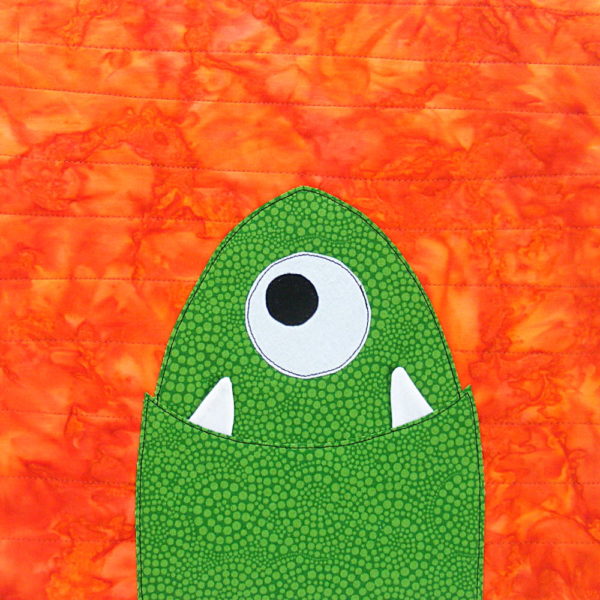
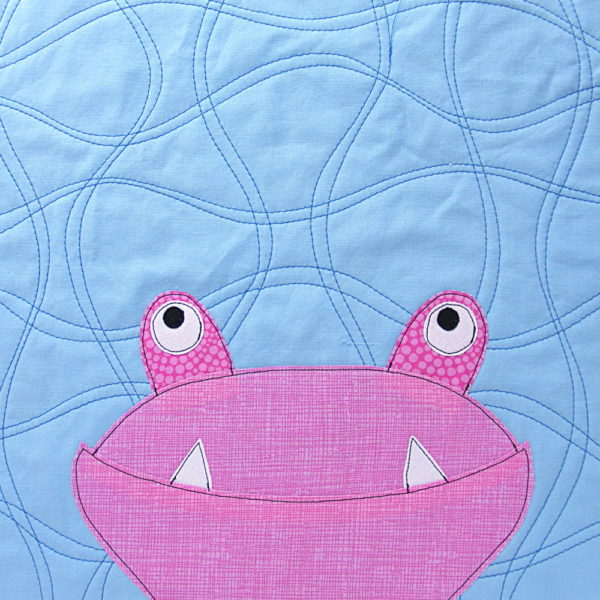
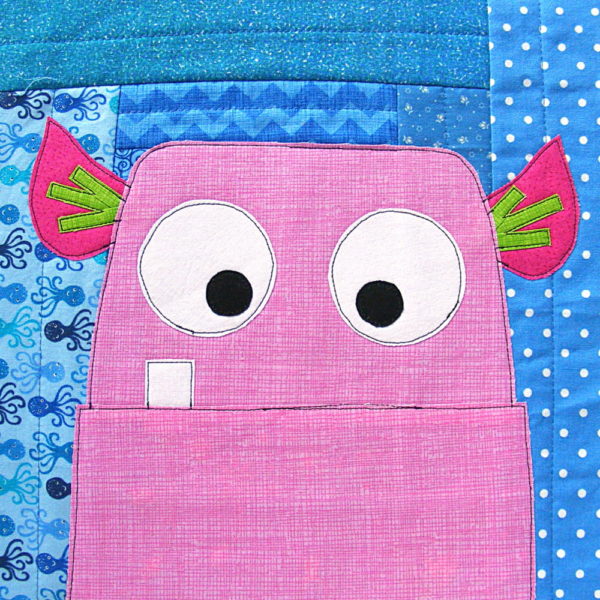
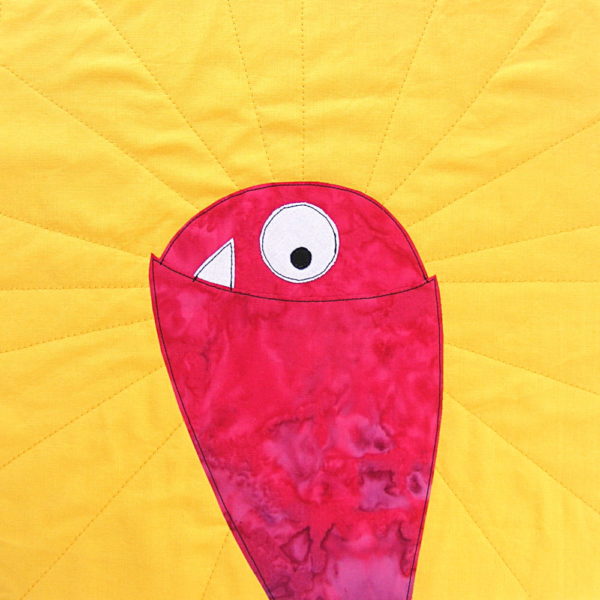
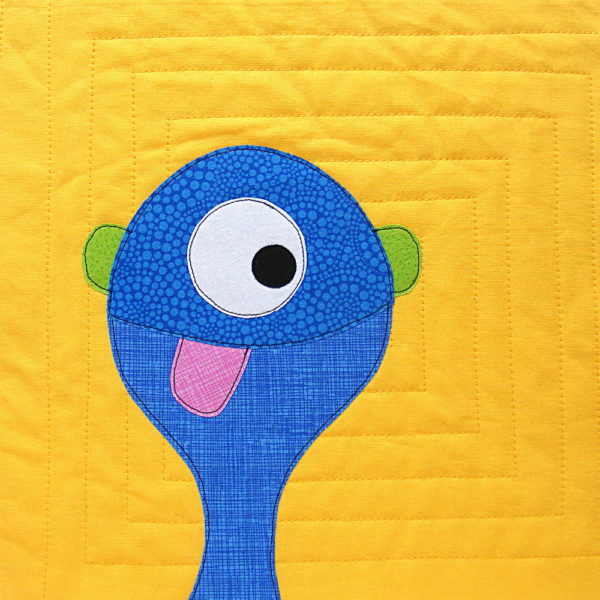
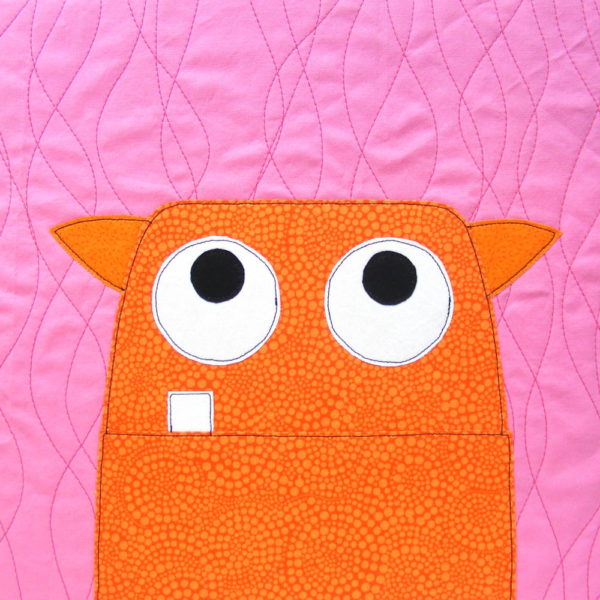
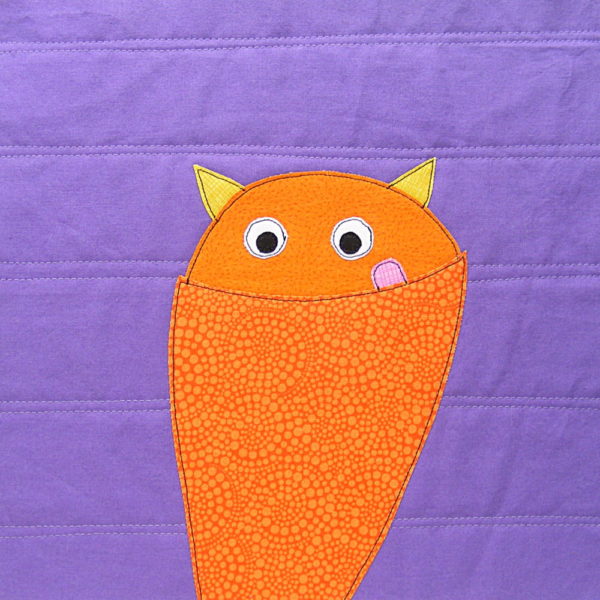
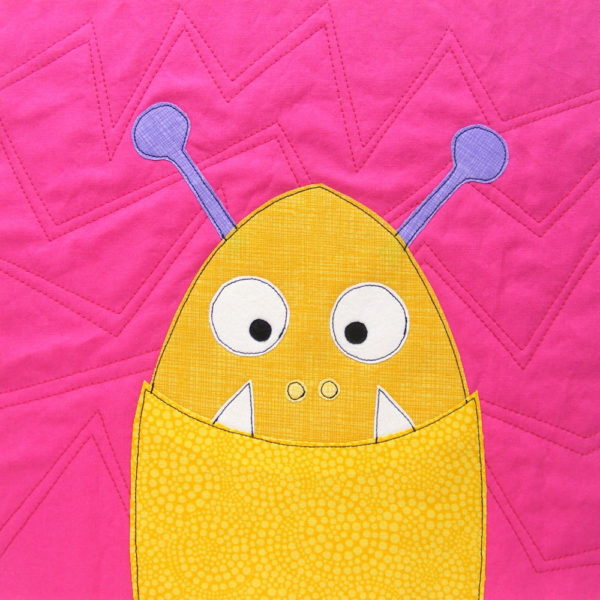
In this video I show you how you can use that line to give your monsters underbites and overbites and add teeth and tongues.
Here are a bunch of the samples you see at the end of the video. You can click on the images to see them closer.
Here are links to all the posts showing how to applique with fusible adhesive – my favorite method. It’s fast and easy and (with the right materials) it holds up beautifully to rough use and repeated washing.
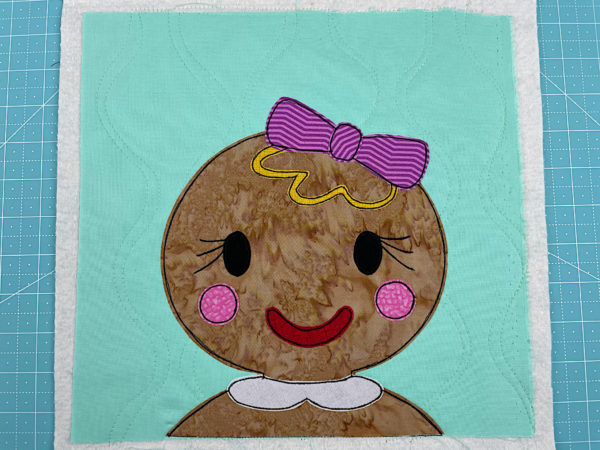
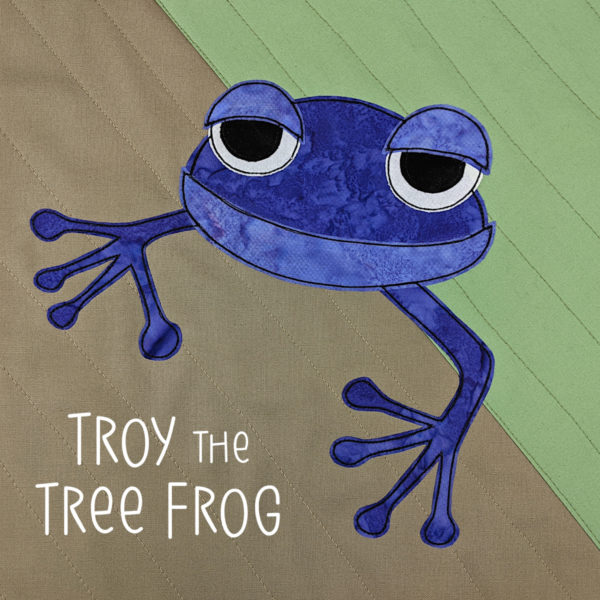
It’s the 15th! That means it’s New Pattern Day in the Funny Faces Quilt Block of the Month Club!
Meet Troy the tree frog! I love this guy!
There’s already a frog pattern at Shiny Happy World, but he’s more of a pond frog with a long, sticky tongue. Troy has awesome sticky tree frog toes. 🙂
Here’s how to make him. . .
See how easy that is?
That’s a LONG video, so I’ve broken it up with a couple of time references here. . .
Building the background block – start at the beginning
Cutting and Marking the Applique Pieces – start at 4:37
Layering the Applique Pieces – start at 14:37
Outlining the Applique – start at 18:35
If you want just a very quick look at me layering the pieces together with no explanation, here’s a video for that.
Let’s Make a Quilt – free workshop teaching applique with fusible adhesive and Quilt As You Go
Troy the Tree Frog’s pattern isn’t exclusive to the club anymore – you can get it here.
If you want to join the Funny Faces Quilt Block of the Month Club to get immediate access to the new monthly patterns, you can use this link to join.
Special note – this is the first Funny Faces pattern to include an SVG file for use with cutting machines! That’s going to be standard in all patterns from now on.
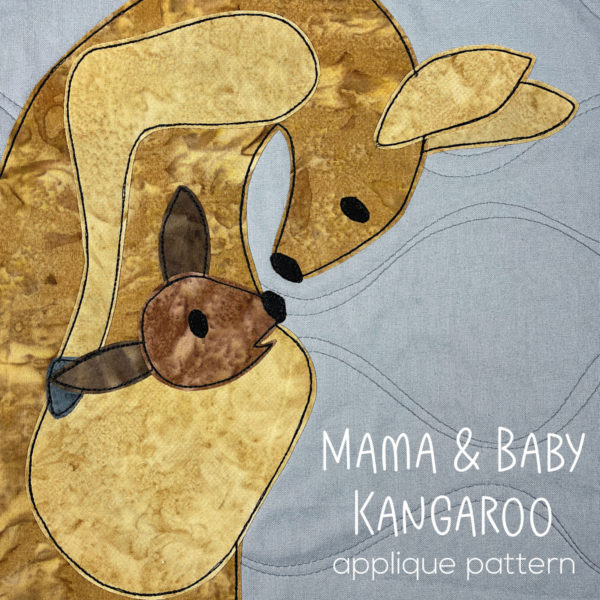
The Mama and Baby Polar Bear were a VERY close second, so we’ll probably see a pattern for them soon as well. 🙂
Want to see how to assemble Mo?
I had the chance to try out some of my new fabric palettes with my Mo Muskox sample blocks! I talk about them all in more detail at the end of the video, but here are some still photos and handy links.
As soon as I have three blocks in each new colorway combination I’ll be sharing those so you’ll have a better feel for how entire quilts made with these bundles will look. 🙂
And now one extra special bonus! For those who don’t quilt, you can still get a muskox! Mo is now available as a printed panel, perfect for making pillows and other projects.
These are out of stock right now – but there are more on order and should be here soon. 🙂 There’s more info here.


