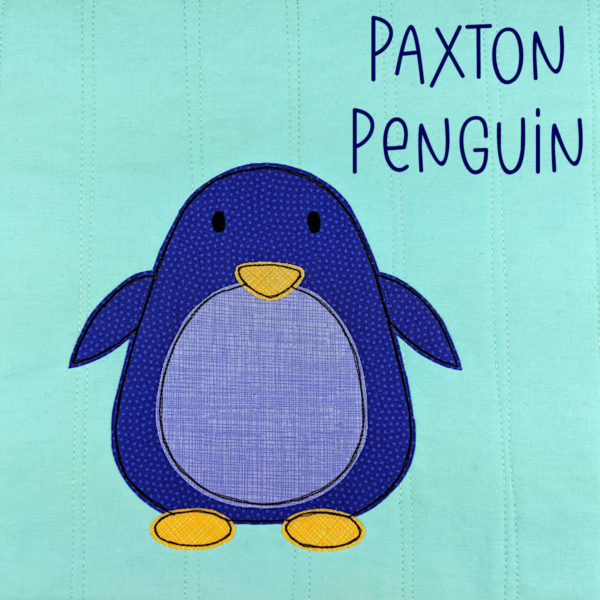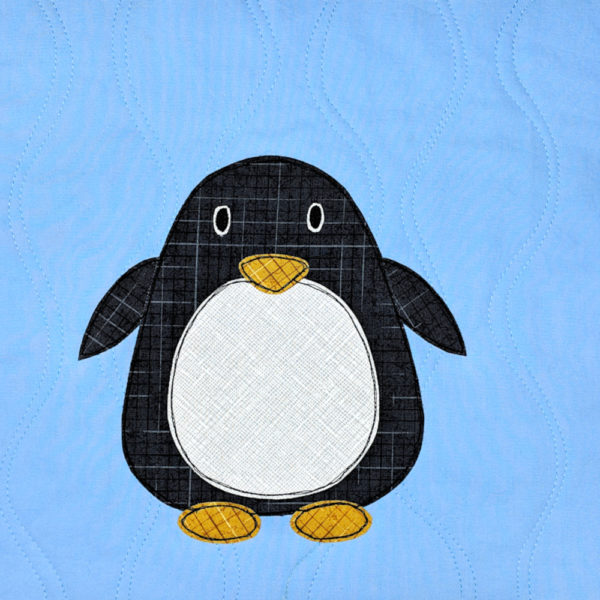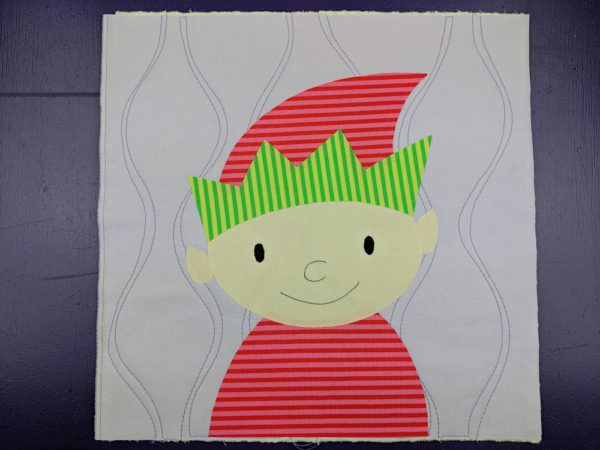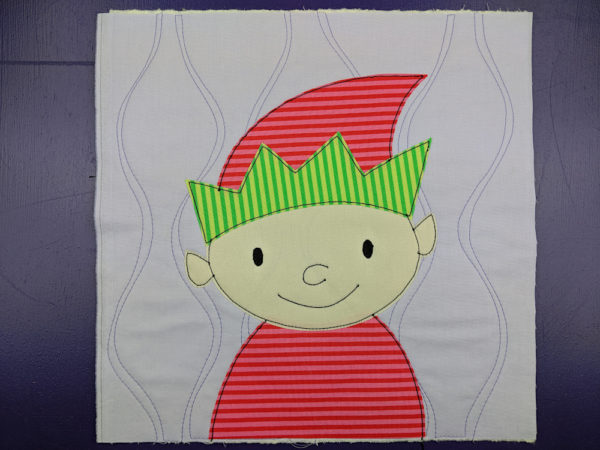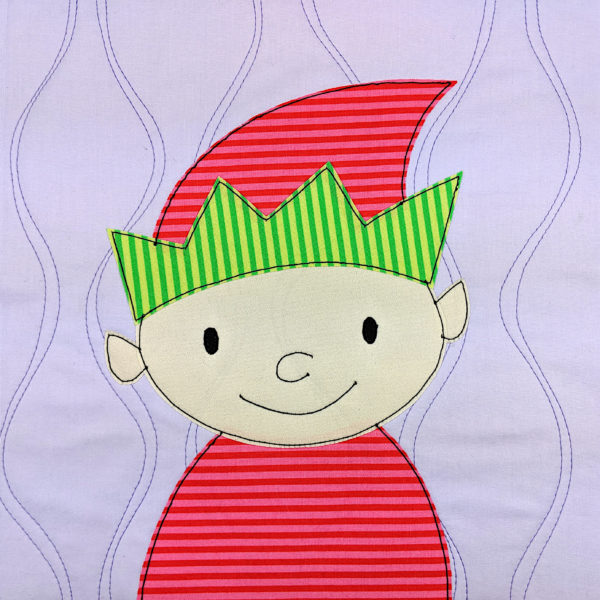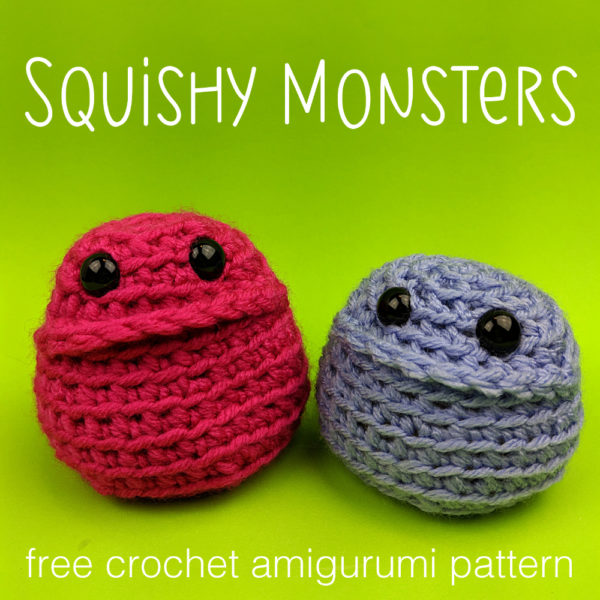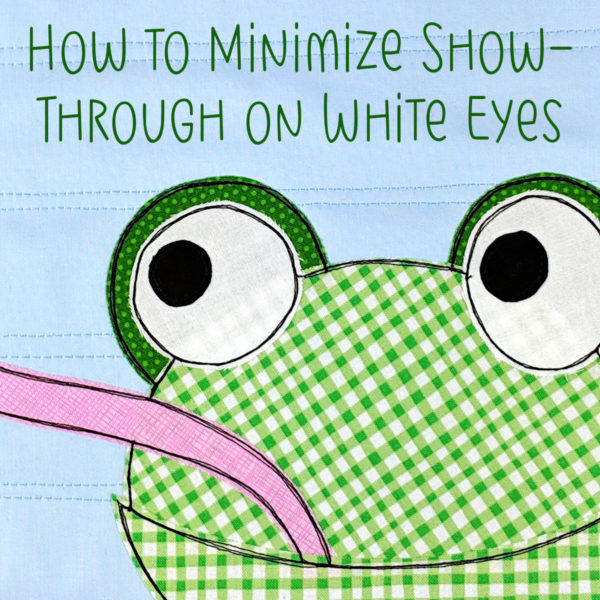
I get a lot of questions about how to stop seeing through fabric applique – especially on my frog and monster patterns that have big googly eyes.
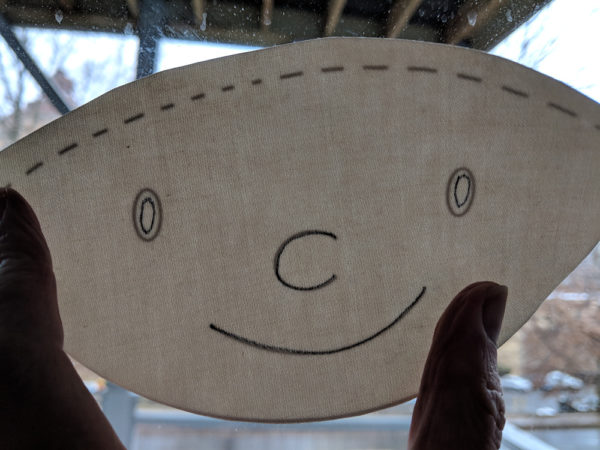
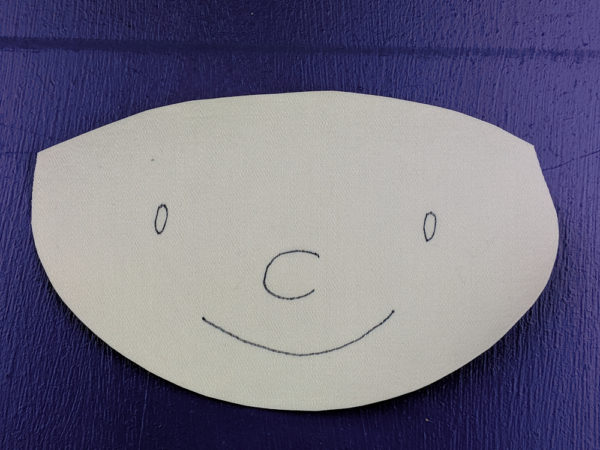
When you use fusible adhesive and layer a light color (like white) over a boldly patterned fabric, the print below can show through.
In this video I show you how to minimize that show-through. It’s really easy!
I rarely use light-colored solids, so this isn’t often an issue for me – but it does come up when I want to make big googly eyes. 🙂
I actually don’t mind seeing through the fabric applique a little bit (it can be kind of cool to be able to see how something is made) so sometimes I’ll use a lighter-weight interfacing like you see me use in the video.
If you want more complete coverage, I recommend this Heat & Bond Medium Weight fusible interfacing. It’s one step thicker than the one I use in the video – still nice and flexible, but with better hiding properties. 🙂
Want to make your eyes extra-googly? Use this faux-trapunto technique. Zero show through and extra cuteness. 🙂
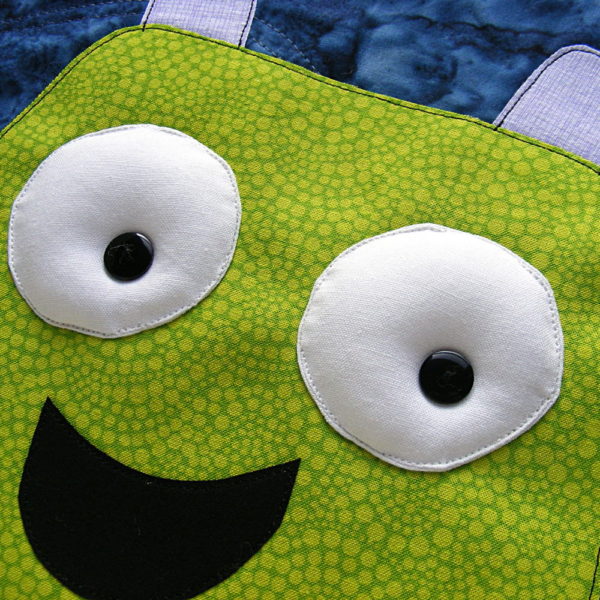
Now that you know how to stop seeing through your fabric applique, want to practice?
You can get that pond frog pattern here, a tree frog here, and there are fun googly-eyed monster patterns here, here, and here.

Here are links to all the posts showing how to applique with fusible adhesive – my favorite method. It’s fast and easy and (with the right materials) it holds up beautifully to rough use and repeated washing.
- How to Applique with Fusible Adhesive – a very basic intro
- How Durable is Applique with Fusible Adhesive?
- Fusible Applique the Easy Way – the way I currently work – use with any of my patterns that include SVG files
- How to Use a Light Box to Layer Your Applique – perfect placement every time
- How to Applique with Fusible Adhesive – photo tutorial – use with any of my patterns that do not include SVG files
- How to Applique with Fusible Adhesive – video tutorial – use with any of my patterns that do not include SVG files
Here are links to special posts about eyes.
- Easy Eye Options for Applique
- Using Fabric Markers and Paints for Small Eyes
- Free Embroidery Machine Files for Machine-Stitched Eyes
- How to Machine Stitch Eyes without an Embroidery Machine
- How to Minimize Show-Through on White Eyes
- How to Applique Dark Eyes on Dark Faces
- How to Add Catchlights to Eyes
- How to Change the Eyes on Your Applique Patterns (adding lashes or changing to sleepy or smiling eyes)
Here are links to some extra fun things you can do with your applique.
- How to Add a Baby Animal to Any Block
- How to Squish Two Animals into One Block
- How to Add Playful 3D Bits to Your Applique
- How to Add Soft 3D Pieces to your Quilt Block
- How to Add a Door (that Opens!) to Your Quilt Block
- How to Give Your Monster an Underbite
- Fake Trapunto (Stuffed) Applique
- Broderie Perse Applique
Other Applique Methods
Finished with this topic?
Return to the Let’s Make a Quilt main Table of Contents.
Move on to the lessons about outline stitching.
Happy stitching!

