Make an Easy Applique Rag Quilt – tutorial

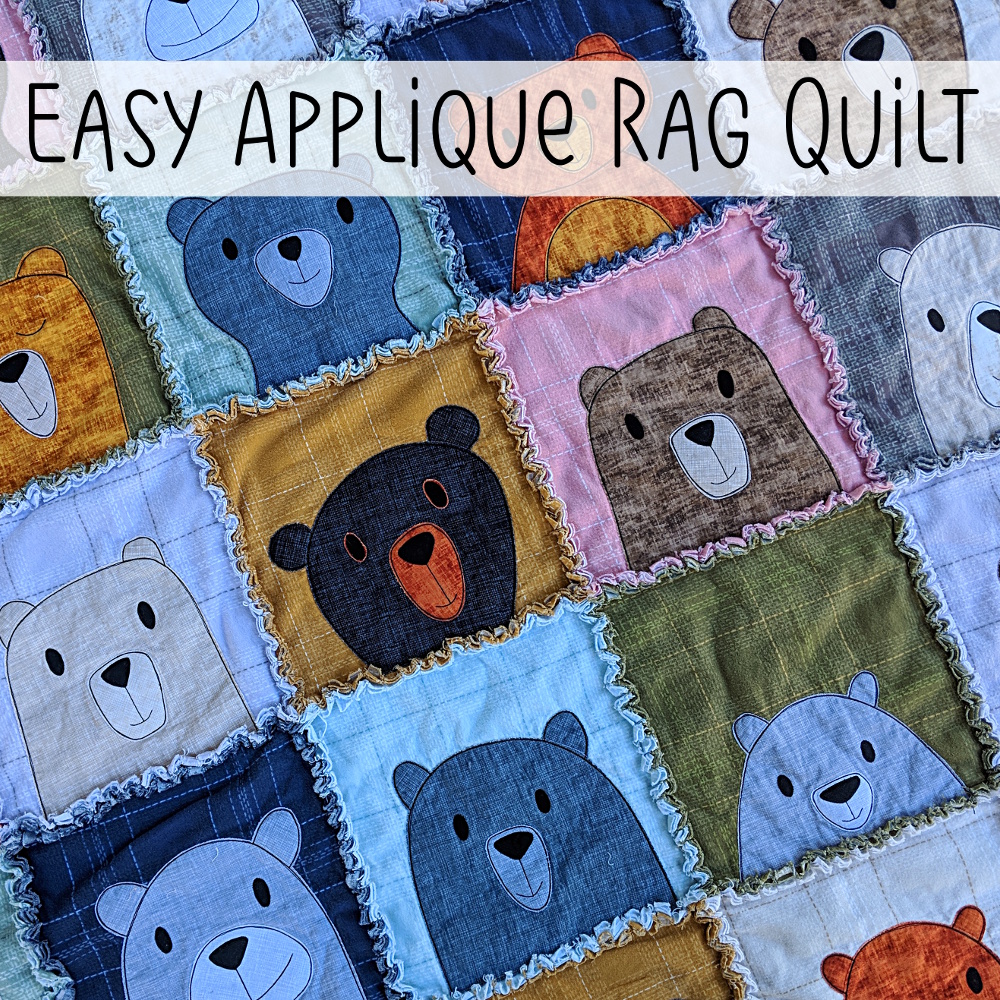
Several years ago my mother-in-law made us a fantastic flannel rag quilt. We use it all the time, and every time I look at it I think that it would be super easy to add applique to that style of quilt.

I finally did it!

And it was just as fun and easy as I thought. 🙂

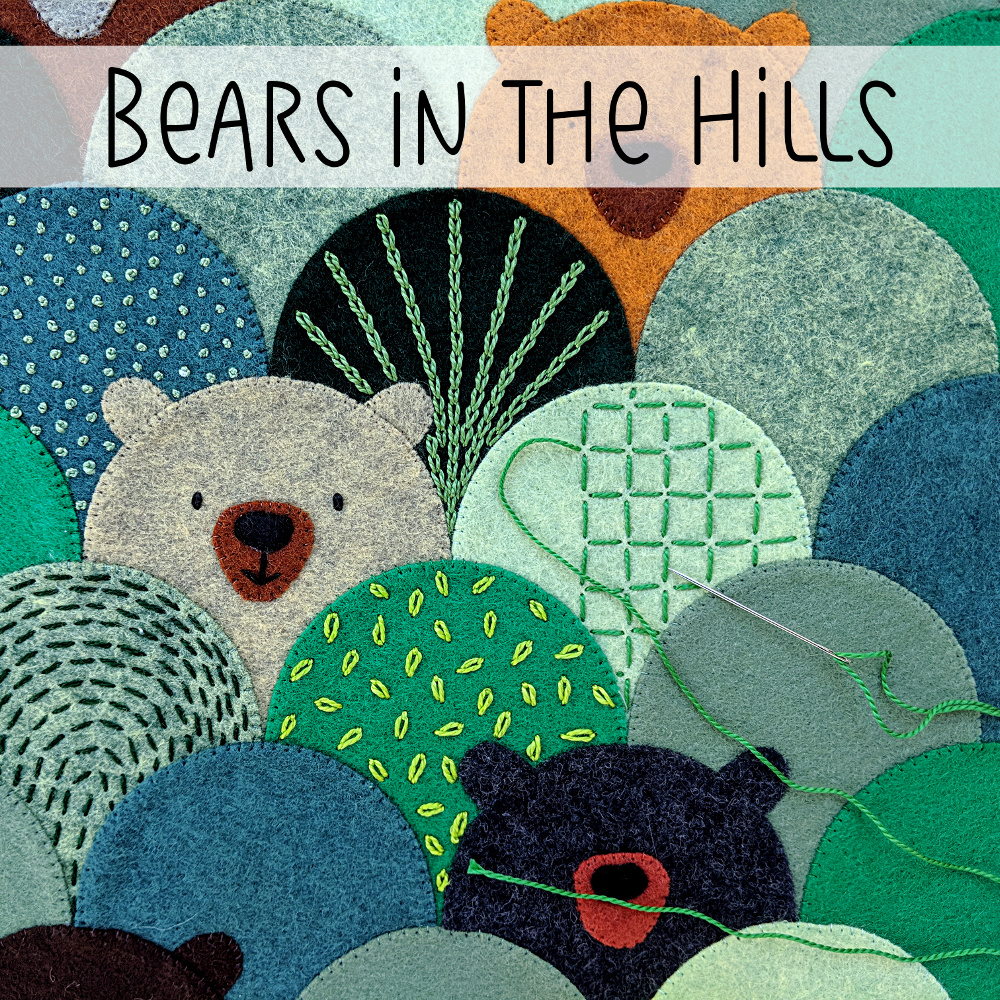
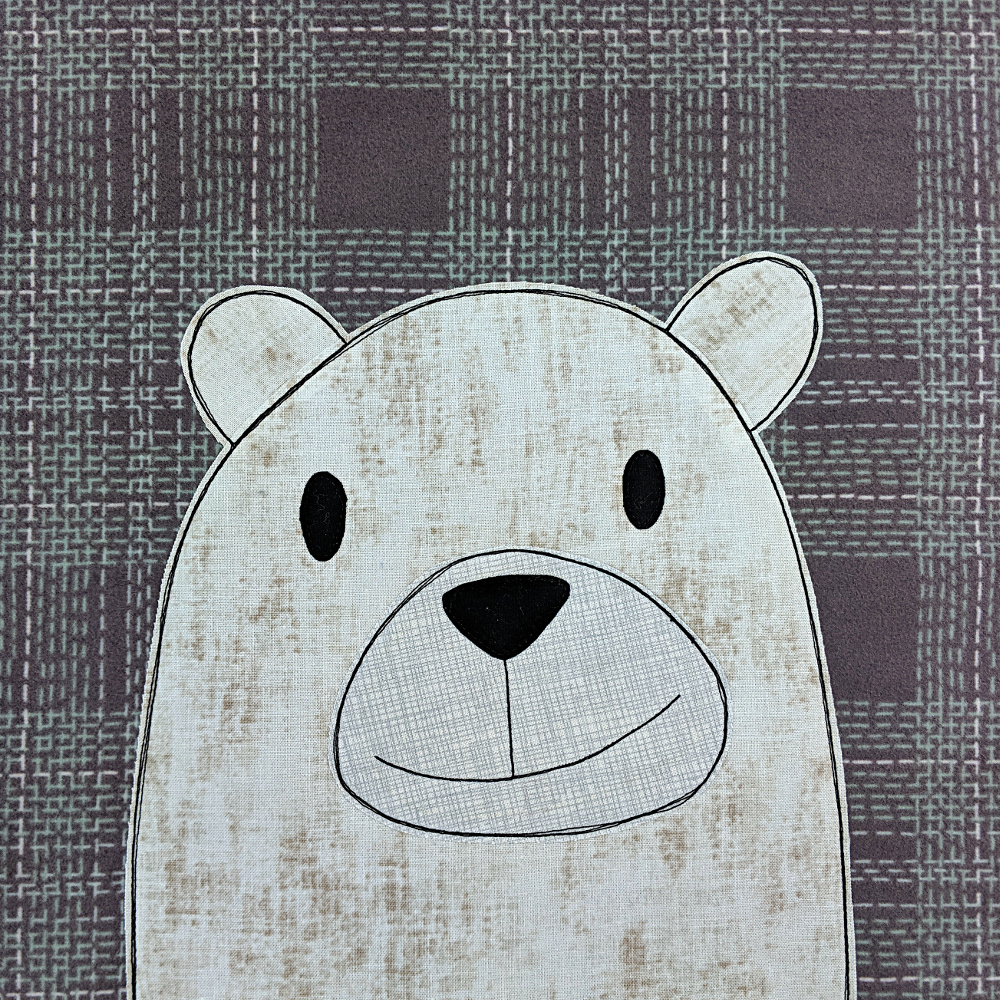
I made mine using the Bunches of Bears quilt pattern, but you could use any quilt pattern you like. All the square quilt blocks in my own patterns are already sized for 10 inch blocks. If you’re using someone else’s pattern you may need to enlarge or reduce the images.

So let’s go!

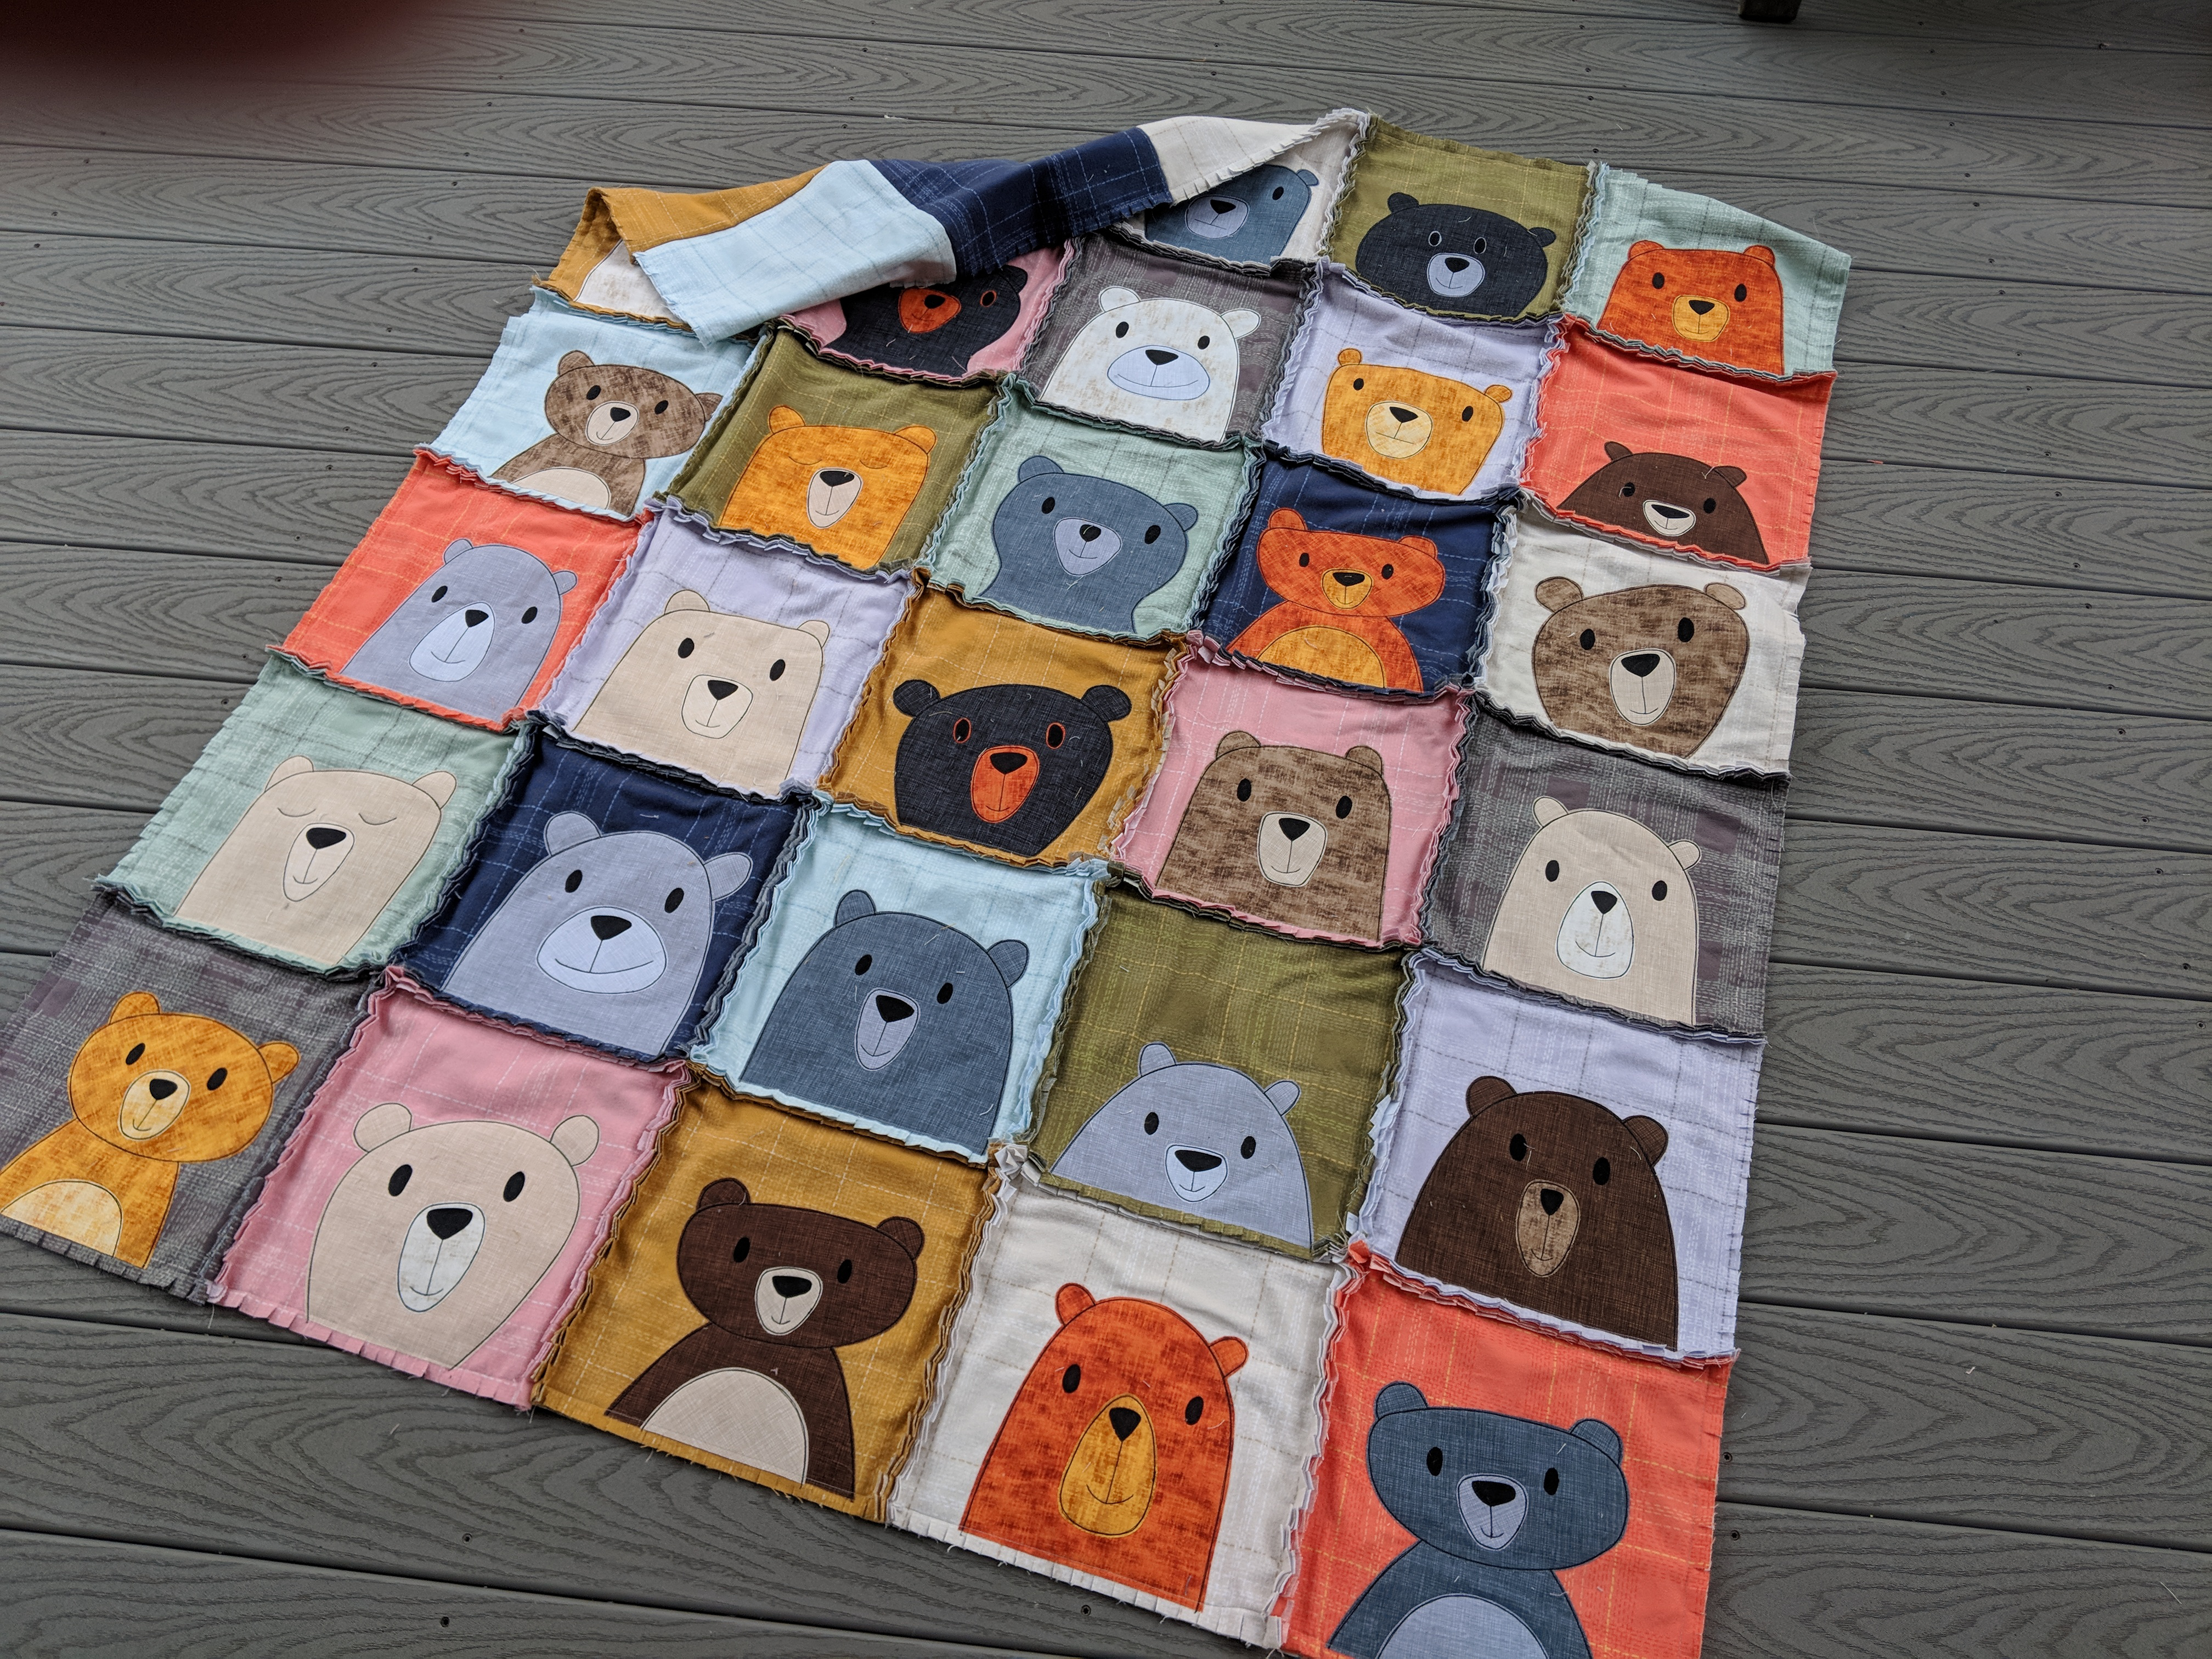
My quilt is nap sized – 50 x 60 inches – perfect for using on the couch. It’s 5 blocks wide and 6 blocks tall and the blocks all finish at 10 inches.

You can resize the pattern by changing the size of the blocks or by changing the number of blocks. 🙂

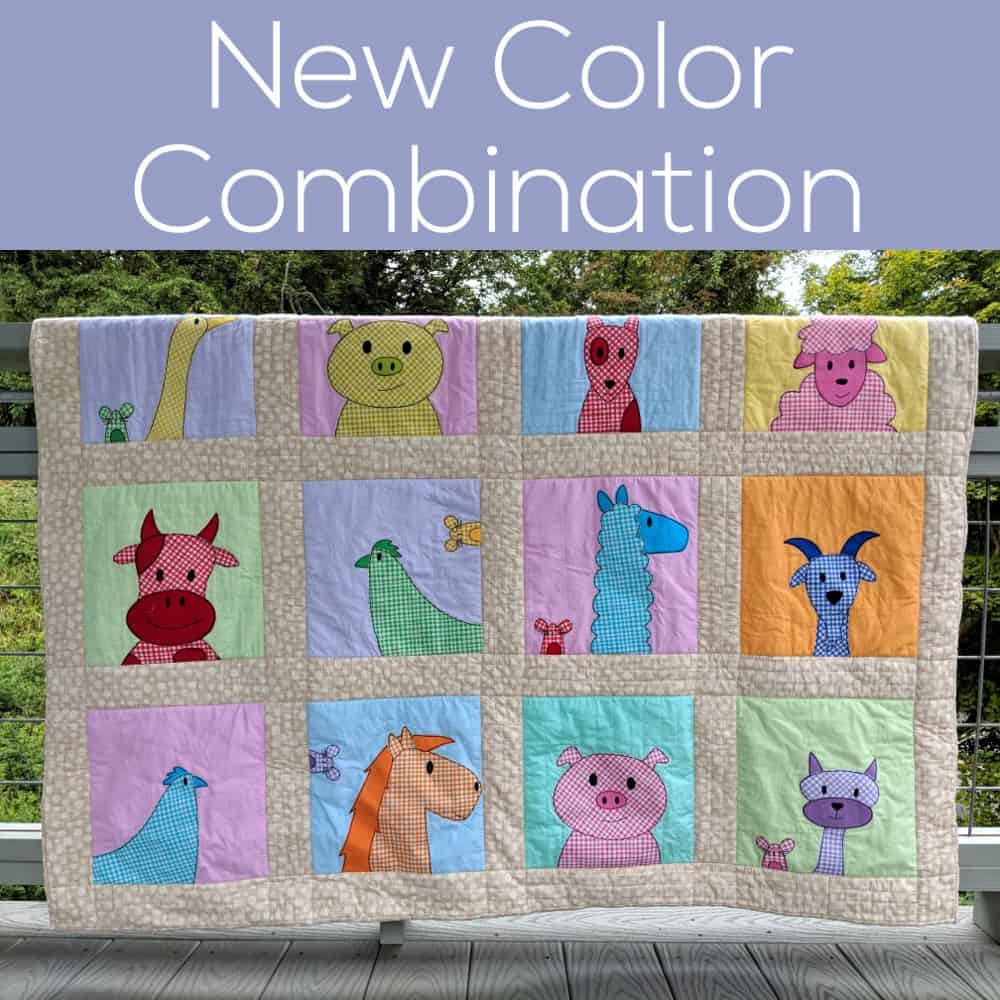
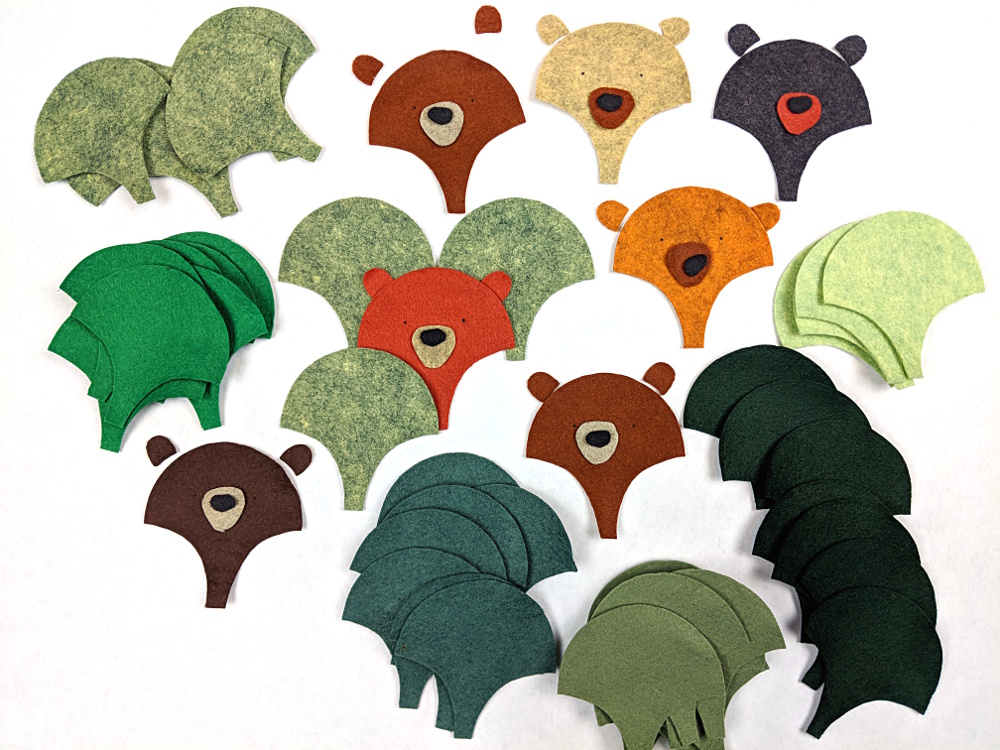
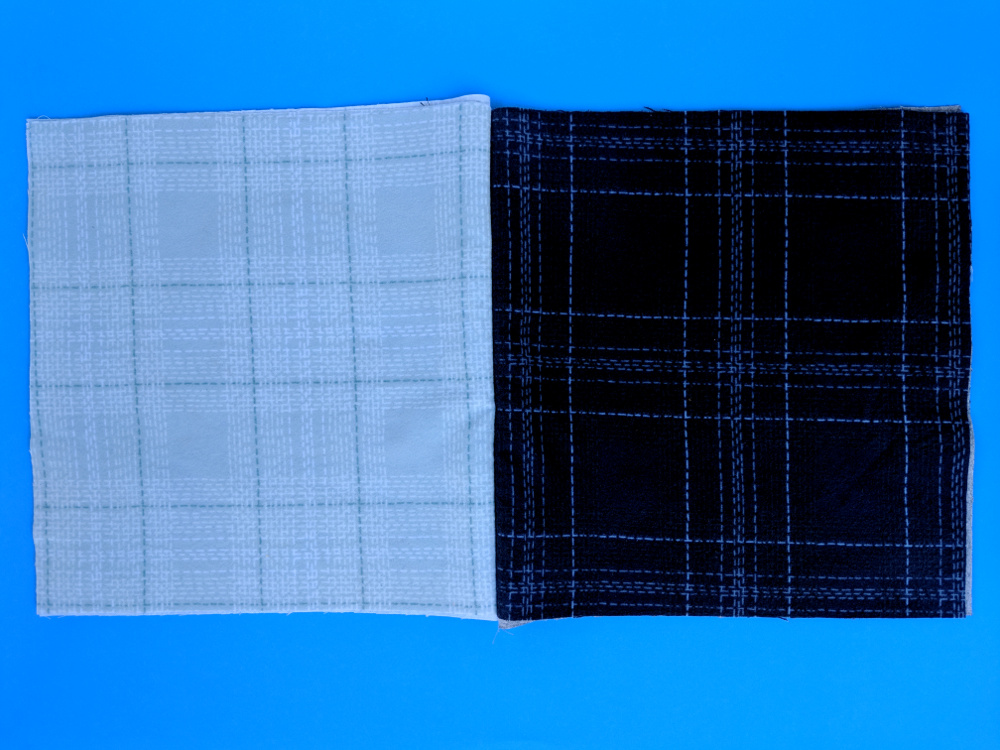
I used ten flannel colors (one of each color in the Dash Plaid collection from Dear Stella Fabrics) and bought one yard of each.

I prewashed my flannel. I think people don’t usually do that for rag quilts, but flannel is notorious for shrinking a lot and I didn’t want the shrinking to distort the applique. Don’t use fabric softener in the wash – it can resist the fusible adhesive. Dryer sheets are fine.

Each block is three layers of flannel, so you’ll need to cut 90 blocks, each 11 inches square. You can get nine from one yard of fabric.

Sneaky tip – if you have some ugly flannel that you can’t figure out how it got into your stash, cut 30 of the squares out of that and hide it in the middle of your layers. 🙂

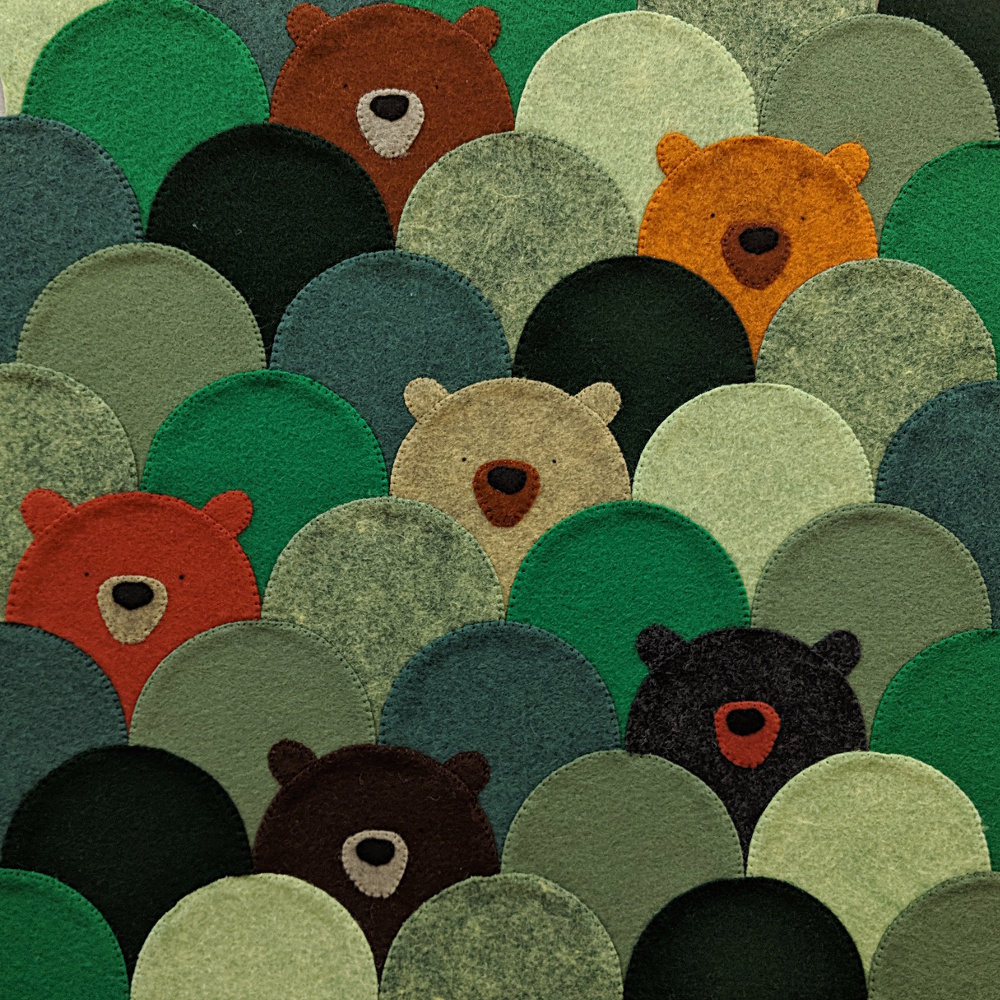
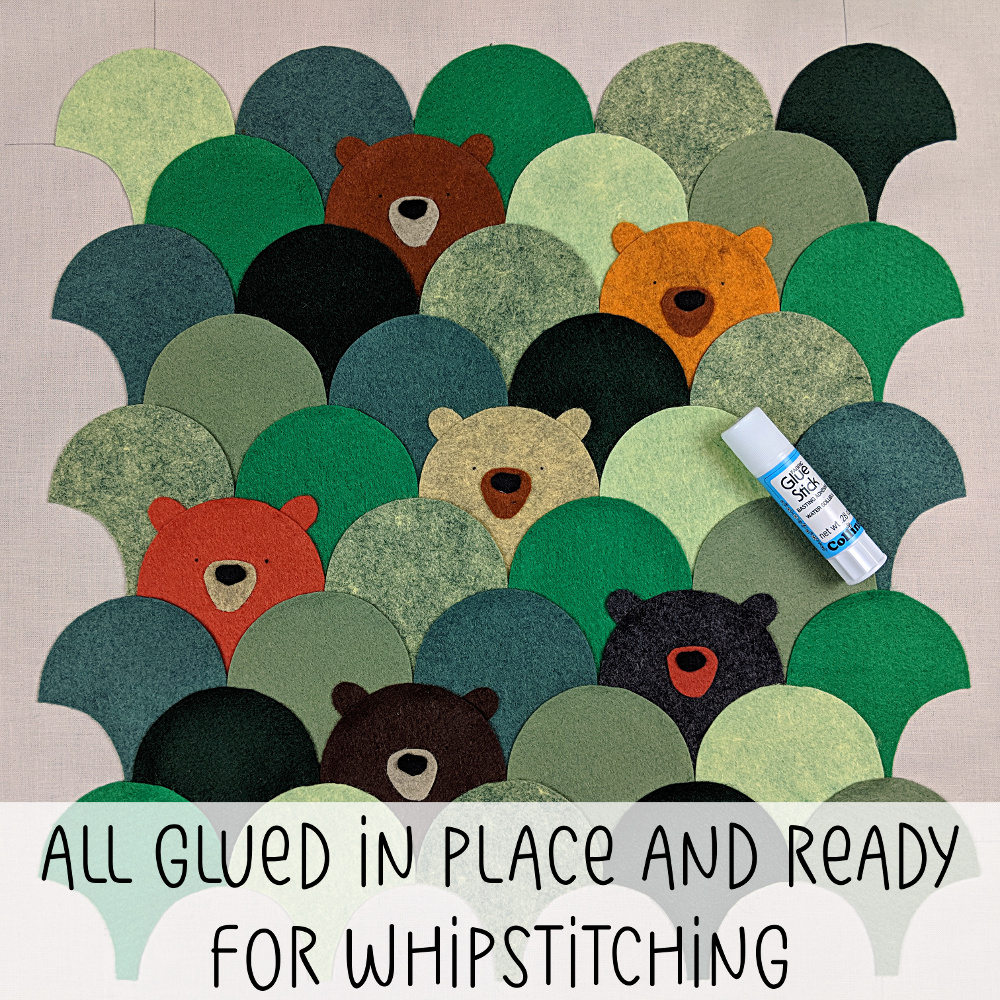
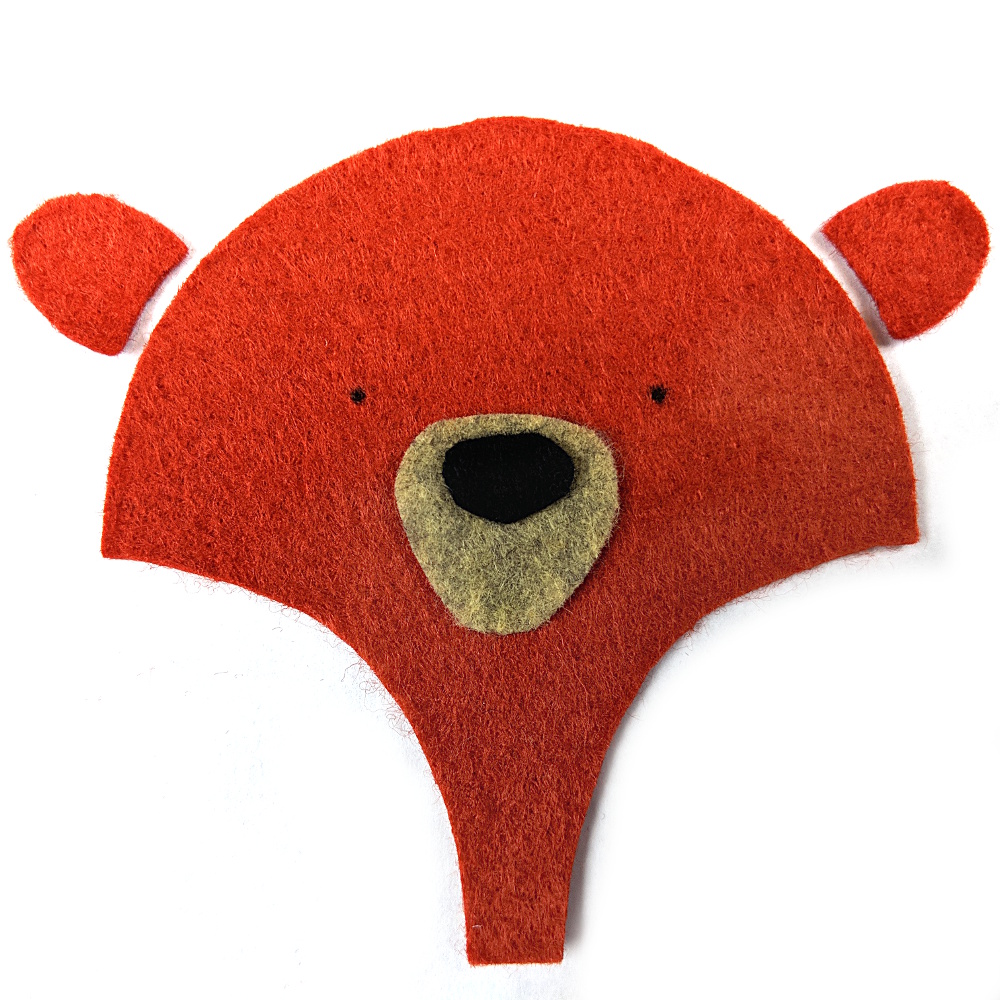
Applique 30 of the squares using any method you like. I used my favorite fusible adhesive method. There’s a video tutorial here. I used Heat & Bond Lite printable fusible adhesive sheets and regular cotton here. You could use flannel for the appliques too if you like, but I wanted to play with the contrasting textures. 🙂

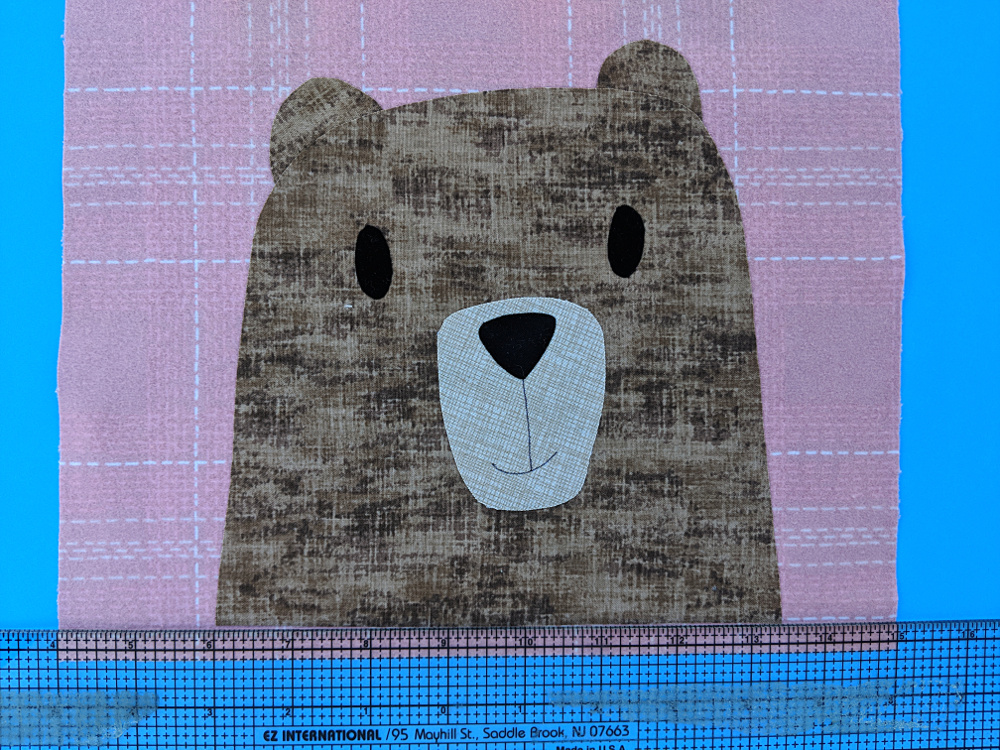
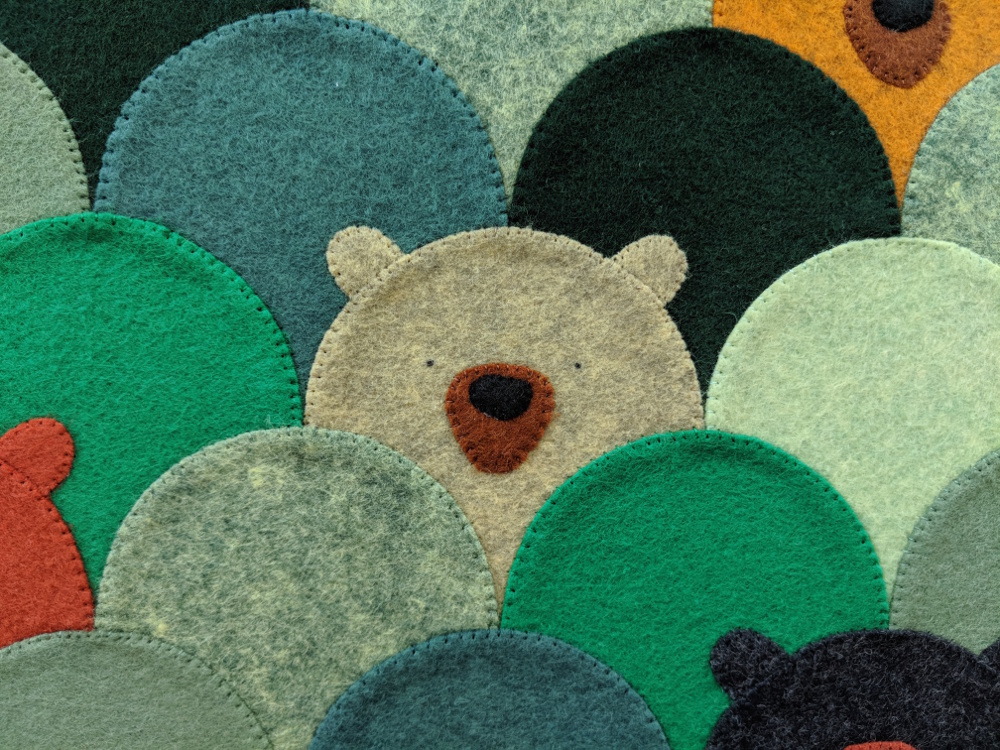
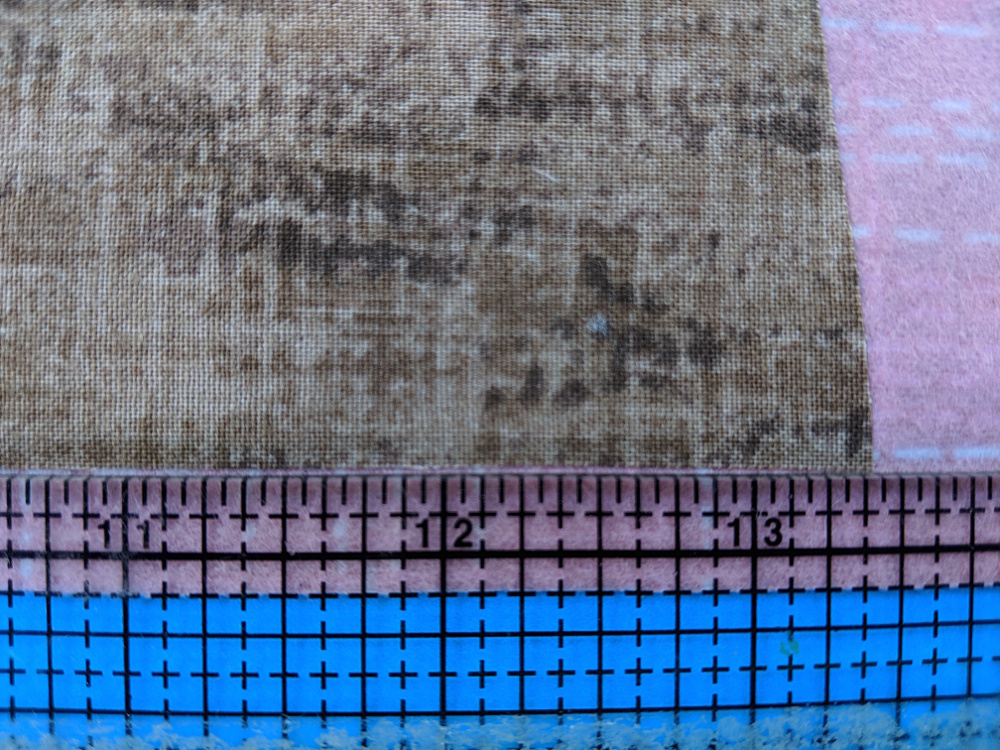
When you position your faces, line up the bottom edge 3/8 inch up from the bottom edge of the block. That way, when you sew the blocks together using 1/2 inch seam allowance, you’ll catch the bottom edge of the applique in the stitching and it will be nice and secure.

Fuse the face into place.

Layer a second square of flannel behind the one with the applique (both facing right side up).

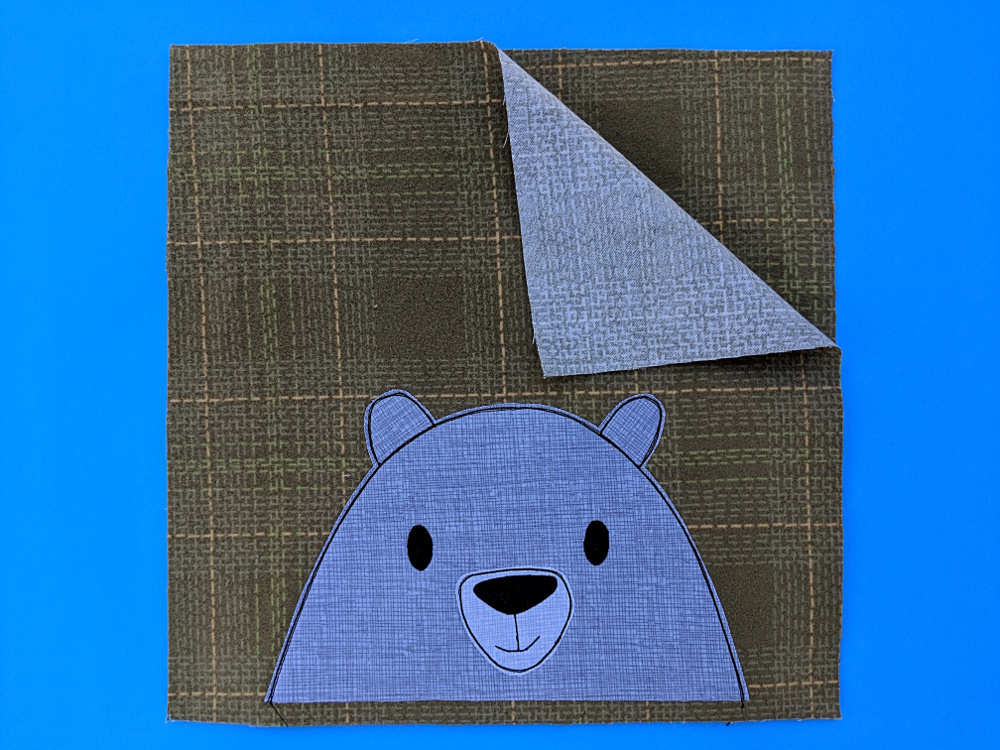
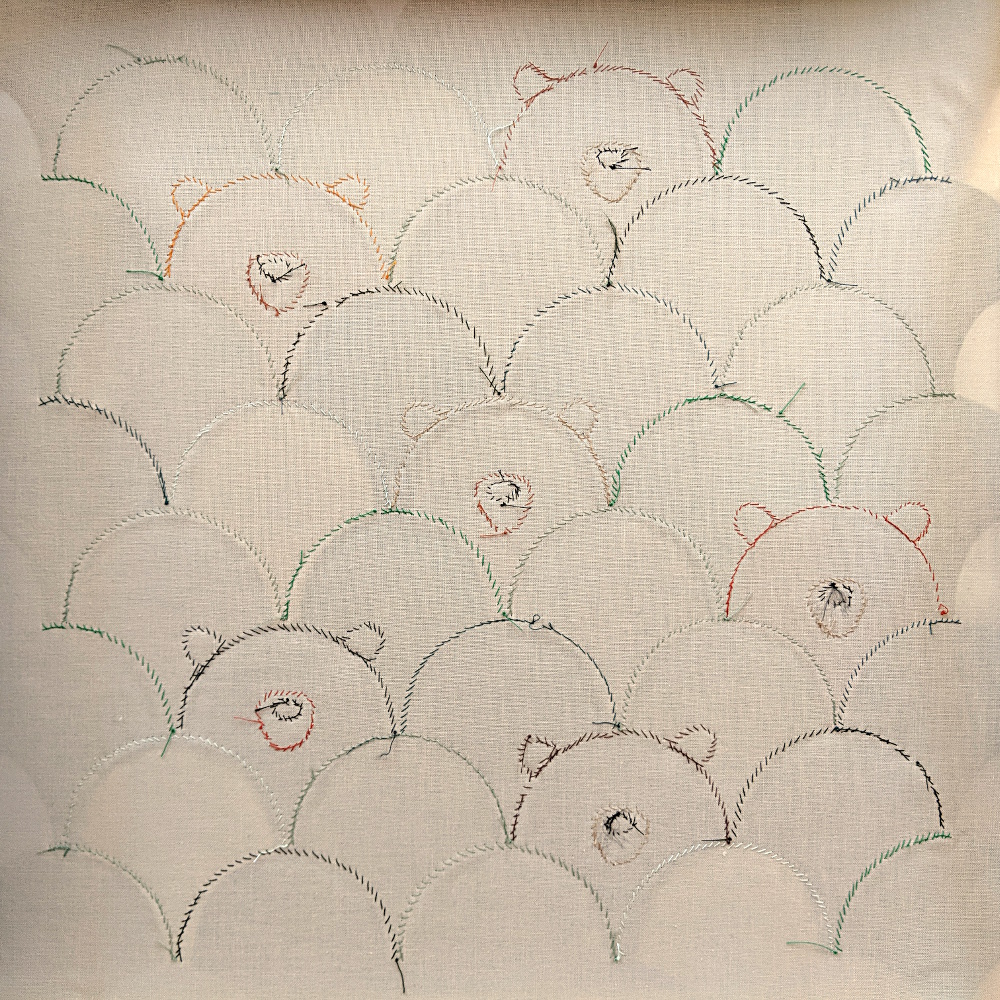
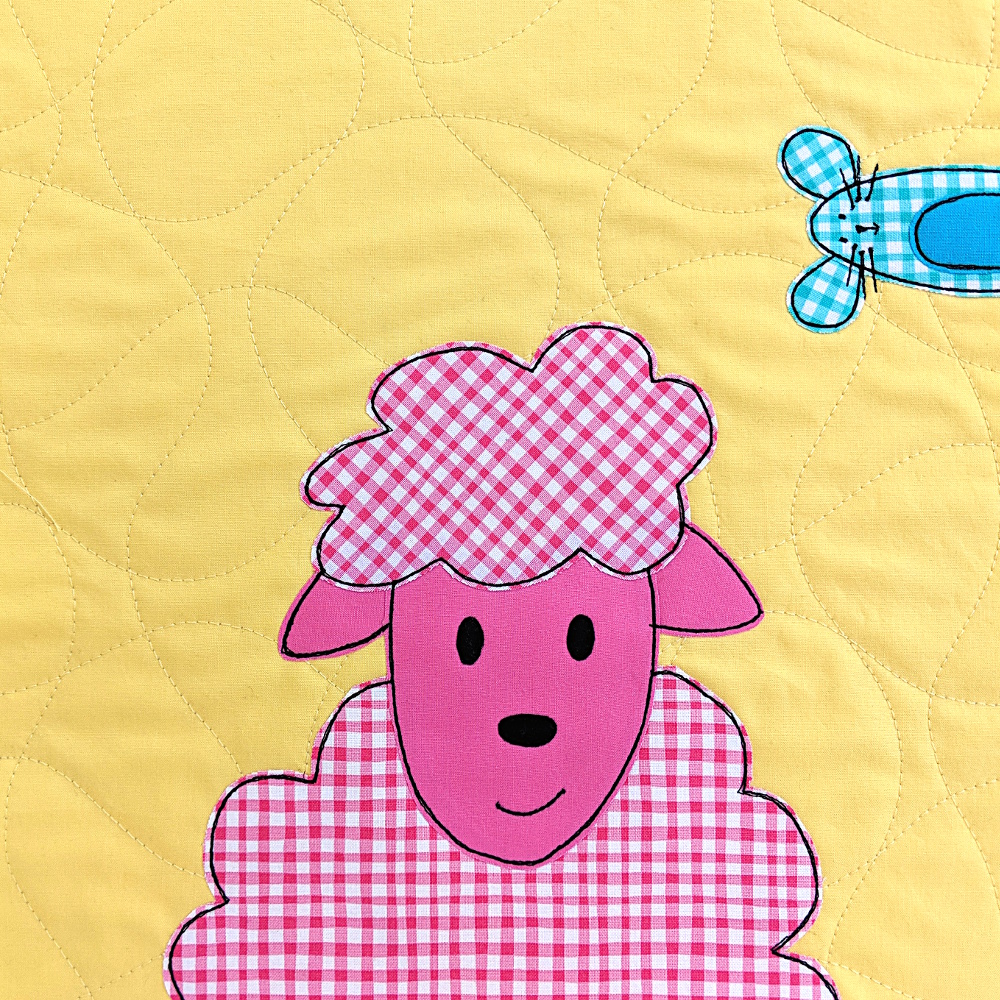
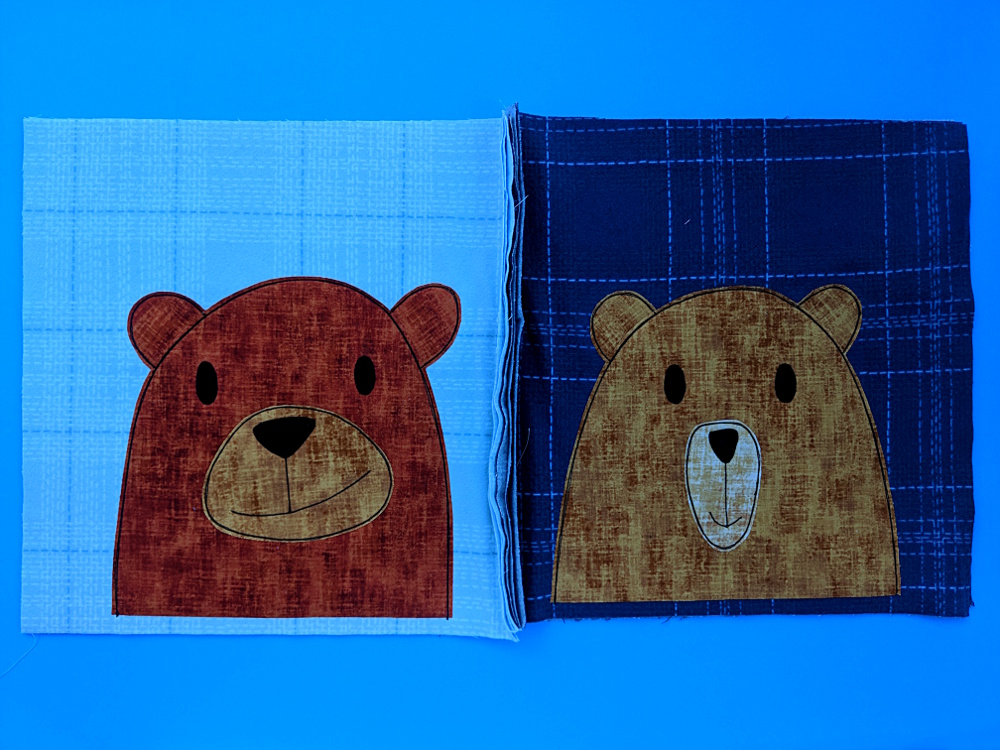
Stitch down all the edges on your applique. Outlining through both layers of flannel adds just a little bit of poof and dimension to your block – not as much as quilting with batting, but similar.

I used the “scribbly” method of going around each bit three times with regular weight black thread and a simple straight stitch. There’s a post here with more detail about that, and one here with more info about using a heavier weight thread if you prefer that.

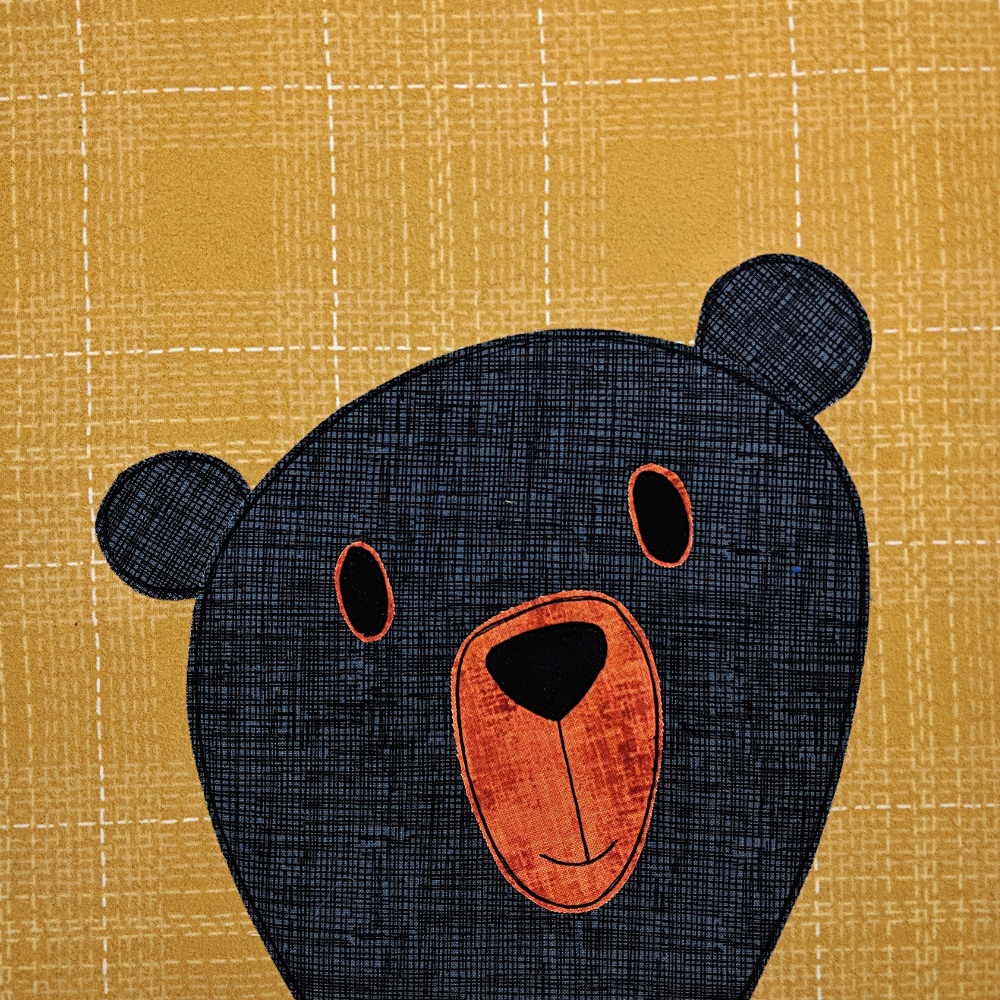
This post has tips for stitching the tight curves around the eyes, and also for stitching the mouths. And this one has tips for making dark eyes show up on dark faces, like this cutie.

After you get all 30 blocks appliqued, it’s time to sew them together. This was actually the hardest part, because it’s backwards from any other kind of sewing you’ll do normally.

Add a third layer of flannel to each block, this time with the right side facing the back of the quilt. (It’s going to become your quilt back.)

Using 1/2″ seam allowance, sew two blocks wrong sides together so that the seam allowance is on the right side of the quilt.

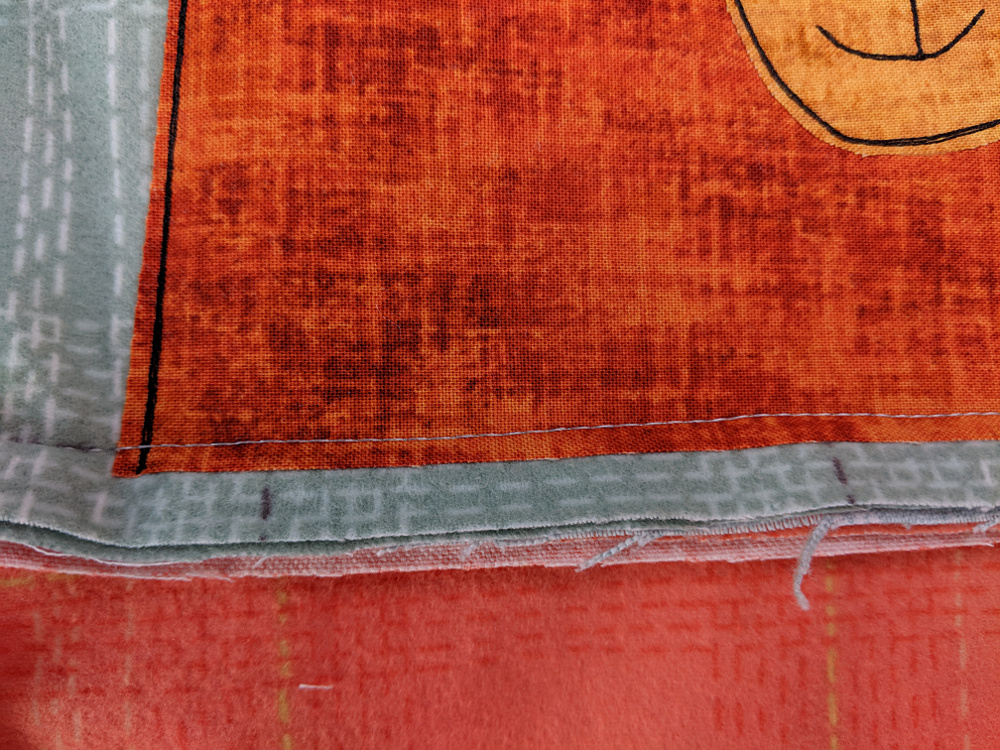
Here’s what it looks like from the back.

See? That last layer of flannel makes a nice quilt back, and you have a nice clean seam.

I joined all of my blocks into rows of five, then sewed those rows together for the finished quilt.

The intersections can get very bulky, so I snipped into the seam allowance 1/2″ from each edge and sewed my crossing seam through that slit so I wasn’t stitching the seam allowance down.

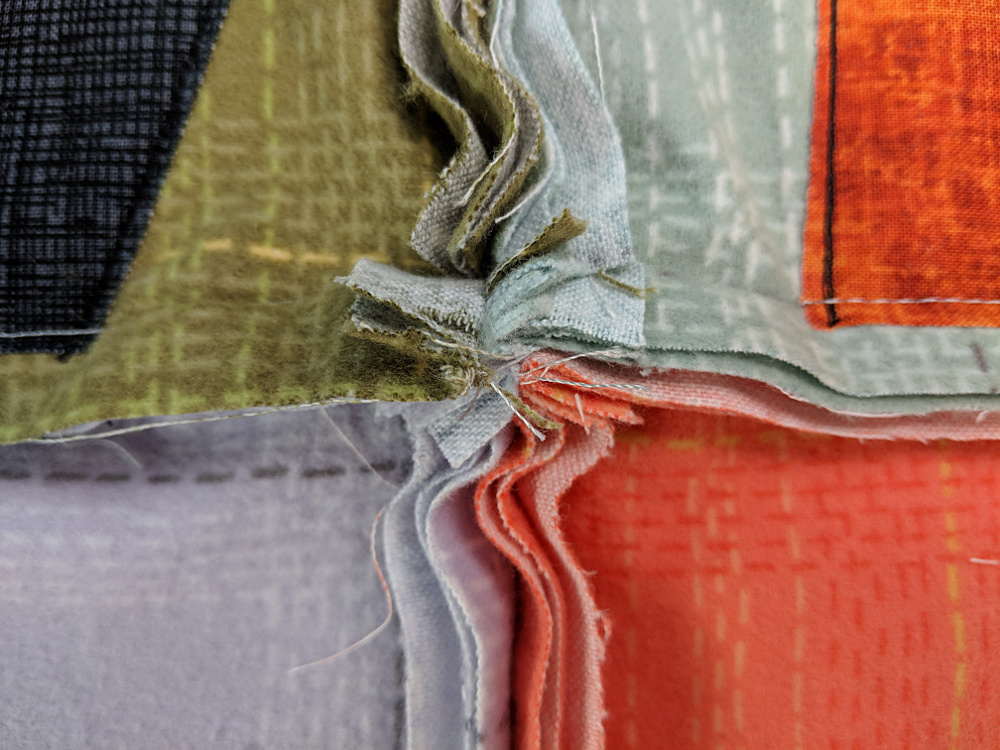
And look – my seam secures the bottom edge of each bear, just like I planned. 🙂

I found it helpful to use my quarter inch foot, but adjust it out to 1/2 inch for sewing all those layers together.

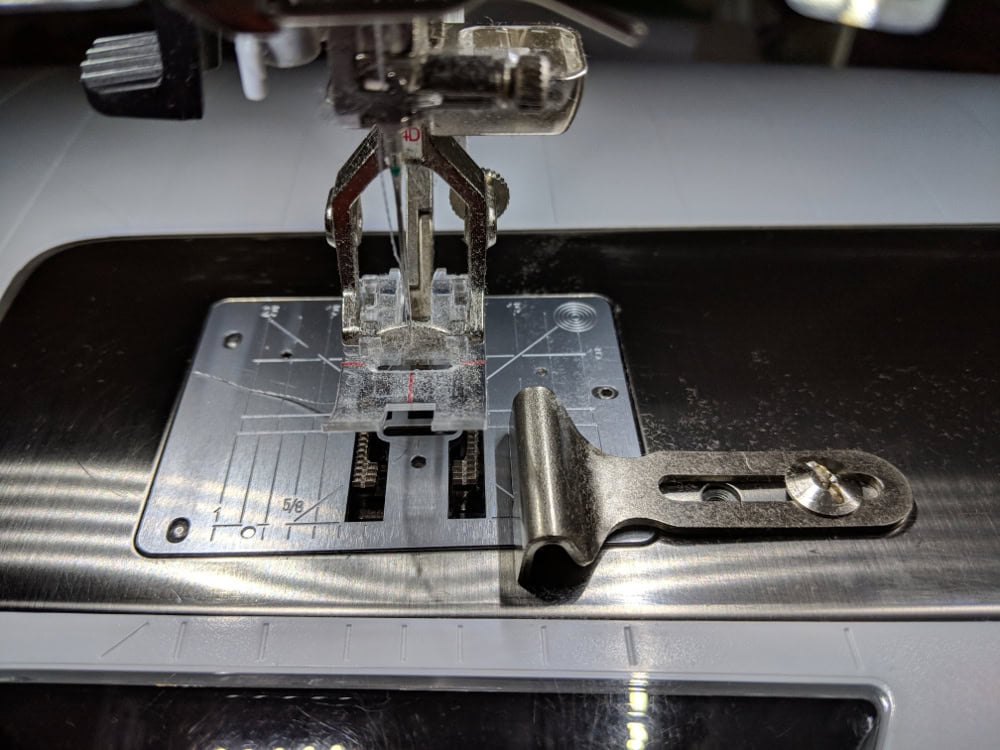
I also lengthened my stitch to 3.0 and reduced the pressure on my presser foot to keep the layers from creeping. If you can’t make that adjustment on your machine, just use a lot of pins or clips, as if you were sewing napped fabrics together.

Once all the blocks are sewn together, sew all the way around the outside edge of the quilt, one half inch in from the raw edge.

Now it’s time to snip all those seams.

Snip 1/2 inch apart all along all the seam allowances, almost up to the stitching line. Be very careful not to cut into your stitching. If you slip and snip it, repair it now by sewing over the snipped seam.

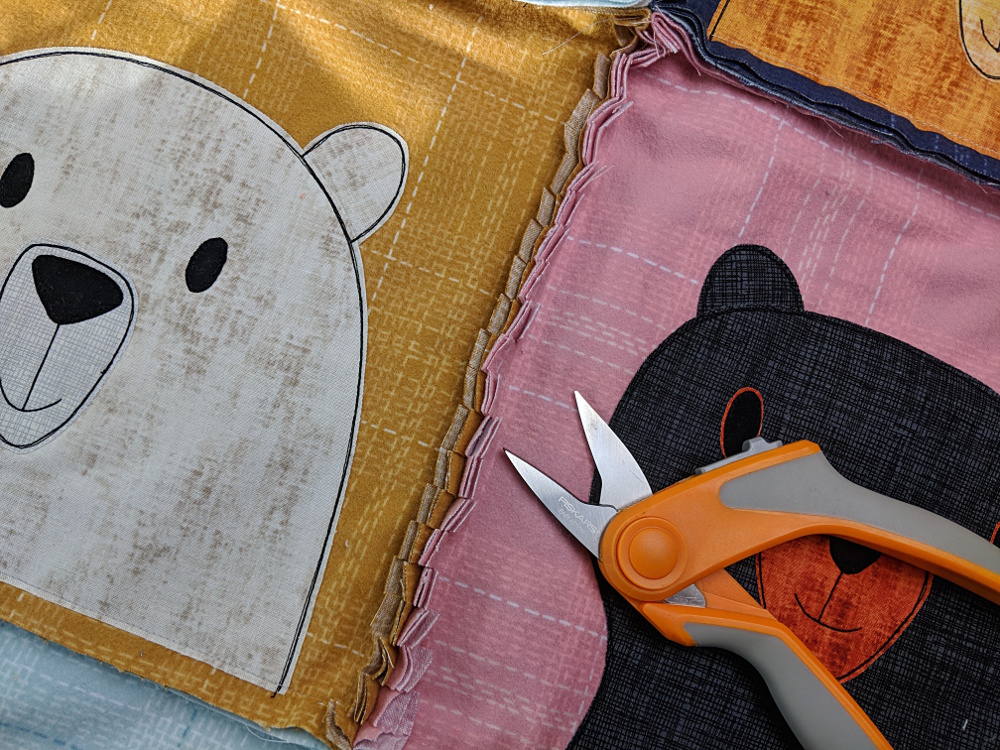
If you’re trying to snip with regular scissors, you’ll need to take a LOT of breaks. They’re really not designed for this kind of work.

If you can afford to buy a special set of snips just for this kind of work, it is absolutely worth it. I tried several brands and the Fiskars Easy Action Tabletop Rag Quilt Snips were by far my favorite. They have a spring action, so their default setting is open, which saves a surprising amount of strain on your wrist. They’re super sharp, and the blades are slightly serrated, so they really grip the fabric well, helping them cut right up to the tips of the blades without “pushing” the fabric out at all.

Even with the fancy snips I took a break between snipping the horizontal and vertical seams. It took about two hours total.

Don’t forget to snip around the outside edges too.

When you’re done snipping, throw it in the wash and tumble dry.

Ta daa!

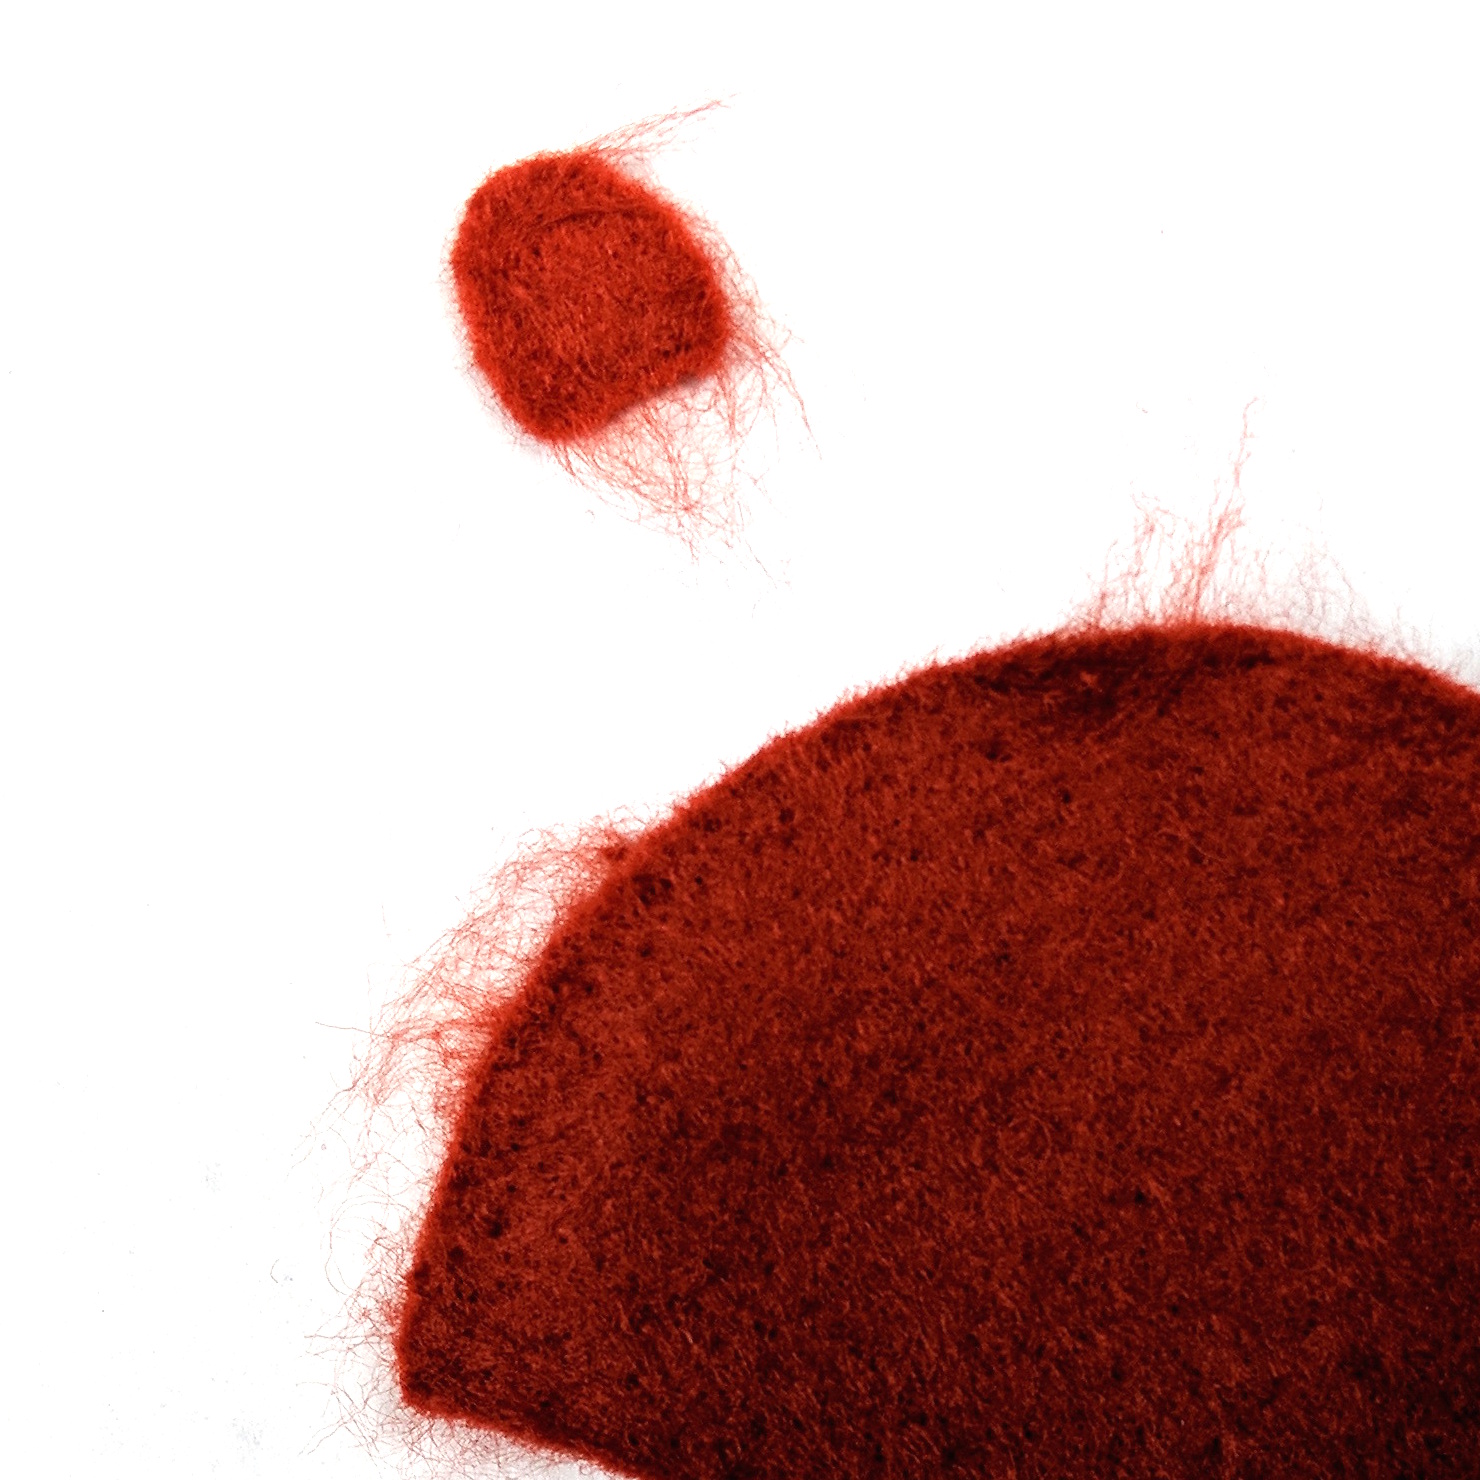
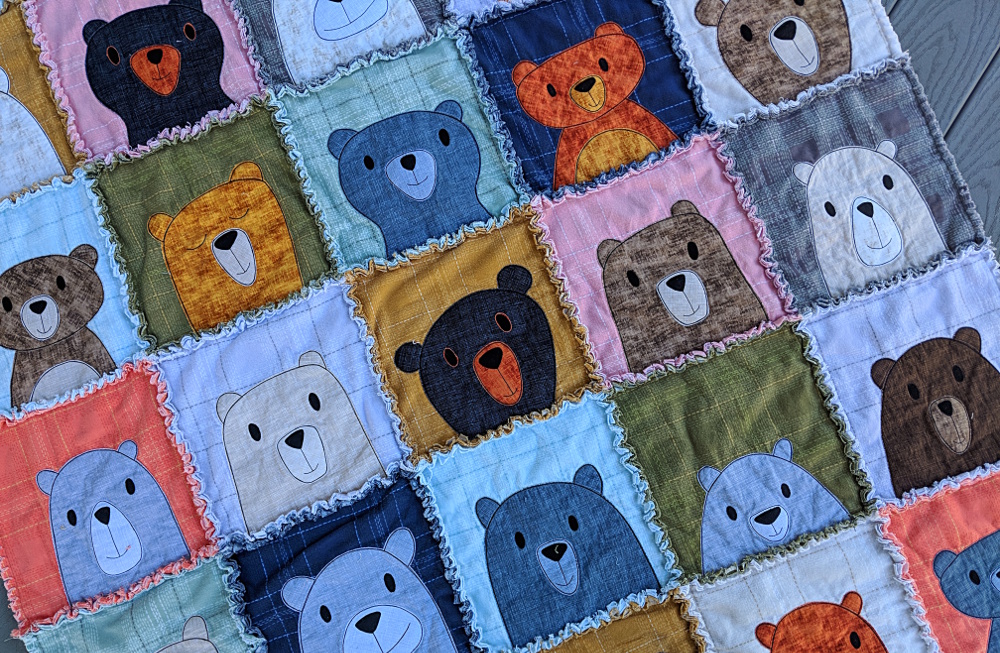
All those snipped edges fray in the wash and you get a really soft, fluffy ridge between each block. This blanket is just begging for someone to snuggle under it.

If you make an applique flannel rag quilt, we’d love to see it! Post a photo in the Shiny Happy People group so we can all oooh and aaah. 🙂

Find links to all the posts about pattern size and layouts here.

Quilt Sizes and Supplies Needed

Play with Your Layouts – Multiple Possibilities for One Quilt Pattern

Sashing

How to Make Applique Bust Out of Its Frame

Alternate or Broken Grid layouts (adding half and double blocks)

How to Make an Applique Rag Quilt

How to Make a Polaroid Quilt

How to Make a Wonky Churn Dash Frame for Any Block

Finished with this topic?

Return to the Let’s Make a Quilt main Table of Contents.

Move on to the lessons about choosing your fabric.

Happy stitching!

Bears in the Hills

The Bears in the Hills are here!

I’ve been working on this for a while now and it’s finally to a place where you all can join in!

Sign up for the workshop here.

It’s the same price as a pattern, but it’s set up as a video workshop on Teachable, where I host all my free introductory workshops.

There’s a video lesson for each embroidery fill design, showing you exactly how I do all the designs without marking anything.

Sign up for the workshop here.

I can’t wait to see all your bears!

Happy stitching!

Best,
Wendi

Bears in the Hills – a Progress Report

I’ve finished all the whipstitching around the edges of the hills and the bears.

Ready for the fancy stitching!

I wanted the whipstitching to be fairly invisible. To make sure I got all the scallops outlined, I flipped it over to check the back.

So here’s what comes next. . .

Next week I’ll be putting together the online class. Here’s what will be available as soon as the class opens. . .

  • the pattern – both a PDF for printing on freezer paper to cut by hand and an SVG file for those who have cutting machines
  • a video showing how to cut, layer and glue the pieces in place
  • a video showing how to whipstitch the edges
  • a bundle of felt sheets in the colors I used
  • a bundle of pre-cut pieces for those who want to jump right to the fun part 🙂

Update – the class is finished now – with all the lessons showing how to do the fancy stitching! Get the class here.

After the class releases, I’ll start adding more videos showing how to embroider the faces and how to add fancy stitching to the hills.

This is going to be so much fun!

Happy stitching!

Best,
Wendi

Monster Pattern Sale – 20% Off

October is Monster Month (of course) so we’re having a Monster Craft-Along and a Monster Pattern Sale!

Stacey and I both LOVE monsters, so you’ve got a lot of patterns to choose from. 🙂 Those images up there are just a tiny sample.

Shop all the patterns here.

Use the discount code SILLY for 20% off.

Sale ends Monday 10/7 at midnight eastern time.

Stacey and I both have really terrific monster classes on Craftsy. The Shiny Happy World sale code doesn’t work on them, but Craftsy has sales all the time and if you use these links you’ll get the current sale price.

Amigurumi: Design Your Own Monster Craftsy Class

Stacey’s Design Your Own Monster class is fantastic – my favorite of all her classes. Get that class here.

Cute Quilt-As-You-Go Applique Monsters - a new Craftsy class with Wendi Gratz of Shiny Happy World

My Cute Quilt-As-You-Go Applique Monsters class includes my Mix & Match Monsters pattern. It’s so much fun to make! Get that class here.

Happy stitching!

Best,
Wendi

Peekaboo Mouse Pattern

A lot of people have pulled the little mouse from the Noisy Farm quilt pattern to use in other quilts – but not everyone wants to buy a pattern with twelve different farm animals just for the little mouse!

I’ve been getting a lot of requests lately for the mouse as his own little pattern.

He’s finally here!

You can use it on its own – that mouse would be adorable peeking out of a pocket. Or you can use it combined with other quilt patterns, as shown in the image above.

Important note – the pattern only includes the mouse – not the cat. The cat is just there to show the two ways you can use the mouse pattern in your quilt blocks.

I didn’t just write up the pattern – I also recorded some new video tutorials especially for this little guy!

This is the first pattern I’ve ever done where I also include a link to download an SVG file of the pattern pieces – for those who have cutting machines like Cricut and Silhouette.

This video shows what to do with that file (for a Cricut Maker) once you’ve downloaded it. Heads up – it’s a long one.

If you don’t use a cutting machine, that’s fine. The pattern includes the regular pattern pieces for printing or tracing and cutting by hand.

Once you’ve got all your pieces cut, here’s how to assemble the little guy. I show how to put him on the edge of the block, and also how to make him peek out from behind another applique critter.

Finally – there’s the outlining. I know a lot of people will see that face and think NO WAY. I don’t like hand-stitching and that’s too small to do on the machine.

Not so!

Of course you can stitch the face by hand, but you can do every bit of it on the machine – no fancy embroidery features needed. Here’s how I do it on mine, just using regular straight stitch.

That’s it!

Get the pattern here and start adding adorable little mice to all your projects. 🙂

Happy stitching!

Bears in the Hills – WIP

I don’t usually do all caps but. . .

I AM SO EXCITED WITH HOW THIS IS TURNING OUT!

Seriously! I can’t wait to get these guys in a frame to start stitching. You’re going to have to pry me out of my couch for the next few weeks. 🙂

And that’s not all!

I want you guys to stitch with me!

I decided the best way to make this a pattern is to actually make it a video workshop. I’ve shot video already showing how to position all the pieces and my little tricks for securing them in place while I stitch.

This was my studio today, with those fancy new lights in action.

Look at that awesome even lighting! 🙂

The next step is going to be whipstitching the edges down with matching thread (not embroidery thread – I want these stitches to disappear) and then I’ll jump into fancy stitching!

My plan is to get all the kind-of-boring-to-most-people-but-I-really-love-it whipstitching done, and then start recording videos showing how I freehand stitch the hills. Maybe one new video a week?

Update – the pattern is now available here.

Happy stitching!

Play with some felt! Try the Oddballs – a fun pattern for silly monsters.

New Colors for the Noisy Farm

I get a lot of emails from people asking for advice choosing quilt colors. I always point them to the Shiny Happy People group where they can see many, many different quilts made with my patterns – usually using different colors than what I used in my samples. Really – seeing a finished quilt is the very best way to imagine it in different colors!

So I’ll be making more of an effort to show my quilt patterns in new color combinations – just to show as many options as possible. 🙂

I recently remade the Noisy Farm quilt, using it as an example to how you can add sashing to any of my quilt patterns. While I was at it – I changed the colors too!

Here’s the original quilt in a crib size.

Noisy Farm made in the original quilt colors

And here’s the new version.

Noisy Farm pattern with added sashing and new quilt colors

In addition to adding the sashing – I used radically different colors!

I made the original sample before I had fabric bundles in my shop, so it’s not easy to say exactly what fabric packs they’d use now, but the Warm Neutrals would be the best choice for those natural-colored animals. The backgrounds are mostly greens and blues, so the closest match would be the Green Batiks and Blue Batiks.

The new version uses the Rainbow Sherbet bundle for the background blocks – pretty pale pastel solids. They really do look like soft sherbet colors. 🙂 

For the animals I went totally UNnatural with all kinds of fun colors and a wobbly, hand-painted gingham print. Here’s a close-up view of a silly pink sheep with a little turquoise mouse popping into the frame.

I love it!

That fabulous gingham print is called Gingham Play from Michael Miller fabrics. I sell bundles of my favorite Gingham Play colors here.

For the sashing I used Hash Dot in linen, also Michael Miller Fabrics. I liked how it has a slightly barn-ish feel while still balancing nicely with the soft pastel background fabrics. Sorry – I don’t sell that one in my shop, but you can search for Linen Hash Dot and lots of online sellers will pop up.

So there you go! New colors and a new layout for a totally new look for a favorite quilt pattern.

Want to know how to add that sashing? Here are the posts you’ll need for that.

Happy stitching!

Best,
Wendi

Free Beaver Pencil Case Pattern

I’m participating in the Back to School Sewing Series with Sulky. You can make this fun pencil case!

That beaver can’t wait to chomp on all those colored pencils. 🙂

See a little sneak peek of that beaver design here – including a look at all the beaver designs I didn’t use. 🙂

Materials

You can find links to sources for my favorite tools and supplies here.

  • one fat quarter of the main fabric
  • scraps of lining fabric
  • Sulky Sticky Fabri-solvy
  • Sulky Petites 12 wt. embroidery thread
  • #8 embroidery needle
  • tiny scrap of black felt
  • 9 inch zipper

Step 1

Download the embroidery pattern here.

Step 2

Print or trace the pattern out onto a sheet of Sulky Sticky Fabri-solvy at 100% size. The rectangle should be 4 x 9 inches.

Step 3

Peel off the paper backing and stick the pattern onto the fabric. Make sure you position it so that the whole image will fit in the hoop, with fabric all the way around.

Step 4

Choose your threads!

So many pretty colors. 🙂

Step 5

Embroider the design using two strands of Sulky 12 wt. thread. Stitch right through the stabilizer and the fabric.

I used backstitch for all the lines. Learn how to backstitch here.

I used satin stitch for the pencil leads. This video shows how I satin stitch pointy shapes.

Look closer!

I decided partway through stitching that I wanted a little more color on the barrels of the pencils – so I added some stripes running down them.

Your pattern has the added stripes. 🙂

That nose!

I wanted the nose to be solid, but instead of satin stitching I decided to applique it with a tiny scrap of black felt for a velvety soft texture.

At this point I just left it unstitched.

Step 6

Trim the fabric down to 1/2 inch outside the rectangle.

Make sure you do that now – once you soak away the stabilizer that handy line will disappear. 🙂

Step 7

Soak the piece in cold water for an hour or longer. I often leave mine to soak overnight with no problem. Rinse it in clean water, gently squeeze out the extra water, and iron it dry face down on a fluffy towel. This video shows how I iron my embroidery dry without smooshing the stitches.

Step 8

Whipstitch the nose in place using matching thread.

For a small piece like this I like to use a glue stick to hold the piece in place while I stitch it down.

Step 9

Stitching done!

The front piece for your pencil case is all fancied up. Now it’s time to sew it up into a pouch.

Cut a back piece from the main fabric 10 x 5 inches.

Cut two lining pieces, also 10 x 5 inches.

Step 10

Follow the instructions in this post to sew up your fancy lined zipper pouch. 🙂

Finished!

Now – go check out the rest of the series! It’s a fun group of free projects!

Happy stitching!

Cutting Felt with My Cricut Maker

Well – I finally opened the box of my new Cricut Maker.

So exciting!

But I’ll be honest – we got off to a bit of a rocky start.

The Design Space app didn’t install automatically and the link to click to continue the installation was a dead end to a nonexistent page. Not a huge deal – I know how to find my files and install them myself, but it’s the kind of thing that really frustrates a person who’s not super comfortable with technology so I thought it was worth mentioning.

They include some materials for your first project (a card) which is great. It let me walk through all the steps of making (not designing) and actual thing.

Designing was TRICKY. That’s going to take some practice – but I managed to get my first project (those bears in the hills) all set up and ready to go.

Time to cut some felt!

Uh oh. That does NOT look good.

I cut it on the felt setting and this was actually the second try with increased pressure. The first try just roughed up the surface of the felt without actually cutting anything.

I decided to lie to the machine and tell it I was cutting heavy fabric like denim. That prompted me to change it to the teeny tiny rotary blade instead of the knife blade.

Much better!

Look how clean the cuts are! And see the eye markings? The machine did that too with the pen attachment. So handy!

After I got the settings figured out I was on a roll. 🙂

I cut all the pieces for my new Bears in the Hills in about an hour – while I was cleaning my studio. 🙂

Next week I’ll have a video showing you how to layer all these guys up and prep for stitching.

I can’t wait to try the Cricut on regular fabric for applique quilt blocks – that’ll be my next project with the machine.

Happy stitching!

Best,
Wendi