It’s always so mysterious how a pretty little skein will work up, isn’t it? Especially with variegated yarn!
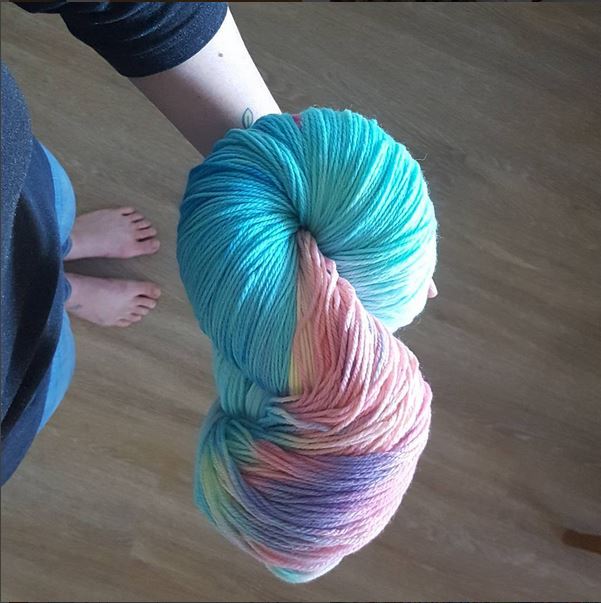
I dyed up a little (well, BIG) skein and made swatches in knitting, crocheting and weaving! And they’re SO different!
Here’s the skein I dyed (if you want to try it, check my tutorial on how to dye yarn with Wilton Icing Dye):
Knitted Swatch
Here’s my knitted swatch!
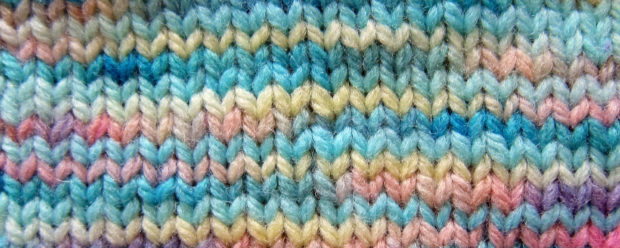
The factor that’s relevant in how variegated yarn will work up is how long each color repeat is and how much yarn each stitch uses. Although skeins vary, most are about 3-4 feet in circumference, and a variegated yarn will break this length up into a few colors. So, most color repeats are a few to several inches.
Here’s how to calculate how much yarn each stitch uses.
You can see here that each color lasts several stitches before switching to a new color.
Crocheting
Crochet stitches, in general, use more yarn than knitting stitches, so a color repeat will last over a fewer number of stitches.
Here’s my crochet swatch
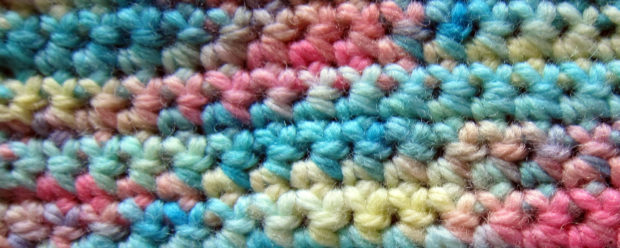
This swatch is done in single crochet, and most of the colors last for a few stitches before changing (as compared to several with knitting). This results in a ‘splotchier’ looking fabric.
You might be interested in reading about the latest craze of Planned Pooling.
Weaving
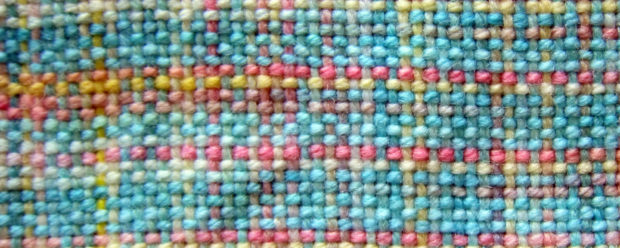
Totally different from knitting and crochet, because there isn’t a ‘stitch’, the color repeat goes for as long as it actually goes on the yarn. In most cases, a color lasted for an entire row on my scarf.
Also, weaving uses two directions of yarn, the warp and the weft.This results in a really lovely plaid-like fabric. Here’s my swatch:
All together now!
They’re all so different, right?
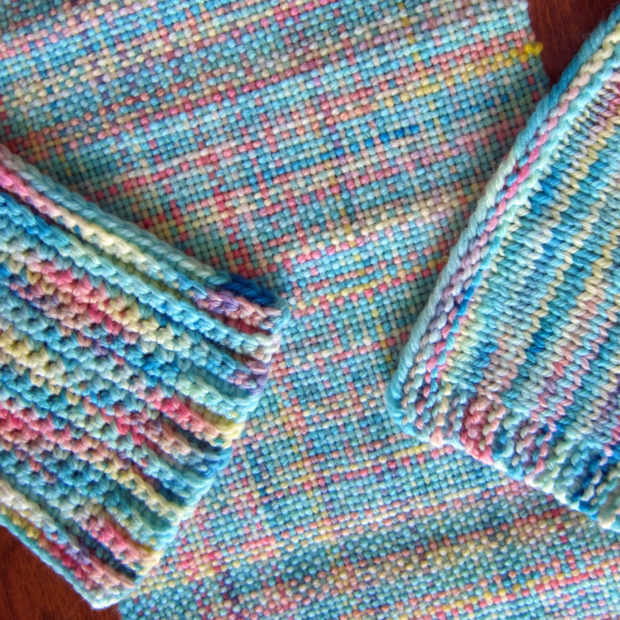
It just goes to show that when you find that dream variegated skein, you still have choices to make! You’ll want to select a project (and craft) that will result in the colors working up the way you want!
Best,
Stacey









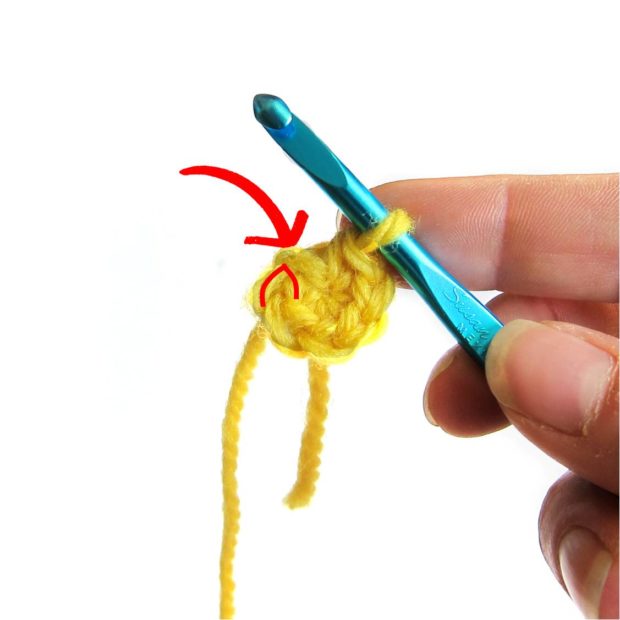
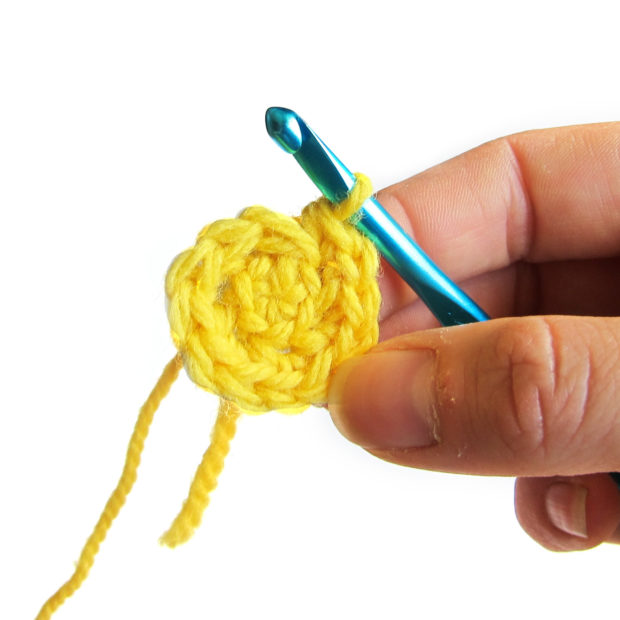
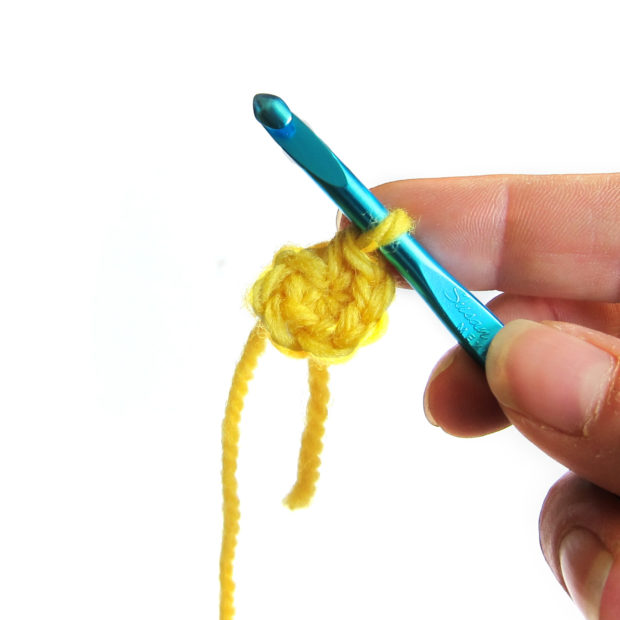 Don’t turn your work! You’re going to crochet the second round going around just the way you’ve been going. The hardest part about crocheting the second round is finding the next stitch you should use. I’ve highlighted the next stitch in red:
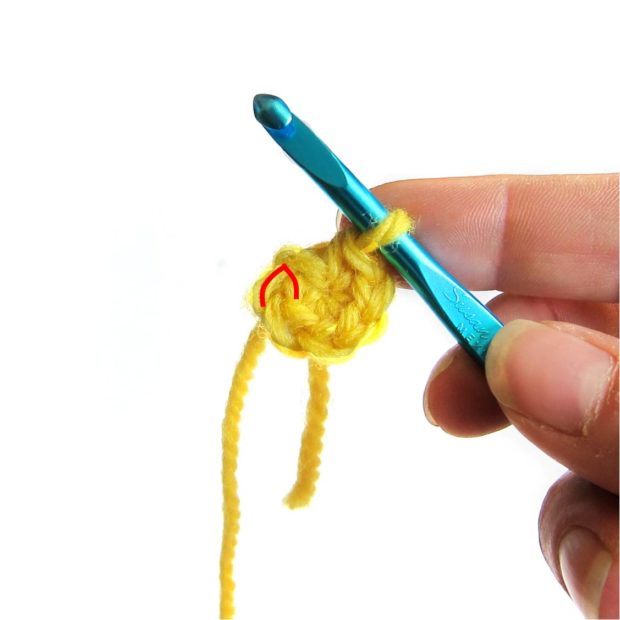
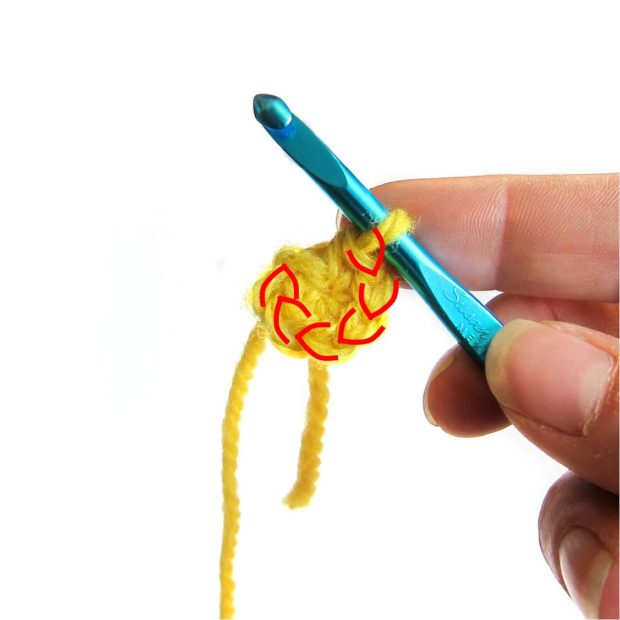 So, now I know what my next stitch is! What is that little weird extra bit that might trick you into being a stitch? The arrow is pointing to that weird piece in this picture: