This post contains affiliate links. That means I make a little commission if you buy something after clicking through. All affiliate links are marked with an *.
I learned how to crochet when I was a kid – but I only learned the most basic stitches and for 40+ years I only ever made flat, rectangular things – afghans and scarves. Last summer I decided to explore some online crochet classes to learn how to make not-flat things. It was so much fun!
Here’s why online craft classes are always my first choice for learning a new skill. In a nutshell – I can watch any time I want, as many times as I need to, and I always have a front row seat and close-up view. 🙂
I started off with a hat-making class. I love handmade hats, but I’ve stopped buying them because they’re always too small for my head. I decided I would finally learn to make my own – to crochet round things!

I chose the class Crocheting in the Round: Mix & Match Hats* because it’s on the Craftsy* platform – which I love – and is taught by Stacey Trock. I’ve watched some of her videos on FreshStitches and I knew she was a good teacher. 🙂
This was a terrific class! Not only did Stacey teach me to make several different hats – she also teaches the why behind everything she does, so when she gets to the section about designing your own hat patterns, it totally makes sense! Now I can make any hat, any style I want – and it will always fit. And it’s actually super easy!
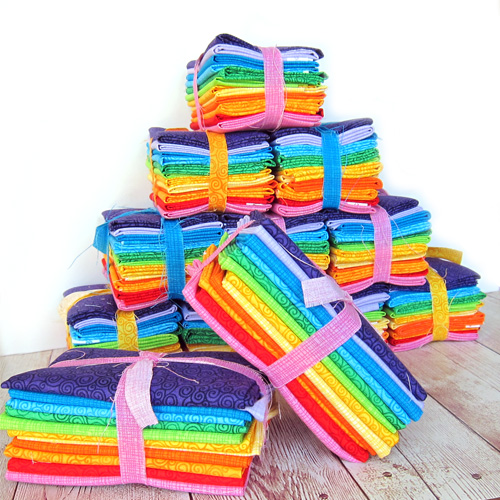
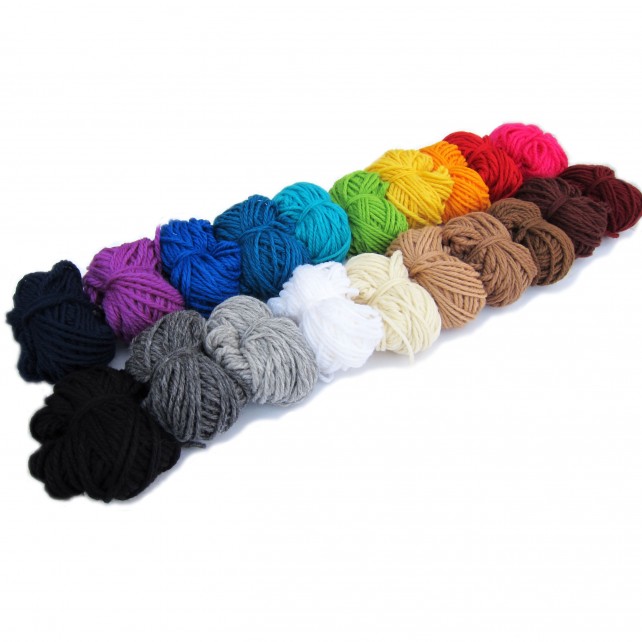
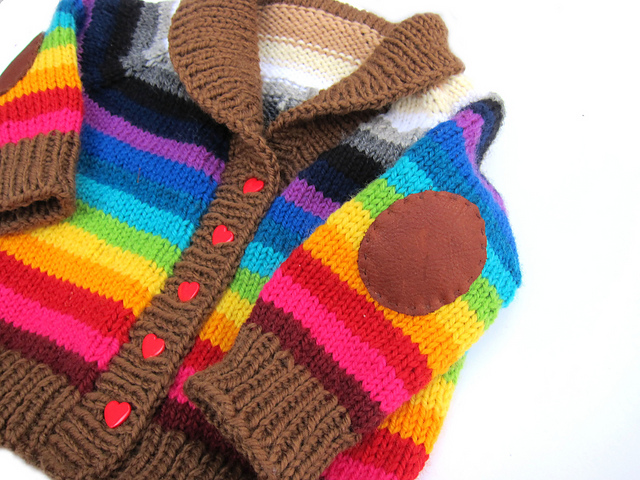
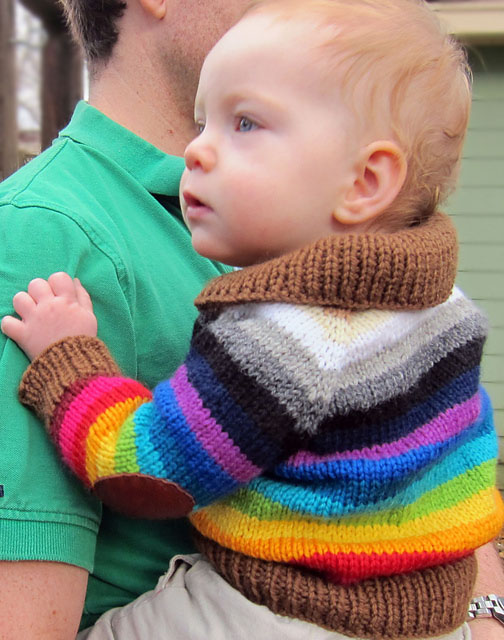
Jo (age 12 at the time) took the class with me and she loved it too. As you can see from these photos, she really got into the unit on colorwork. 🙂

Jo is still making tons of hats. I think she’s made at least one for every kid at her school. She even figured out how to make the top pointy instead of flat and made a bunch of elf hats too. So cute! But she’s not just making hats. . .
From hats she moved on to this class – Design Your Own Monster*!

Monsters are great for this kind of class because you can never do anything really wrong. So maybe the body is a little weird and the arms are super long and the eyes bug out way more than you expected. It’s a monster! Nobody can say, “Monsters don’t really look like that!” 🙂
Stacey teaches basic formulas for different shapes – cones, spheres, etc. and how to attach arms and legs and how to add faces and excellent stuffing tips. I can’t show any finished cuties because Jo keeps giving them away before I can photograph them. Also – all of a sudden she can read crochet patterns and design her own! Her current obsession is making amigurumi turtles with spiral striped shells. 🙂
Jo and I aren’t done with online crochet classes – here are a few more on our wish lists.
Jo is definitely ready to learn some new stitches. She’s already figured out some weird crochet cable stitch and how to bobble stitch with YouTube videos, but now she says she wants a class that will take her through a bunch of new stitches in a systematic way. I’m getting her this Textured Crochet Stitches class* for this summer.

She also really likes to make Useful Things That Everyone At School Will Wear so I think she’ll really like this class on making mittens and fingerless gloves*.

And for me? I think a fancy little edge on the bottom of one of my hats will be just the thing, so I’ve got this Fantastic Finishes class* on my list.

The number and variety of classes is truly astounding! I’ll be reviewing some of my favorite cooking and embroidery classes next week. 🙂
Happy stitching!
Best,
Wendi