![]()
Want to learn the basics of hand embroidery with an easy online workshop – totally free?
Sign up for Embroidery 101 here. You’ll learn how to get started, the tools and supplies you’ll need, the four most basic stitches, how to transfer your pattern and how to display your work.
If you already know the basics – sign up for Embroidery 201. It’s also free! You’ll learn how to stitch on specialty fabrics like felt and stretchy T-shirts. Plus you’ll learn lots and lots and LOTS more stitches – all my favorites!
![]() You know how I talk ALL THE TIME about how much I love handwork because it’s so portable?
You know how I talk ALL THE TIME about how much I love handwork because it’s so portable?
Would you like to see just what I keep in my handwork bag? I’ll show you what tools are inside and how I keep everything organized so I can pull out my work whenever – and wherever – I have a few minutes to stitch.
All right then!
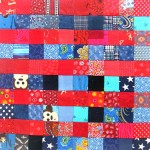
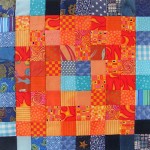
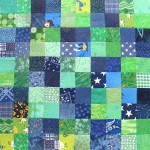
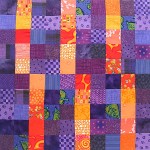
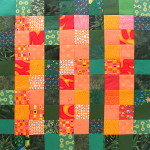
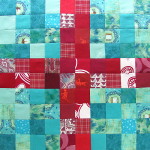
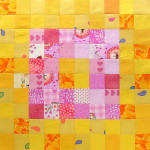
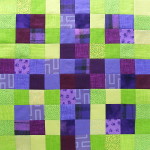
I’m currently working on two projects – hand quilting the Controlled Chaos quilt (not portable – I do this on the sofa)

. . . and this little bit of thread therapy.

My Handwork Bag
First let’s talk about the bag.

I made it using the largest size option of the Stitch & Stash Project Bag (pattern from Betz White) with an added kitty applique from my Cats Quilt Pattern. You can read more about the bag and how I made it here.
The quilt won’t fit in it 🙂 but the 7 inch hoop does. I work on both projects on the sofa – but I also carry the hoop with me for random moments of handwork.
Here’s what’s in the bag with that hoop. . .

I’m using the Tutti Frutti embroidery thread bundle, so I pulled all of those colors off of my main embroidery ring and keep them together using a simple binder ring – available at any office supply store. (Here’s more info about how I organize my embroidery thread.) The last item in the bag is an Altoids-sized tool tin.
My Handwork Tool Tin
I love having a metal tin so I can store sharp objects inside without fear of them poking me or poking through my bag. Here’s what’s inside the tin. . .

- A seam ripper because I’m human
- A thimble just in case
- My teeny tiny scissors
- Sewing Clips are wonderful and you never know when you’ll need an extra set of hands
- The two spools of Sulky Petites thread are the quilting colors for the current block of Controlled Chaos that I’m quilting
- a felt circle holding a few extra needles in different sizes
- a felt circle holding a few pins – just in case
- Thread Magic – because it is awesome
My bag is always packed and sitting at my sofa spot, ready to grab and take along in case I’m going anywhere I might have a few extra minutes for some handwork.
Happy stitching!
Best,
Wendi