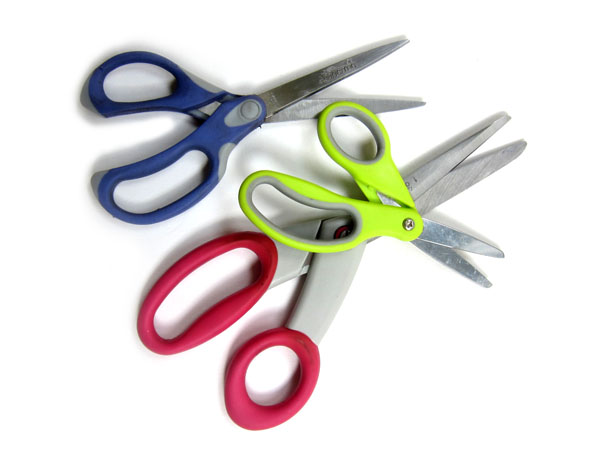
I have three pairs of scissors: a pair for cutting fabric, a pair for cutting tape and an all-purpose pair (that happen to be child-safe so I can use them for travel).
Having different pairs for different craft purposes allows you to keep them in tip-top-shape, and makes your crafting easier! Here are some tips I have for keeping your scissors healthy.
Mark your Scissors
Do you have a family member who might be tempted to use your fabric-only scissors for cutting construction paper? Add a label to them! And consider keeping your special scissors away with your fabric stash.
Clean Scissors with Rubbing Alcohol
I have a pair of scissors just for cutting packing tape. Because tape leaves a residue that makes scissors icky!
When mine get too icky, I use rubbing alcohol and a cotton ball to clean the blades. The sticky comes right off!
Get them Sharpened
Many craft stores have an occasional sharpening service. Just like nice knives, it pays to get your scissors sharpened!
Any tips to share?
How many scissors do you have? And what types are they?
Did you know you can piece together batting scraps?
Sometimes when I’m cleaning out my sewing room, I ask myself why I’m keeping all these long skinny strips of batting around. They’re mostly strips cut off the edge of a quilt after quilting and can be anywhere from 5-10 inches wide.
This week I was sooooo happy to have them!
I ran out of batting with just a few blocks to go on the Wild Flowers quilt. I’m doing Quilt As You Go, so small pieces work, but they needed to be at least 10 1/2 inches and I had already used all the bits that size.
I’m trying to finish the quilt by this weekend, so it was time to grab some of those scraps and piece the batting together.
Did you know you could do that?
Yep! And it’s pretty darn easy.
Step 1
Set your machine to the widest, tallest zigzag you can.
Step 2
Butt the edges of two batting scraps and run them down the machine so that the seam runs right down the middle and the zigs and zags catch some of the batting on each side.
My machine often skips stitches when I do this. Don’t worry about it as long as most of them catch.
Step 3
Use the new, bigger piece of batting.
Butting the edges keeps you from getting a fat ridge of overlapped batting in there, and the zigzag stitch is plenty to hold the pieces together during construction. And look how nicely it all holds together once I add some quilting! Click on the image if you want to see it bigger so you can really see where that seam is.
So that’s it! I used up some of those bulky batting scraps and I’m ready to finish the last blocks for my quilt. No shopping needed!
Want to know what my favorite quilt batting is and why? I lay out all the details in this post – My Favorite Quilt Batting.
These links go to all my posts about quilt supplies.
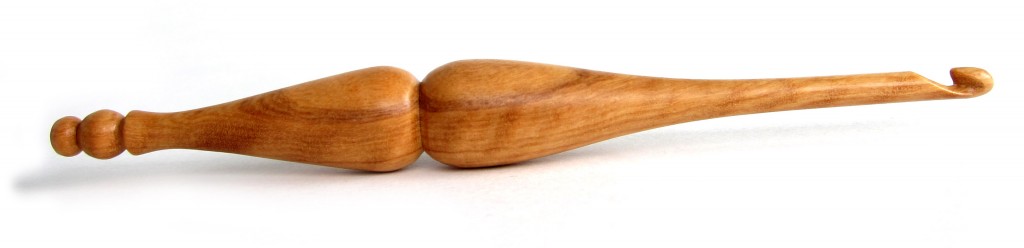
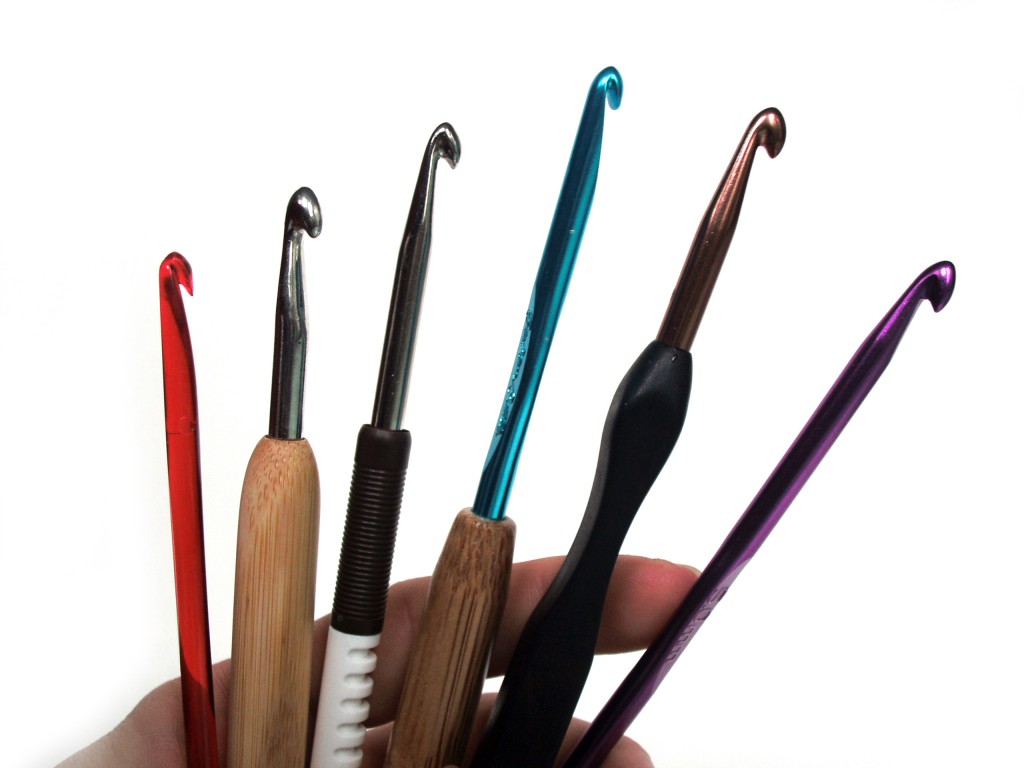
Right now, you have 2 choices when it comes to crochet hooks. You can go to a store and purchase a hook that’s been made in the millions by a manufacturer or you can purchase a hand-carved, custom crochet hook.
In the future, I think there will be a third option. Hang on to your crochet hooks.
What’s wrong with the current options?
When a manufacturer makes a crochet hook, they’re trying to make one that will appeal to a large number of people. Their goal is to sell them by the thousands/millions.
While there are lots of different designs, there might not be a hook that’s perfect for you. Especially if you have small hands or a unique crocheting style.
The hand-carved hooks can be personalized (for example, to fit a smaller hand), but they are pricey. This makes purchasing one ‘just to try out’ out of reach for most consumers.
Crochet Hooks and 3D Printing
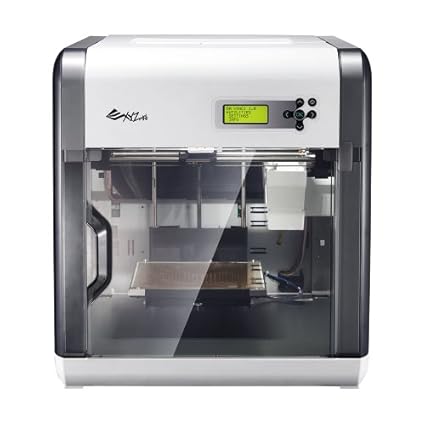
Have you heard of 3D printers? They’re basically printers that use a resin (instead of ink) to create a 3D item.
Less than a decade ago, these printers cost tens of thousands of dollars and were only used by researchers and companies. Now, though, there are a selection of 3D printers available in the $500 range, meaning they’re becoming practical for home use.
You probably have purchased a pdf pattern online for knitting, crocheting or sewing. These are usually patterns made by independent designers (like me!) that can be produced without the costs involved with printing & distributing a book.
This model allows independent designers to create patterns for niche markets. For example, a giant company might not be interested in spending thousands to produce a squid pattern, but as a pdf pattern (without much cost overhead), designing an adorable squid is practical! Yay, niches!
I predict the same thing will happen with crochet hook designs. You will be able to purchase 3D Printer Plans for a crochet hook, that you can print on your printer at home.
The cost of these plans would be similar to purchasing a pdf pattern, and would allow the customer to purchase a crochet hook almost exactly to their liking. Independent hook designers will cater to different hand shapes and styles, exactly as they do now with stitching patterns.
Isn’t that such a cool future?
What do you think? Do you see print-at-home hooks in your future?
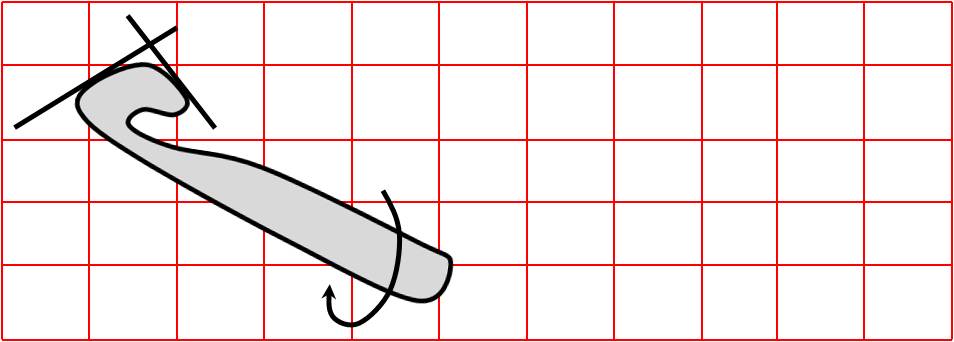
Why do I need to know how to sew boxed corners? I don’t even know what a boxed corner is!
Well – it’s a simple way of adding depth to a fabric shape. It’s what makes this mini tote bag (there’s a free pattern here) fat instead of flat.
And it’s what gives these little mice nice fat bottoms.
Look – this guy will show you his.
I describe how to sew boxed corners in the Mischief of Mice pattern, but someone asked for a video to help clarify the process.
Ask and you shall receive!
See how easy it is?
The trickiest part is getting the seam aligned, but if you open the seams (like you see in that photo above) it’s really easy to see where they line up.
You’ll run into instructions to sew boxed corners in a lot of pillow and cushion patterns, but I don’t often sew pillows and cushions. I prefer to sew covers for ready-made pillow inserts. But I use the technique a lot for bags and softies!
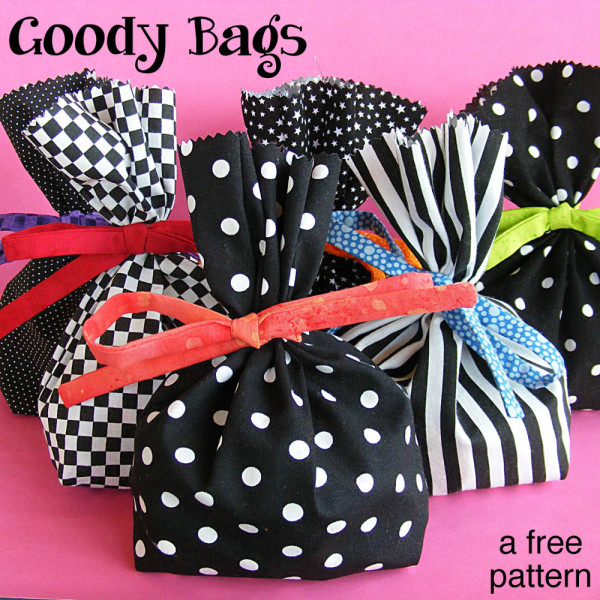
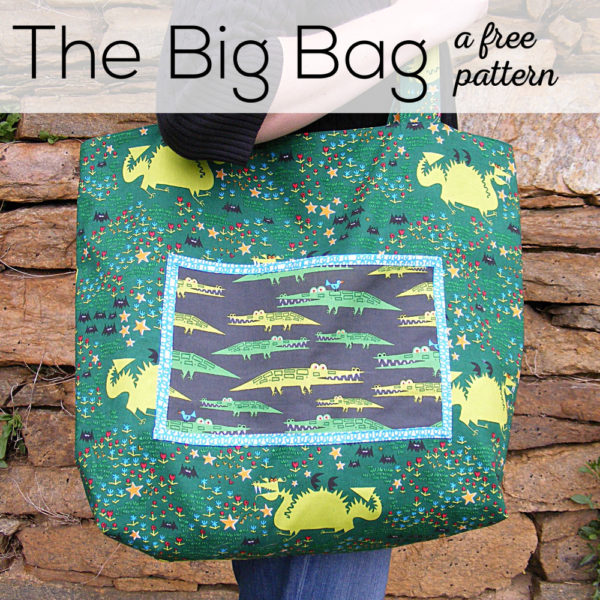
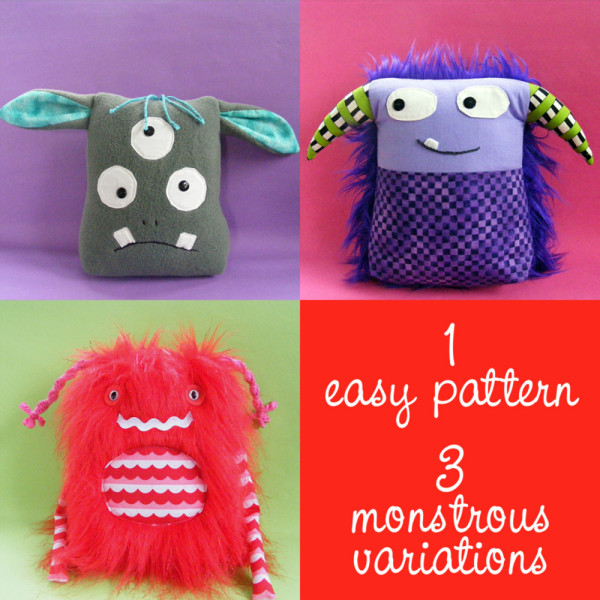
Here are a few more patterns that use this technique. . .
These goody bags are great little gift bags or party favor bags.
I was out of my studio last week so I didn’t get a block made, but I’m back this week with a brand new color. Yellow! This is its first appearance in the quilt and I definitely like it paired with the blue. (It’s crazy how many blue scraps I have. . .)
Ready to make block #6?
What You’ll Need
70 two-inch squares in color A (shown in blue)
30 two-inch squares in color B (shown in yellow)
Instructions
Use 1/4″ seam allowances for all sewing.
Arrange your squares according to the diagram below and sew them together into columns.
(I know usually I saw rows here, but this block will be easier worked in columns. That way you have two types – some that alternate blue and yellow and some that are all blue.)
Press all the seams. I’m pressing mine open for this quilt. I think it will make things simpler in the end.
Sew the columns together to make the finished block.
Here’s the exploded view. . .
Here’s what my six blocks look like so far. . .
Love! By next week’s post I’ll decide what the finished size of my quilt will be. I’m thinking about hand-quilting mine. Crazy, right?
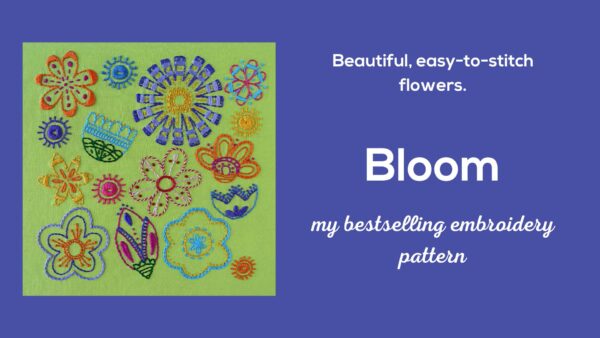
Well, partly because Sulky Sticky Fabri-Solvy is quite a mouthful. 🙂 But mostly because I use it for absolutely everything I stitch and it’s absolutely magical. It really is one of my favorite products ever.
(You can find links to sources for all my favorite supplies here.)
I’ve written a lot about it in a lot of different posts, so today I’m bringing all that info together in one handy-dandy place.
What is it?
It’s a printable wash-away embroidery pattern transfer and stabilizer. Yes – it does all of that in one easy product! In a nutshell. . .
You print your pattern right on the sheets. You can print them with an inkjet or laser printer, or photocopy onto it. You can also trace onto it – but I hate tracing.
Peel off the paper back and stick the stuff right to the surface of what you’re embroidering.
Hoop it up and start stitching. You stitch right through the stuff.
Soak it in water and the stuff dissolves away like magic.
I use this on everything I embroider. EVERYTHING. But it’s especially useful on problem fabrics. You know what I’m talking about – the ones that are really hard to transfer an image to.
dark fabrics
napped fabrics like velvet, terry cloth and cuddle fleece
plasticy fuzzy fabrics like polar fleece
thick fabrics that you can’t see through to trace – like felt
stretchy fabrics like T-shirts
It’s awesome on everything!
Look! You can stitch right through the stuff onto fluffy cuddle fleece.
I never ran into problems with stickiness until I left a project sitting in a hot car one summer afternoon. The next time I picked that project up (even though it wasn’t hot anymore) I found that I was getting a sticky residue on my needle. Not fun!
And then I discovered Thread Magic. I was using it to solve another problem and discovered by accident that it totally eliminated any sticky needle problems. Fantastic! Especially since I love to carry my embroidery around with me and there was an excellent chance it would get left in a hot car again. Now I don’t need to worry about that!
Does the ink bleed?
It depends on the ink. I usually photocopy my projects or print them on my laser printer and those have never been an issue for me. But a couple of people reported the ink from their inkjet printers bleeding a bit when they rinsed off the stabilizer. Every brand is different so test the ink from your printer if you want to be sure! If you run into bleeding, try printing it out in draft mode – that uses a lot less ink.
The good people at Sulky let me know that one person had an issue with her laser printer. She said it didn’t actually bleed when she rinsed it, but it left little black specks all over her work. Yikes! The good news is that she sprayed it with Shout, washed it on the gentle cycle of her washing machine, and it came out as good as new. So if you run into laser printer problems, there’s an easy fix. 🙂
This isn’t a bleeding-ink issue – but it’s related. One customer reported that the ink wasn’t coming out of the centers of flowers where the stitching was the most dense. It wasn’t bleeding, but it’s like it was stuck there. She has very hard water and reported that a second long soak in distilled water took it out.
T-shirts
I want to add a special note here about T-shirts. I love embroidering on T-shirts, but it can be kind of fussy. You have to stabilize the fabric so it doesn’t stretch while you’re stitching. With traditional stabilizers you have to remove it after stitching. And stretch knits aren’t a treat to transfer the pattern to. All of these issues magically go away with Sulky Sticky Fabri-Solvy. Since it’s a pattern transfer and stabilizer all in one, you take care of both of those steps. And since it rinses out after stitching, there’s no fussy (and potentially destructive) removal of the stabilizer afterwards. It’s perfect!
That’s embroidered! 🙂
Now you know why I call Sulky Sticky Fabri-Solvy The Magical Embroidery Stuff. I love it!
I’ve heard that people use it for all kinds of other things too – like transferring complex patterns to a pumpkin for carving! If you’ve come up with an unusual use for it – let me know. I’d love to hear!
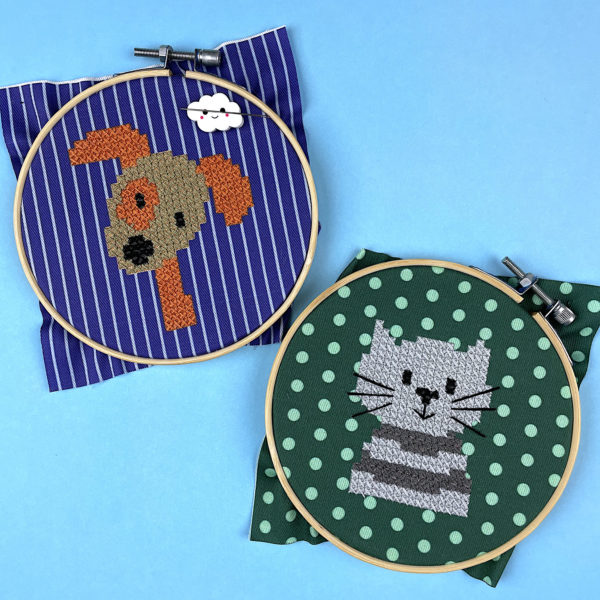
When a cross stitch pattern is printed directly on the fabric it’s called stamped cross stitch – and it’s a great way for beginners to get started with the craft.
Want to see how easy it is? Watch here. . .
See? You just stitch an X right over each X printed on the fabric. Easy peasy!
Start stitching. You work cross stitch one row at a time, filling in the bottom half of all the Xs first. Just stitch right over the Xs printed on the fabric. Make sure they’re all slanting in the same direction.
I always make my bottom stitches slant forward.
Step 4
Now work your way back across the same row, crossing all your Xs.
I always make my top stitches slant back.
Step 5
Work your way down until you fill in that whole section of color.
Step 6
Repeat until you’ve stitched up all the sections of the image.
Step 7
Finish as desired. You can make it into a tiny little pillow (maybe a scented pillow to keep in a drawer with your clothes?), use it as a square in a quilt, or frame it in its embroidery hoop.
Important Tip!
It’s very important to be consistent with the way your stitches slant. My bottom stitches always slant forward and my top stitches always slant back. It doesn’t matter which way you do it, as long as you do it the same way for the entire piece. Otherwise your stitches will look slightly off.
See how easy? This is a great, portable project for summer. It took me about 4 hours to stitch up the sample – with lots of interruptions. Most beginners will take longer than that. 🙂
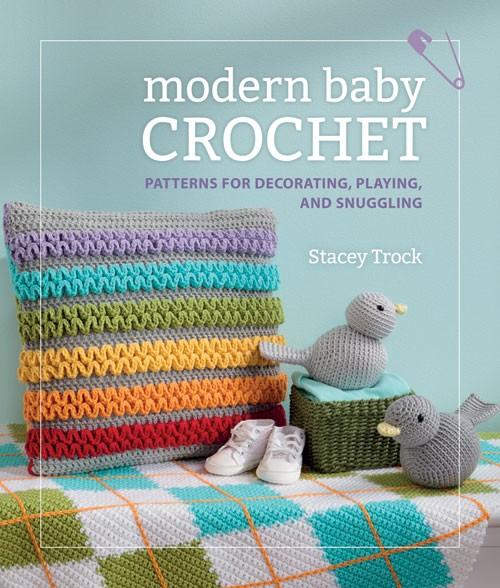
One of my favorite patterns in Modern Baby Crochet is the Colorful Wiggle Pillow… and my publishers must agree, because they decided to put it on the cover!
It’s a fabulous pillow, and a lot of fun to make! I’ve been getting a couple of requests for a video about how to do the wiggle stitch, and so I’ve made one. Now you can make a wiggle pillow, too!
Have fun with this!
Here are handy links to all the posts teaching more fancy crochet stitches. . .