Think BIG! Fun and Easy Giant Applique Class

Fox applique fabric pieces (unassembled) and blue scissors

Think BIG is here!

It’s a brand new class covering everything you need to know to do GIANT applique.

  • How to enlarge any applique pattern to any size you like – including an easy formula
  • How to work with that giant pattern
  • What to do when the pattern pieces are bigger than the biggest fusible adhesive you can buy
  • What to do when your applique is way bigger than your ironing board

You’ll get general information that you can use for any applique of any size for any project – but you’ll also get all the pattern pieces and instructions to make four fun projects.

Make a BIG poster.

large blue applique cat on pink background with words Don't forget to have Fun!

You’ll get the giant cat pattern, the alphabet, and the instructions to make a big poster.

I made this reminder to hang in my new studio – but you can make anything you like! This would be a great project for a new baby. Make a baby quilt, then enlarge your favorite block from the quilt to make a matching poster with baby’s name and birth date!

Make a BIG pillow.

Giant applique Fox pillow from the Think BIG Giant Applique Class from Shiny Happy World

You’ll get the giant fox pattern plus all the instructions to make a big pillow. Mine is 26 inches square – but the class includes instructions to enlarge to any size you like. Make a big floor pillow to match one of the blocks in your favorite applique quilt!

Make a BIG bunny baby quilt.

Big Bunny applique Baby Quilt from the Think BIG Applique Class from Shiny Happy World

This bunny quilt is fast and easy. You can make it in a day! The corner bunnies are “normal” 10 inch blocks and the center medallion is a whopping 30 inches square. The class includes instructions for easy peasy Quilt As You Go construction. You could easily adapt the pattern to work with any applique design in your stash, to match any nursery theme – but you’ll get the bunny pattern in both sizes.

Make a BIG napping quilt.

Big Lap Quilt with giant yellow applique dog from the Think BIG Applique Class from Shiny Happy World

Whoa! Look at that giant version of my Augie Dog! It’s way WAY bigger than the original. 🙂

You’ll get the full-sized puppy pattern plus complete instructions to make a 50 x 60 inch napping-size quilt – my favorite size for curling up on the couch. Using Quilt As You Go doesn’t make much sense for a quilt made of one HUGE block, so I include a video with tips for quilting it.

Of course, the class includes instructions to enlarge any block to size for a quilt like this. I’ve already had one reader suggest a quilt with a single “doll” from the Paper Dolls quilt, enlarged to be the same size as your child or grandchild. What a brilliant idea!

By the end of the class you’ll be able to adapt ANY applique design to ANY size you like – and add huge fun to all your favorite patterns. 🙂

Sign up for the class here.

Happy quilting!

Best,
Wendi
Wendi Gratz from Shiny Happy World

Shiny Happy World + Michael Miller Fabrics = The Perfect Collaboration

Giant applique pets made with Michael Miller Fabrics - patterns by Shiny Happy World

Every once in a while a fabric company asks me to work with them on a project – usually for a booth at Quilt Market. When it’s the right company and the right project these collaborations can be really fun. Every once in a while lightning strikes and they’re so perfect that it’s almost magical.

The Dear Stella collaboration that resulted in this free Sloth Lovie pattern, the Silly Sloths quilt pattern, and the Bear and Bunny Lovie Patterns was one of them. It was so much fun and led to so many great projects! The way I feel about this project can be summed up in the video I made for the quilt pattern.

Be sure to listen with the sound on for maximum cuteness. 🙂

I’m in the middle of another magical partnership – this time with Michael Miller Fabrics.

Maybe you saw some of their posts tagged #mmfpets during Quilt Market?

Giant applique pets made with Michael Miller Fabrics - patterns by Shiny Happy World

I had SO MUCH FUN making these guys!

Did I mention they’re BIG?

Really big.

Each block is about a yard wide!

When Michael Miller approached me about the project and shared a sketch of their booth, I actually squealed out loud. The concept was just so cute!

They had a bunch of BIG paper doll blocks, with outfits made in soon-to-be-released fabric collections. I would be making their pets – also in brand new fabrics. 🙂

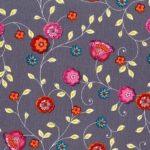
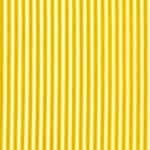
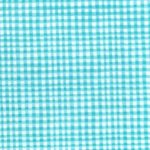
It’s so much fun (and feels so sneaky) to play with new fabrics before they’re even released! Here are some of my favorites from this project. Each image links back to the Michael Miller site if you want more info. (Maybe you want to ask your local fabric store to be sure to bring in your favorite.)

So the whole booth concept was super cute, the fabrics were super cute, and their idea to incorporate my applique patterns was super cute. Of course I said yes!

Before I even started the project, I was already thinking of ways that YOU might want to use some big applique patterns. My plan was just to tell you to enlarge the blocks and then make some suggestions for what you could do with those supersized cuties.

But once I got into actually making the blocks, I realized it wasn’t quite as simple as that. It’s still pretty easy – and boy do they come together quickly! But there were a few Problems To Solve and Quirks To Work Out – so I decided to put it all together in a new online workshop.

Think Big - Fun and Easy Giant Applique - Video Workshop from Shiny Happy World

No – those aren’t miniature scissors. Those are my regular shears, put in there for scale. 🙂

Update – this class is no longer available, but I’m working on bringing many of the lessons over here as free tutorials.

But that’s not all!

Since the purpose of the blocks was to show off new fabrics, I needed to add some extra doodads and accessories for the pets. That way I could incorporate more fabrics!

That was so much fun that I KNEW you guys would want to play too.

I decided to create a new applique pattern with loads of different hats and eyeglasses and bows and mustaches and speech bubbles and more. I just finished my drawings and I’m going to start making up some sample blocks soon so you can see how they work with all the applique patterns you already have.

Update: That pattern is finished now. It’s called Fancy Doodads and you can get it here!

So there it is. A perfect partnership – one where every step of the process is a joy and takes me in directions I never even thought of – including back to you. Many thanks to Michael Miller Fabrics for making it fun!

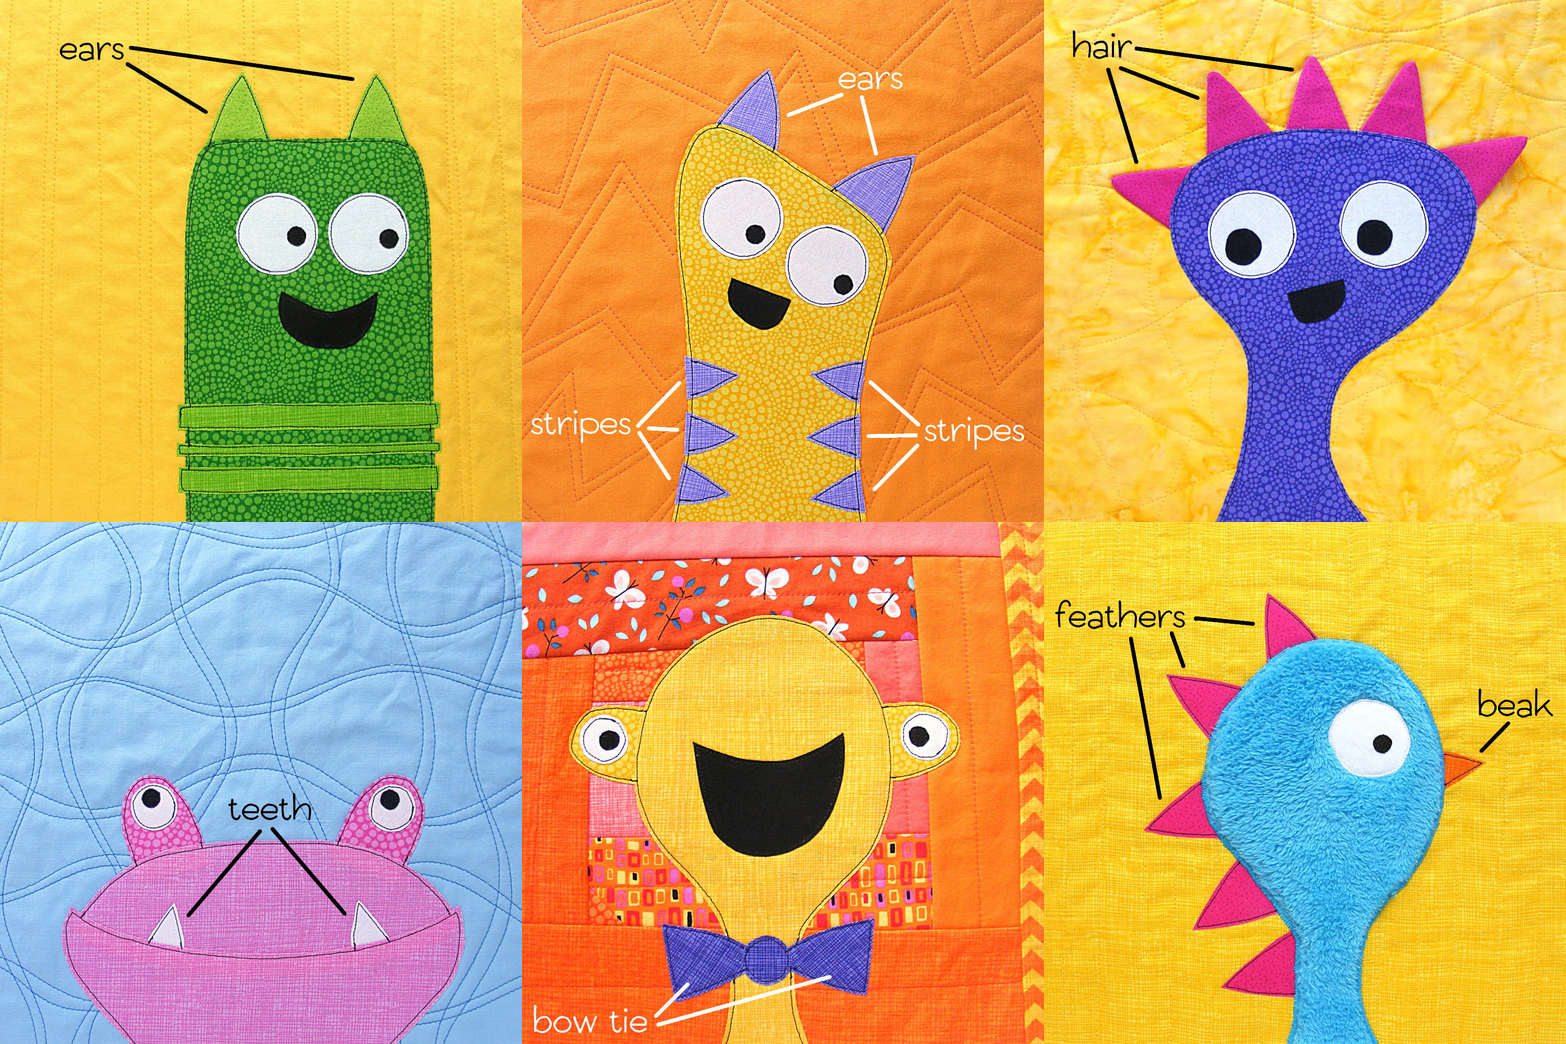
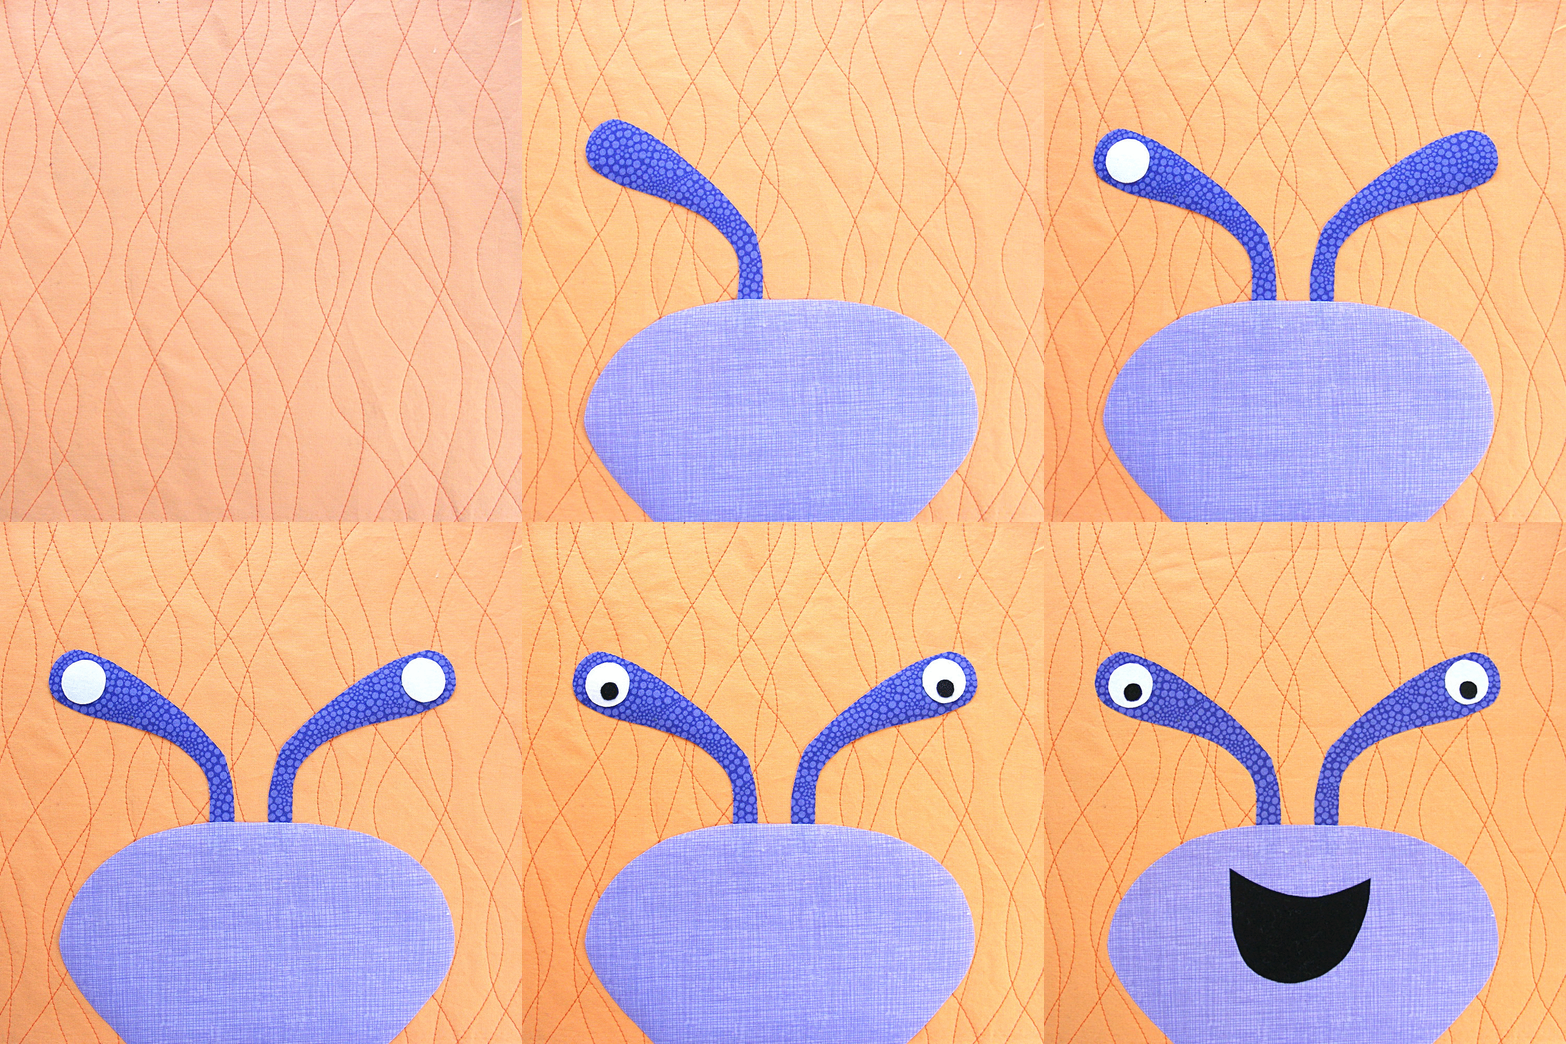
Cute Quilt-As-You-Go Applique Monsters – video class

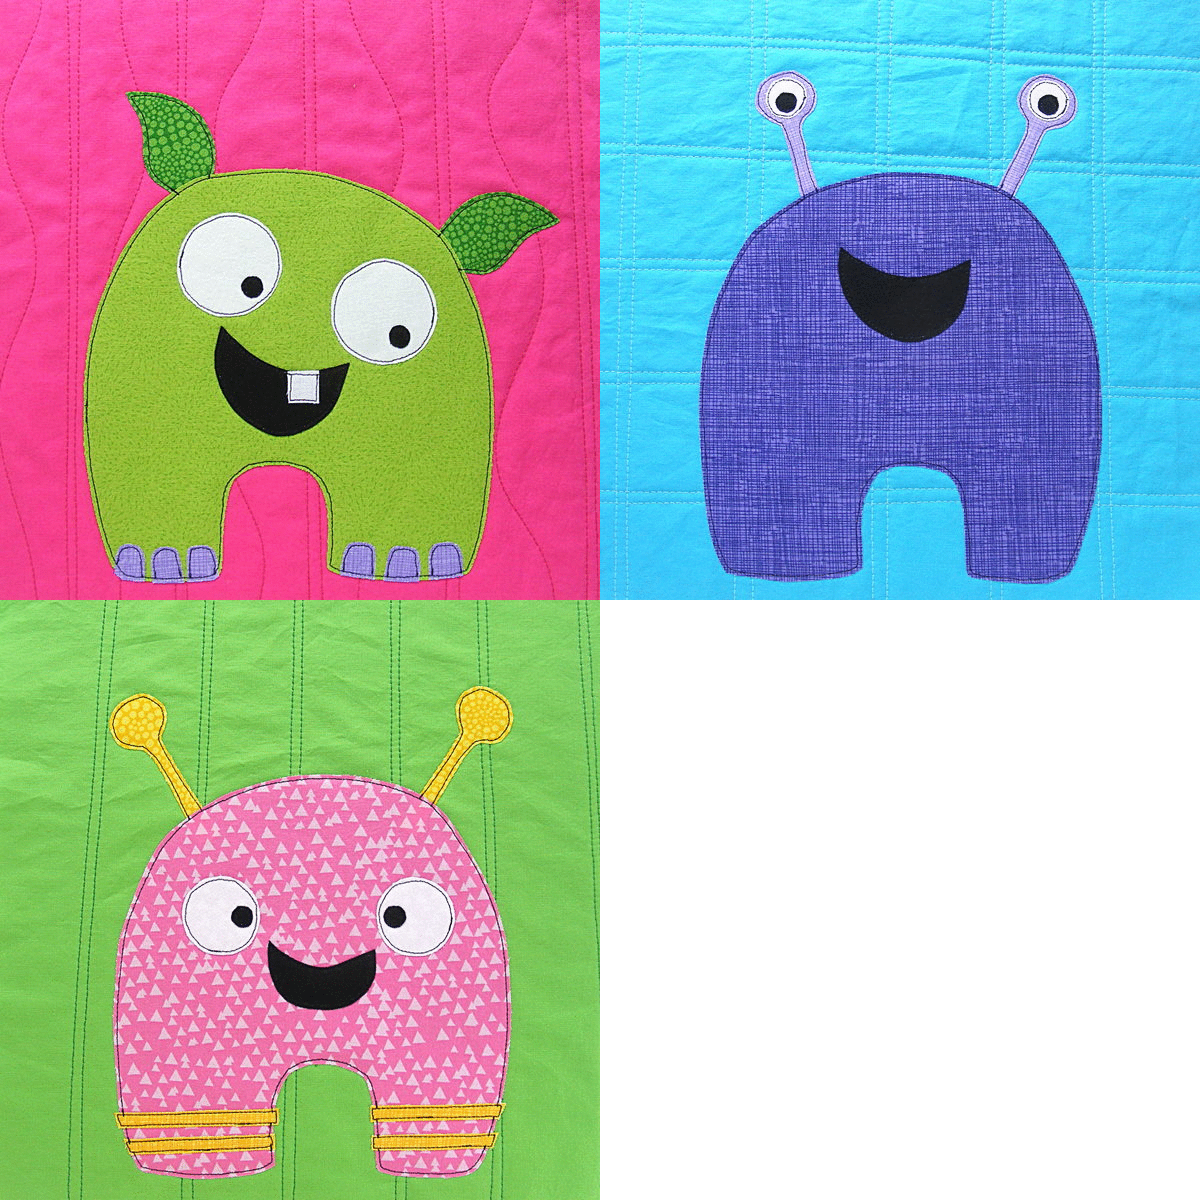
Mix & Match Monsters - the pattern that comes with the Craftsy class Cute Quilt-As-You-Go Applique Monsters

A cute kiddo-approved project, quilt-as-you-go techniques for fusible appliqué, and me right there in front of you, showing you everything I know and answering all your questions. 🙂

Update – Please be aware that Craftsy (now Bluprint) has added a subscription plan to their offerings, which changes the way instructor support happens. If you buy the class for your Forever Library, you get instructor support – which means your questions go to a special instructor dashboard where I see them and I can respond to them. I answer questions every business day. If you watch the class as part of the streaming subscription, any questions you post go to the larger class community – not to me. I don’t even see them, so I can’t answer them.

All in one class, all on your schedule.

I’m so proud of this class!

Sign up for the class here.

If you just want the Mix & Match Monsters PDF pattern, you can get that here.

Happy quilting!

Best,
Wendi

What Will You Learn in the New Craftsy Class? Part 2

I’ve been sharing little peeks of what to expect from the new Craftsy class on Facebook and Instagram and then gathering them all up every week here on the blog. There are so many fun things in this one class!

You can read the first round up here. Googly eyes, scrappy pieced backgrounds, silly eyelids, a kajillion uses for a triangle – it’s all there. 🙂

This week we started with silly hair.

I love this curly-haired monster quilt block! There's elastic inside those curls, so when you pull on them they spring back. :-)

I mean, seriously. Those curls have elastic inside so they spring back when you pull on them. How silly is that?

And then I showed how one simple body shape can look totally different, depending on the other bits you add.

My favorite is the one with the purple toenails. 🙂

More fun 3D parts with these teeth.

green monster 3D teeth

So easy!

And then I went really crazy with the 3D additions with these floppy, satin-lined ears. . .

blue monster quilt block with satin-lined flappy ears - one of the blocks in my new Craftsy class

. . . and these folded, softie-style ears.

Update – there’s a tutorial here showing how to add 3D bits to your applique, and one here showing how to give those 3D pieces extra body so they don’t flop too much.

One of the monsters (this one with folded, softie-style ears) in my new Craftsy quilt class.

We also cover working with non-traditional fabrics in this class!

We use shaggy faux fur (video here). . .

It's really easy to use special fabrics in applique! This shaggy long fur is one of my favorites. :-)

. . . cuddly fleece (video here). . .

It's easy to use cuddle fleece for applique - and it makes soft and cuddly monsters and animals. :-)

. . . and shiny tissue lamé (video here).

Woo! Check out that fancy silver monster! In my new class I show how to appliqué with "tricky" fabrics like this shiny (and fragile) tissue lamé.

So many fun new techniques in this class!

Enter the giveaway for a free spot here. Even if you don’t win – just by entering you’ll be notified when the class goes live (so soon!) and you’ll get a special discount coupon.

Sign up for the class here. It’s so much fun!

Happy quilting!

Best,
Wendi
Wendi Gratz from Shiny Happy World

What’s Going to Be in the New Craftsy Class?

MM Monsters giveaway logoDid you hear the news that I have a new Craftsy class coming next month? You can enter here to win a free spot in the class AND all the materials you need to make the quilt hanging behind me in all the lessons.

Over on Facebook and Instagram I’ve been sharing little peeks and bits of info about what will be covered in the class. Here’s a quick summary of what I’ve shared so far. . .

The theme is Monsters.

Mix & Match Monsters. 🙂

The pattern included in the class includes pages and pages of monster parts and you can put them together any way you like. Don’t worry if that sounds intimidating – over the course of the class you’ll see dozens of sample blocks for ideas and inspiration. You can copy as many or as few as you like. Here’s a GIF I made showing just a few ways I used a simple triangle shape.

output_cEoVge

Of course, you’ll learn the basics of Quilt As You Go and applique with fusible adhesive. . .

output_U3QLAb

. . . and we even have a lesson on making pieced QAYG background blocks from scraps.

In my new Craftsy class we make pieced background QAYG blocks using scraps. I love the look!

We talk about choosing fabrics and I show two different no-fuss-no-measure techniques for making your blocks. I love this grumpy “Get off my lawn!” monster. 🙂

I use a few different types of fabrics in the class and show you my tips for getting good contrast and monsters that really POP. I especially love the magnificent mottled monsters I got with these batiks.

Marvelous mottled monsters using batiks from Timeless Treasures. They're some of the monsters from my new Craftsy class!

Aren’t they gorgeous? I also really love saying magnificent mottled monsters. 🙂

In case you’re wondering, those batiks are from the Tonga Java Blenders collection from Timeless Treasures.

We do a lot of different variations on eyes in the class. I think my favorite are these googly eyes.

Calling them "faux trapunto eyes with needle sculpted pupils" makes them sound really hard to make - and they're not - so I just call them googly eyes. :-)

Technically they’re faux trapunto eyes with needle sculpted pupils, but that makes them sound really hard and they’re actually super easy. You’ll see if you take the class. 🙂

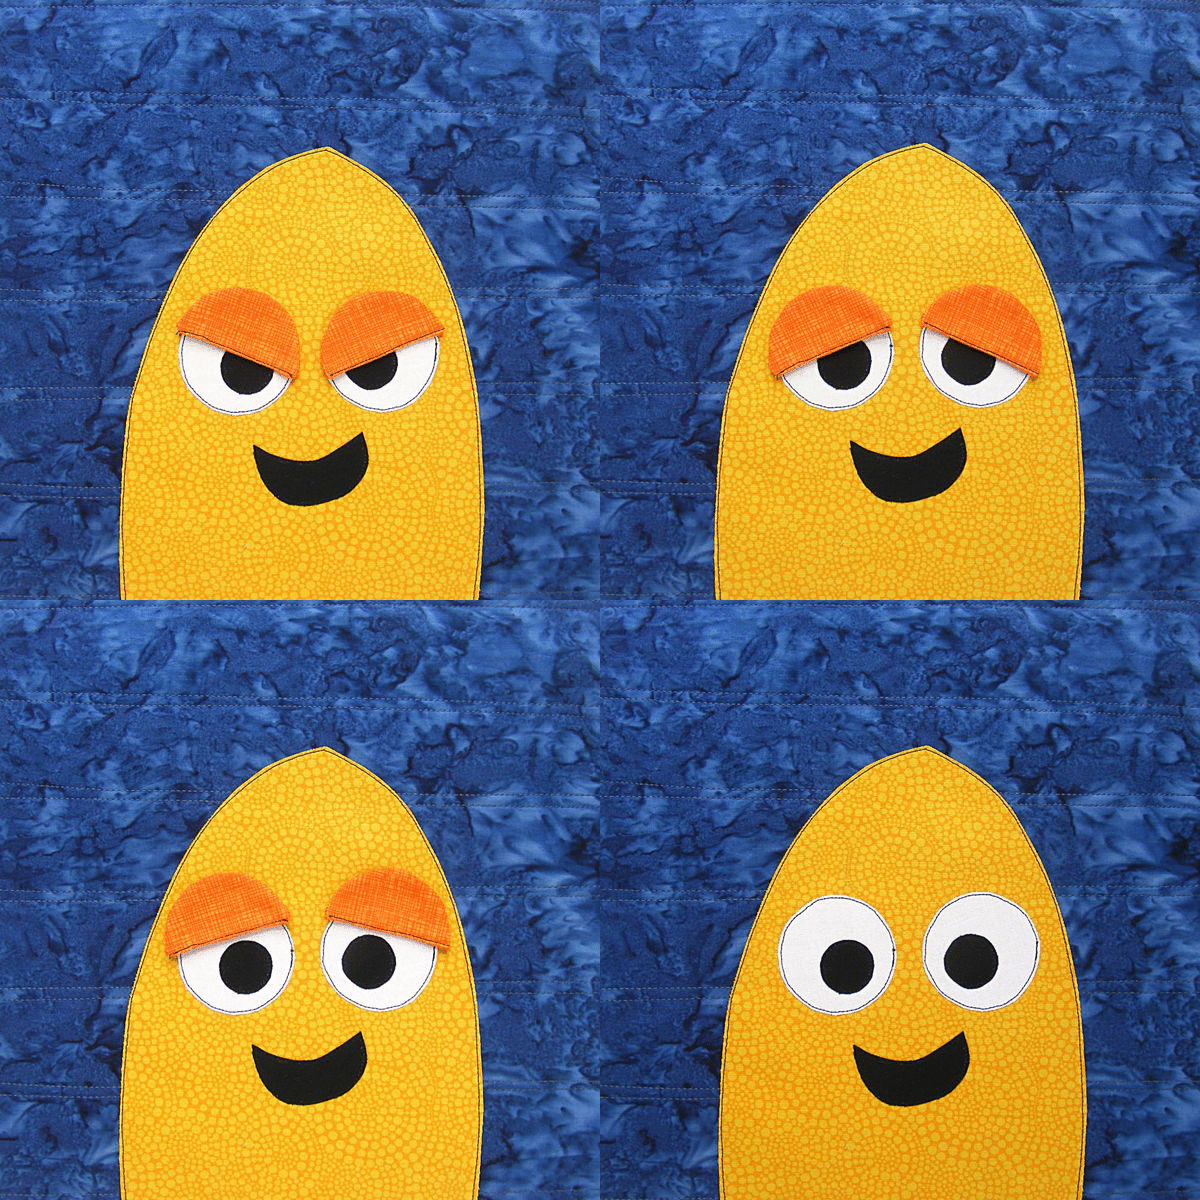
I also like playing with eyelids. Look at just a few of the possibilities!

silly eye GIF

Grumpy eyes, sleepy eyes, surprised eyes – I love them all.

This class is going to be SO MUCH FUN!

Sign up for the class here. 🙂

Update – Please be aware that Craftsy (now Bluprint) has added a subscription plan to their offerings, which changes the way instructor support happens. If you buy the class for your Forever Library, you get instructor support – which means I’ll answer any questions you post. If you watch the class as part of the streaming subscription, any questions you post go to the larger class community – not to me. 

Happy quilting!

Best,
Wendi
Wendi Gratz from Shiny Happy World

My Craftsy Quilting Class Is Live – and I have a HUGE discount for you!

My Craftsy Class!

Woo hoo!

My Craftsy class is LIVE!

And have I got a deal for you!

But first – let’s move my big head out of the way so you can see the whole quilt. 🙂

You guys saw bits and pieces in the sneak peeks last week, but here’s the entire thing – my Woodland Critters Quilt.

Woodland Critters Quilt

There are 9 different animals, 6 mushrooms, and 4 trees. You also get an alphabet so you can add animal sounds like this. . .

Woodland Critters Quilt

These examples are crib size, but I also include layouts for napping and twin size quilts. That’s the napping size hanging on the wall behind me in the top photo – my favorite size for couch use.

What’s that in front of me? It’s an owl quilt!

Owl Quilt - using one block from the Woodland Critter Quilt pattern

I took just one block from the Woodland Critters Quilt and went crazy with all my favorite colors and fun decorative stitches and made this beauty. I love how some of the owls are sleepy and some of them are grumpy. It’s super easy to make the change and I show you how in the class.

The class! Let me tell you what’s in the class!

(I can’t believe how much we packed into seven video lessons!)

I get a lot of emails from people saying they wish I could just come to their house and show them how to make a quilt from start to finish.

This is the next best thing. I show EVERYTHING!

  • How I choose fabric
  • How I true up my fabric and cut background blocks
  • How I quilt my blocks before adding applique
  • Fusible applique basics – my favorite products and how to use them
  • My tricks for marking faces and how to handle overlapping bits
  • Lots and lots of options for doing the eyes (the hardest bit)
  • How I outline stitch all the pieces
  • Fancy stitching options
  • How to appliqué on knits (you’ll see me appliqué a fox on an adorable baby onesie)
  • How to join those already-quilted blocks
  • How to back the quilt and finish quilting it
  • How to bind the quilt

See what I mean? It’s not just an appliqué class – it’s also a beginning quilting class and a QAYG class. You get to keep the class forever and watch it as many times as you like. You can pause it at any time. There’s a handy “go back 30 seconds” button. And you can ask me questions at any time. It’s fantastic!

Update – Please be aware that Craftsy (now Bluprint) has added a subscription plan to their offerings, which changes the way instructor support happens. If you buy the class for your Forever Library, you get instructor support – which means your questions are posted to a special instructor dashboard where I can see them and answer them. If you watch the class as part of the streaming subscription, any questions you post go to the larger class community – not to me. I never even see them, so I can’t answer them.

It’s normally $34.99 (which I think is a terrific price for an exclusive pattern plus all that video content) but for the first week of the release I have a special discount for you. $20 off!

Use this link to get the discounted price.

And use it now – because that is a crazy price and it’s only available until midnight EST on Monday 8/10.

The crazy launch discount is expired now, but Craftsy is almost always having some kind of sale. Use this link to get the best current price. 🙂

You can also get the PDF pattern here. It has links to videos I made myself without the fancy Craftsy video production. 🙂

Happy quilting!

That's me at Craftsy!

Best,
Wendi

a href=”http://wendigratz.wpengine.com/wp-content/uploads/2015/08/tall-craftsy-for-pinterest.jpg”>
Fusible Appliqué Made Easy - my class on Craftsy

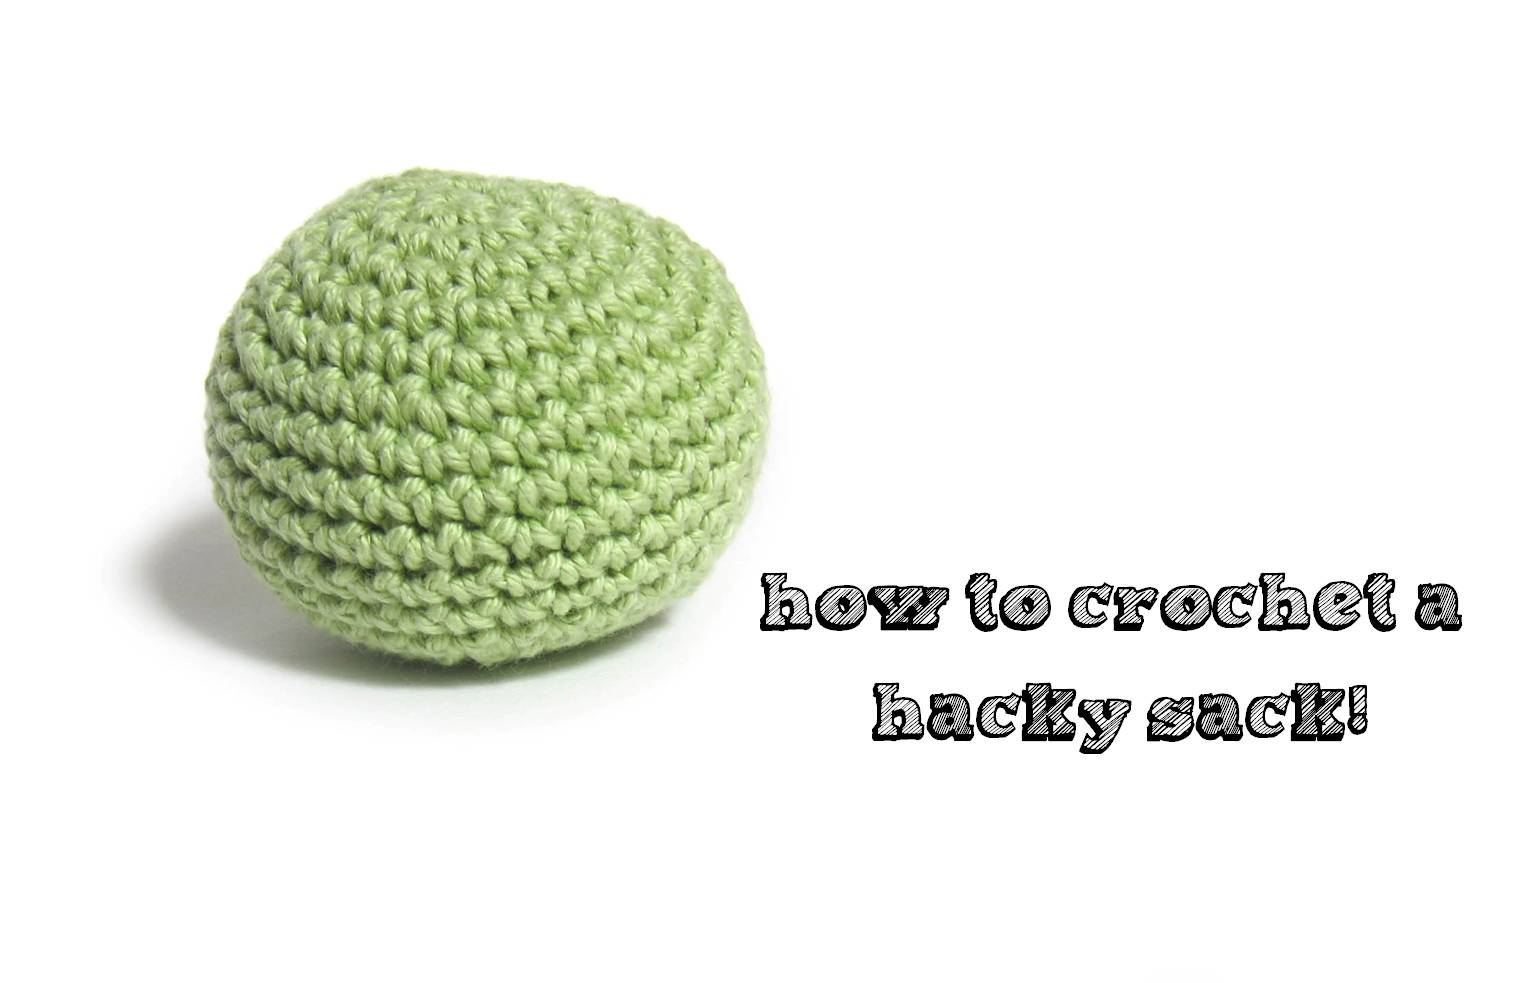
How to make a hacky sack

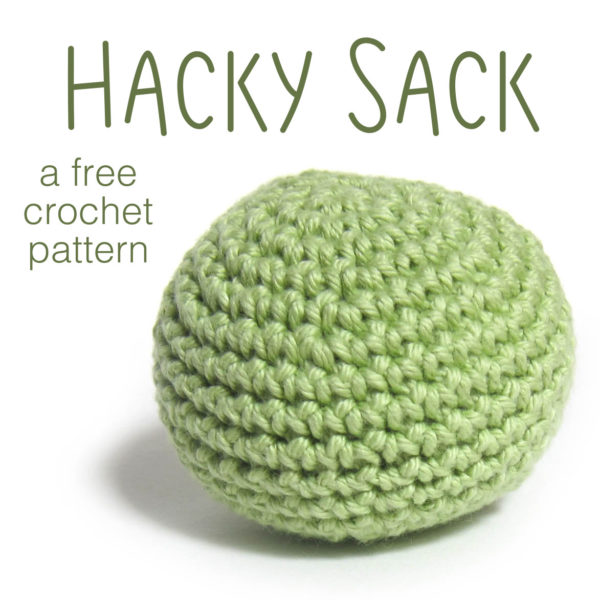
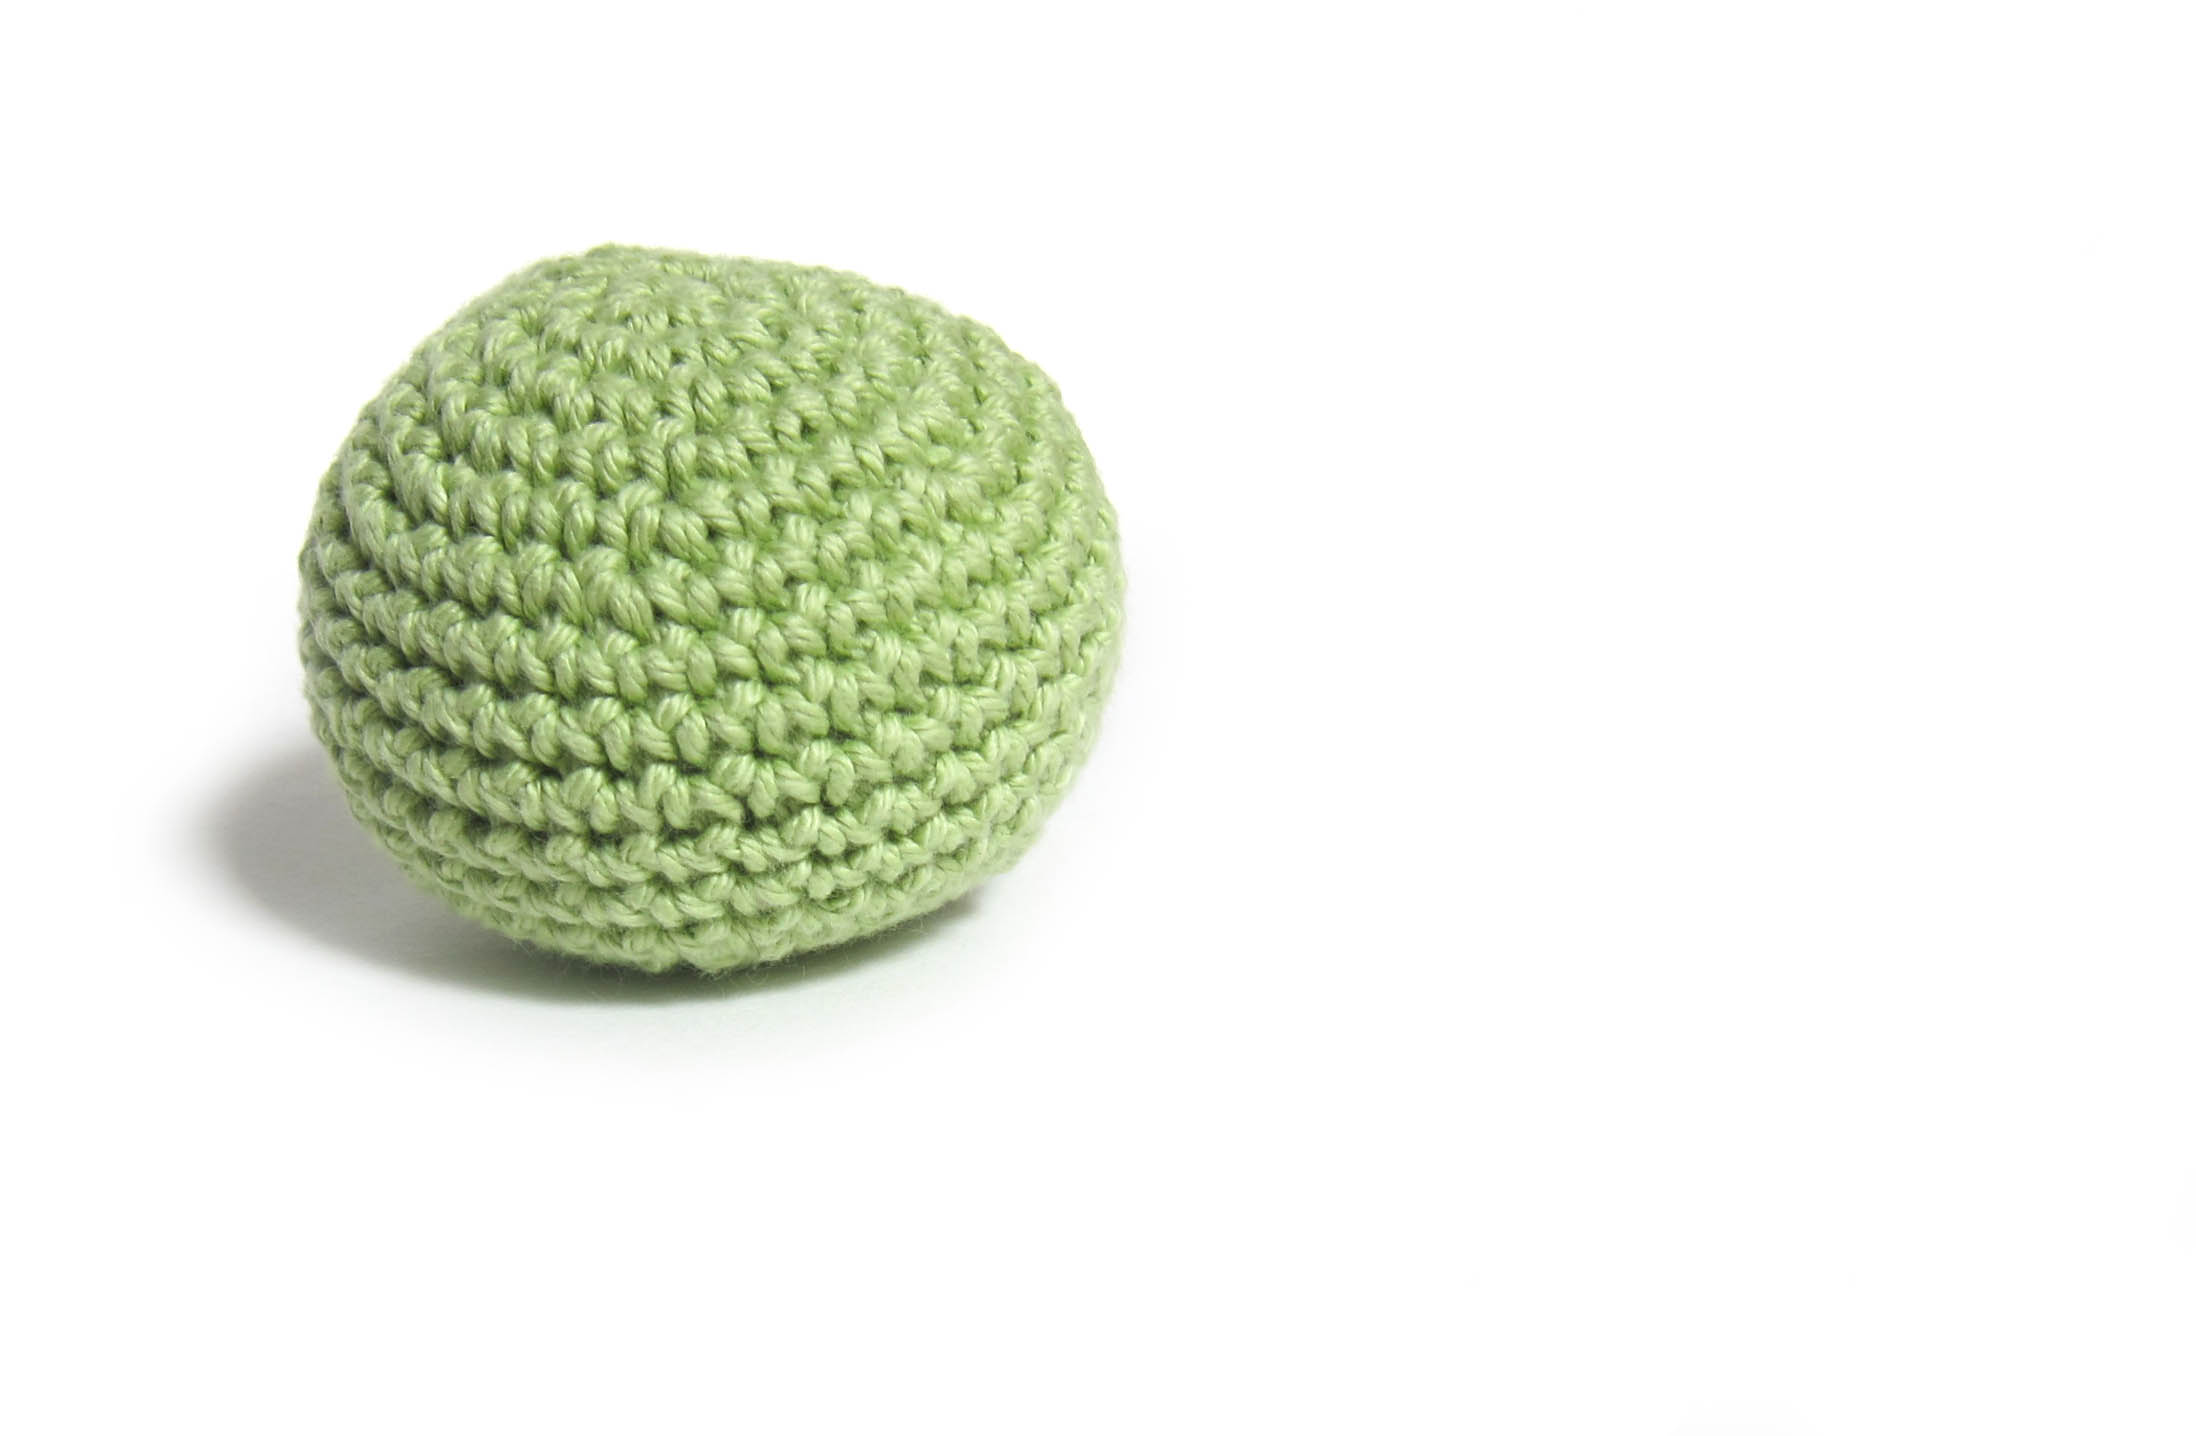
Hacky Sack - a free crochet pattern from FreshStitches and Shiny Happy World

Now that summer’s rolling around, I bet you’re looking for excuses to get you (and your kids) outside! How about making a hacky sack? (Don’t know what playing hacky sack looks like? It’s worth having a look on YouTube!)

how to crochet a hacky sack

If you can single crochet, you can make a hacky sack! I’ll show you how!

Hacky Sack Materials

To make 1 hacky sack, you’ll need:

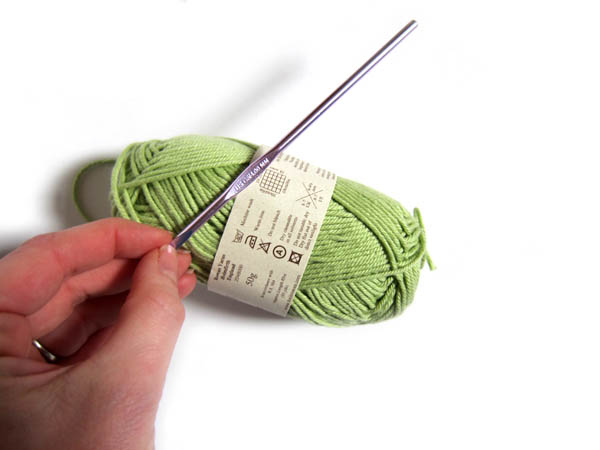
  • 30 yards of dk-weight, cotton yarn
  • a size G (4.0mm) crochet hook
  • a fist-full of poly-pellets
  • a nylon knee-high sock

cotton yarn for hacky sack

Crochet Hacky Sack Pattern

Rusty on your crochet? Check out my tutorials for how to single crochet, increase and decrease.

Start with a sloppy slip knot.

Ch 2.

Round 1: Sc 6 times in 2nd ch from hook. (6)
Round 2: Sc twice in each st. (12)
Round 3: *Sc twice in next st, sc in next st. Repeat from * 5 times. (18)
Round 4: *Sc twice in next st, sc in next 2 sts. Repeat from * 5 times. (24)
Round 5: *Sc twice in next st, sc in next 3 sts. Repeat from * 5 times. (30)
Round 6: *Sc twice in next st, sc in next 4 sts. Repeat from * 5 times. (36)
Rounds 7-12 Sc in each st. (36, 6 rounds)
Round 13: *Sc2tog, sc in next 4 sts. Repeat from * 5 times. (30)

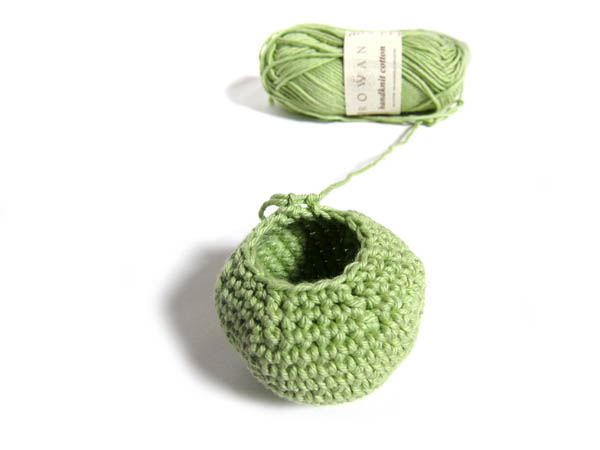
Remove hook…

how to crochet hacky sack

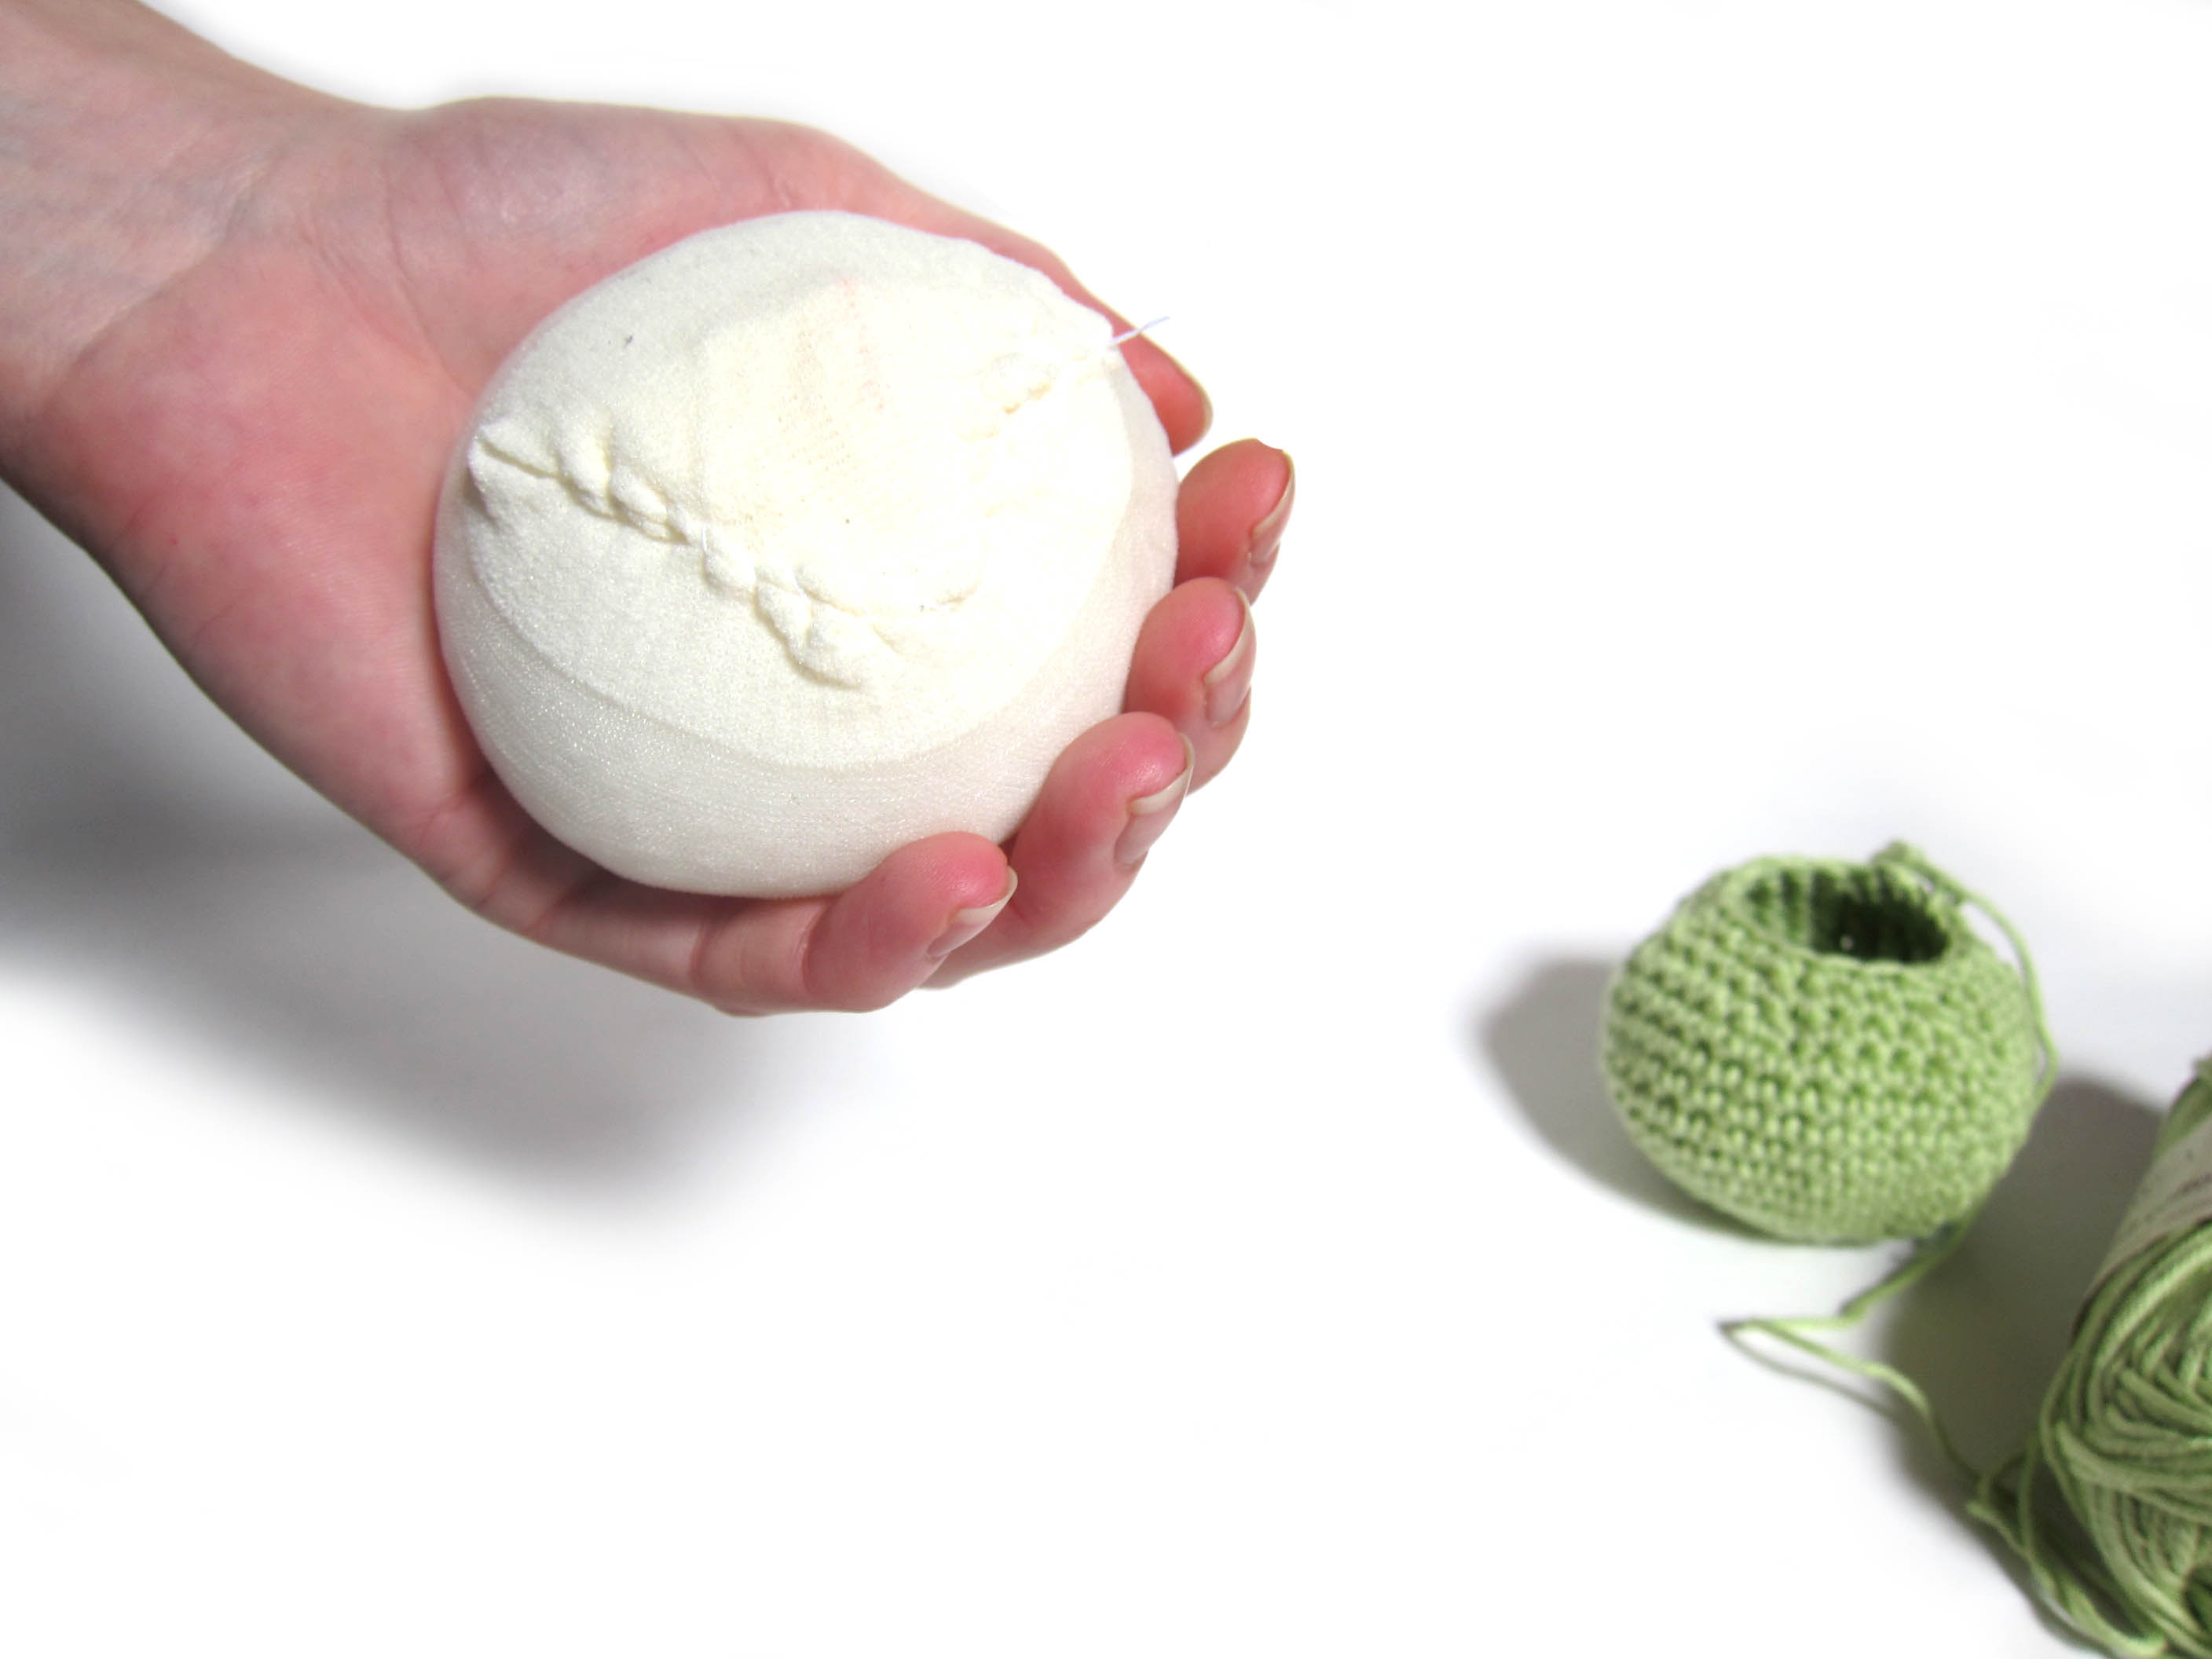
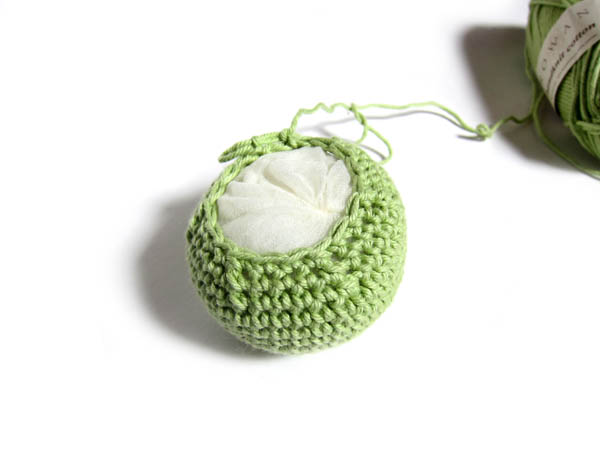
Place a handful of poly-beads in the nylon sock and sew it up. Your goal is to create a ball that will fill your hacky sack about 90% full:

poly pellets

Place your stuffed stocking inside your crochet.

how to fill a hacky sack

Continue crocheting…

Round 14: *Sc2tog, sc in next 3 sts. Repeat from * 5 times. (24)
Round 15: *Sc2tog, sc in next 2 sts. Repeat from * 5 times. (18)
Round 16: *Sc2tog, sc in next st. Repeat from * 5 times. (12)
Round 17: *Sc2tog. Repeat from * 5 times. (6)
Round 18: Use the drawstring method to fasten off, and weave in the end!

how to make a hacky sack

Variations

Want to use a thicker yarn, like Lily’s Sugar & Cream? Simply skip rounds 6 & 13 (working fewer increase rounds), and use a size H (5.0mm) hook.

For more fun, add stripes of color! There’s a video here showing how to change colors with single crochet.

Happy stitching!