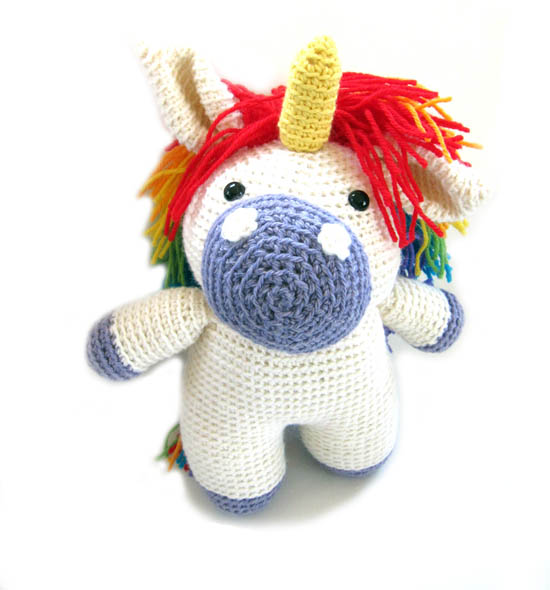
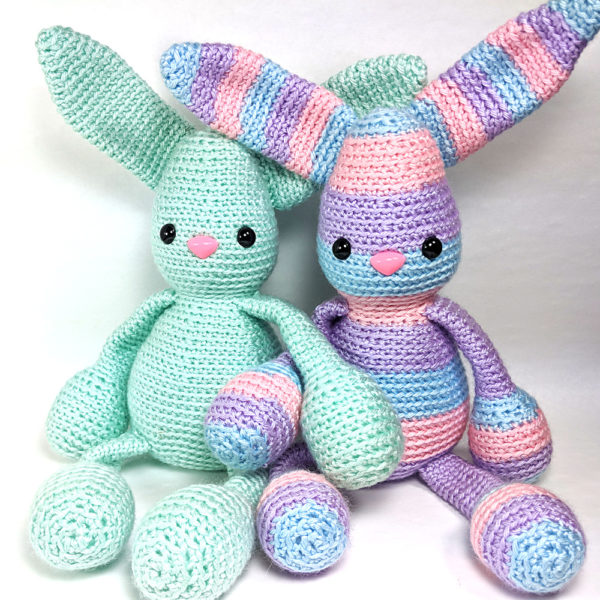
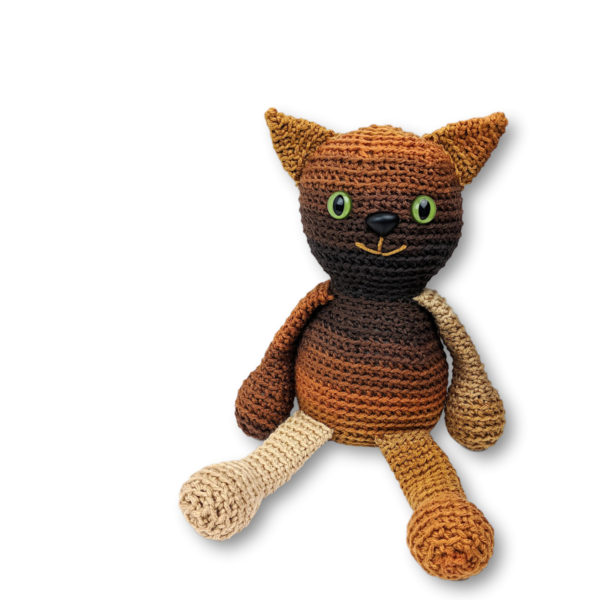
One of the first steps you’ll take as you move beyond the easiest of the easy patterns is to learn how to crochet standing legs. That one skill opens up all kinds of new pattern possibilities – and it’s one of my favorite body shapes.
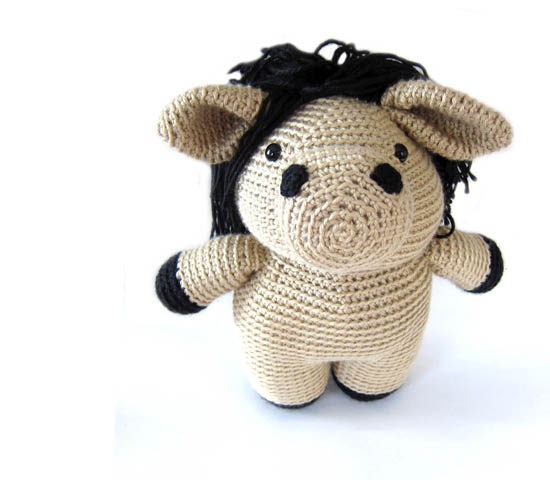
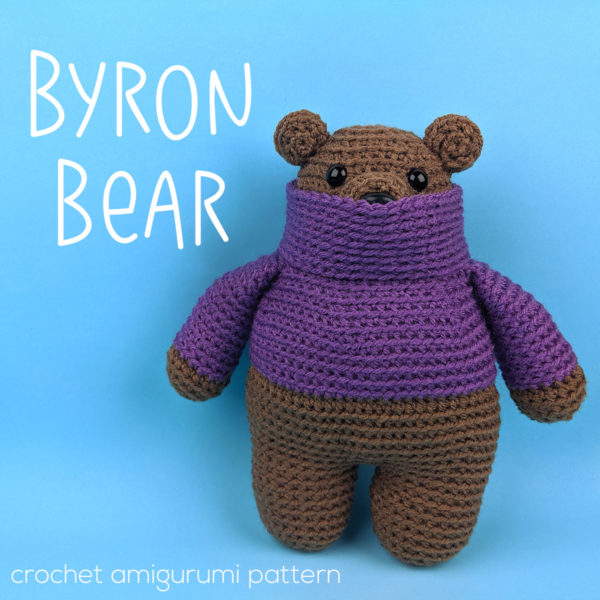
You can see it in Byron the Bear.

And many more!
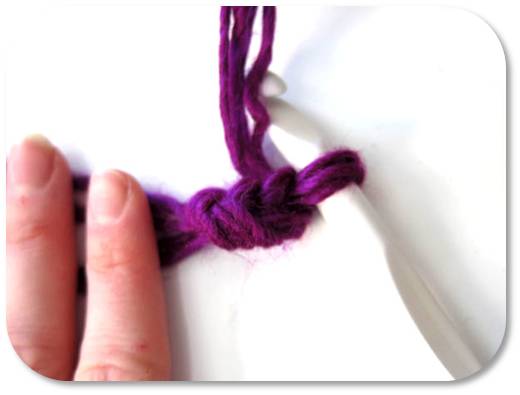
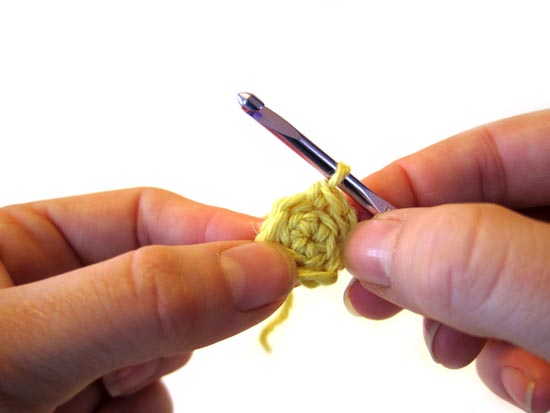
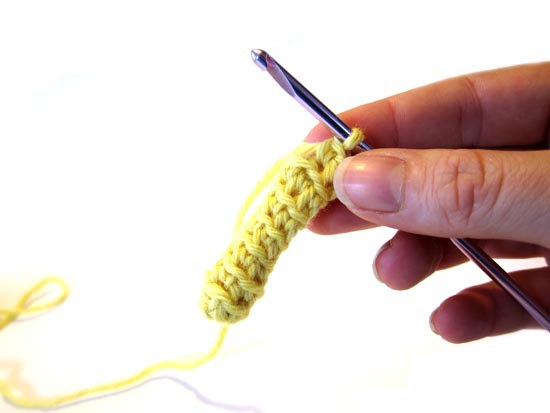
When you crochet standing legs, you start by making each leg separately, then joining them together and continuing on up the body.
Joining the legs together, when you’re reading it from a pattern, can be difficult to picture.
So… help is on the way!
Let’s watch it in action, shall we?
Video: How to crochet the joining round for standing legs
In this video, I’ve recorded every step of that sometimes-tricky joining round. Have a look!
To watch this video in full-screen mode, click ‘play’, then click the rectangle in the lower right-hand corner.
I know. It’s a bit weird – but totally easy once you see it, right?
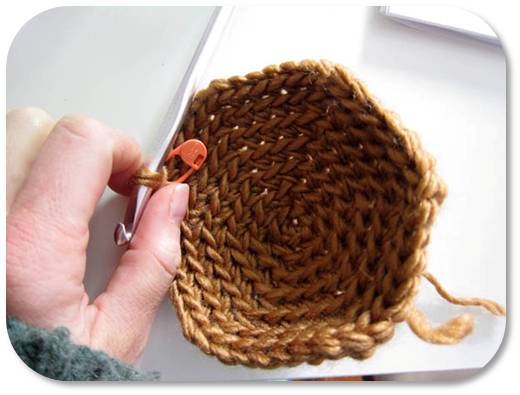
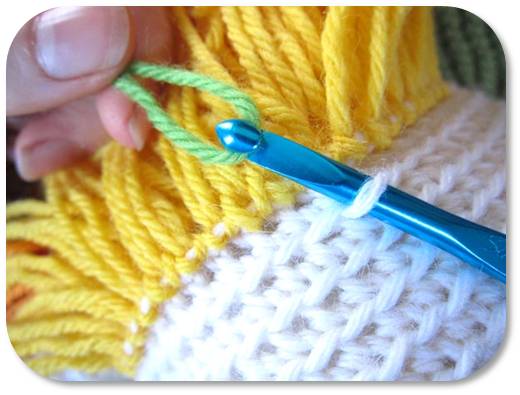
This method can leave a pesky hole between the legs. It’s super easy to stitch up using a scrap of yarn, but if you want to pull out that tapestry needle as little as possible, here’s a nifty variation on this method that will let you crochet standing legs with no hole. The downside is that you’ll need to tweak your stitch count a bit (adding in a couple of increases not in the pattern) but it’s a very minor adjustment.
I hope this video will give you the confidence to crochet standing legs and start making this fabulous amigurumi shape!
For a slightly more advanced shape (two shapes joined together with a bit more space between them) take a look at this tutorial – How to Crochet Two Rounds Together that Are Separated by a Foundation Chain.

Here are all the handy links to posts about crocheting standing legs. . .
- How to Crochet Standing Legs
- How to Crochet Standing Legs with No Hole
- How to Crochet Four Legs Together
Return to the main table of contents for Let’s Learn to Crochet Amigurumi.
Move on to the lessons showing how to change colors.
Happy stitching!