Bead Crochet, part 2

Continuing to Practice Bead Crochet

Remember a couple weeks ago when I learned bead crochet? I was instantly hooked… so I’ve kept at it!

Last time, I made a very small piece, but not a full piece of jewelry. This week, I stepped up to a bracelet project from Bead Crochet Jewelry… and I’m very proud!

It’s in fabulous summer colors… and let me tell you, I’m hooked!

Lessons and Future Plans

I love my bracelet, but having a ‘bangle’ without a clasp is a little tricky: it needs to be large enough to fit over your hand, but then it seems quite large on the wrist. This means that it sorta gets in the way while wearing it… since I’m the type who moves around a lot!

My future plans are:

  • A bracelet with a clasp
  • A lariat (a necklace that’s just a long rope that you fasten by tying)

It’s so much fun… I didn’t think I’d take to it like a duck to water! I highly recommend Bead Crochet Jewelry… the great explanations are what made it so easy for me to get hooked!

Have a fabulous crafting weekend… do tell me what you’re up to!

Learning Bead Crochet

Goals for Bead Crochet

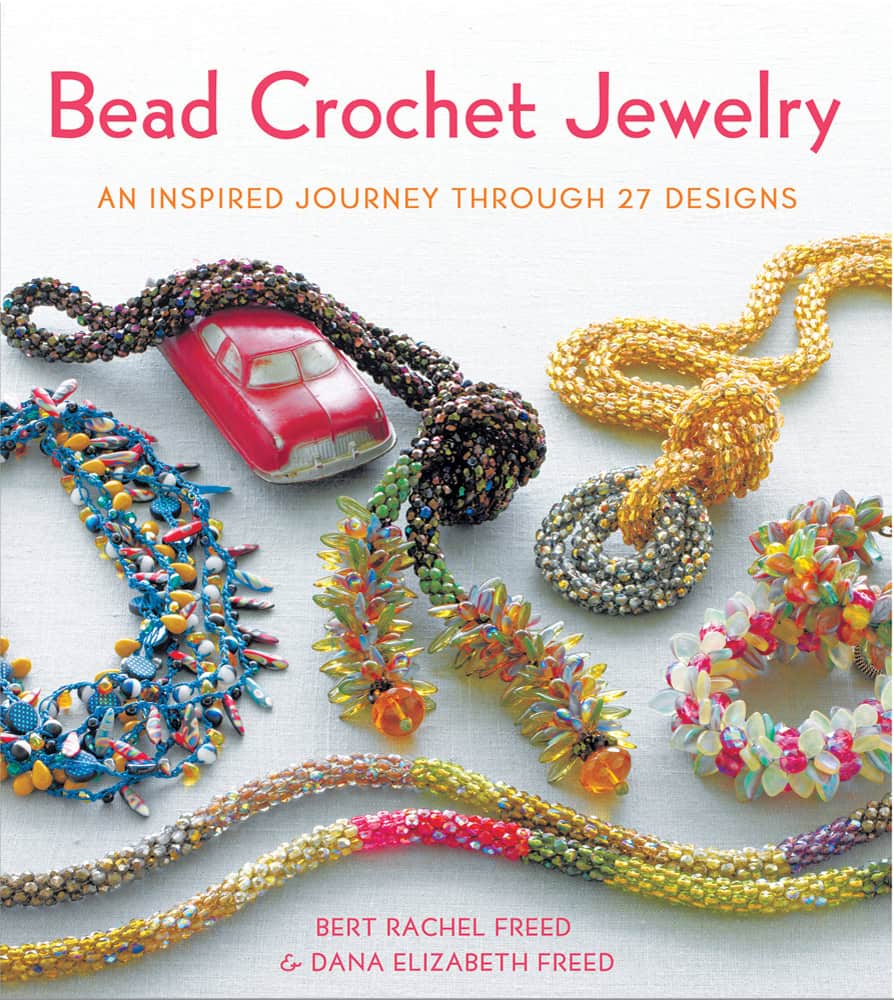
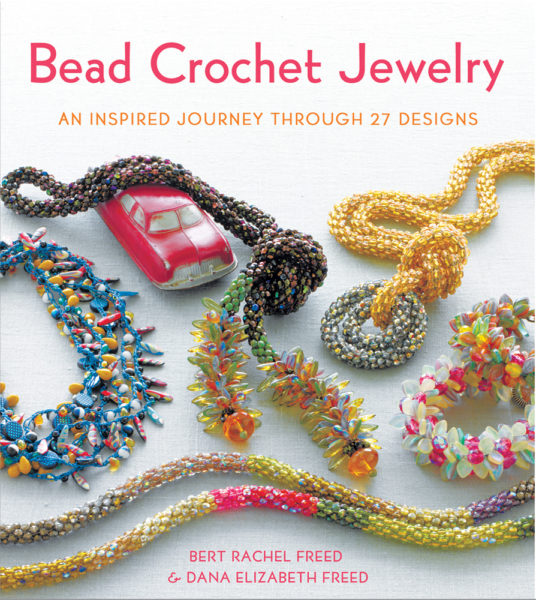
I got a copy of Bead Crochet Jewelry, and the jewelry looks amazing!


Bead crochet is a little different than regular crochet, and gives you a piece with a totally unique look. To bead crochet, you pre-string a lot of beads, and then (basically) slip stitch around a 4 stitch round (or more stitches, if you’d like). While slip stitching, there’s a certain technique for incorporating the bead appropriately into the stitch.

My long-term goal is to make myself a few fabulous necklaces! But, that’s a bit much for one Saturday! So, my goal this week was to:

  • select beads and thread appropriate for a starter project
  • string beads (you need to pre-string a LOT of beads!)… and see whether it would drive me bonkers
  • learn the basic technique for bead crochet
  • fasten off my work

My Resource

Now that I’ve completed my first (albeit, small) bead crochet project, I have to tell you: this book is fabulous! Bead Crochet Jewelry is written by a mother and daughter (who I had the good fortune of meeting at TNNA), and it’s completely obvious throughout the book that this duo has a passion for bead crochet and are skilled teachers!

The book is organized by difficulty level (really helpful for us newbies!), and choc-full of helpful tips and step-by-step photos. I’m not going to fib: bead crochet is pretty different from regular crochet, and I had some trouble manipulating such thin thread early on. But, I persevered because of the great instructions (and dreams of future projects), and I couldn’t be happier!

My Materials

I checked out my local craft stores, and none of them carried the type beading thread that was recommended in the book. So, I ordered my thread (and some beads, while I was at it!) from eebeads.com.

What I Did

I’ll admit: since I’m a pretty proficient crocheter, I thought I could start straight away on one of the projects, and skip over the advised practice. I was wrong.

Bead crochet requires a new way of interacting with the beads and hook… and that’s really hard to do for the first time with bead thread.

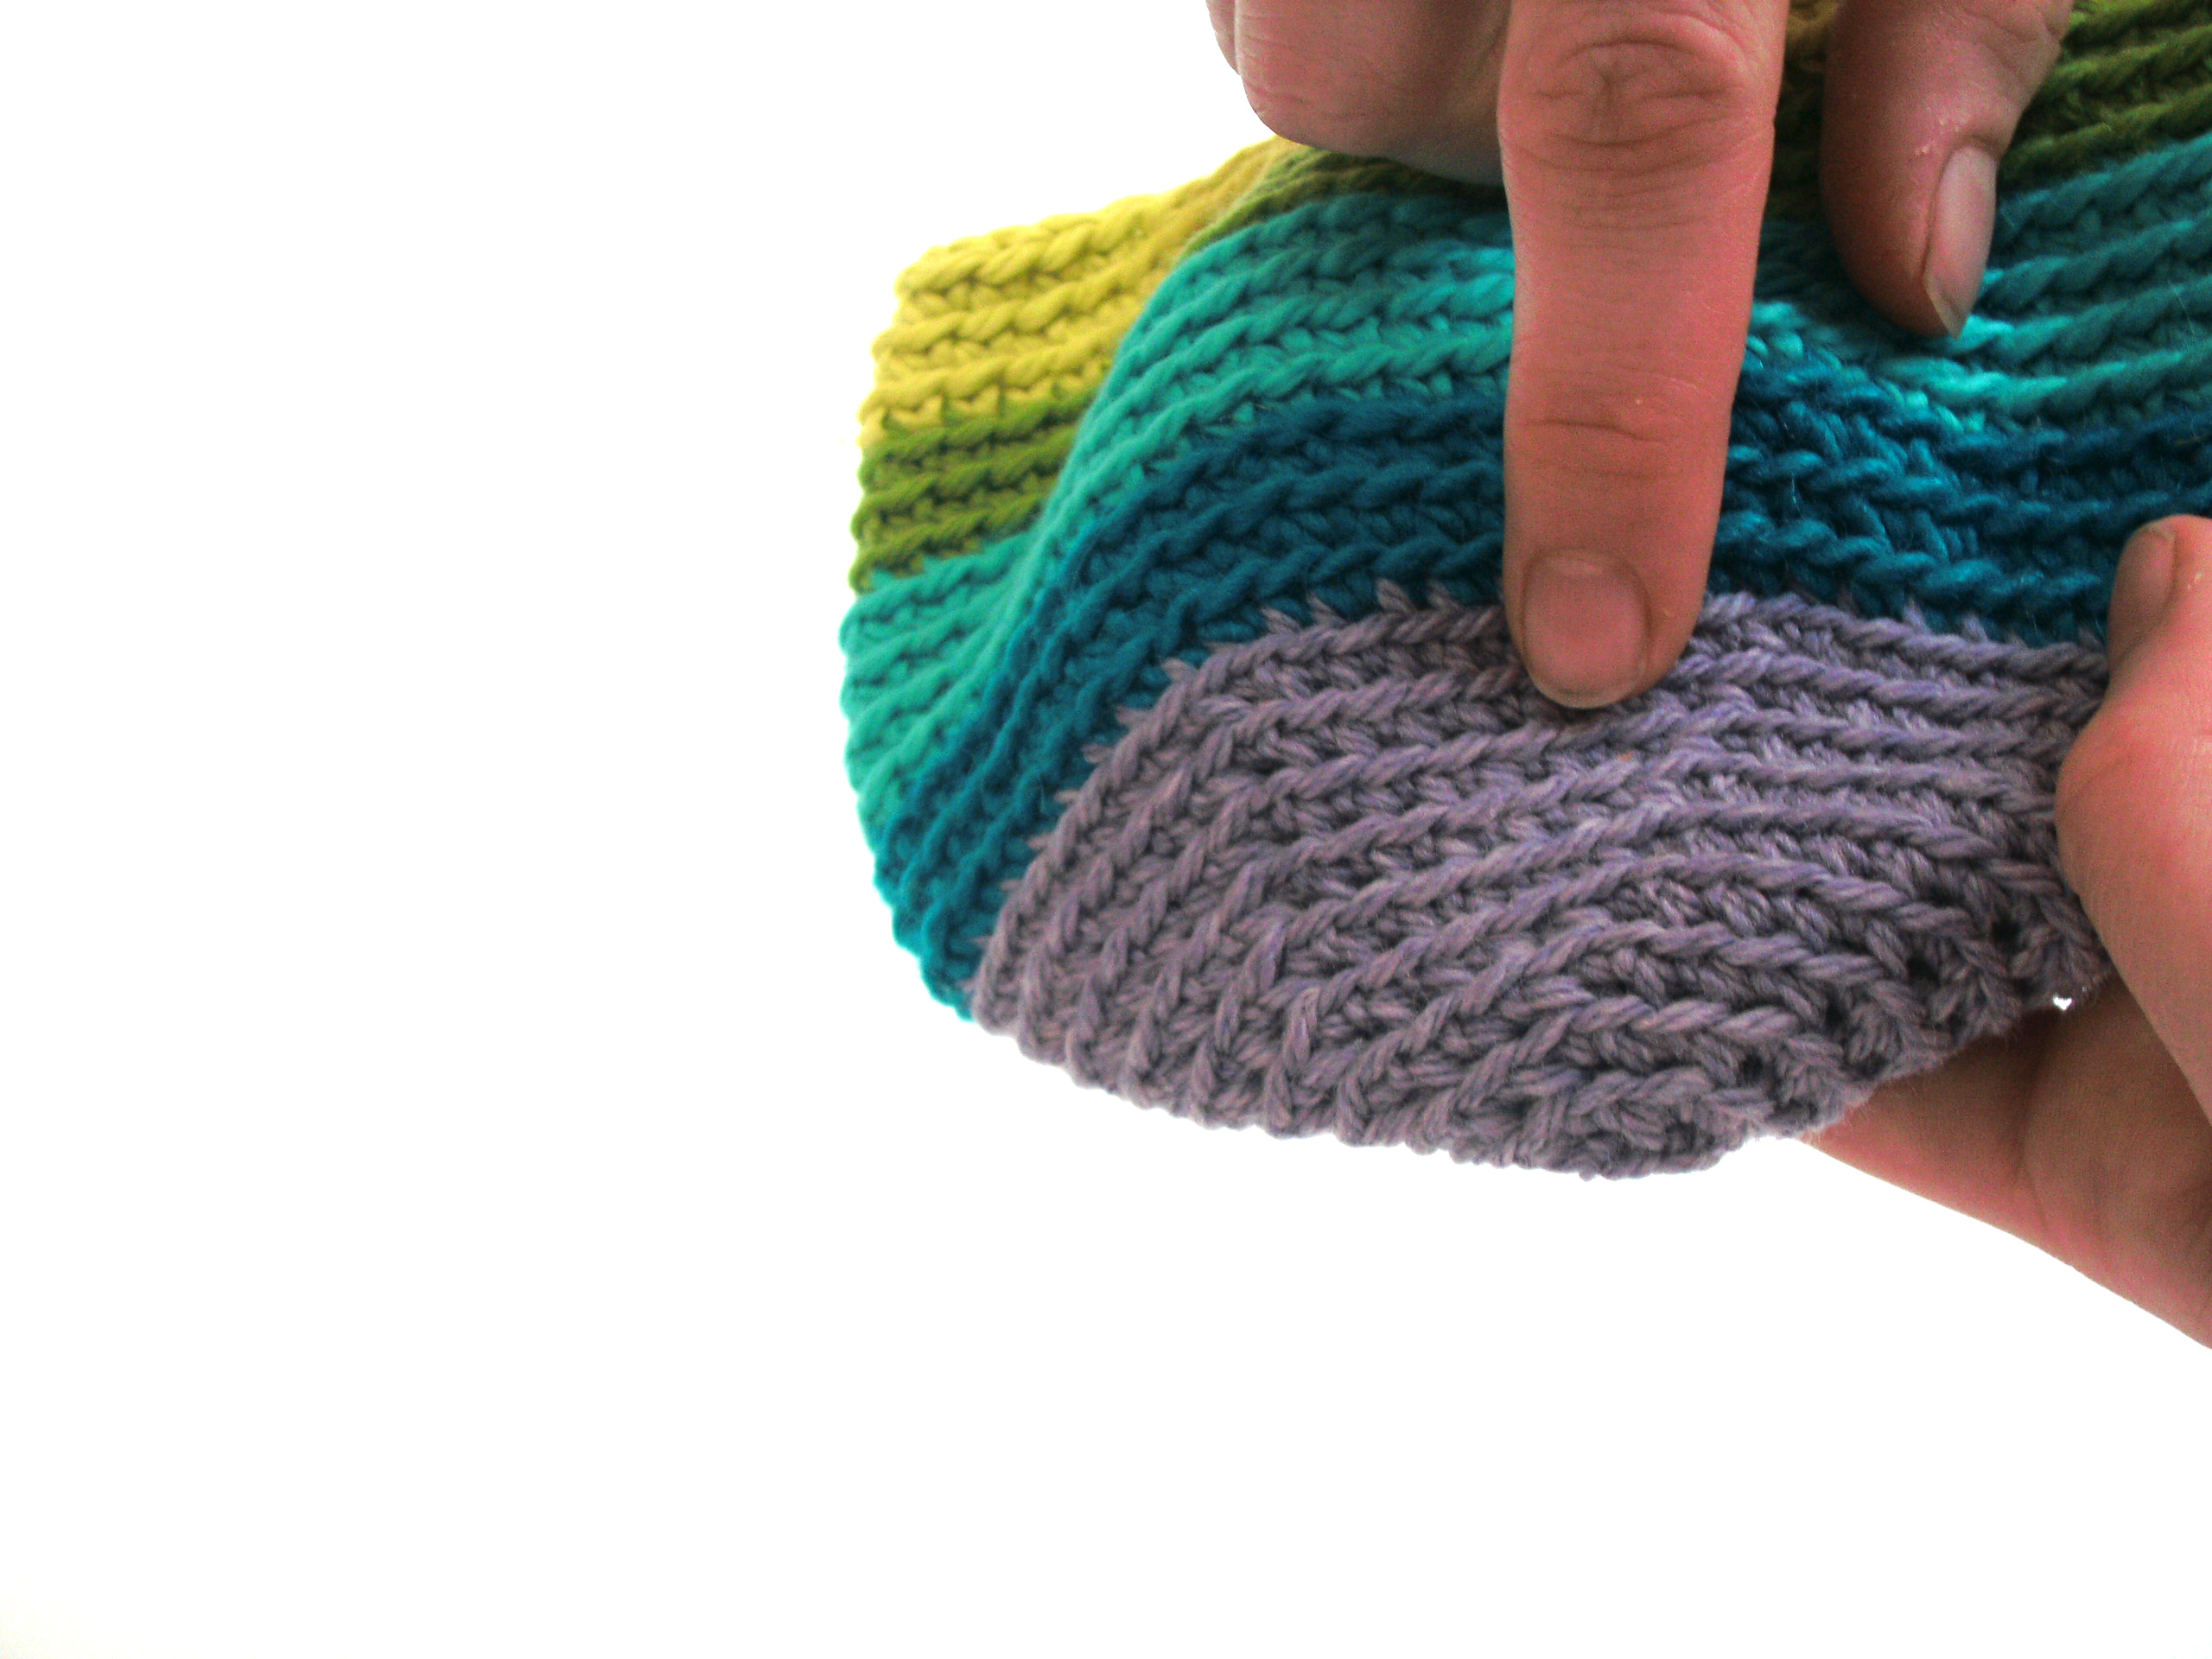
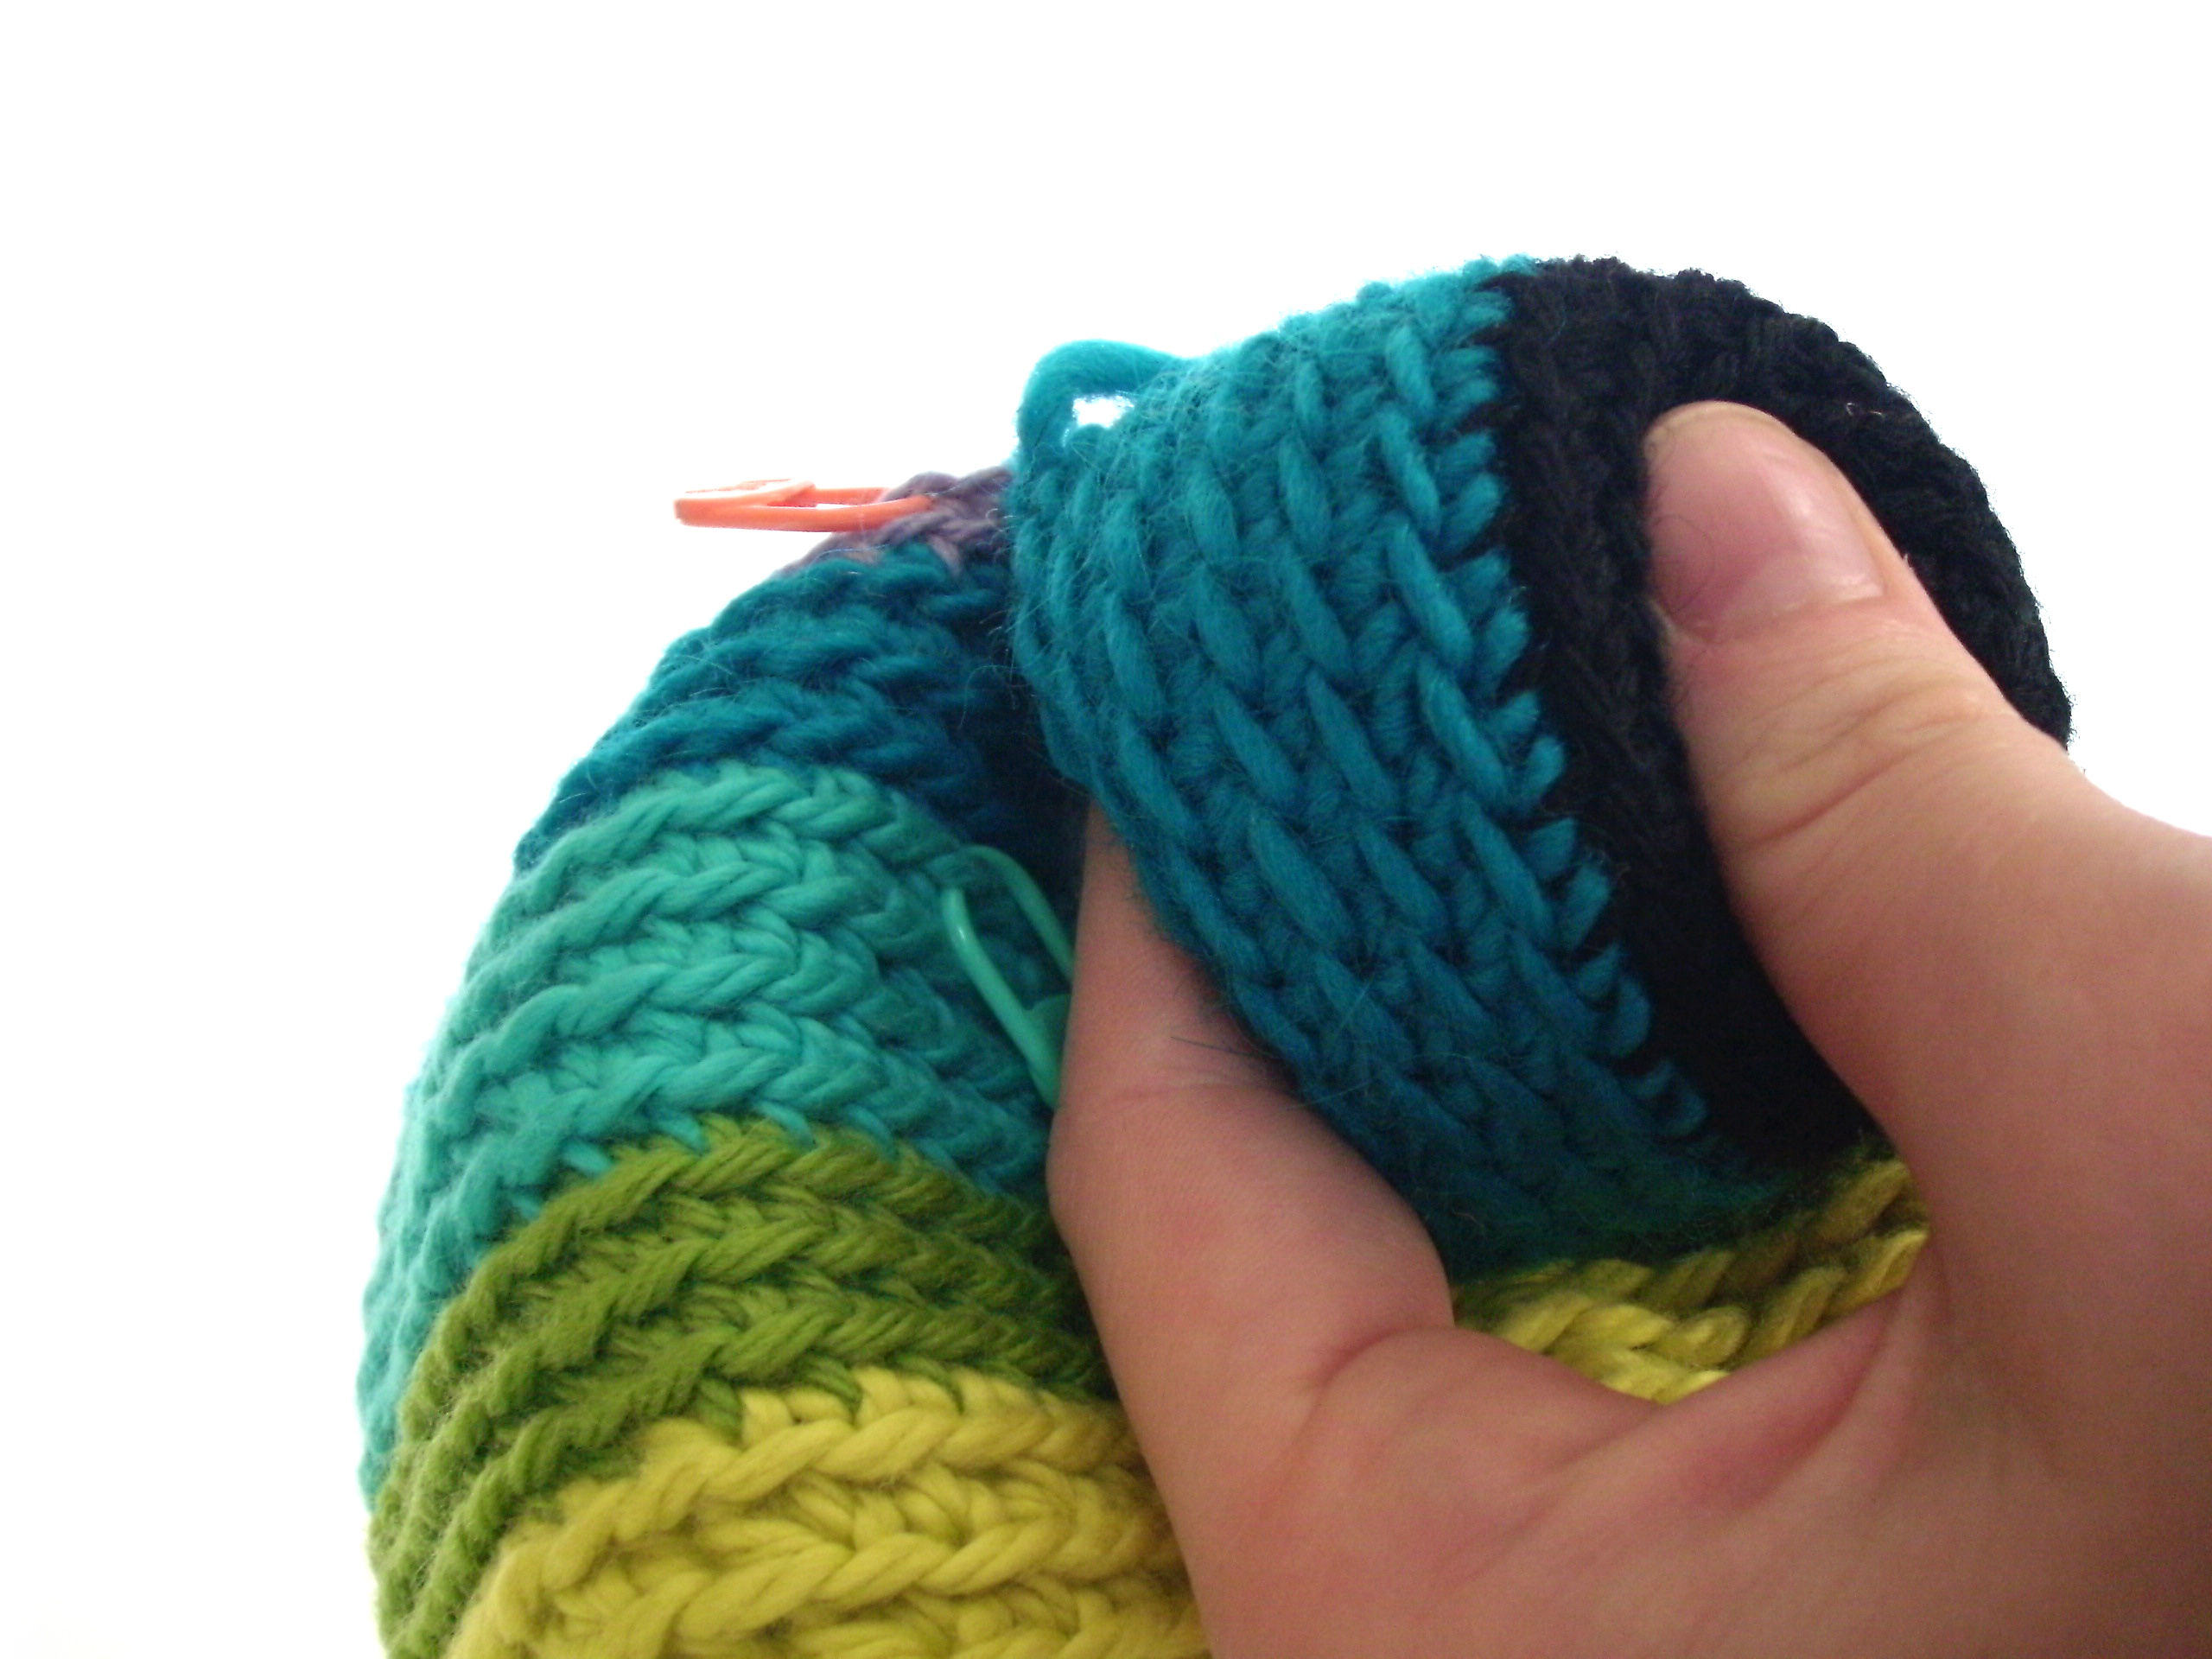
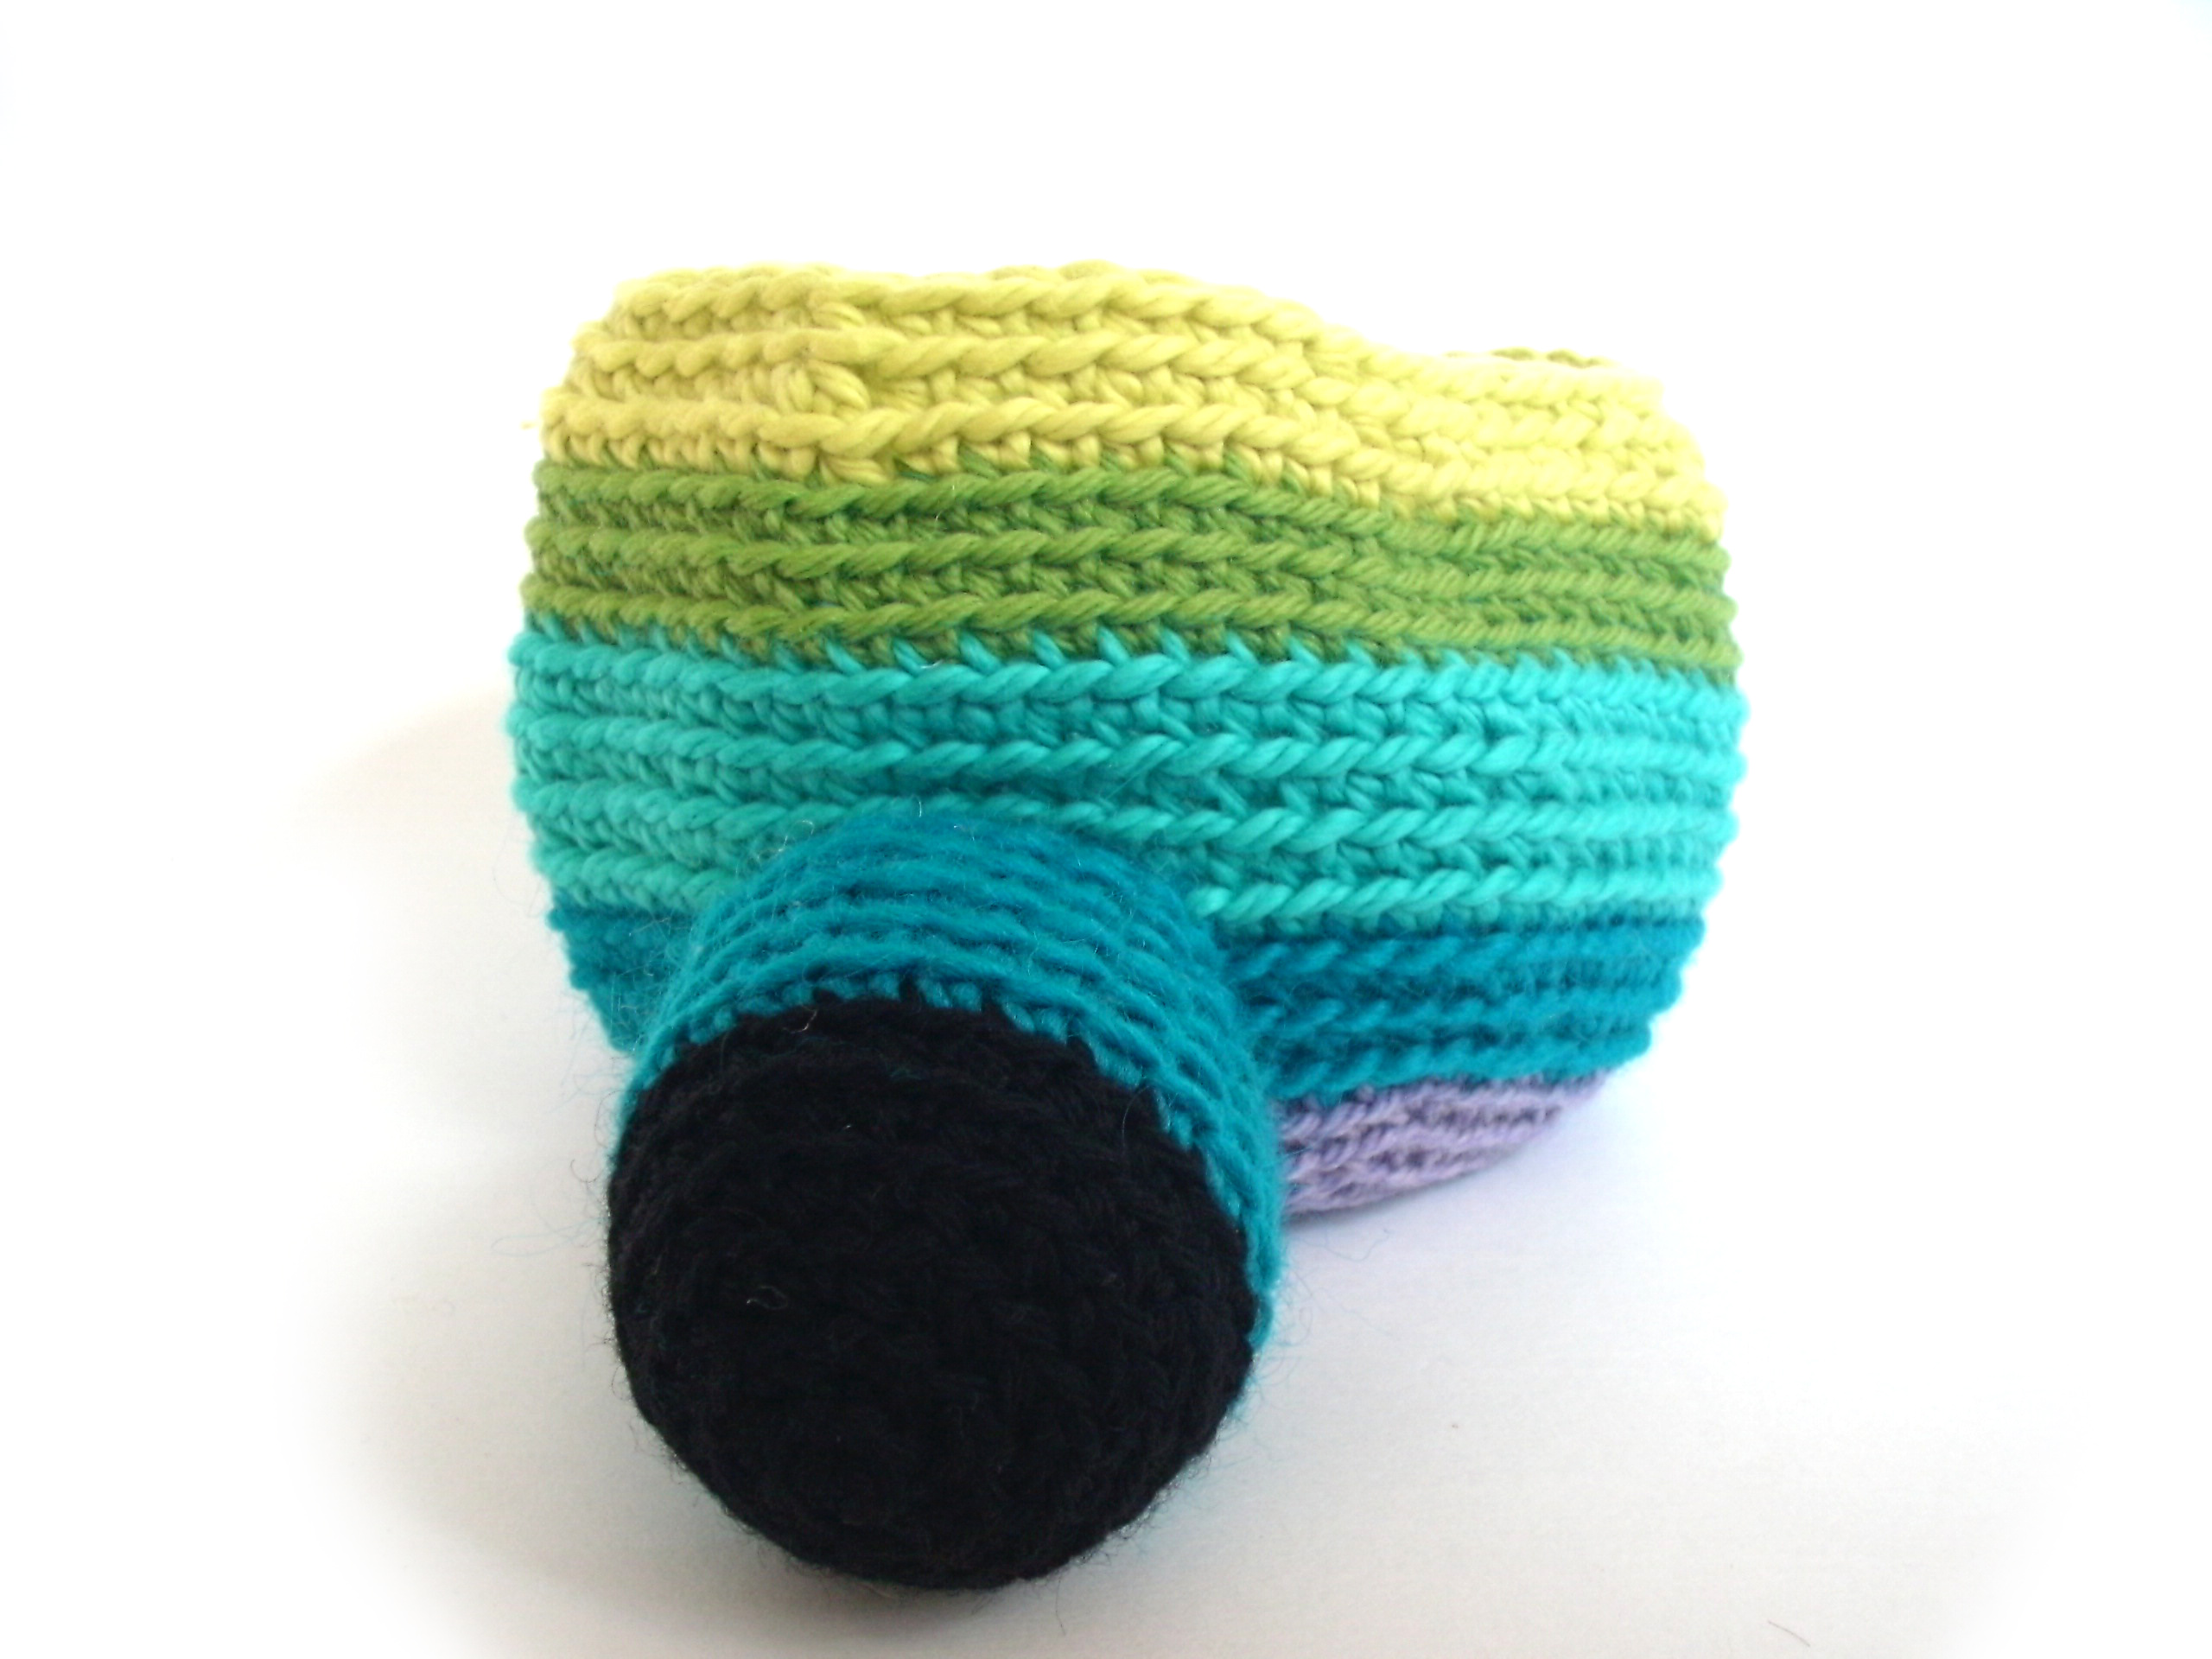
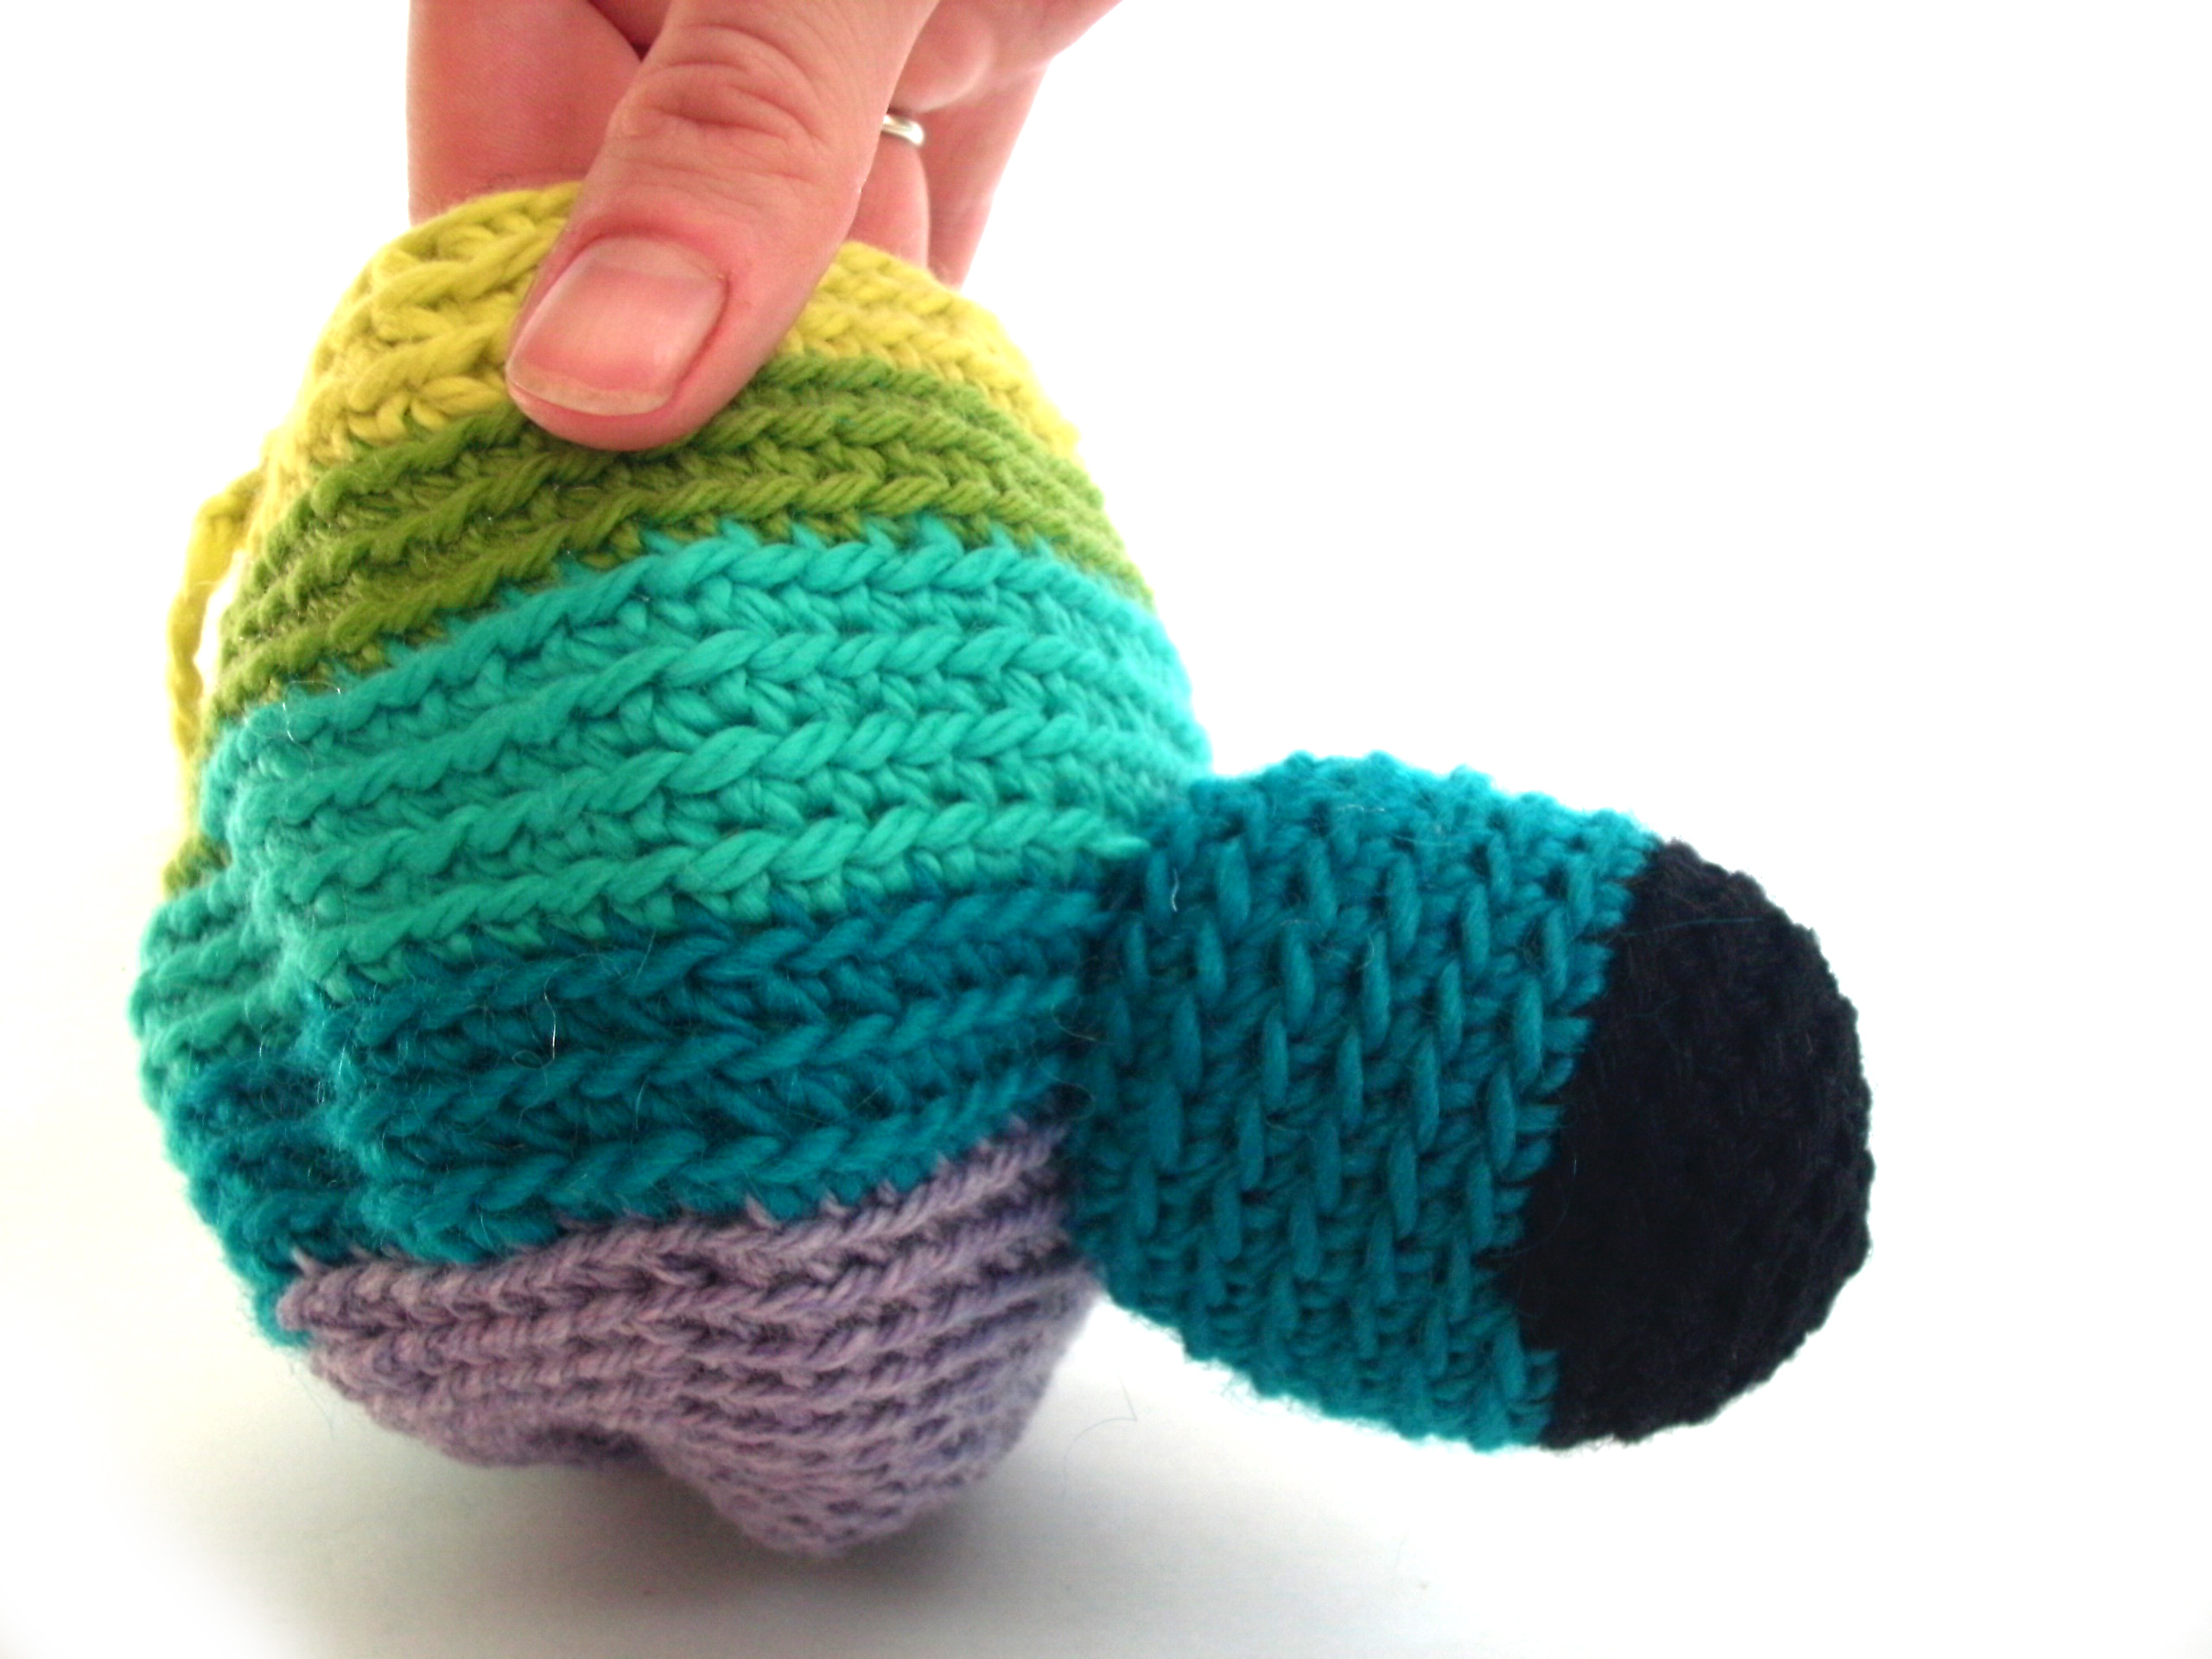
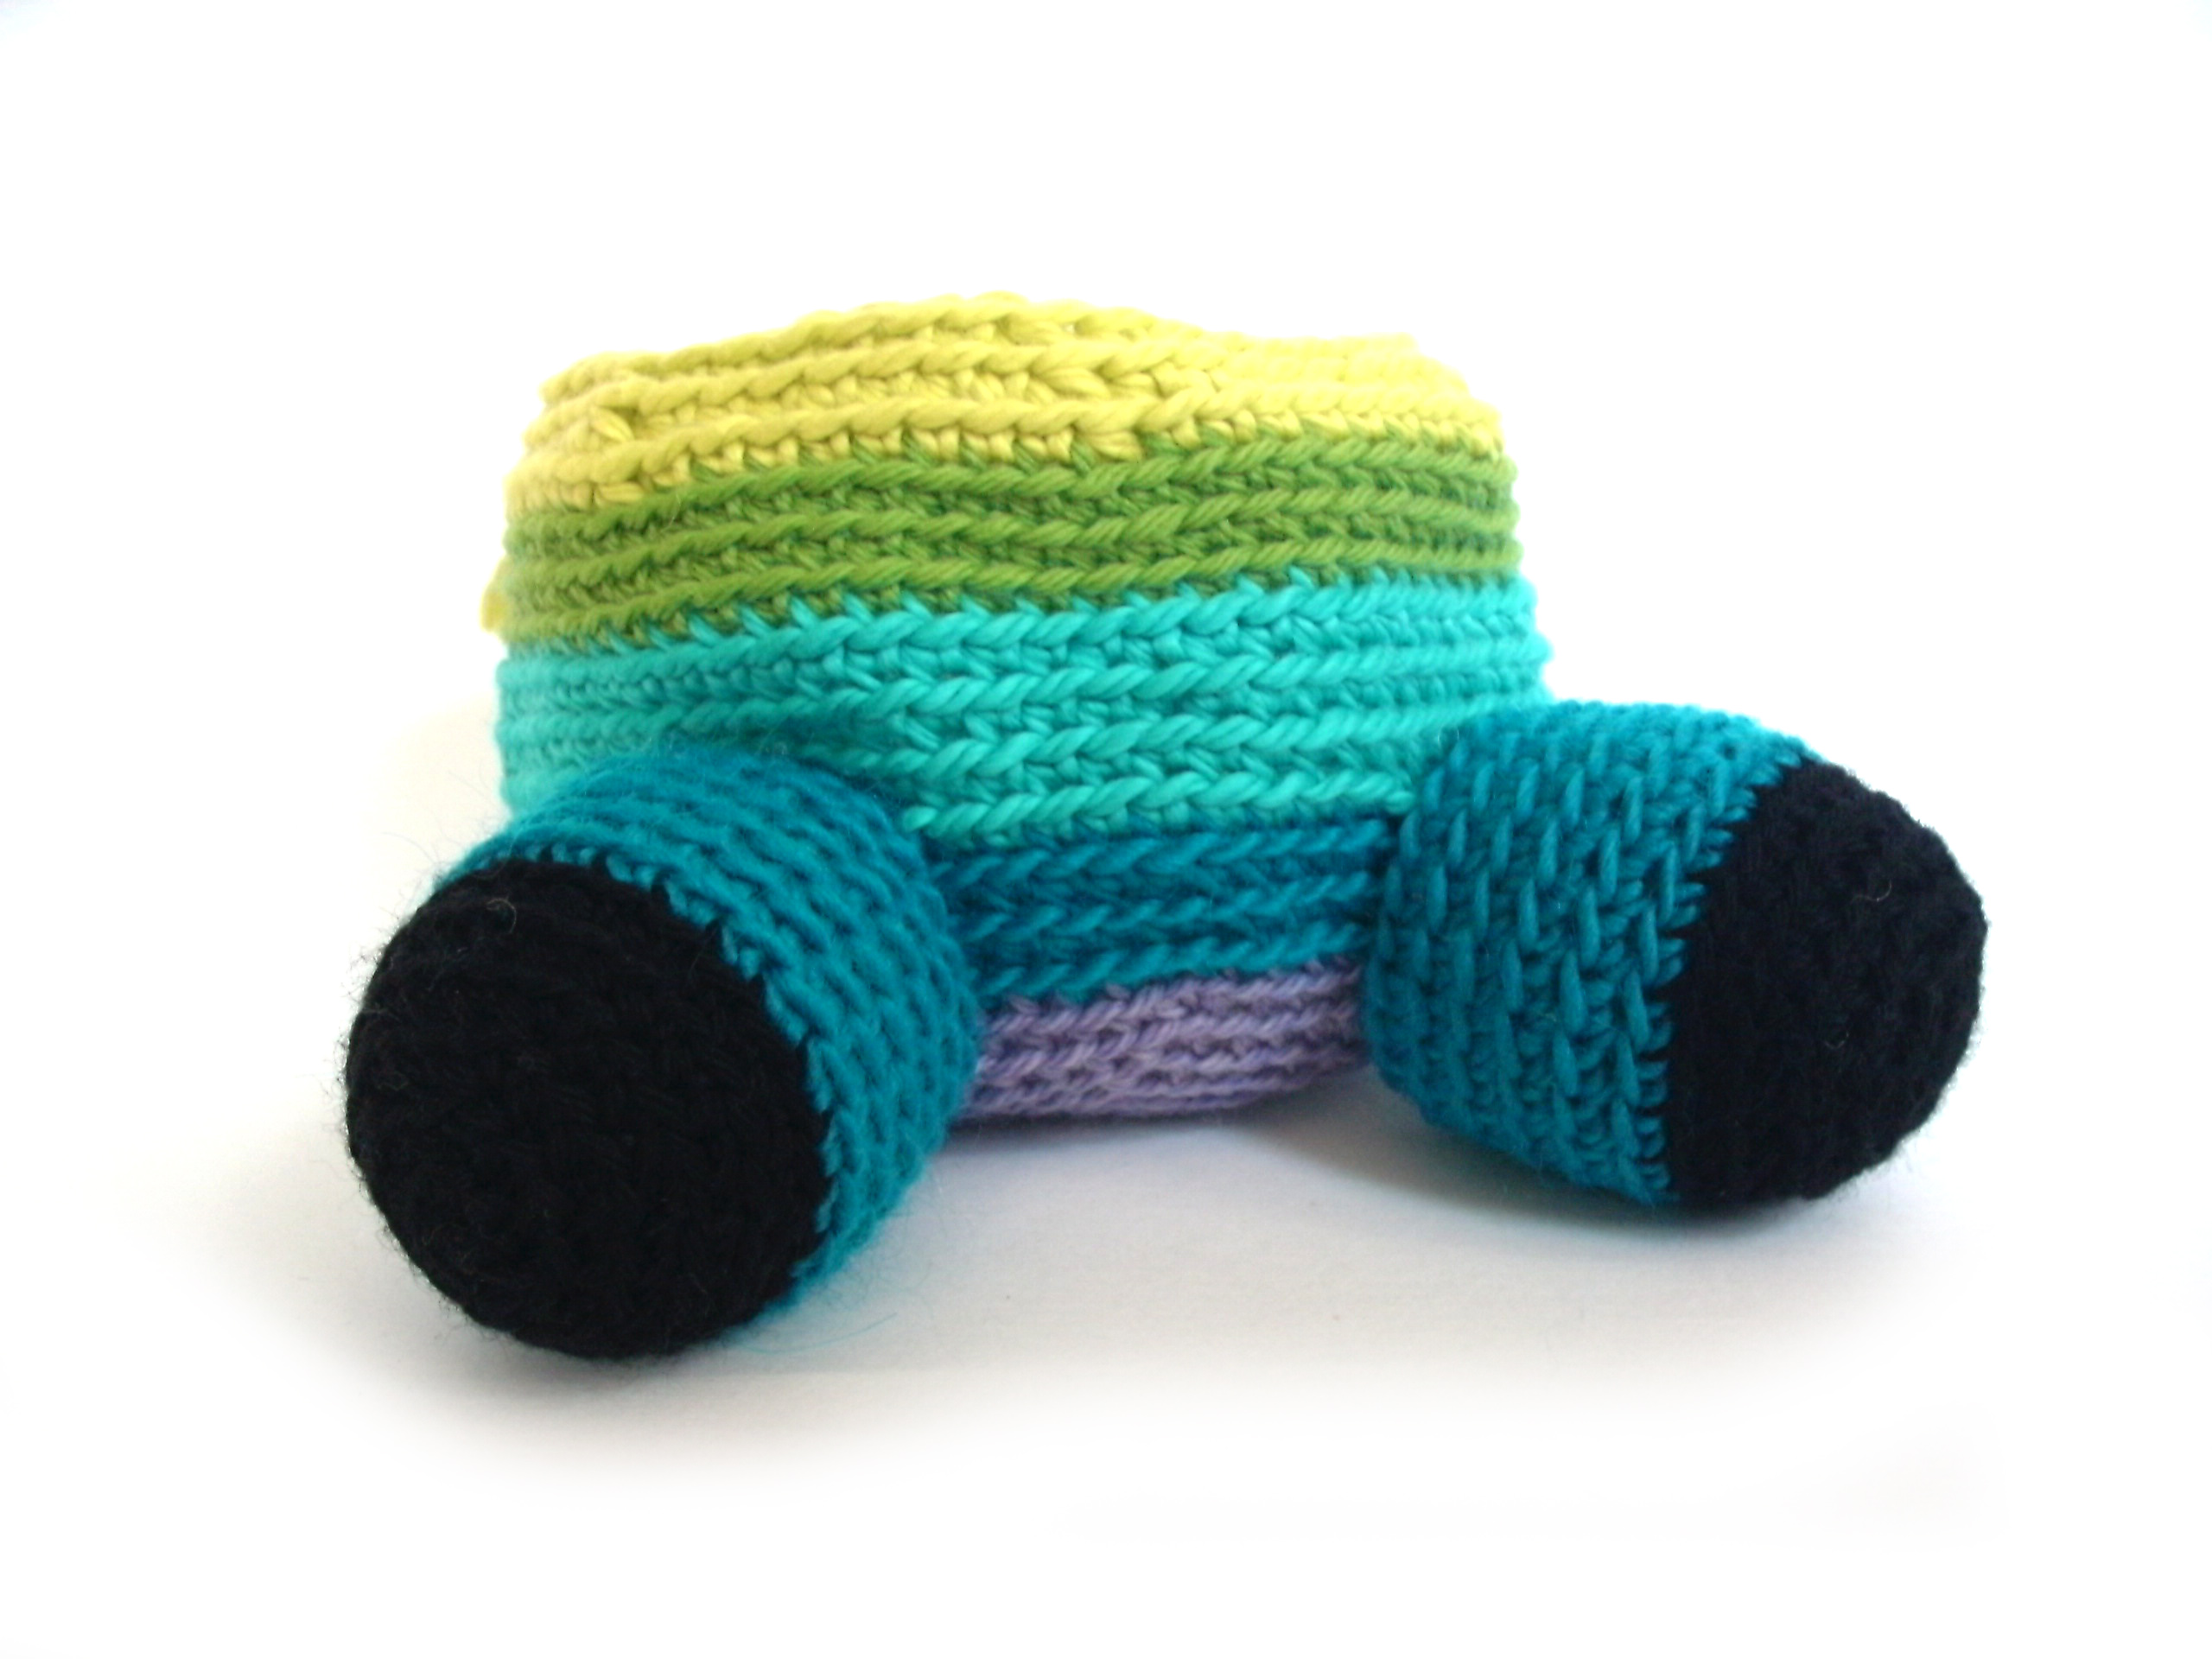
I began by stringing a pretty collection of beads. However, not only was the thread tiny (and I had no idea what I was doing!), the beads were slightly different sizes, making it a tough 1st project! So, after struggling a bit, I took the book’s advice and did a practice piece with yarn and jumbo beads:

I’m so happy that I did! Even though it doesn’t look fabulous, it allowed me to get the basic technique and get my fingers used to what they were supposed to do!

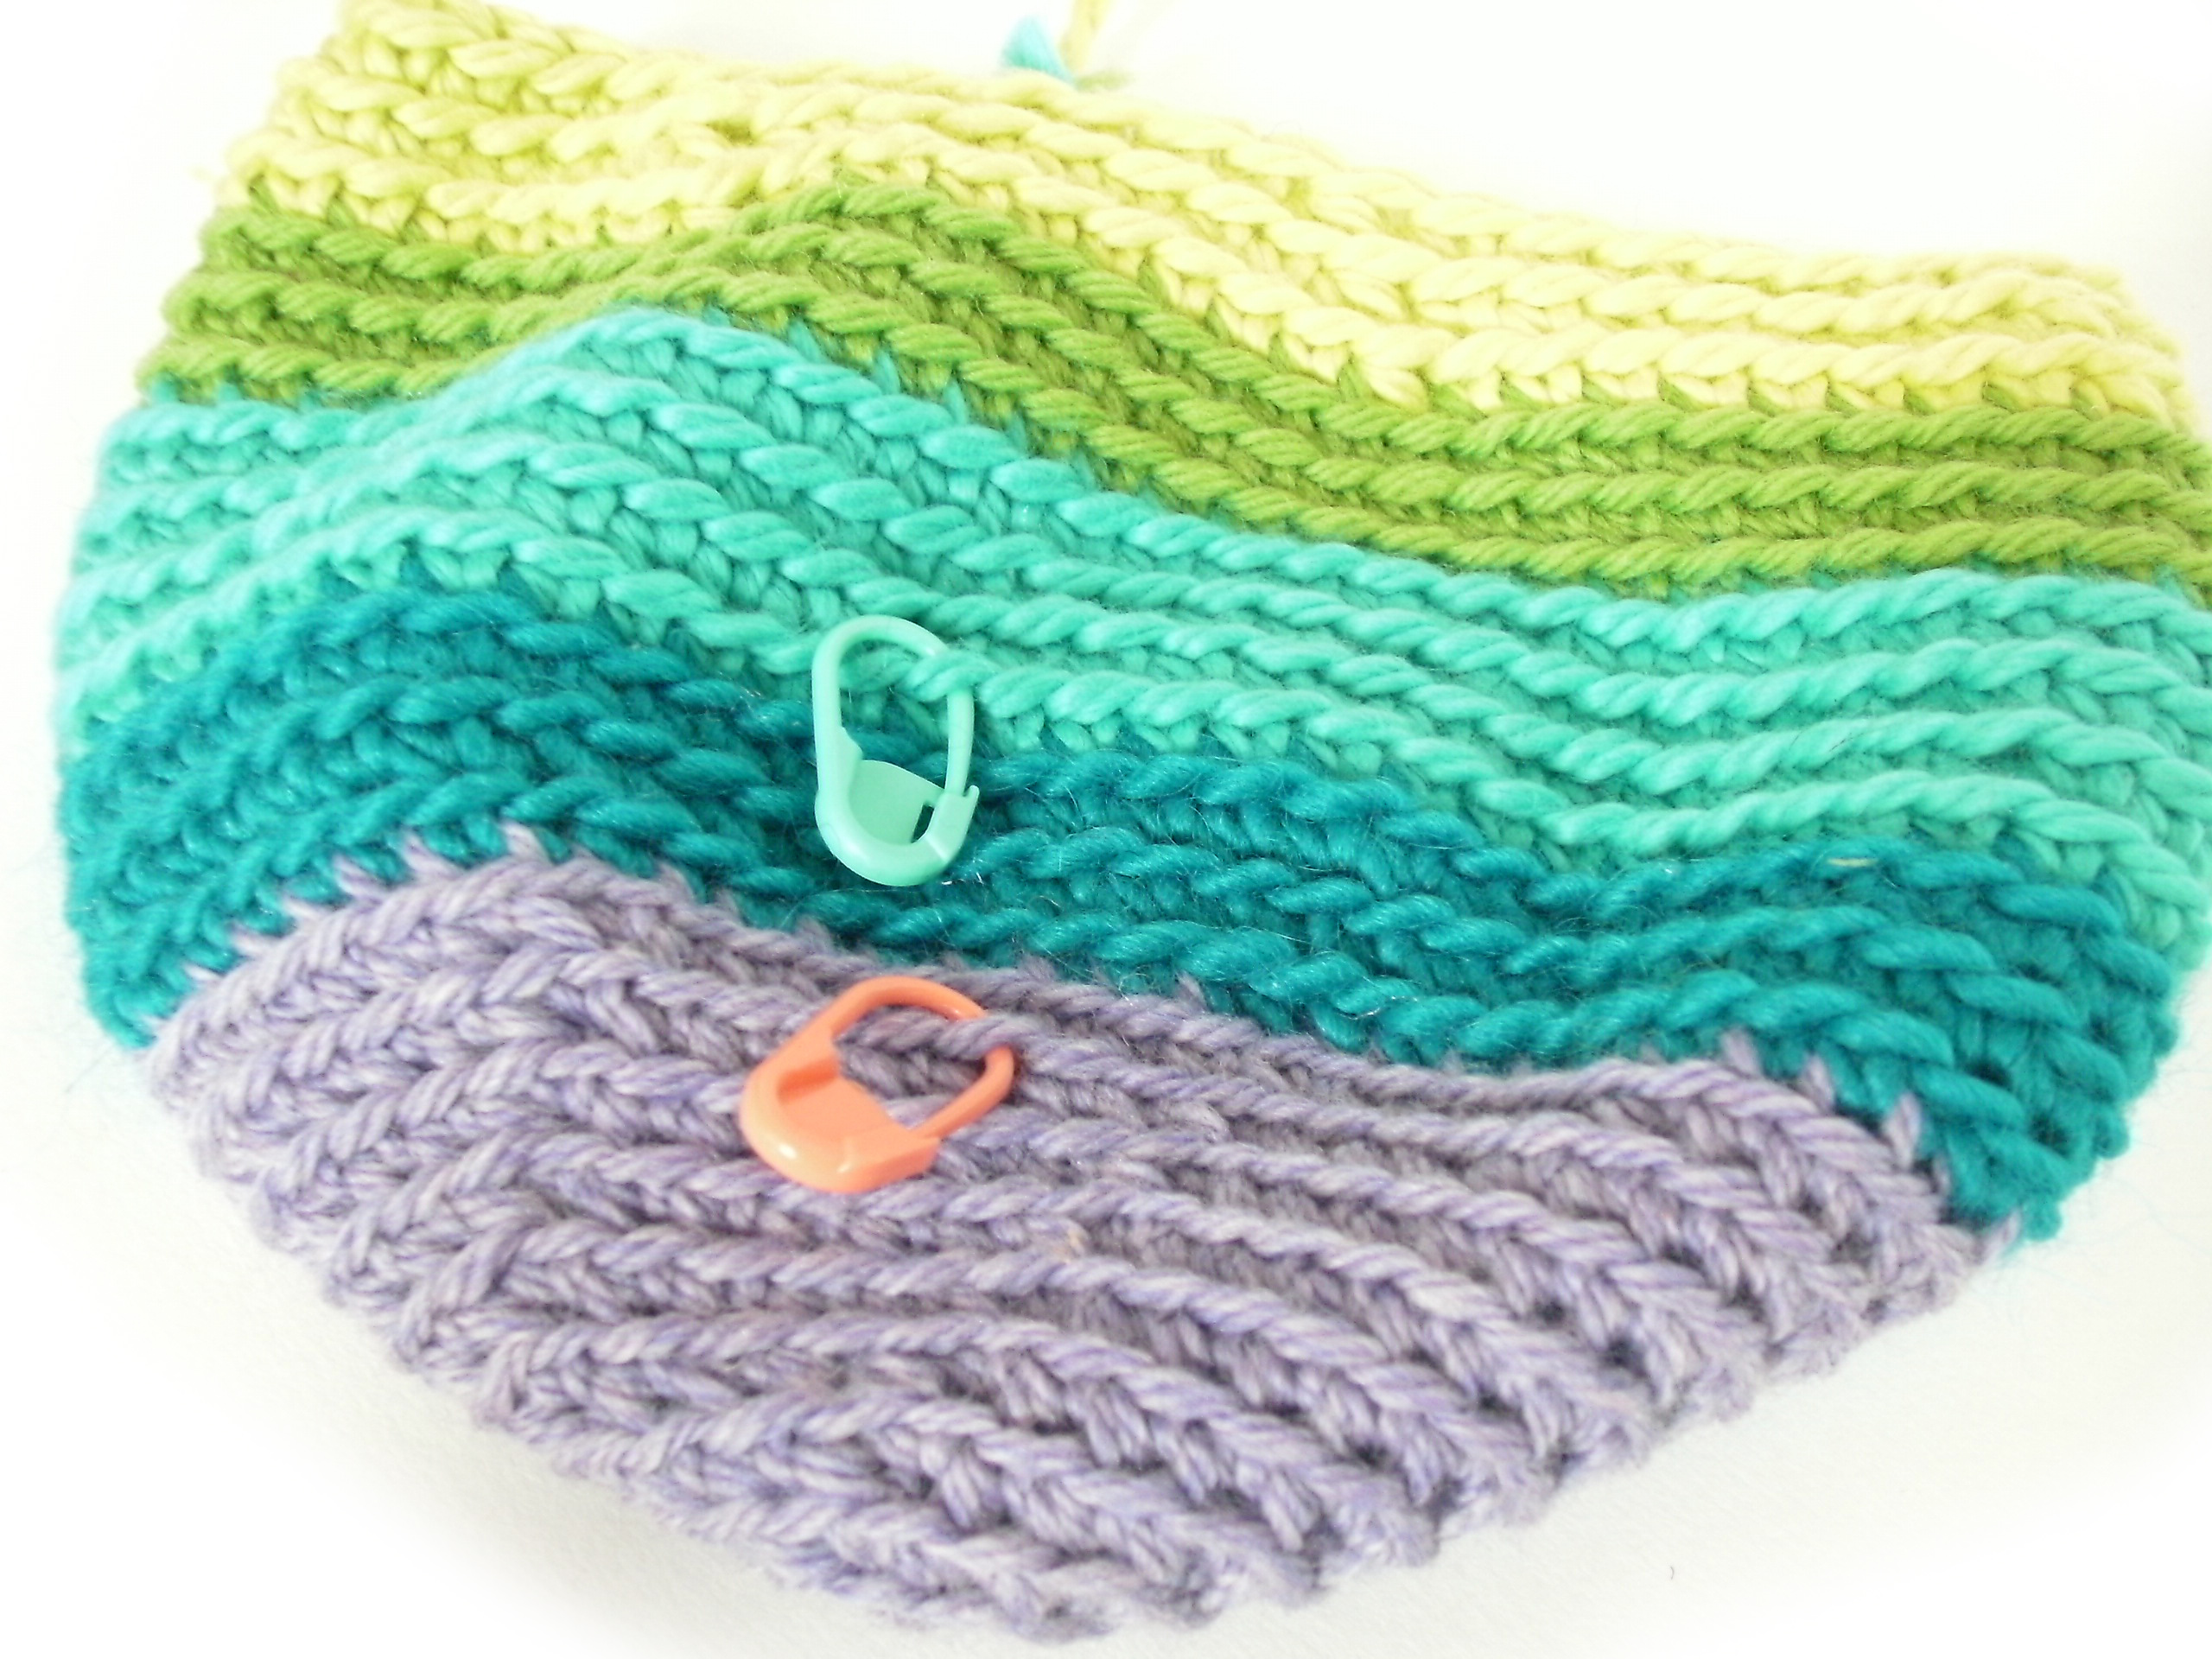
Next, I strung seed beads for my real project! I decided to use all identically-sized seed beads to make it easy on myself. I was delighted to discover that the crocheting was much easier now that I had some practice under my belt.

Isn’t it pretty? Look how nicely the colors are swirling! Yay!

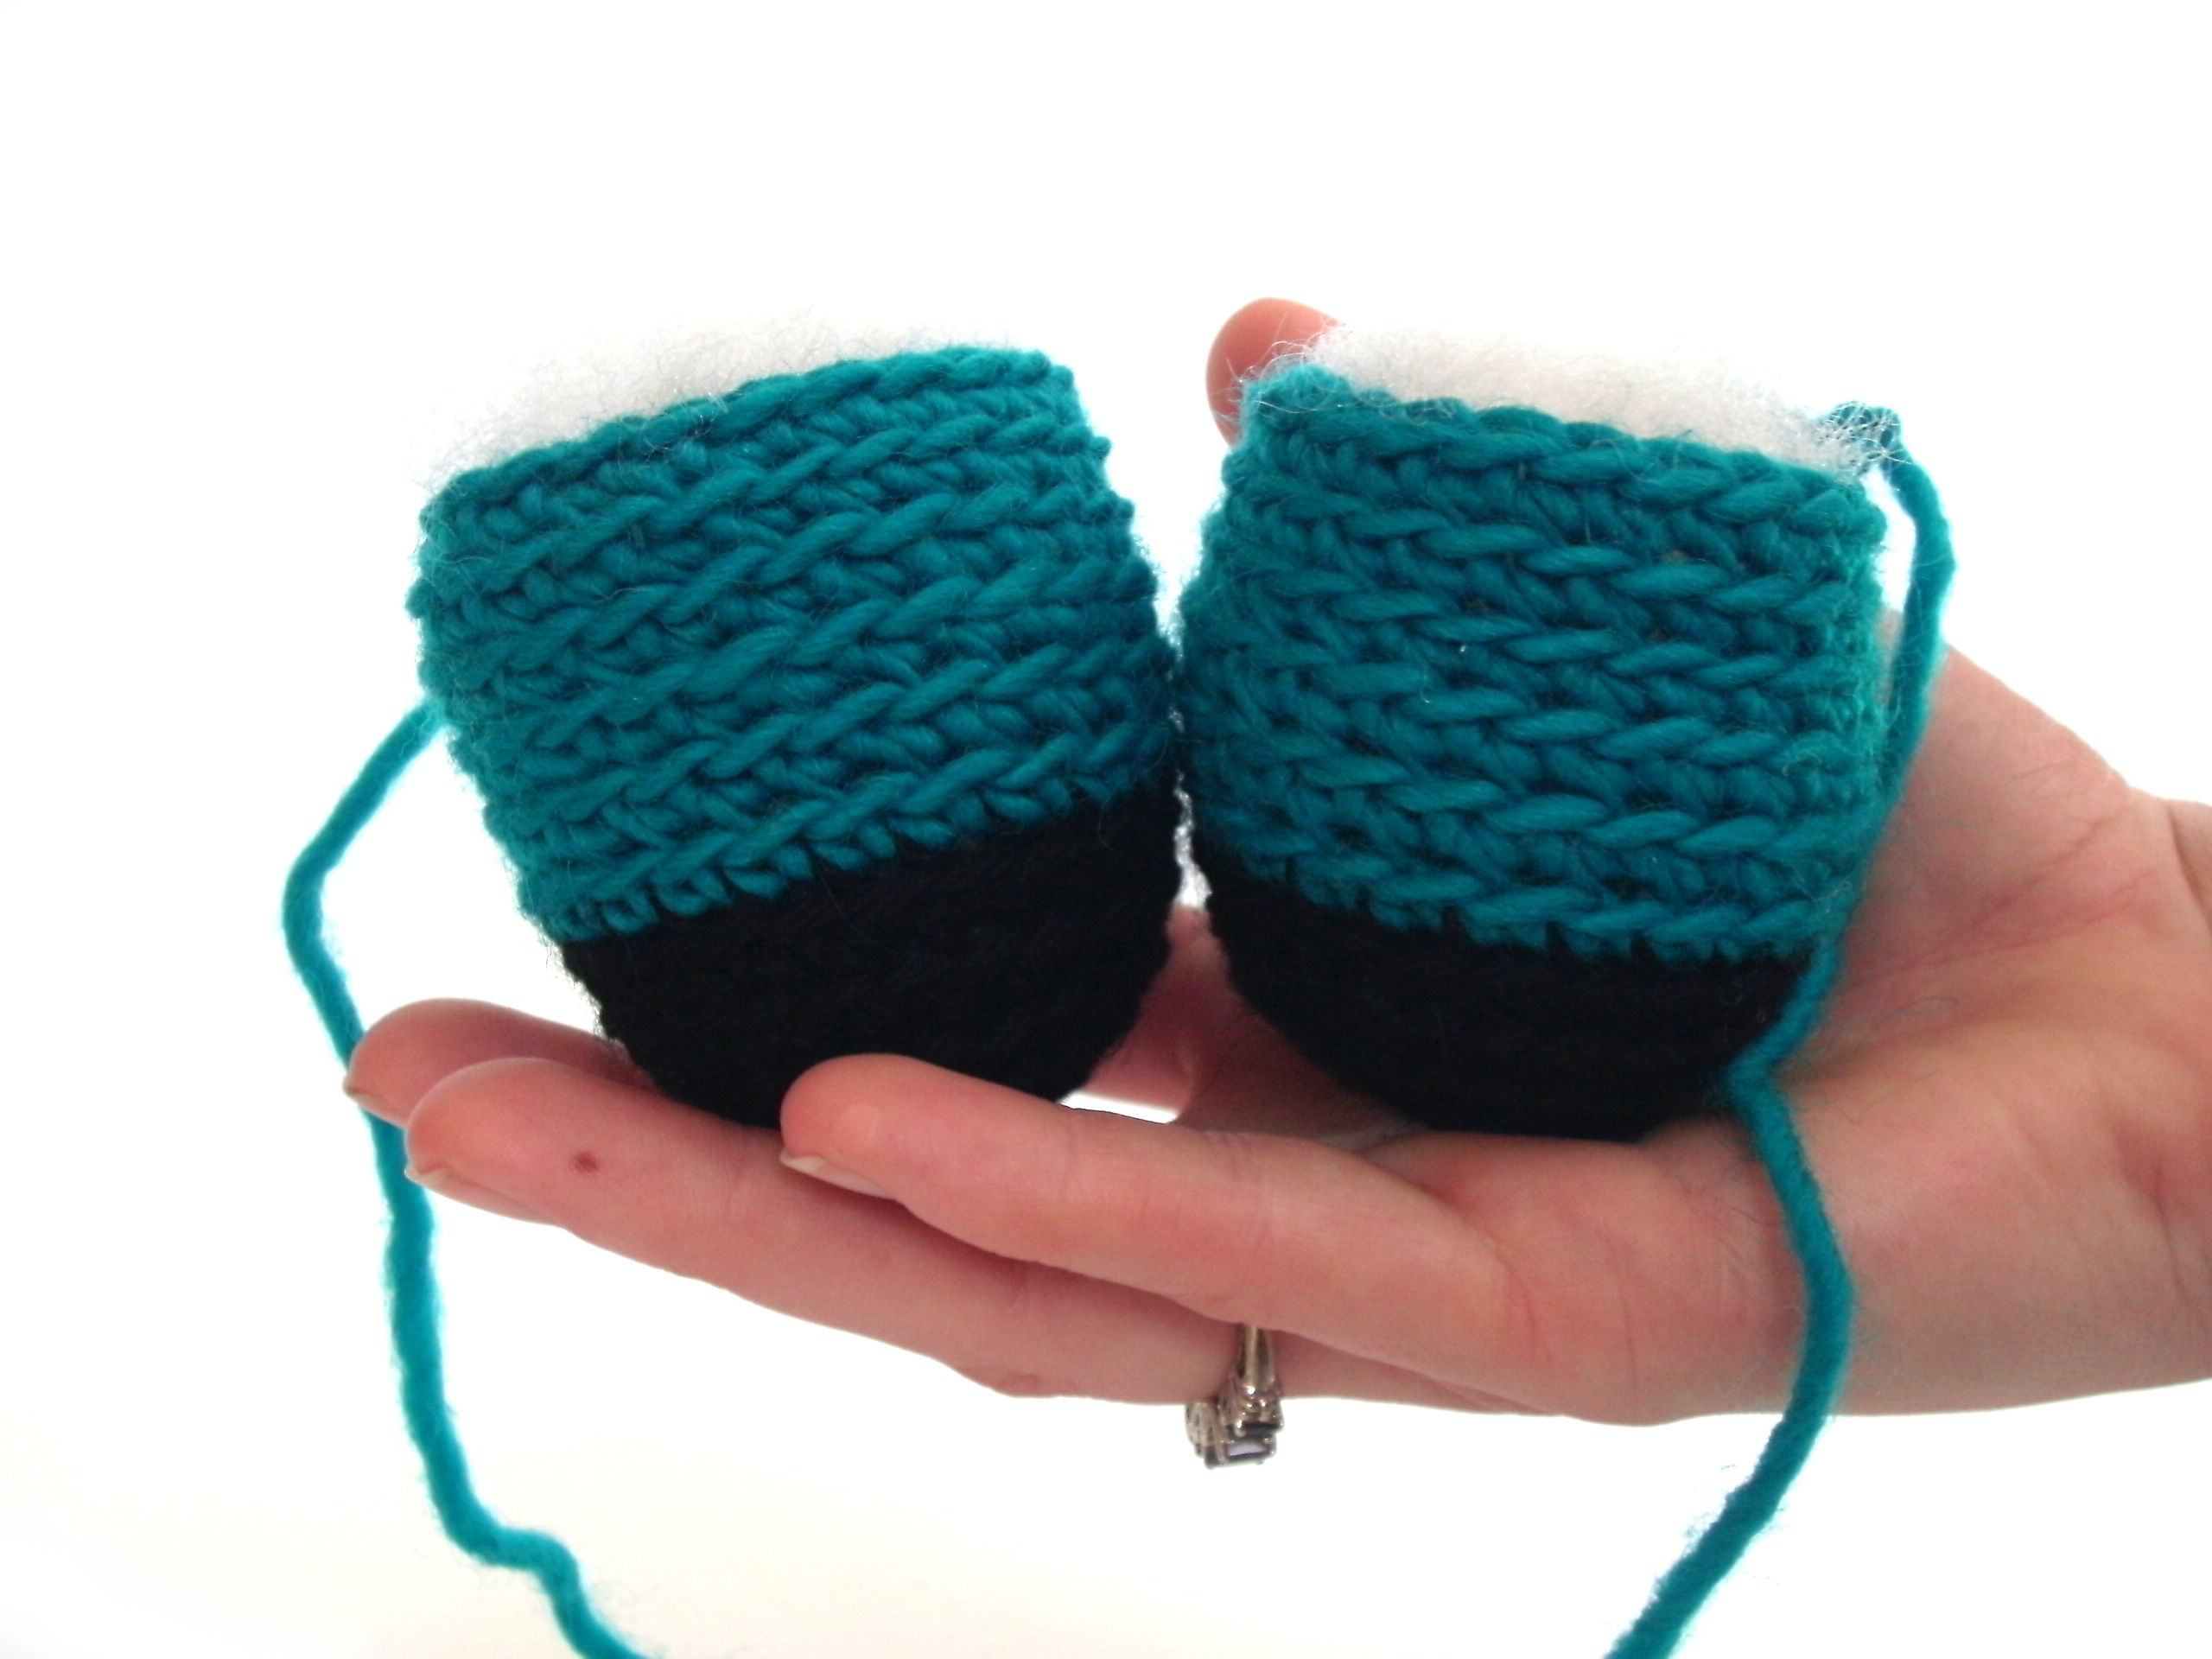
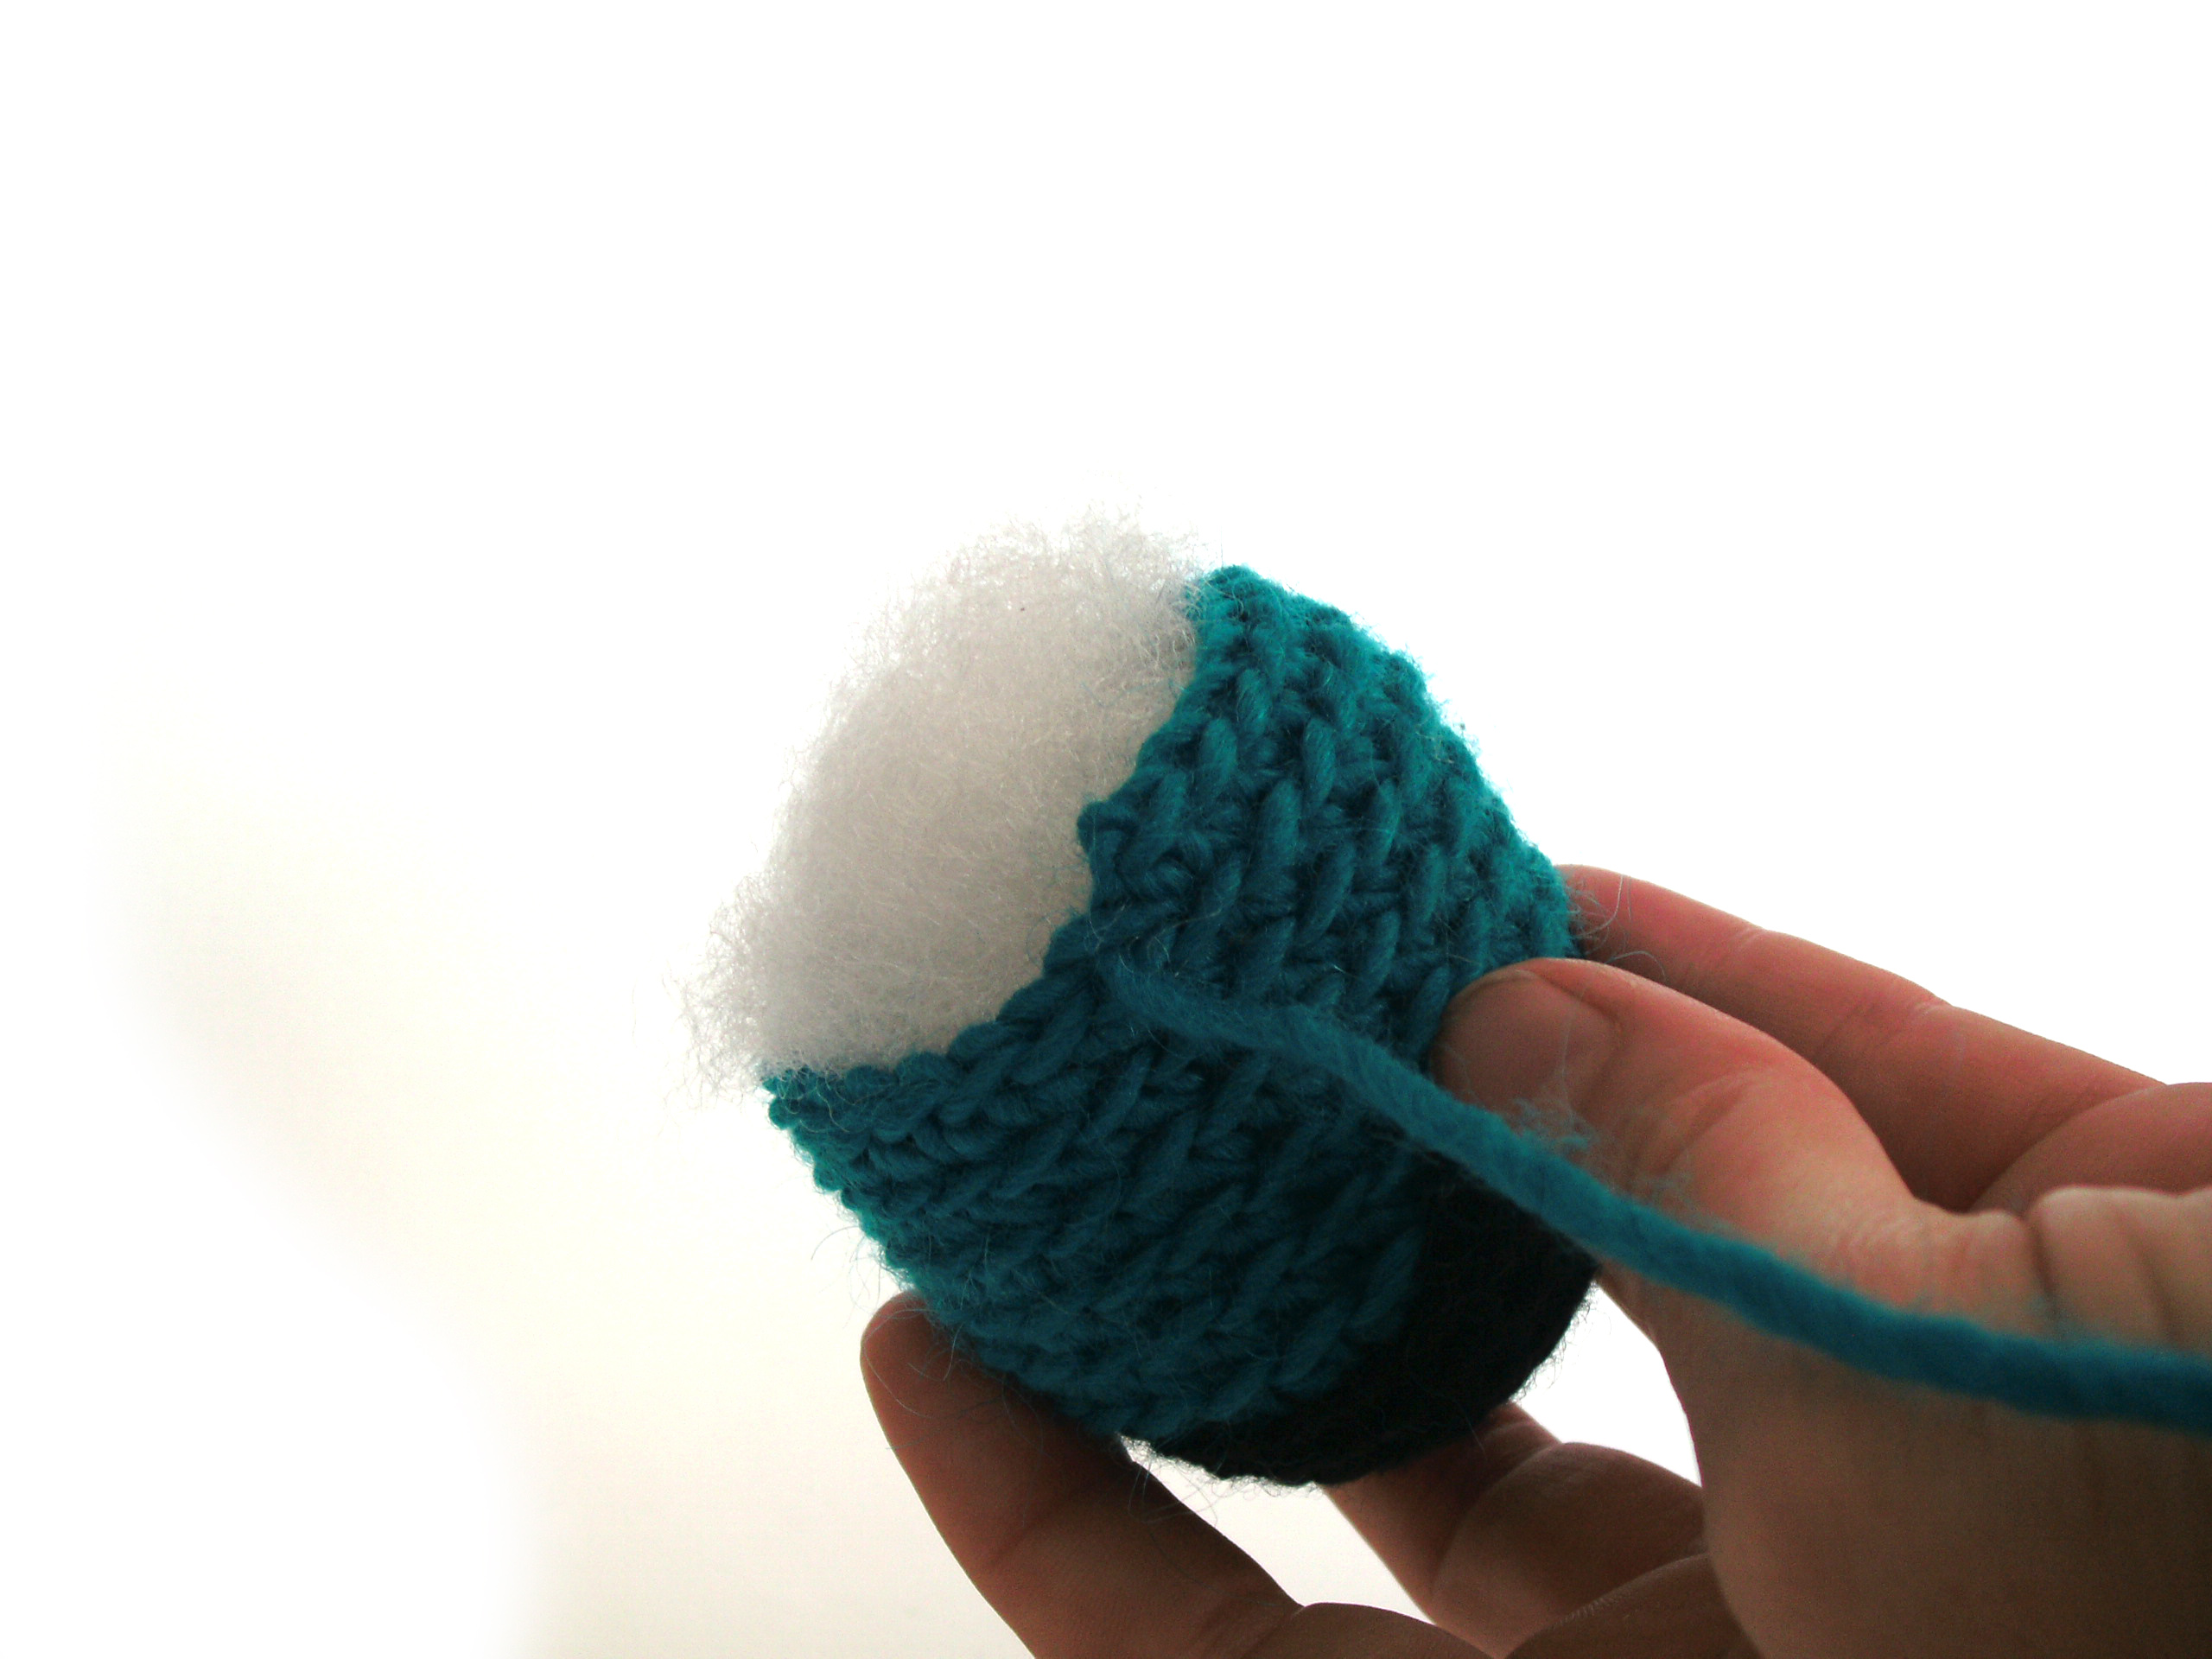
I even finished off my piece in a circle. I have no idea what I’ll use it for (turns out that I strung on too few beads for a bracelet), but I’m so proud!

What I Learned

Most importantly, I learned that I like bead crochet! I was very worried that I would find the pre-stringing and tiny thread size irritating… but I found the stringing relaxing and got used to the small gauge size. Hooray!

I also learned a few pieces of advice for starting. It’s incredibly important to practice with a larger hook/bead size to begin, and also use multi-colored beads. If you do that, you’ll get the hang of what you’re doing to move on!

Finally, I realized that I need reading glasses. I suspected this for a while, but this tiny project brought the need into focus! And trust me, it’s much easier to bead crochet when you can really see what you’re doing!

Future Goals

I love this! I’m going to keep going! Next up for me is a bracelet with some focal beads… so excited!

I totally recommend Bead Crochet Jewelry, it’ll really inspire you to learn!

Best,
Stacey

How to attach felt to your amigurumi

Adding a small piece of felt decoration can be a quick and easy way to add character to your amigurumi faces! In today’s blog post, I’ll show you how to do it!

The Glue

Basically, any glue that works on fabrics will work for yarn, as well. I use Aleene’s Original Tacky Glue.

The glue will hold up pretty well, but if you’re making the toy for a small baby, I would recommend sewing the felt on with a sewing needle and thread. Better safe than sorry!

The Process

The thing I love most about felt is how versatile it is! Simply cut the shape you desire, and glue it onto your piece. I sometimes add my felt piece at the very end… so I can see what personality the amigurumi wants!

To glue a piece on, just add a dab of glue to the back of the felt:

And press into place. Voila! Allow the glue to dry completely, and you’re ready to go!

Some tips

Here are a few helpful tips to keep in mind:

  • The shape of your felt piece adds expression, so feel free to experiment! For example, a rounded tooth gives a totally different expression than a pointed one!
  • Amigurumi are made from round balls… and in general, flat pieces don’t glue well to balls! To make sure your felt stays, attach to a relatively flat portion and keep your felt pieces small.
  • If you don’t like the look of your felt, just pull it off before the glue dries! You can gently wash the remaining glue off with a wet washcloth.

I hope you enjoy experimenting with adding some felt to your amigurumi!

And remember, you are the one crocheting! Even if a pattern doesn’t call for a felt facial feature… feel free to modify it and add one! It’s your piece!

Here are handy links to all the posts about faces and details. . .

Return to the main table of contents for Let’s Learn to Crochet Amigurumi.

Move on to the lessons about eyes.

Happy stitching!

What’s a pinkie do while crocheting? Tension the yarn!

There’s no right way to hold your yarn while crocheting. Whatever works for you is the way you should do it!

But, I’m often asked how I hold my yarn… so I’ll tell you! You may like it, you may not. My feelings won’t be hurt if it’s not for you!

I’m right-handed, so I hold my working piece and the yarn in my left hand:

As you can see, I hold the piece I’m working on between my thumb and index finger. I hold the tension with the working yarn pressed between my pinkie and my palm.

This allows me to keep a constant tension on the yarn, without the pausing that happens if you wrap your yarn around a finger.

The yarn runs from my work, over my index finger, and then under my middle, ring and pinkie fingers to end up squished by my pinkie:

Keeping the yarn on top of my index finger is another handy trick… it allows me to dip my hook in a stitch and under the yarn with just a tiny movement of my index finger:

This hold allows me to crochet smoothly, without moving my fingers/wrists around too much. Which is good, because I get very achy wrists, and keeping movement down really helps!

How do you tension your yarn? How’s it working for you? Just in case you’re curious, I hold my yarn the exact same way while I’m knitting… but I know there are lots of other ways that work beautifully for people!

Here are handy links to all the crochet troubleshooting posts. . .

Return to the main table of contents for Let’s Learn to Crochet Amigurumi.

Happy stitching!

Insights on Expertise and Learning Knitting & Crochet

Right now, I’m reading Moonwalking with Einstein: The Art and Science of Remembering Everything. Want to know one thing I’ve learned? Experts can’t store more individual items in memory than beginners… but they can store more information overall because they divide content up into useful chunks.

What experts look like

Ever heard someone describe their project as, “Oh, I don’t need to look at the pattern. It’s just a basic top-down sweater with a raglan sleeve and waist decreases worked in stockinette with ribbing at the edges”? This causes most beginners to gasp… what? No pattern?!?

An expert is able to store the entire pattern for a sweater in memory because they’ve chunked big pieces of relevant information. Some examples of chunks:

  • Stockinette is knitting every row (when worked in the round) or knitting the RS row and purling the WS row (when worked in rows).
  • A Raglan sleeve is worked by increasing on each side of a stitch marker, every other row, until piece reaches desired size.
  • A top-down sweater is worked starting at the neck, down to the body.
  • Waist decreases are achieved by inserting a decrease on the sides of the sweater, and repeated every 4 rows.

And so on…

None of these items are secret knowledge. But they’re bits of information that has been acquired sweater after sweater, pattern after pattern.

What this means about beginners

If you’re a new knitter or crocheter, I don’t need to tell you how hard it can be to start! But, if you’ve been at it for a while, it’s easy to forget how tough it once was. But, when you’re teaching newbies, it’s incredibly important to remember how hard it is, in order to avoid a frustrating experience for everyone!

You have 7 (plus or minus 2) spots in your short term memory. That’s it. And that’s all people, even if you’re a genius. It’s how brains are built.

Now, let’s look at someone who’s beginning to crochet… starting with the basic stitch, the single crochet. The steps are:

  • Insert hook into the next stitch.
  • The next stitch is the one that hasn’t been used, and looks like a sideways V.
  • Wrap the yarn around the hook.
  • Pull the hook, catching the yarn, through the loop on the hook.
  • Don’t forget to rotate the hook down so you can catch the yarn!
  • Wrap the yarn around the hook again.
  • Pull the yarn through both loops on the hook.

That’s it! They’ve already used their 7 memory slots!

It’s pretty much useless to say to a (complete) newbie: “single crochet 3 stitches, then double crochet 3 stitches”… because there’s not enough spots in their memory to do it! They used all of their spots remembering the single crochet!

This sounds like a trivial point until you’ve run into a few less-than-gifted teachers. You know, the people who tell their (30-minute-old) knitters to ‘work a 2×2 rib’… when they don’t even have a grasp of the basics of successfully completing a knit stitch.

When teaching, channel the difficulty encountered by newbies, and keep their memory space in mind. Then, you can lead them to becoming experts!

Becoming an expert

All it takes to become an expert is one thing: practice.

Boring, right? No tricks, no secrets. Just doing the same thing over and over again until it becomes second nature.

After you’ve single crocheted for a while, you’ll no longer have to run through all 7 individual steps to complete the action. You’ll just ‘know’ the stitch, and it’ll only take up one slot in memory. Giving you space to start working on larger chunks!

For teachers, this means allowing students to work on a skill until they ‘get it’, and are ready to move on to the next concept. It may sound harsh, but I’ve been known to tell some students in my beginning knitting classes that they’re not ready to learn to purl. Their memories were still filled with the 7 steps of doing the knit stitch… and those were just going to be washed away by learning 7 new steps for purling. They thanked me, because it meant that, at the end of class, they had a skill they were solid on- instead of leaving confused.

What are you working on becoming expert at? Has it taken more or less practice than you expected?

Tips for Stuffing Amigurumi

Tips for Stuffing Amigurumi - from Shiny Happy World and FreshStitches

I’ve crocheted all of my cow pieces, and attached his features… the only thing left to do is stuff his head & body and attach them!

Stuffing the head and body can be a little tricky, since they’re large pieces. You want to be sure to add plenty of stuffing (to compensate for compression over time), but be careful to not overstuff (which will force the stuffing to show through your stitches).

To stuff your cow’s head/body, take a big fluff of stuffing, and put it in.

Putting in a big fluff of stuffing is better than poking in lots of little pieces of fluff… because little pieces will make your cow look lumpy. You don’t want that! If you add too much, you can just pull the extra out:

Do this for both the head and the body:

Now that they’re stuffed, it’s time to attach them! Read this post on getting a great-looking neck on your cutie!

And this post has some great tips for getting the arms and legs evenly stuffed.

Here are handy links to all the posts about stuffing amigurumi. . .

Return to the main table of contents for Let’s Learn to Crochet Amigurumi.

Move on to the lessons for closing up the opening.

Happy stitching!

Tips for attaching amigurumi features

Attaching facial features can be one of the trickiest parts of making stuffed animals… but it’s also what brings your cutie to life! With just a few tricks, you’ll be positioning and attaching features with ease… and love your finished result!

Using Locking Stitch Markers for Positioning

I’ve already talked about how to use locking stitch markers to help you identify the rounds to attach your pieces to, and you’ll want to keep using this trick for placing your facial features.

At this point, I’m about to attach the snout. The pattern says to attach it to rounds 13-18 of the head, so I’ve marked these rounds with my locking stitch markers:

This makes it super-easy to see where my snout should go!

Once the snout is in place, it’s time to attach the mouth. Want to hear another great use for locking stitch markers? I use them to hold a piece in place… so I can see exactly what it will look like when attached! This saves me from attaching them, not liking how it looks, then re-doing it!

Keep using markers to position/attach the ears… and your cutie is on its way!

Other helpful tips

  • Use the running stitch for attaching the nostrils onto the snout… it’ll make them lie nice and flat!
  • Attaching a folded ear can be tricky… read this post to see it in action.
  • Looking for an even easier way to handle the folded ear? Whipstitch the flattened ear closed first… then you’re only dealing with 2 edges, not 4!
  • Stick your eyes in first… and check out how they look before you put the washers on. This lets you check out how the eyes will look before you affix them permanently!
  • When positioning spots, use those stitch markers! I like to put on a couple to hold my spot in place while attaching

How’s your cutie coming along?

We’re in the final week of the crochet-a-long! Here’s how mine looks:

So colorful!

Here are handy links to all the posts about attaching parts. . .

Return to the main table of contents for Let’s Learn to Crochet Amigurumi.

Move on to the lessons about faces and details.

Happy stitching!

Quick & Easy Shortcut for the Cow’s Tail!

A little update

Hey, everyone! Yesterday was moving day for me… and everything went smoothly! Yay!

It took a tad longer than usual to get our internet installed this morning (our new apartment seems to have some electrical trouble… eep!), so that’s why this post is a bit late! Thank you so much to everyone who wished me luck on our move… it worked!

Working on the cow’s tail

So, how about some helpful tips for crocheting the tail for Jackie the Cow (this month’s crochet-a-long)?

The instructions will tell you to cut 4 pieces of yarn a few inches long… but here’s a little secret: the actual length isn’t that important! You’re making the fluffy bit that will be at the end of the tail, so the length in the pattern is just a suggestion. Feel free to make yours as long as you’d like!

I like to use my hand as a guide… that way there’s no measuring required:

After I’ve wrapped a length of yarn around my hand a few times, I just cut straight next to my index finger, and I magically have equal yarn lengths!

Now, are you ready for my second trick? It’s actually more of an alternative way… but helpful to know!

The pattern includes instructions for how to crochet your tail directly onto the body of the cow. That’s a great way to do it… but if you’re like me, you like to crochet your pieces on the go (or maybe your cow body is still packed in a box somewhere). In that case, it’s easier to crochet your tail separately and attach it later. Here’s how!

Take a double strand of yarn, and make a slipknot, leaving about 3″ of tails:

Now, crochet the specified number of chains. When you’re done, insert your fluff into the loop:

Tie the ends (to secure your fluff), and you have a fabulous tail that can be attached at your leisure!

How to Attach Limbs to Crochet Amigurumi

How to Attach Limbs to Amigurumi - tutorial from Shiny Happy World & FreshStiches

Most people tell me that they’ve got a handle on the crocheting part… but when it comes to assembling amigurumi pieces, they dread it! That makes me sniffle… making amigurumi should be 100% fun!

So, in this post, I’ll show you how to attach limbs easily and evenly… taking all the stress out of sewing. The trick to easy attaching is planning out your placement ahead of time. It’s a piece of cake after that!

Plan where to attach your limbs

I’m making Jackie the Cow and I’m about to attach the legs and arms.

The instructions say, “Attach legs to rounds 9-14.”

Of course, this is just a suggestion! You can attach limbs wherever you’d like… but I’ve told you where I attach mine so there’s no guesswork on your part!

What you want to do is find out where round 9 is, and place a locking stitch marker there. Start counting (see the ridges?) from the center:

Count until you’re at round 9, and place a marker. Place another at round 14. Now you know where your leg should be located on the body!

If you find that your pieces tend to move around a lot when attaching, you might want to go one step further and use locking stitch markers to hold your piece in place. The more you prepare your pieces, the easier sewing will be!

Stuff your limbs

Grab some Polyfill and stuff your limbs:

I like to stuff both legs at once, so I can be sure they are the same size:

Sewing!

It’s not as hard as you think… I promise! We’re going to use a simple whipstitch to attach the limbs… the important thing is to let your guides (the rows and stitch markers) do all the fancy work!

Thread the needle

To begin: thread a tapestry needle with the long tail of a leg. As the first step, I like to hide the knot… so I run my needle through the first stitch on the leg:

This hides the knot beautifully! See?

Whipstitch!

The leg that we’re attaching has 24 stitches. So, if we attach along 6 stitches to round 9, 6 stitches going up to round 14, 6 stitches on round 14, and then 6 stitches going back down to round 9… the leg will be attached evenly! So, begin by threading the needle through one stitch on the body and one stitch on the leg:

close up showing how to attach limbs to crochet stuffed animals - shows the tapestry needle going through one stitch on the leg and one stitch on the body

That’s it! You did a whipstitch! Check out this little video if you want to see it in action:


Continue to do 6 stitches on round 9… and then continue stitching (sorta turning 90 degrees) to get to round 14. See? You’re using the stitches on the body to guide you! Easy!

As long as you keep attaching one stitch of the body to one stitch of the leg, you’ll stay on track!

Continue all the way around, and tie a knot on the inside of your work.

Ta da!

Repeat for second leg

Now, at this point, you may want to get picky. See how there’s a jog in the leg where the colors changed?

If that jog bothers you… no problem! Just decide where to place your second leg so that the jog ends up at the back of the cow! See… I’m going to put my second leg over here (on the other side of the jog), leaving the color change nearly invisible:

Now attach the second leg… same as the first! Don’t forget to place your helpful markers if you need them!

partially crocheted softie body with two legs - demonstration showing how to attach limbs with whipstitch

Repeat for arms!

You’ve got it down, now! Attach the arms using the same method!

crocheted body with four limbs attached with whipstitch

You did it!

That wasn’t so bad, was it?

Other Ways to Attach Limbs

There are a few other ways to attach limbs to crocheted softies – each gives a different look.

Does your pattern tell you the flatten the piece and then attach it? Then click over here for this tutorial. 🙂

Does your pattern tell you to attach the piece with single crochet as you stitch? That’s my favorite way to attach limbs. The pattern will say sc-attach and you can find a video tutorial for that method here. This method works great for flopp[y limbs that are attached along a single row of the design.

Here are handy links to all the posts about attaching parts. . .

Return to the main table of contents for Let’s Learn to Crochet Amigurumi.

Move on to the lessons about faces and details.

Happy stitching!

Connecting your Cow’s Spots… it’s easy!

I’m lovin’ the Cow Crochet-a-long… I’m already seeing some fabulous finished cows! Don’t forget that, to have a chance to win the awesome prize, you’ll need to post a photo of your cow either on our facebook page.

How to connect spots

For those of us who aren’t finished… the tips are still coming! Click here to check out all the previous posts. To this point, we’ve finished the crocheting, and we’re getting ready to start sewing pieces together.

Today, I’m going to show you how to make the spots… which are made by assembling 2 crocheted pieces. Here’s what they look like:

Let me label them (since they’re called part 1 and part 2 in the pattern) to help you out a little:

So, the instructions tell you to attach the flat side of part 2 to part one. Do you see the flat side? I’ve indicated where it is in the picture above with a red line.

So, let’s start! First, thread a tapestry needle with the long tail of part 2:

Now, use a whipstitch to attach the flat side of part 2 to part 1. Anywhere along part 1 will do!

When you’ve gotten to the end of the flat bit of part 2… you’re almost done! Your piece will look like this:

Yay! Doesn’t it look like a cow spot? Now, just tie a knot, and you’re done!

If all those ends are bothering you (’cause there are a lot!), feel free to trim them… but be sure to leave the long tail that’s on part 1. You’ll be using that tail to connect the spot to the body.

Hooray! On Thursday, I’ll shop you how to attach the cow’s limbs easily and evenly!