Happy Saturday!
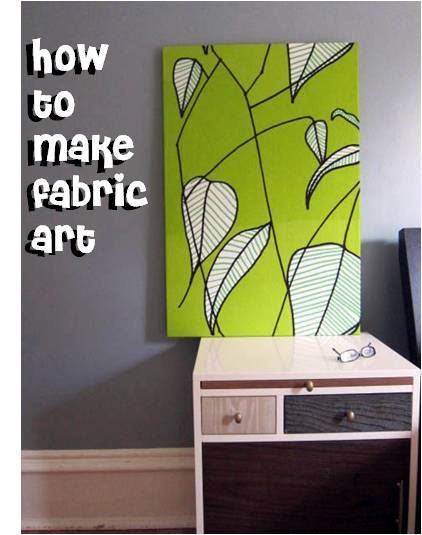
Today I’m going to show you how to make a quick art-piece by framing fabric!
My favorite fabric
I took a trip to Finland in 2008, and I bought a yard of some amazing fabric from Marimekko.
Although I loved the fabric… it gave me anxiety: what should I do with it? What if I sewed something that didn’t fit?
I finally came up with the perfect solution… frame it!
How to Frame Fabric
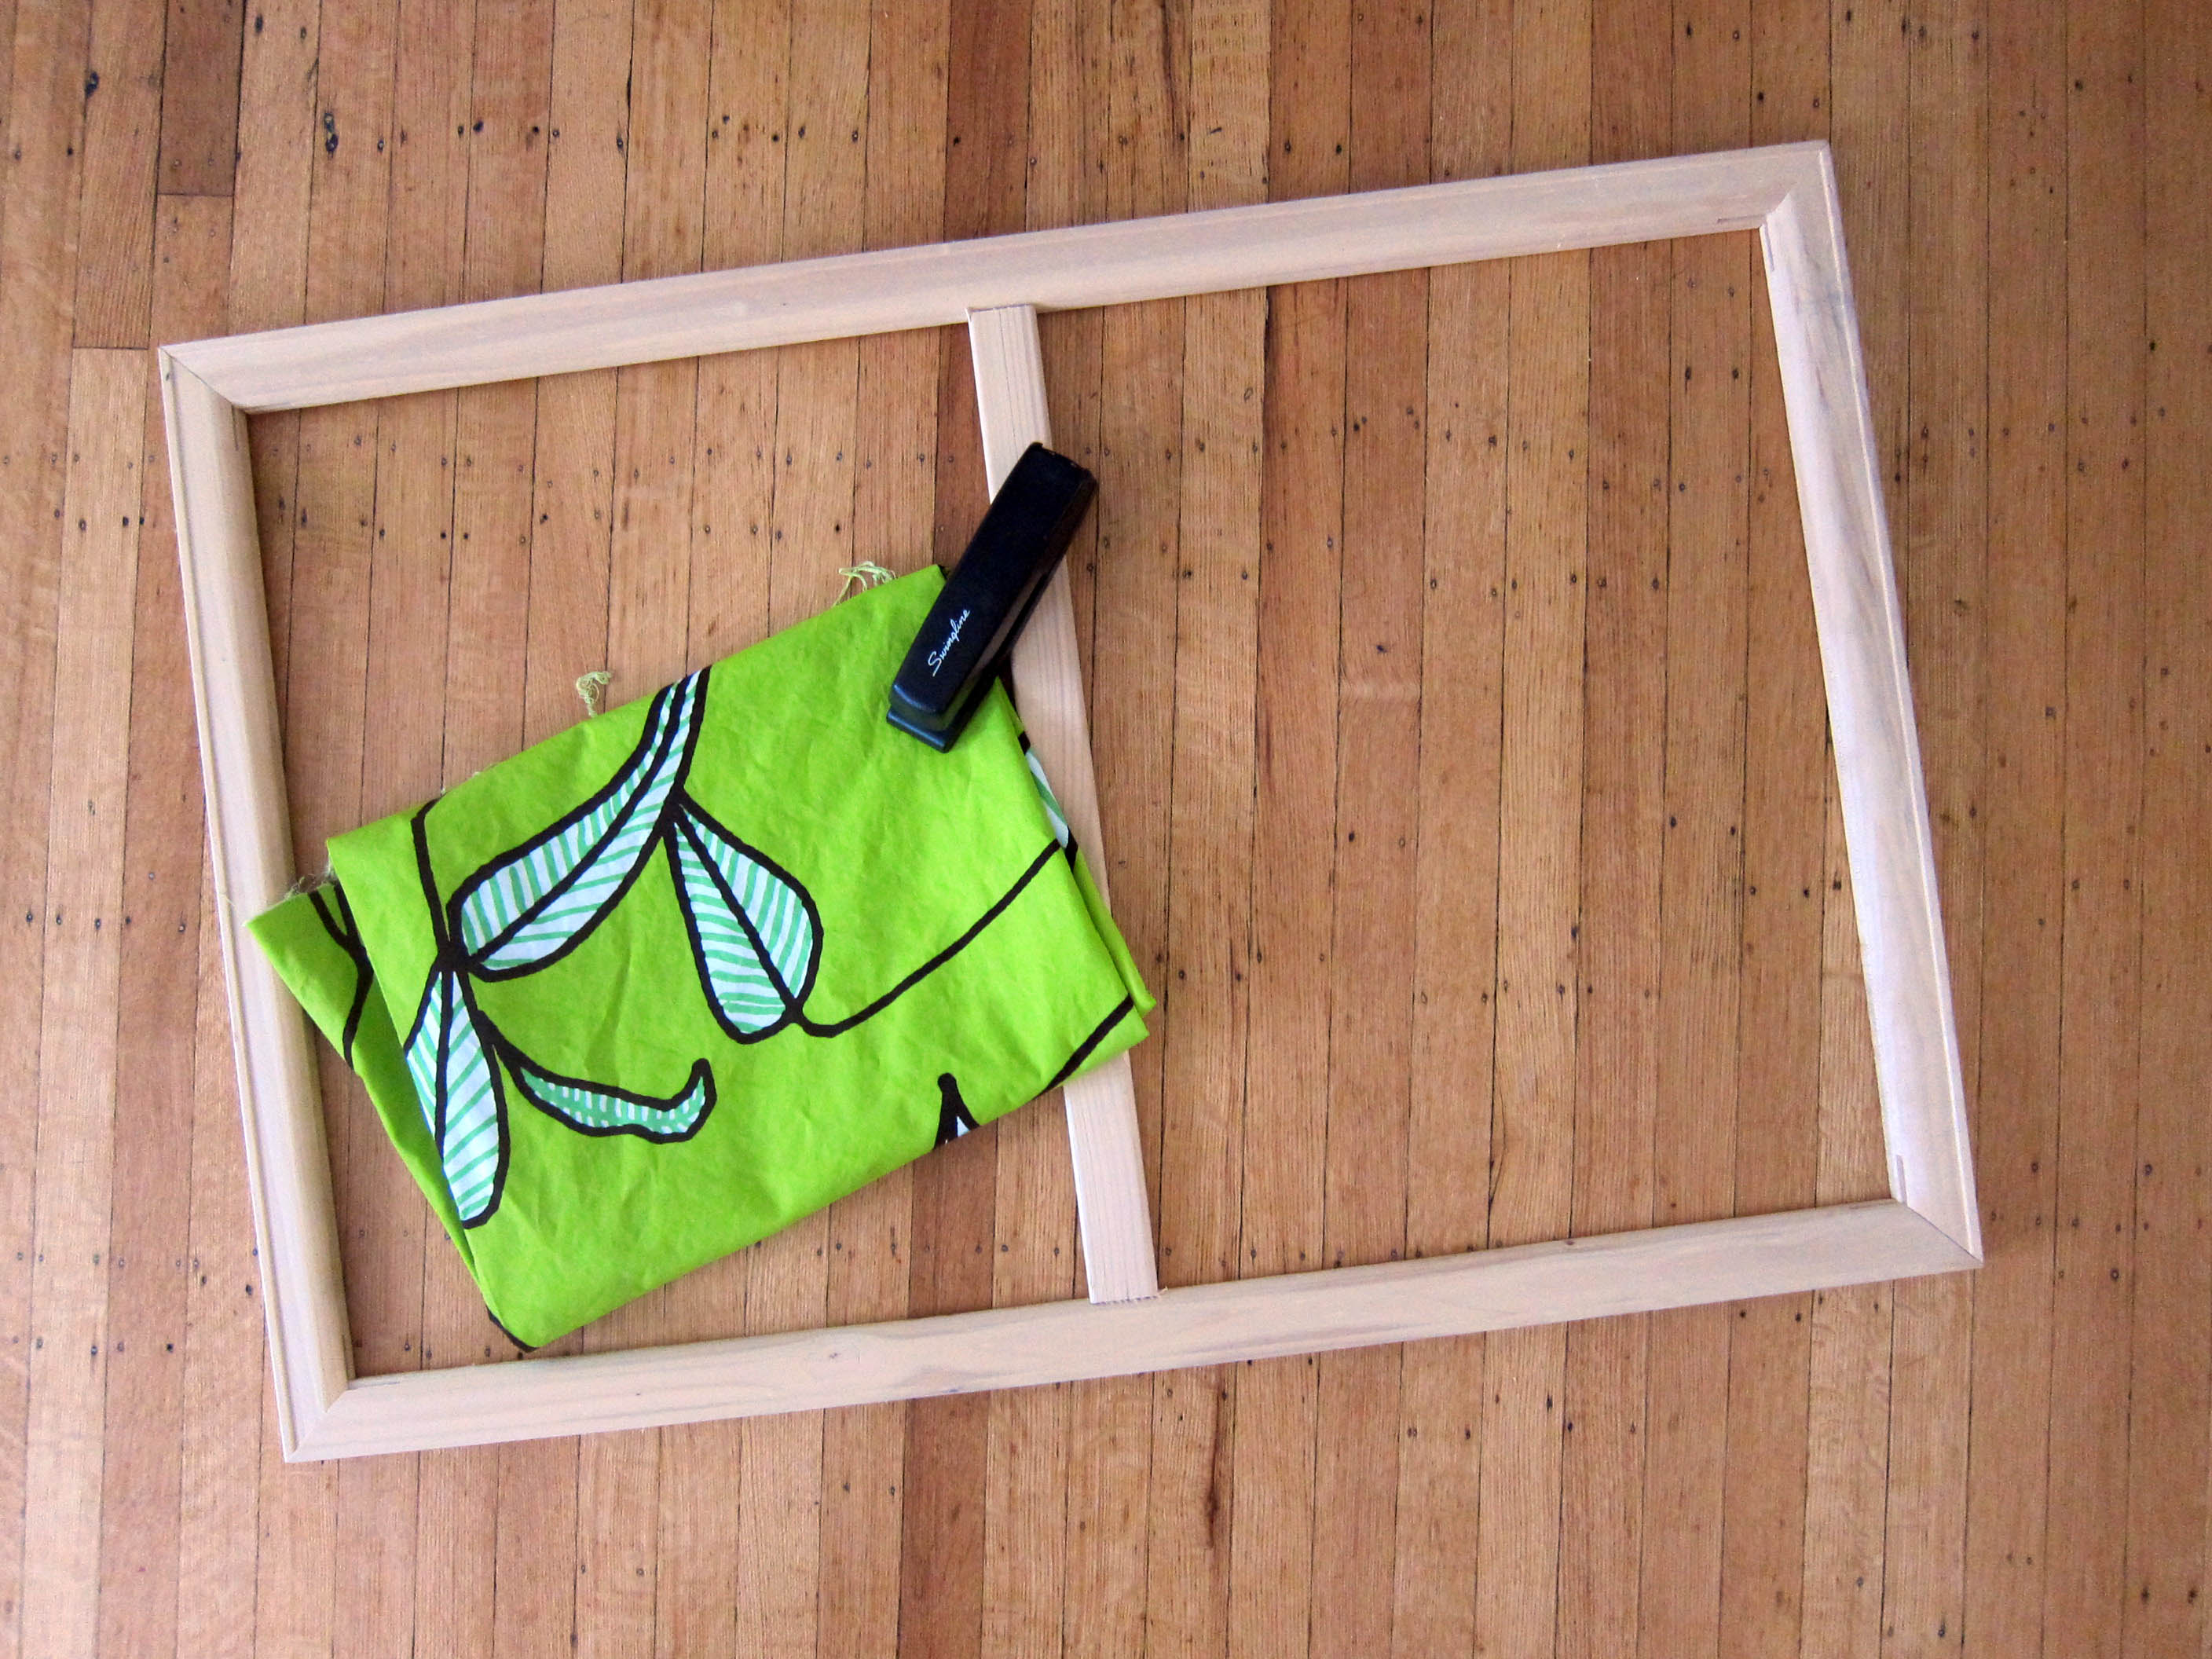
You’ll need:
- A frame (a lot of tutorials call for a canvas stretching frame… but I just grabbed an old wooden one from the curb!)
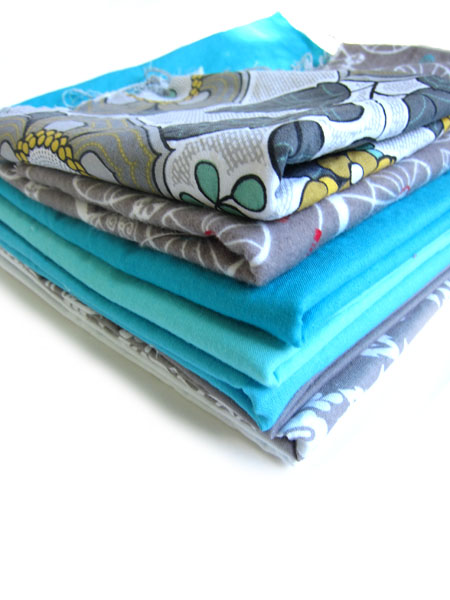
- Enough fabric to cover your frame (plus a few inches on all sides)
- A stapler
Step 1: Wash & iron your fabric
You can skip the ironing if your fabric comes out of the dryer nice and crisp!
Step 2: Place foundation staples
Lay your fabric face down, and place the frame on top.
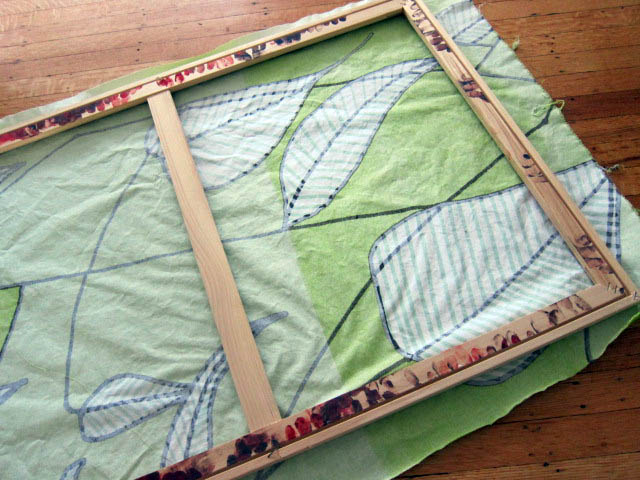
Now, pull the fabric up and over the sides of the frame and place a staple at the center of each side. Be sure to tug so that the fabric is taut.
Do this for each side.
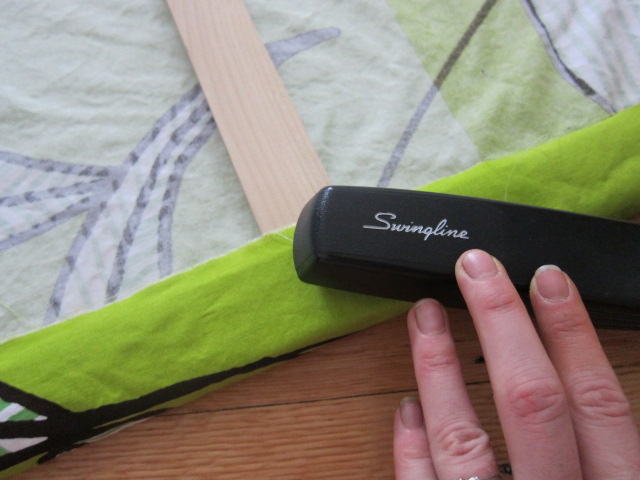
Step 3: Finish Stapling, and do those corners!
Work your way around the frame, placing staples every couple inches or so.
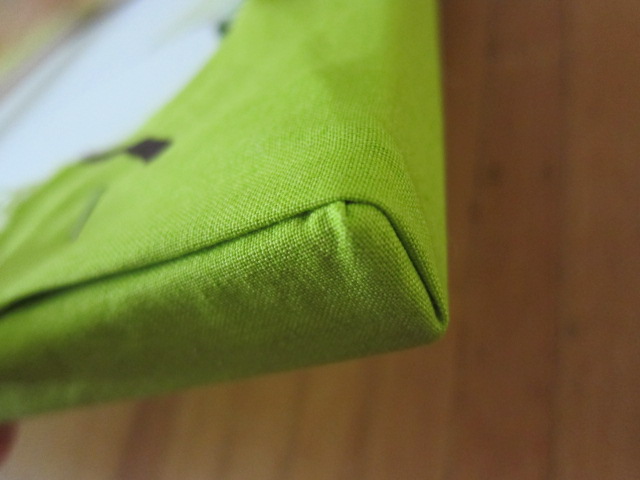
Do the corners last, and when you get to them, take a little time to tuck the corners and staple them neatly.
Step 4: Enjoy!
That’s it! You now have beautiful fabric art!
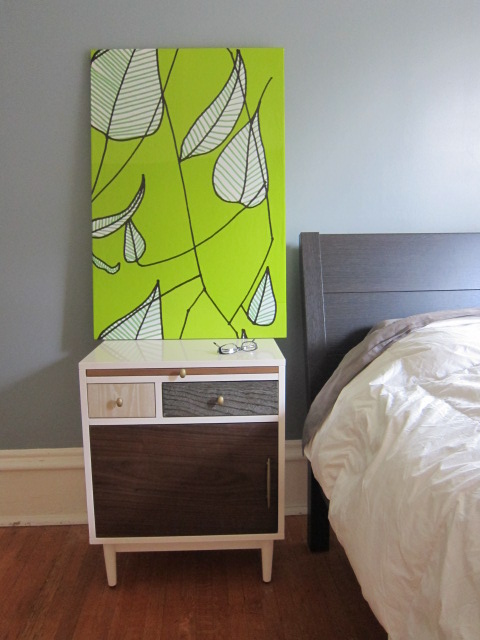
Take pride in the beautiful art you made and display your favorite fabric in your home!