Today’s guest tutorial is written by Jennifer Crowley, the designer/teacher/blogger at www.tinkingturtle.com.
Jennifer teaches both knitting & crocheting, and you can check out her designs on Ravelry. Recent and upcoming publications include Sockupied, Knitpicks and Classic Elite Yarns.
Today, she’s sharing with us a technique for working two colors in crochet… one I had never heard of! How exciting is that?!?
Helix striping has been on my mind a lot lately. I just finished creating a pattern for Sockupied that uses knit barberpole striping, and since I was on a role, when Stacey put out a call for guest writers – I was in!
Helix, or barberpole striping, is a technique that takes advantage of the fact that crochet (or knitting!) is not actually done in the round, but in a spiral. Crocheters are very aware of this – when we want to work in the round oftentimes we join each round – but other times, like in many of Stacey’s patterns, we work in a swirl. Each row stacks up over the next, never coming to an ending point. When crocheting with one color this phenomenon is not always obvious, but when we want to create stripes, or change colors, we often get a jog, or a step. Helix, or barberpole striping, is one solution to the problem.
I first read about helix striping in Knitter’s Handbook by Montse Stanley. Now, I know she’s talking about knitting, but the principle is the same. As she explains it, “A truly ingenious way of avoiding steps [striping jogs] at the start of rounds… Divide the work into as many, roughly equal, groups of stitches as colors you want to use. Either put each group on its own double-pointed needle, or use needle markers if working with a circular needle. Work the 1st group in the 1st color, 2nd group in the second color, etc. Work next round similarly, but using the colors as they come – 1st group with last color from previous round, 2nd group with 1st color, etc. Repeat.”
The same is true for crochet.
When working helix stripes, the fabric looks something like this:
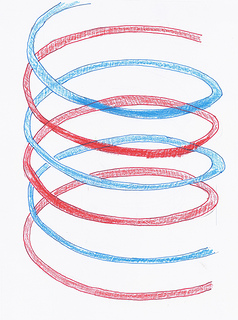
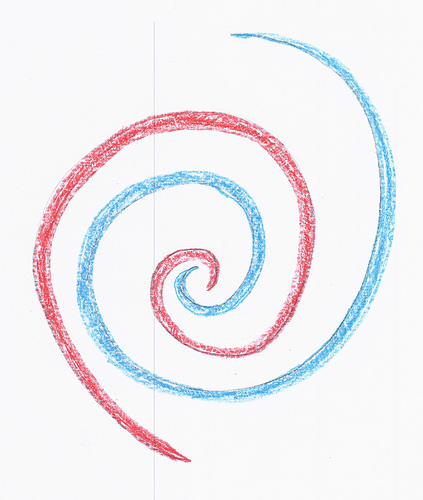
The blue stacks upon the red, and the red stacks upon the blue. Each color swirls around the next. If viewed from above, as if working a hat (or blanket), the colors look like this:
So how does this work in practice? Well, Montse Stanley hints at how to work helix stripes. Instead of working in one color, then dropping it and working on the other color (like in traditional stripes that have a jog), both colors are “live,” and while not necessarily worked at the same time, are never retired from crocheting. This is actually easier for crochet than it is for knitting, because in crochet, you have far fewer “live” stitches.
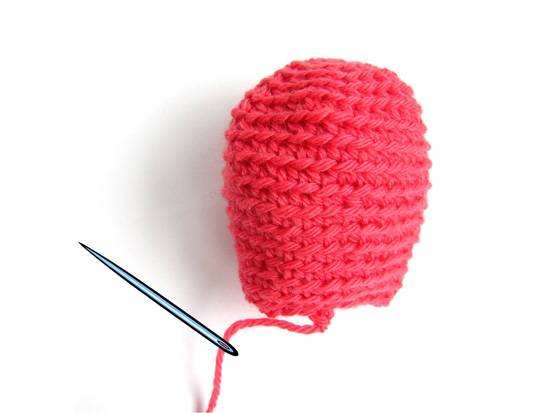
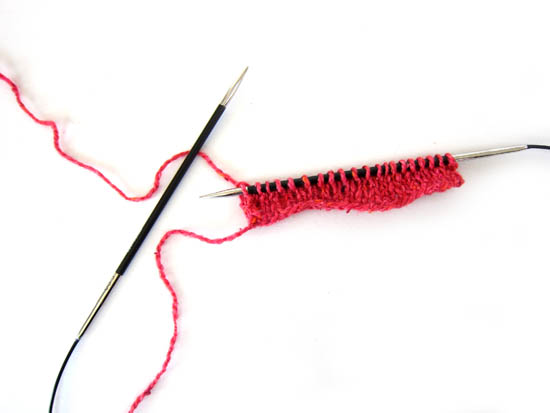
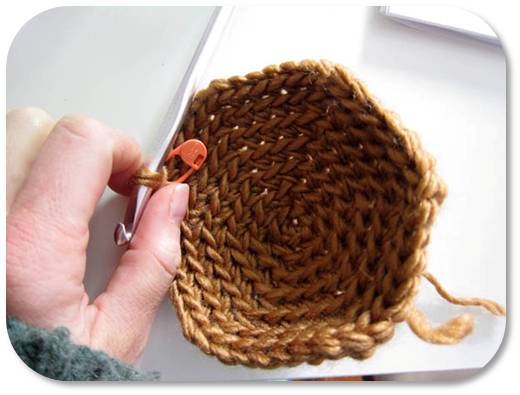
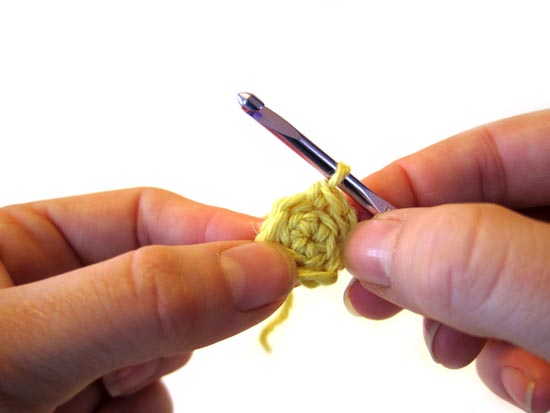
Take a look at the swatch I worked here:
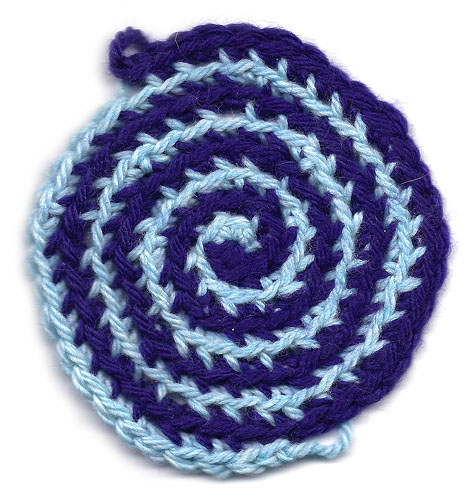
When I began, I started with Stacey’s super-easy magic ring and in the light blue I: ch1, sc3, then I joined the navy, and ch1, sc 3. I then continued to crochet over the light blue with the navy, putting 2 sc into each st. When the navy met up with the blue, I dropped the navy yarn (put a locking stitch marker through the loop), and proceeded to then put 2 sc into the next 3 sts (12 sts). I then continued to crochet over the navy, until I ran out of navy sts to work. I then picked up the navy yarn, put the stitch marker into the blue loop, and did the same thing for the navy as I did for the blue.
The result? A swirl. If you trace the blue yarn (or the navy, just pick one), the stripe swirls out in a spiral, like a seashell.
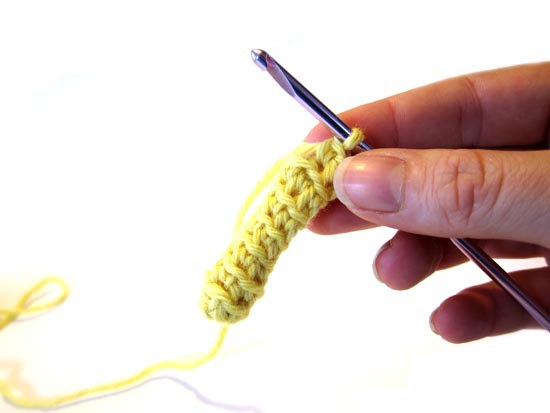
If you can’t see the spiral, take a look at my next swatch. This time I had two strands of the blue, and just one of the navy. In addition to making the swirl more drastic, it also has the result of making the blue stripes thicker.
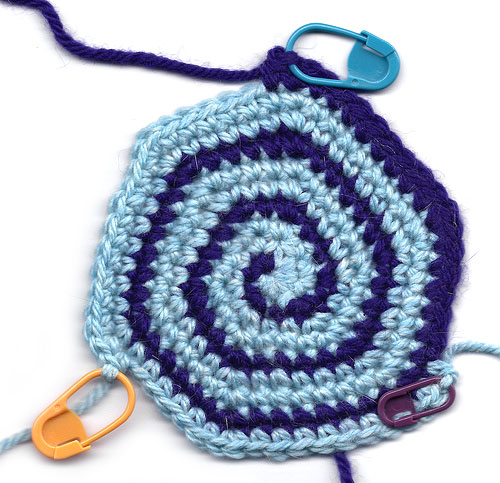
Here I now have 3 yarns that are live. The order is now navy, followed by light blue, followed by light blue again. Here, instead of having the colors all end at the same place, I crochet the navy over to the blue stitches, and when I get to the blue, I drop the navy and knit the blue stitches over the second blue. When I get to the second blue yarn, I drop the first blue and work over the navy stitches, until I reach the navy. I then pick up the navy and start the whole cycle again.
Some things to be aware of when working with the yarns ending at multiple places in your crochet: the points where you switch colors can become stretched out and loose. Take care to make sure that you snug up any stitches that have become too loose, without yanking on them. The locking stitch markers that hold the other live stitches help. Also, be sure to put in a stitch marker to mark the beginning of the round. Because you are working with multiple colors, each round with a color is 1 round, but colors are going to switch in the middle of rounds. By the time all the colors make one full circuit, you’ve worked several rounds – however many colors you have. In the above picture’s case, this is three.
Barberpole stripes don’t only have to be worked in circles, although this is the most intuitive shape. Here, I worked a square, stacking my increases up in the corners similar to when you work any type of granny square.

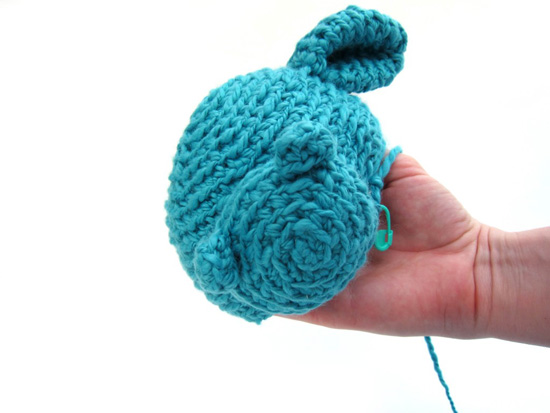
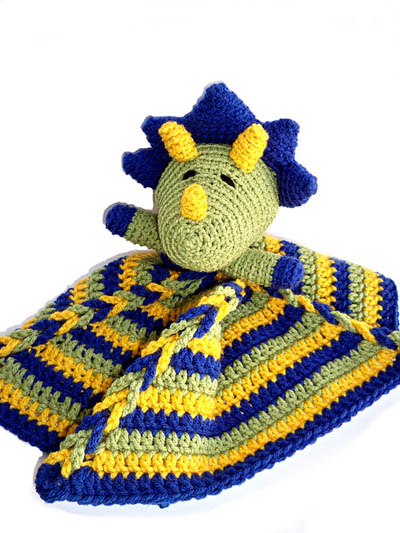
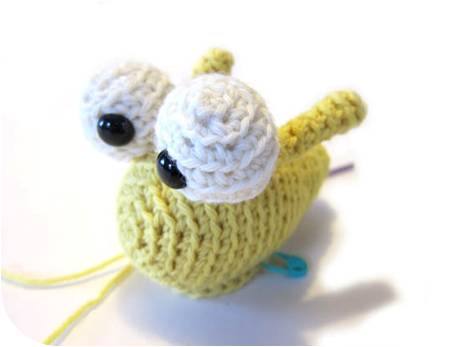
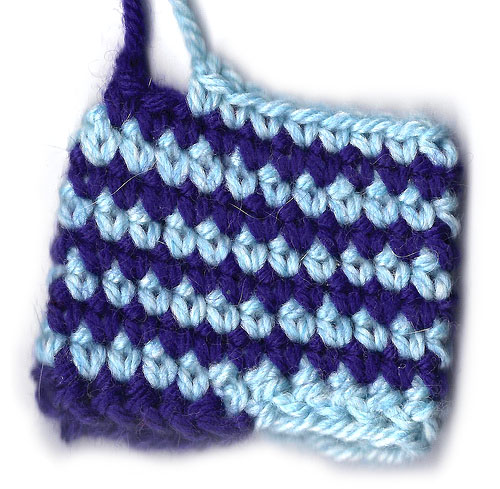
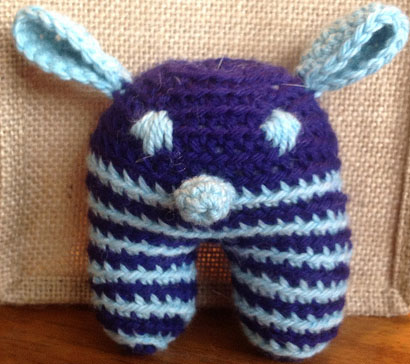
While helix striping creates some distinctive effects when viewed from above, one of the great advantages it has is when it’s viewed from the side. From the side, the distinctive swirl is not as noticeable, and the stripes, without steps or jogs, shine. I’ve got plans to make a Roosevelt the Monster using helix stripes. His legs would come out looking something like this:
And the finished version might come out something like this:
Which one of Stacey’s patterns do you think would look good with helix stripes?

Here are handy links to all the posts about changing yarn color in crochet. . .
- How to Change Colors in Single Crochet
- How to Crochet Stripes with Minimal Jog
- How to Crochet with Two Colors – Stranding
- How to Strand Short Color Changes
- Tips for Working Long Color Changes in Crochet
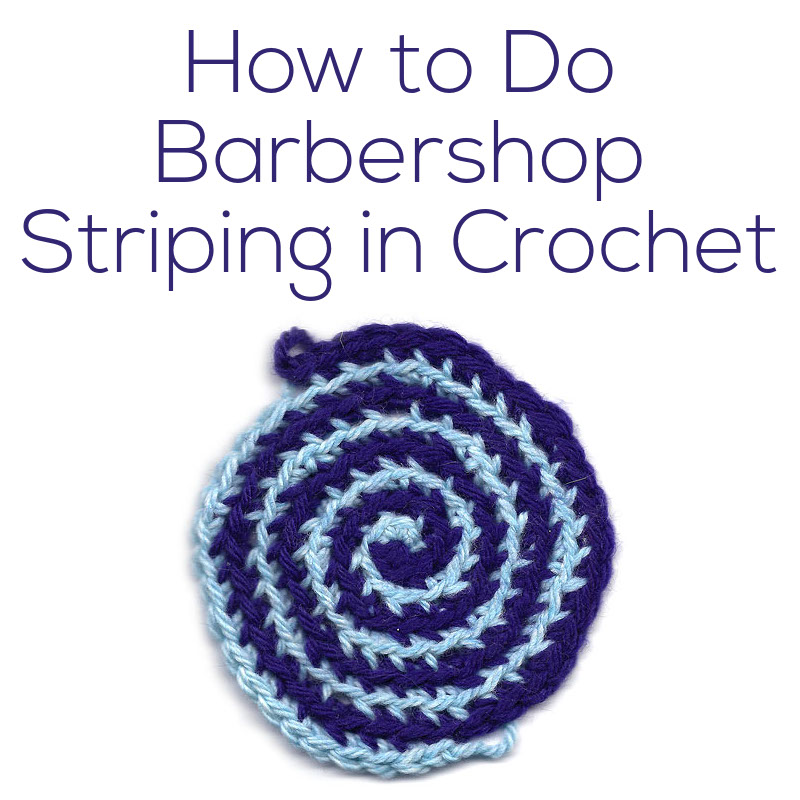
- How to Do Barbershop Striping in Crochet
- How to Crochet in Joined Rounds
Return to the main table of contents for Let’s Learn to Crochet Amigurumi.
Move on to the lessons about crocheting stuffed animals in different sizes.
Happy stitching!


 Today’s guest post is written by Tammy Powley, crocheter and blogger at