In these Quilt As You Go videos I showed the lines I was stitching on paper. I did this so you could get a bird’s-eye overview of the whole block, and also so you could see how to quilt around the applique, in case you choose to do things in that order. (I like to do my quilting first, then applique over it – but you can do it either way.)
But I’ve had several people ask for a video showing exactly how I sew these patterns at the machine. They want to know. . .
What kind of needle are you using?
How are you basting the block? Pins? Spray baste?
Are you using special thread?
What stitch length are you using?
What are you using to mark the lines?
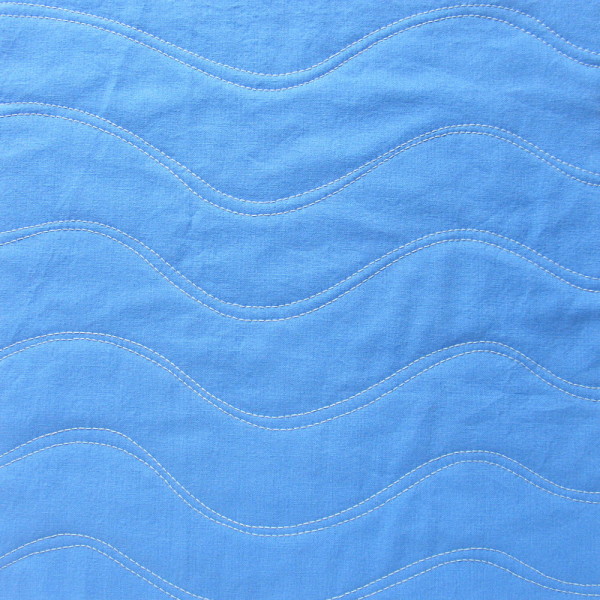
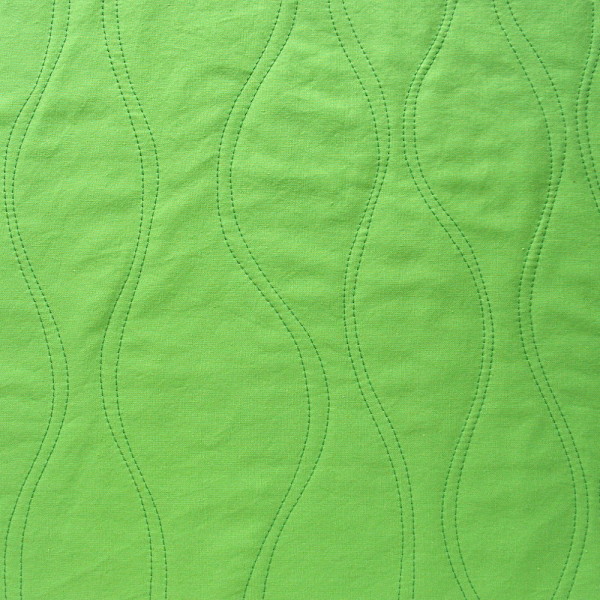
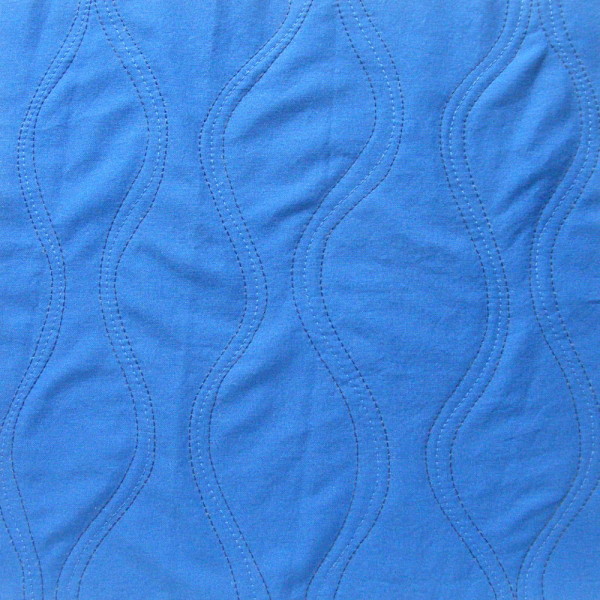
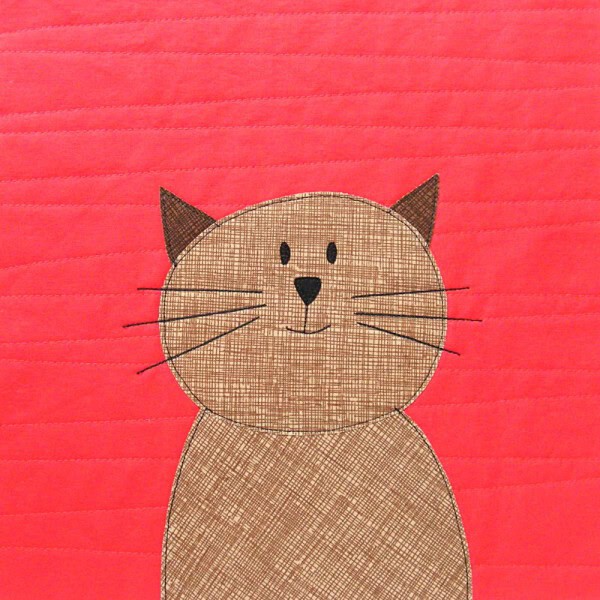
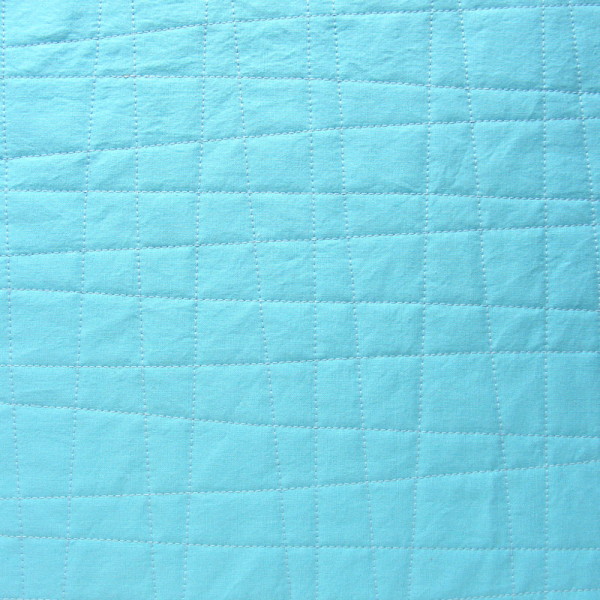
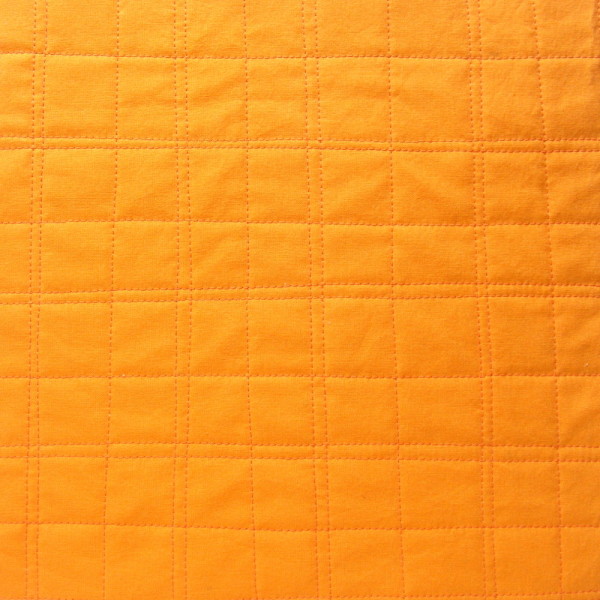
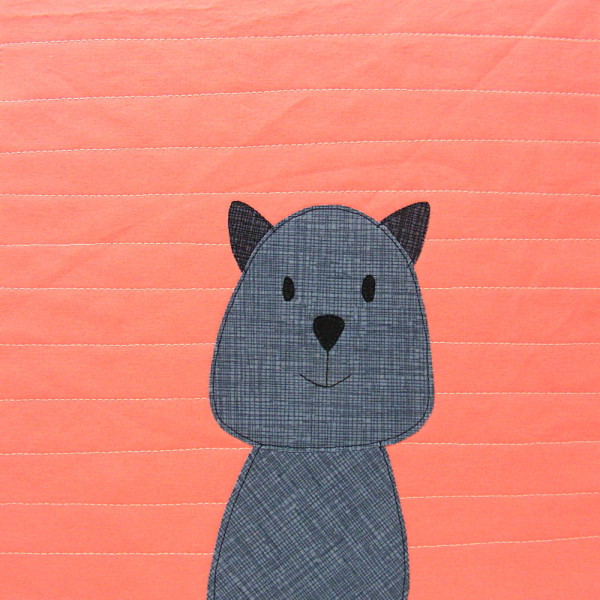
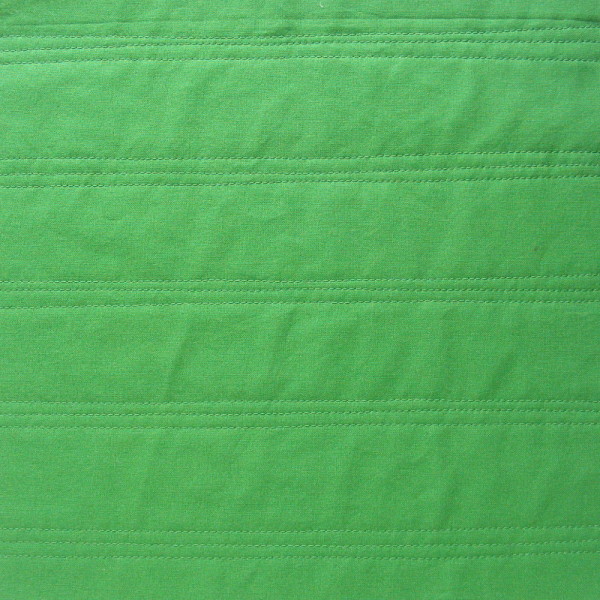
So here’s a video with all those answers! This one shows how I do Quilt As You Go with wavy lines – all the wavy stripes and grids that I love so much.
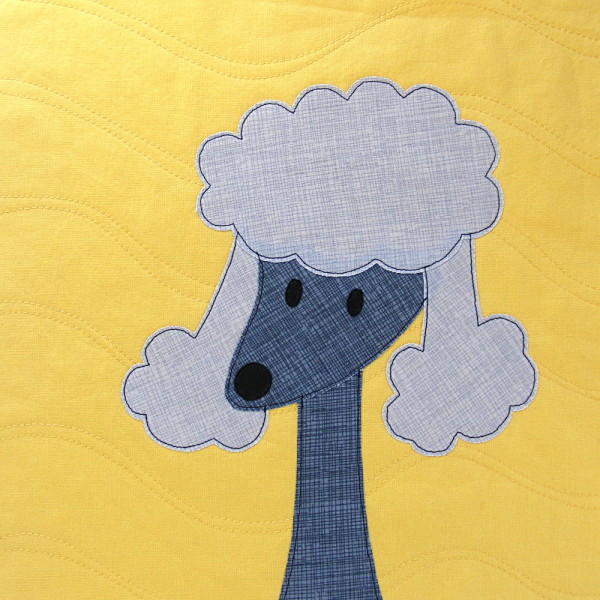
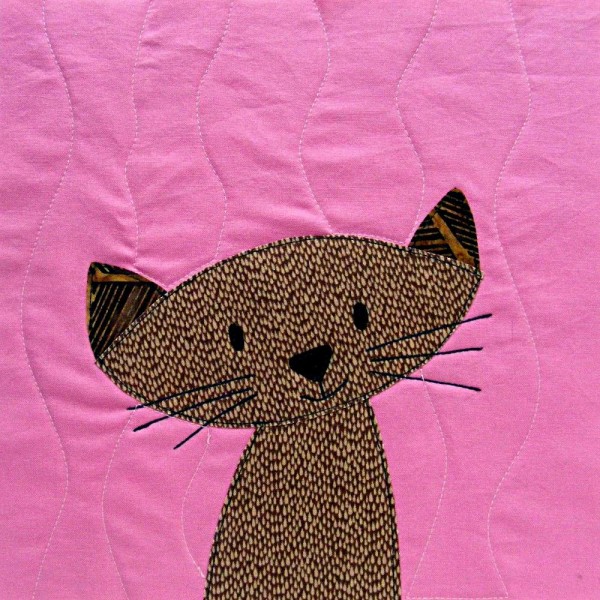
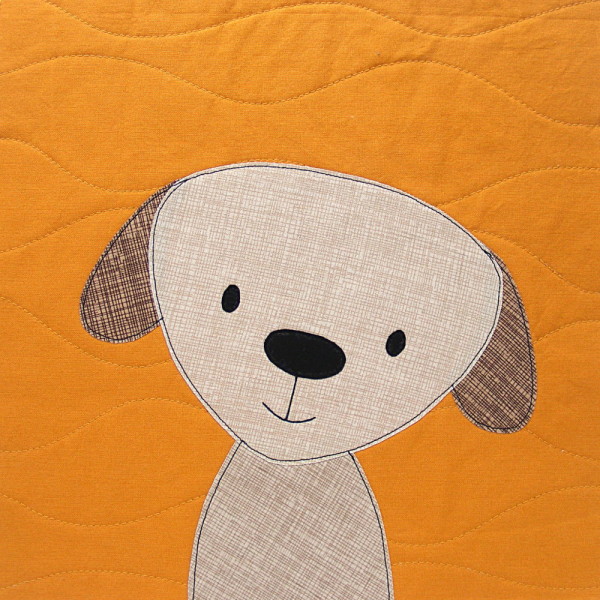
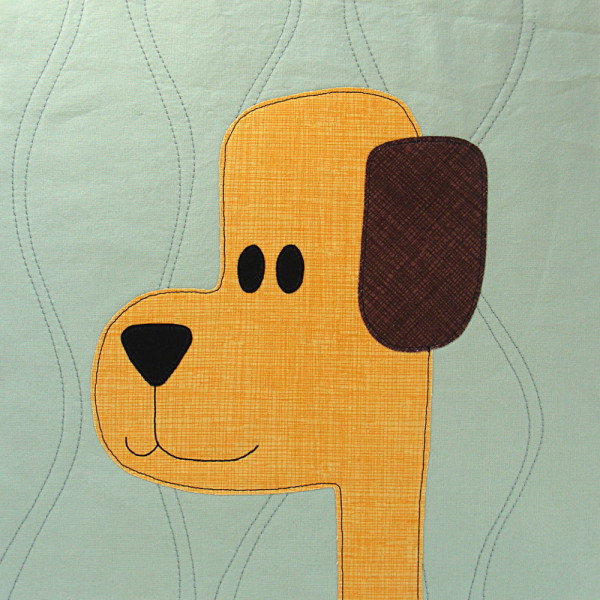
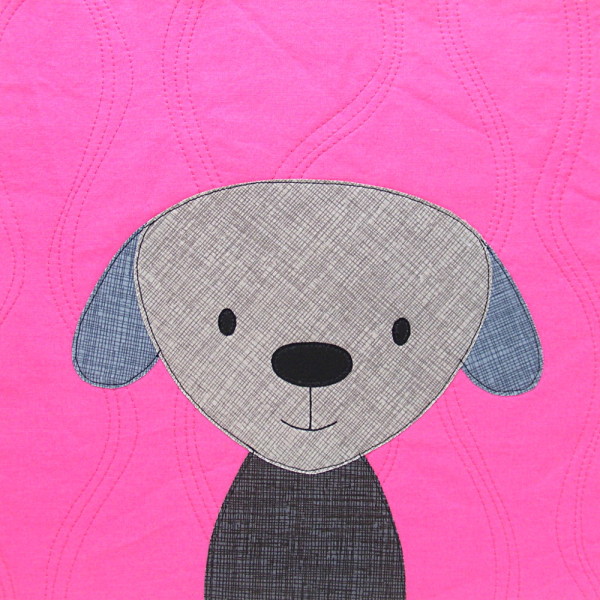
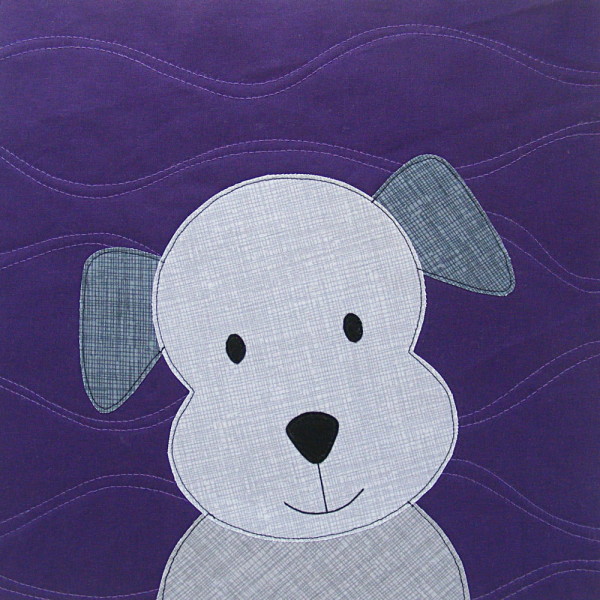
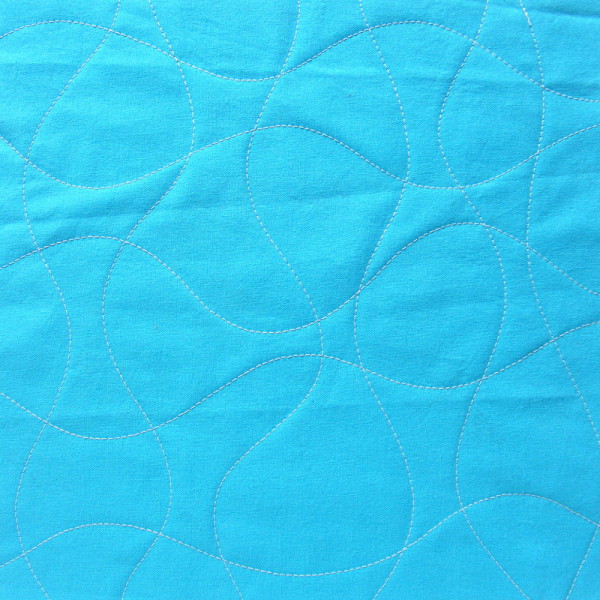
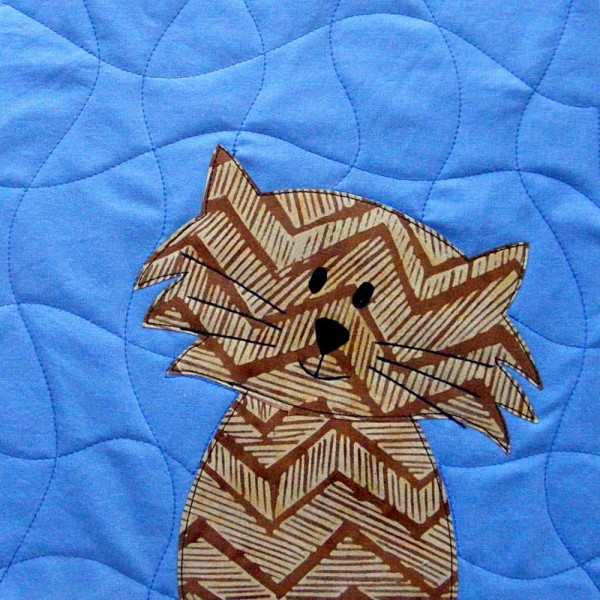
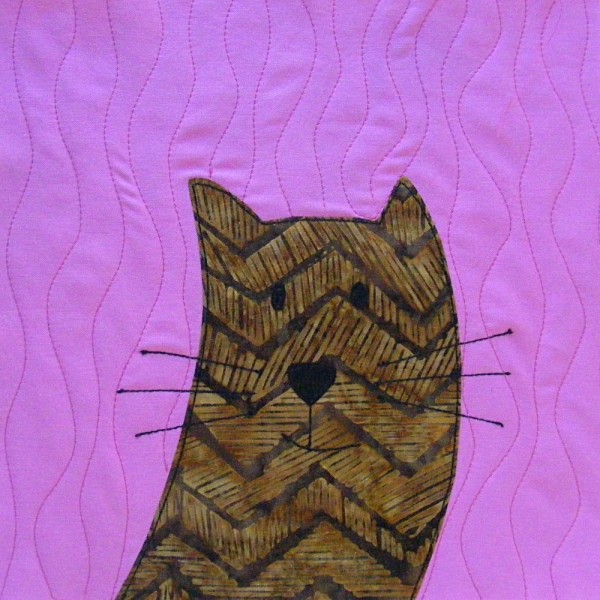
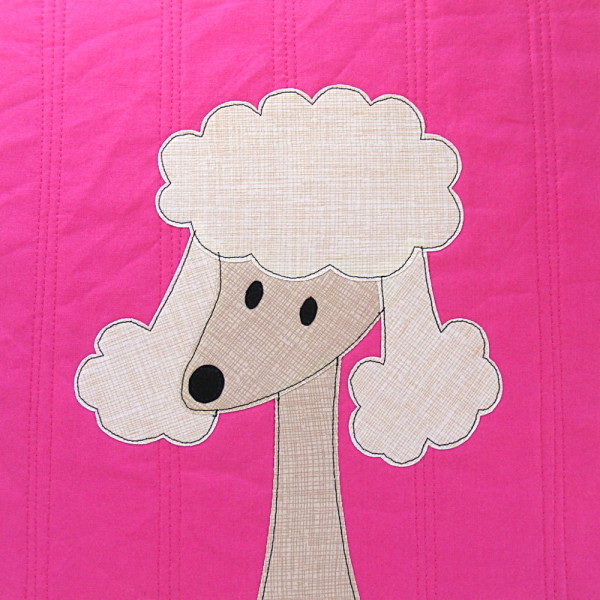
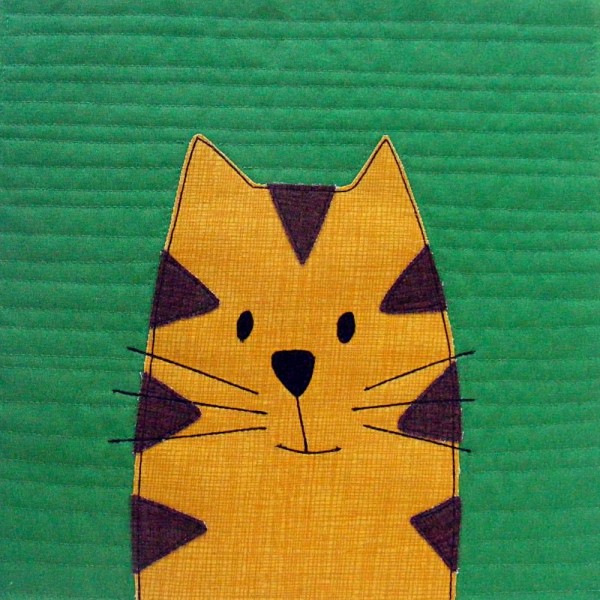
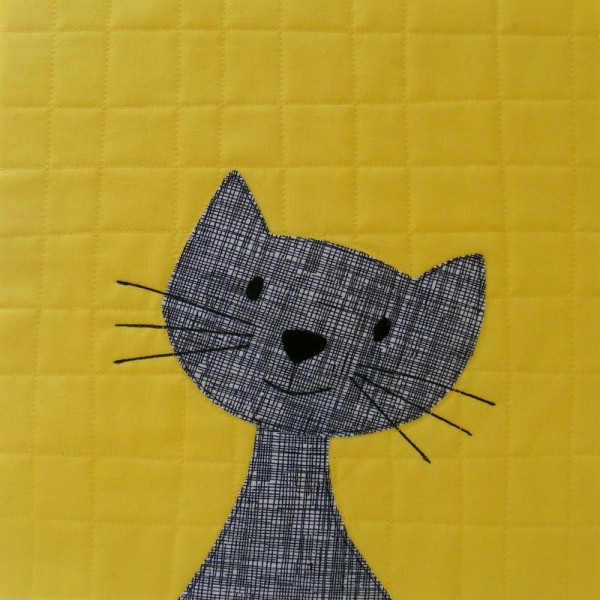
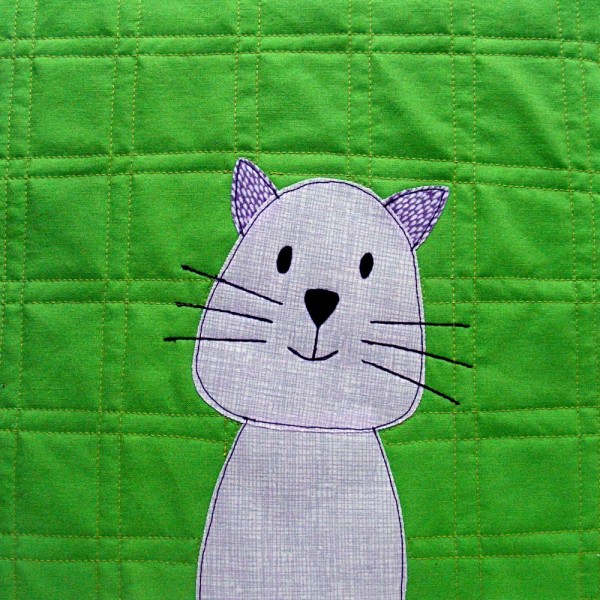
In the video I promised to show a gallery of quilt as you go designs – a menu of sorts that you can refer to when you’re looking for ideas. Here that is. If you click on any image you can see it a little bigger.
I almost always quilt my blocks before I applique. Some of these blocks are shown after the applique is added, but I did the quilting first. You can do it in any order you like, but if you quilt after you applique you have to go around the shapes.
Ready? Jump in and have fun! Quilt as you go makes your quilting super fun and easy.
But I’ve had several people ask for a video showing exactly how I sew these patterns at the machine. They want to know. . .
What kind of needle are you using?
How are you basting the block? Pins? Spray baste?
Are you using special thread?
What stitch length are you using?
What are you using to mark the lines?
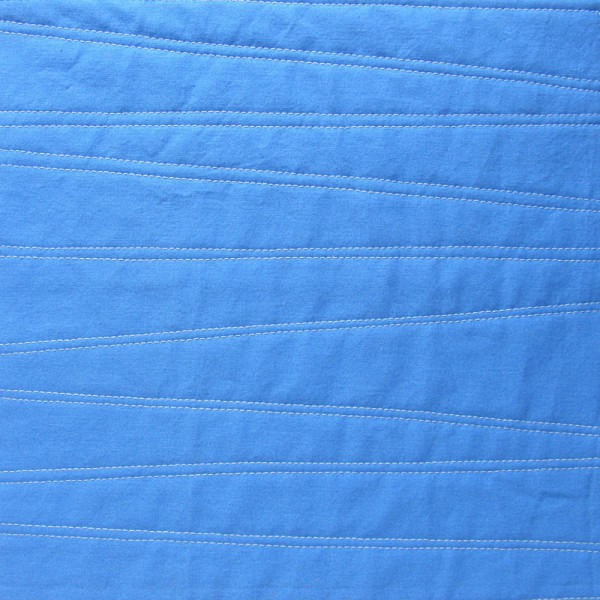
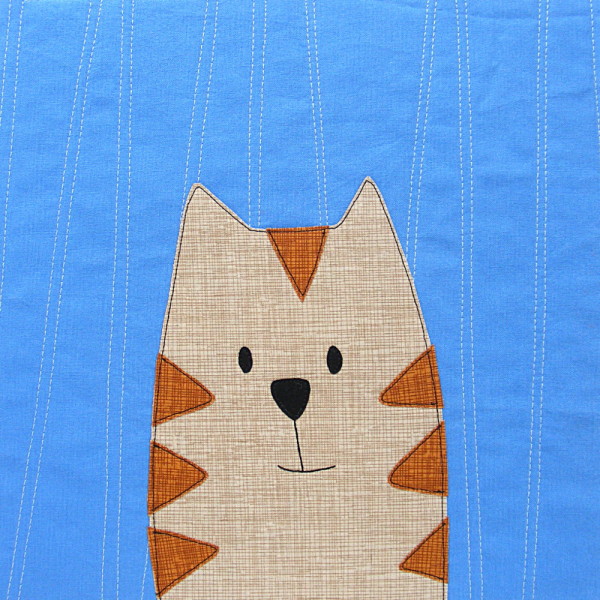
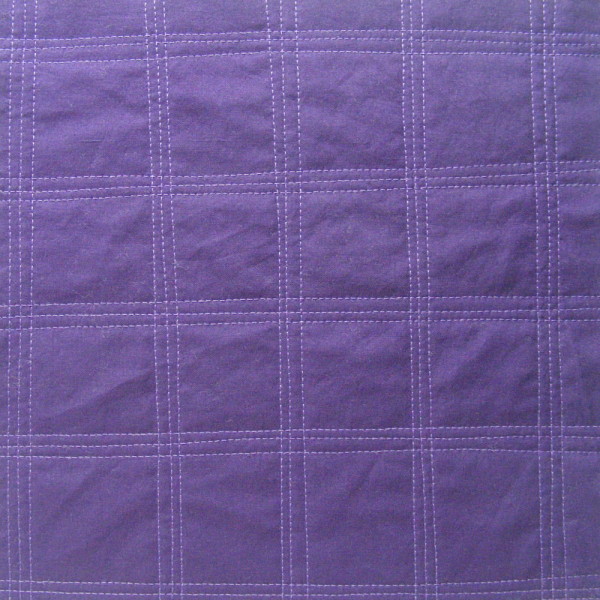
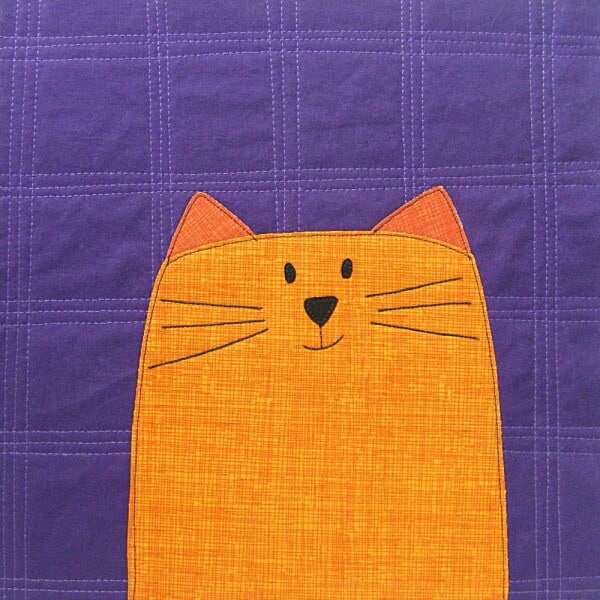
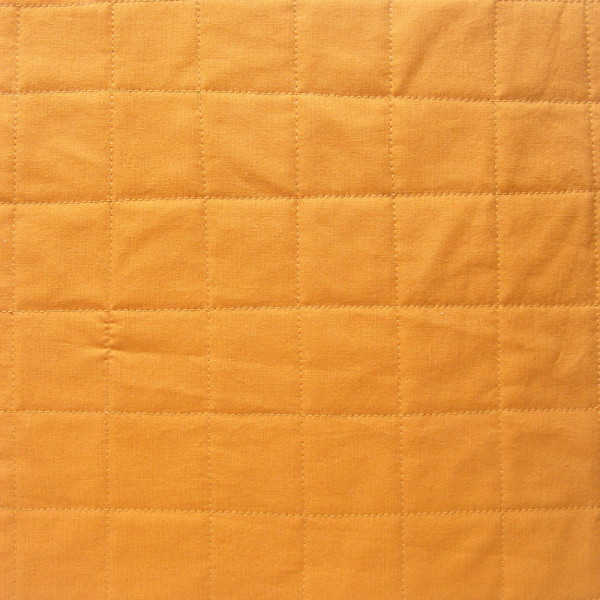
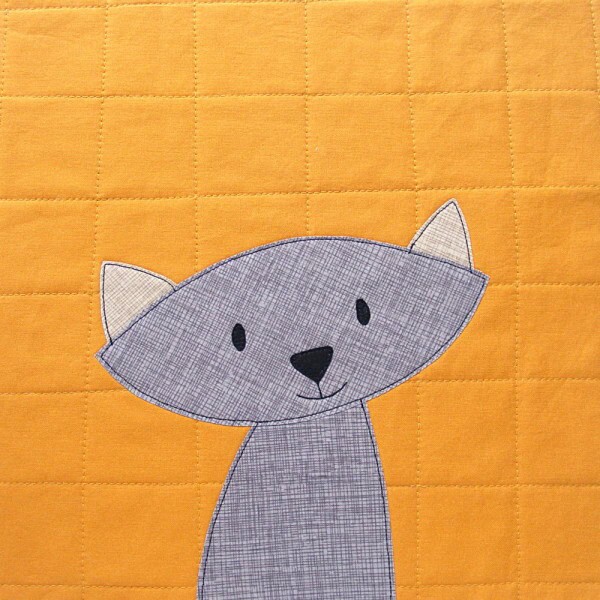
So here’s a video with all those answers! This one shows how I do Quilt As You Go with straight lines – all the basic stripes and grids that I love so much.
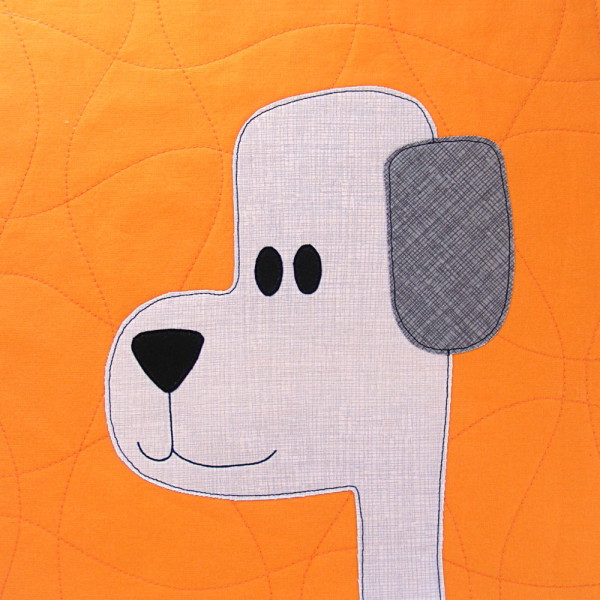
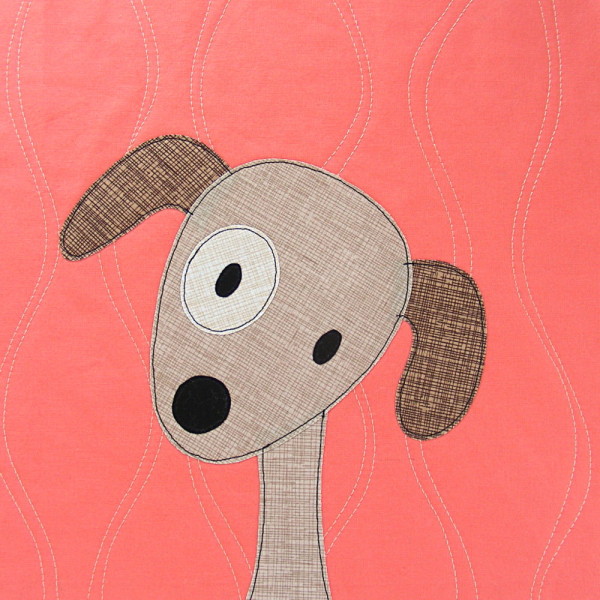
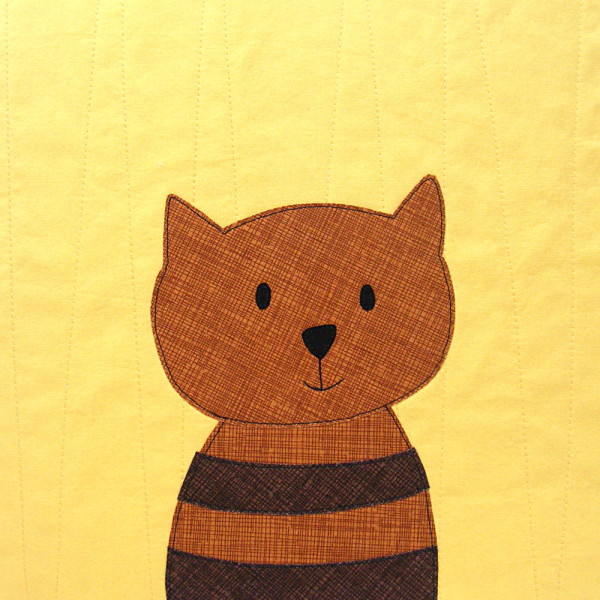
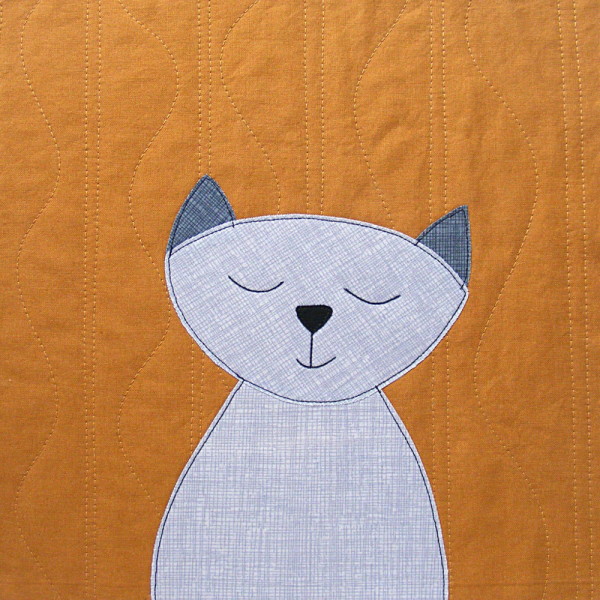
In the video I promised to show a gallery of quilt as you go designs – a menu of sorts that you can refer to when you’re looking for ideas. Here that is. If you click on any image you can see it a little bigger.
I almost always quilt my blocks before I applique. Some of these blocks are shown after the applique is added, but I did the quilting first. You can do it in any order you like, but if you quilt after you applique you have to go around the shapes. I show more about how to do that in this gallery of QAYG videos.
Ready? Jump in and have fun! Quilt as You Go stripes and grids are super fun and easy. 🙂
Did you know I have a class on Craftsy? (now called Bluprint) It’s called Fusible Applique Made Easy. You get the pattern for the Woodland Critters quilt you see behind me. That pattern on its own is a $14.99 value! But you also get videos showing . . .
How I choose fabric
How I true up my fabric and cut background blocks
How I quilt my blocks before adding applique
Fusible applique basics – my favorite products and how to use them
How I assemble every single block in the pattern
My tricks for marking faces and how to handle overlapping bits
Lots and lots of options for doing the eyes (the hardest bit)
How I outline stitch all the pieces
Fancy stitching options
How to appliqué on knits (you’ll see me appliqué a fox on an adorable baby onesie)
How to join those already-quilted blocks
How to back the quilt and finish quilting it
How to bind the quilt
It’s a terrific value!
Instead of showing you the quilts I made with the pattern, I thought I’d share some outstanding finished quilts and comments from students in the class. It has an average rating of 5 stars!
Suebee made this beauty. She writes. . .
Thank you so much for this class! I had a blast and am sure that I will using the techniques you have taught many more times! In fact, I have already started one of your flower quilts for my granddaughter!
Starbank64 made this lovely quilt. She writes. . .
So LOVED this class! I finished and learned a lot of nifty techniques. Thanks Wendi for sharing. I now have the knowledge and confidence to proceed with different appliqué quilts. ps thanks for the moose design will definitely go into the next woodland quilt, there will be another!
Look at the Woodland Critters quilt France Houde made! She even used the fox block as a starting point to create a skunk block! She writes. . .
This was so wonderful to have done this quilt. My first one in my life, and my daughter loves it very much. Thank you!!! When we went to the store to choose the backing & the binding, the person at the store asked us to participate to a quilting exposition, as they never saw a quilt like this before.
I love this quilt that gorillamama made. She added the moose, Buzz and the butterfly (three free applique patterns) and the mouse from the Noisy Farm quilt. I love it when people mix and match like that! She writes. . .
Best. Class. Ever! Learned so much, had tons of fun, and ended up with a project that I feel so happy to have made! Thank you so much, Wendi! You’re the bee’s knees!
If you want a tiny taste of what the class will be like and what kind of view you’ll have – watch this video.
Click here to read about why I love online craft classes – and the Craftsy platform in particular. In a nutshell – you can take the class any time you like and watch it as many times as you need to – and you always have a front row seat with a terrific view. 🙂
I’m especially proud of how many people made their very first quilt with this class!
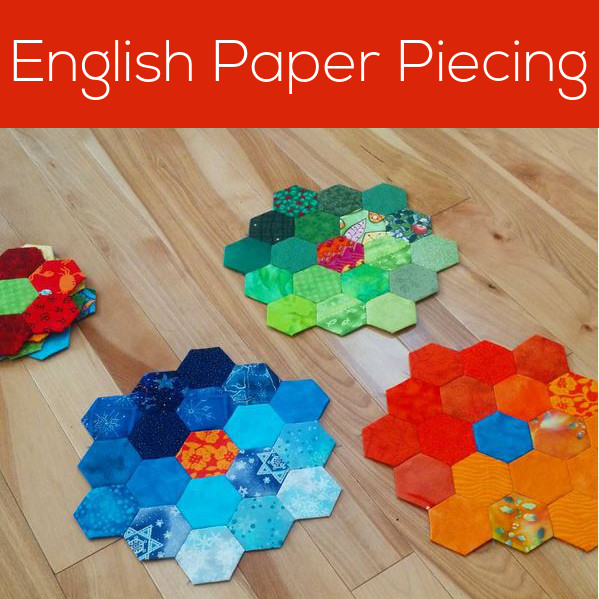
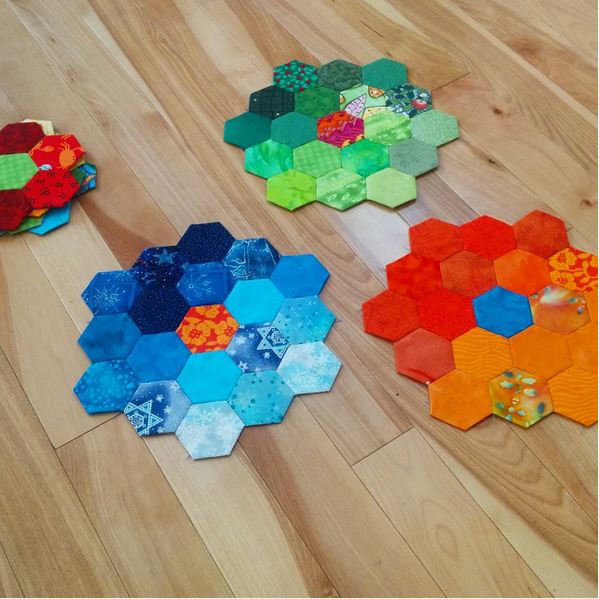
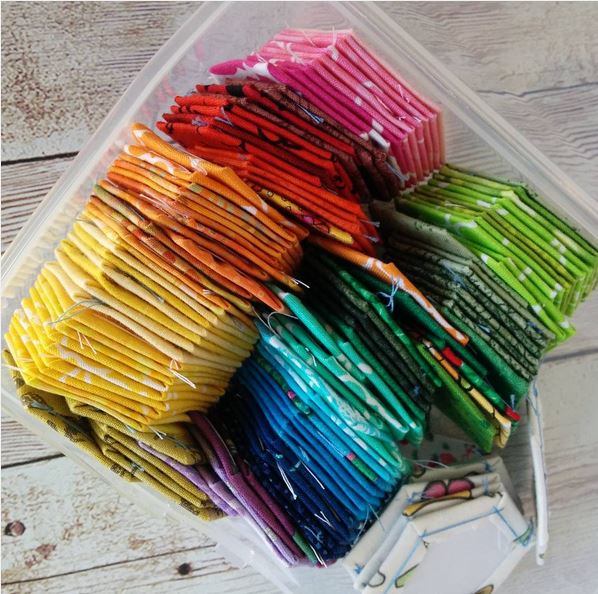
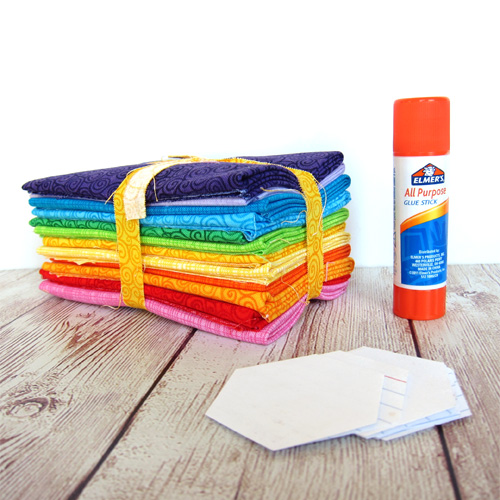
I’m obsessed with English Paper Piecing (EPP). And because I want to you to share in the love of this awesome craft, I’ve put together two video tutorials so you can learn to do it too!
Watch them and then start stitching! You’ll probably end up addicted to these little hexagon-shaped fabric pieces of candy… but that’s okay!
Video one: how to prepare your fabric and baste the hexagons
Video two: how to sew hexagons together and remove template
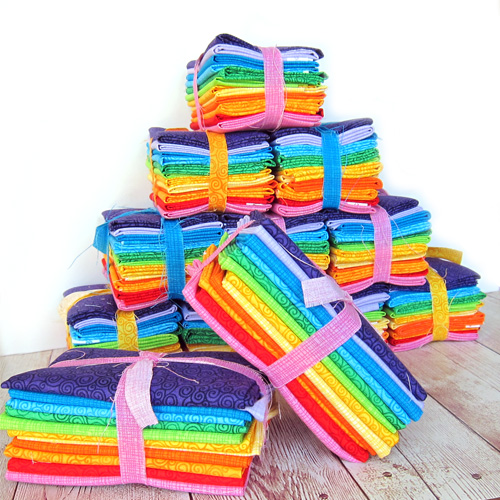
I also love rainbows. So… I teamed up with Shiny Happy World to put together a kit that’s great for beginners or old hats!
Easter is early this year – March 27 – so it’s time to start thinking about your Easter Crafts. What do you want to make?
I could just link to the Easter section of my shop – but then you wouldn’t see all the fun free patterns that are available!
(And there are a lot of them.)
So I created this handy dandy round-up post with all the patterns for all my favorite Easter crafts. Just click on the image to go to that project!
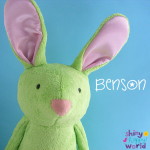
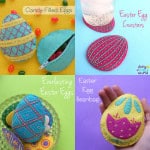
Easter Stuffed Animals
Some are big and huggable. Some are small and pocketable. They’re all easy and fun to make.
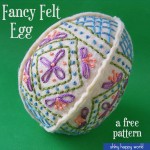
Easter Felt Projects
Spend a lovely spring afternoon stitching one of these by hand.
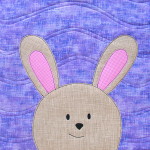
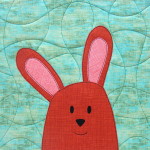
Easter Quilt Blocks
Make a kajillion bunnies with a fun mix & match pattern.
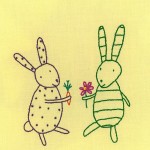
Easter Embroidery patterns
Stitch them on tea towels, baby onesies and more.
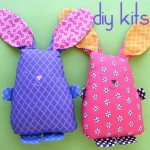
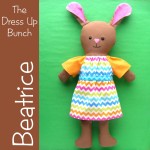
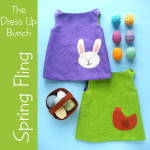
Other Easter Sewing Patterns
Including Dress Up Bunch dolls and clothes!
Of course, there are lots of spring-themed patterns too – but I stuck to Easter crafts for this post. 🙂
So whether you like to sew, quilt or embroider – stitch by machine or by hand – I’ve got an Easter craft pattern for you. Have fun with them and be sure to share what you make in the Shiny Happy People group on Facebook!
In that video I showed how the batting layer needs to be bigger all around than the top layer, and the backing needs to be bigger than the batting.
One of the main reasons for that is because – even with basting – the fabric layers can shift a bit when you’re quilting. If you start with all the edges perfectly lined up, you can have a situation where the batting or backing shifts to be smaller than the top – and then you have a problem on your hands.
The other reason to have the other layers be longer is so that you can hoop it up for hand quilting and stitch right up to the edges.
Let’s take a look at my current hand quilting project – the Controlled Chaos quilt. (It’s a free pattern.)
I’m working on one of the edges here.
You can see that the quilt edge is the edge of that narrow grey border around the blue block. It’s mostly quilted here – right up to the edge.
The batting extends beyond that edge – enough to be captured in the square frame I use so it gets held tight for quilting.
The backing is the grey fabric that extends beyond the batting – also held in the frame.
Having the batting and backing layers extend several inches past the edge of the quilt allows me to hoop them up with the actual quilt still within the quiltable area of the frame. Everything is held nice and tight for easy hand quilting.
Here are all my posts about layering and basting your quilt, and the final round of quilting.
Here are all my posts about hand quilting and Big Stitch quilting. I don’t use these techniques with fusible applique or Quilt As You Go, but I LOVE using Big Stitch Quilting with my cheater fabric.
Want to learn the basics of hand embroidery with an easy online workshop – totally free?
Sign up for Embroidery 101 here. You’ll learn how to get started, the tools and supplies you’ll need, the four most basic stitches, how to transfer your pattern and how to display your work.
If you already know the basics – sign up for Embroidery 201. It’s also free! You’ll learn how to stitch on specialty fabrics like felt and stretchy T-shirts. Plus you’ll learn lots and lots and LOTS more stitches – all my favorites!
You know how I talk ALL THE TIME about how much I love handwork because it’s so portable?
Would you like to see just what I keep in my handwork bag? I’ll show you what tools are inside and how I keep everything organized so I can pull out my work whenever – and wherever – I have a few minutes to stitch.
All right then!
I’m currently working on two projects – hand quilting the Controlled Chaos quilt (not portable – I do this on the sofa)
The quilt won’t fit in it 🙂 but the 7 inch hoop does. I work on both projects on the sofa – but I also carry the hoop with me for random moments of handwork.
I love having a metal tin so I can store sharp objects inside without fear of them poking me or poking through my bag. Here’s what’s inside the tin. . .
My bag is always packed and sitting at my sofa spot, ready to grab and take along in case I’m going anywhere I might have a few extra minutes for some handwork.
This one post will give you all the links you need to get to all of my different posts (and there are a lot of them) about how to applique. I love applique!
First, there are three major applique techniques.
Needle Turn Applique
This is beautiful and soft and lovely – but it’s a hand technique so it’s sloooooow. It’s still doable though! My very first quilt was enormous and full of needle turn applique.
The only tools you need are a washable marker and a needle and thread.
Freezer Paper Applique
This is also beautiful and soft and lovely, but it’s a machine technique so it’s much faster than needle turn.
There are four videos for this technique, because you use different techniques for different shapes. I’m listing them here in order from easiest to hardest.
There are lots of different brands of fusible adhesive. My favorite is Heat & Bond. I use the Lite weight for all my quilts. There’s also a super strong version called Ultrahold that is a nice option for tiny eyes and other small pieces you might not want to have to sew.
I get a lot of questions from people asking how durable the applique is if you just use straight stitching. I answer that here – showing some close-up photos of a quilt that my daughter has been using for some time now. That means it’s been washed and dried a lot. 🙂
It’s finally here! The video showing you how I do big stitch quilting – a super easy and fun hand quilting technique!
Big stitch quilting is my new favorite way to hand quilt – I’m not sure I’ll ever go back to traditional hand quilting. It’s just so much fun! I love the chunkiness of the stitches – and the style really seems to demand the kind of slight irregularities and wonkiness I love so much.
I should note – I’m not trying to be irregular here. I find that if I try to stitch a perfectly straight line, going slowly and carefully, but not actually marking or measuring it in any way – I get just the amount of wonkiness and wobbliness that makes me happy. It looks like it was sewn by human hands. 🙂
Here are all my posts about hand quilting and Big Stitch quilting. I don’t use these techniques with fusible applique or Quilt As You Go, but I LOVE using Big Stitch Quilting with my cheater fabric.
That means the people who love babies need a go to, easy baby bib pattern.
This is it!
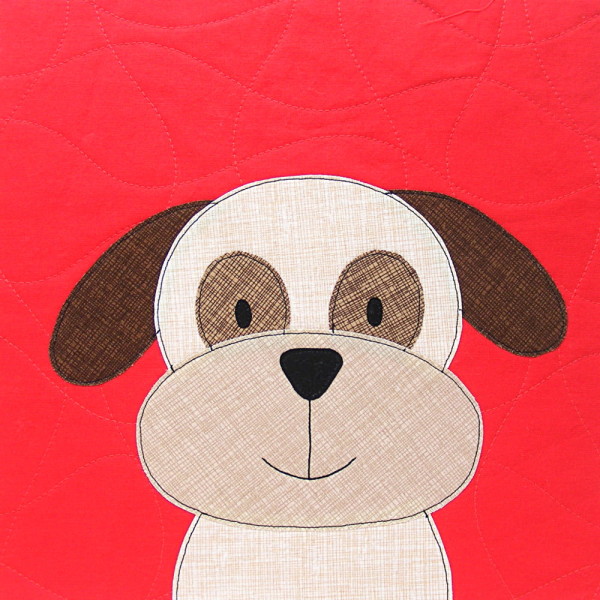
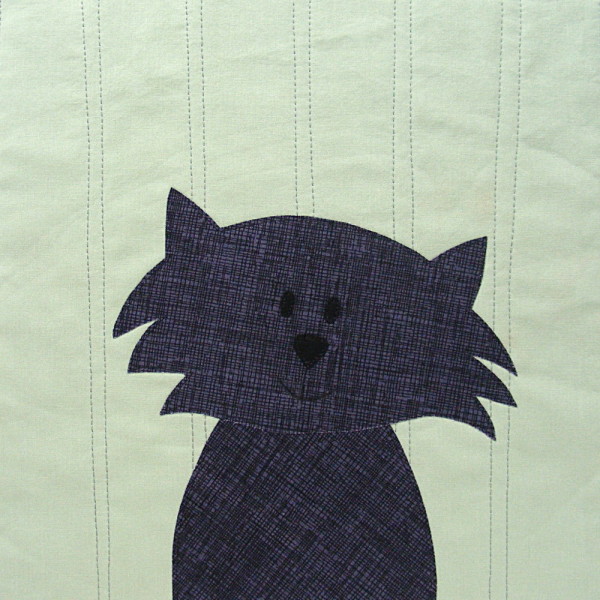
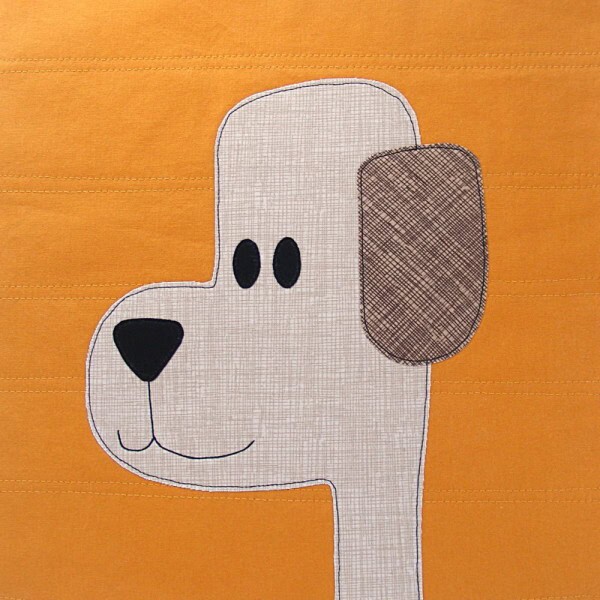
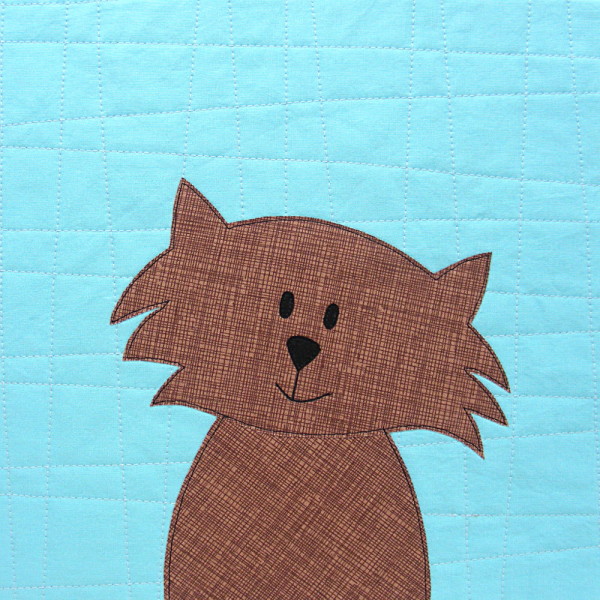
It’s a simple bib shape – very easy to make and customize with any appliqué (or other fancification) you like. This pattern includes that sweet bear. 🙂
Make it out of regular quilting cotton for a basic bib. Back it with laminated fabric for heavy droolers. Make the whole thing out of laminate for those learning to eat solid foods. (The fabrics I used are from Timeless Treasures. The crosshatch is my beloved Sketch collection and the swirly fizzy dots are from the appropriately-named Pop collection.)
Cut two bib pieces (one front and one back) on the fold.
Step 2
Print or trace the bear appliqué pieces (the last page of the baby bib pattern PDF) onto fusible adhesive. This is the brand I use.
Roughly cut out each shape and fuse them to the back of the fabric, following the instructions for the brand you’re using.
Step 3
Cut out the pieces neatly.
Cut right on the solid lines. Leave a little extra seam allowance past the dotted lines. See the extra at the bottom of the ears? That bit will tuck behind the head.
Step 4
Hold the face up to the window so you can see the markings through the fabric and mark the position of the eyes.
I just use a fine tip Sharpie – nothing fancy.
Do the same thing with the muzzle, marking the position of the nose and the key points of the mouth.
You can also trace over the whole line of the mouth, if you prefer.
Step 5
Peel off the paper backings and layer the pieces together so that the ears tuck behind the head and the bottom of the bear body is lined up with the bottom of the bib.
Here you can see it a little closer.
Fuse the pieces down according to the instructions of whatever brand adhesive you’re using.
Step 6
Stitch around the edges of all the pieces.
I like to use black thread and a simple straight stitch. You can use a zigzag or other decorative stitch if you prefer. If you want a little help knowing where to start and in what order to stitch the pieces, this post should help you out. And this one will help you with managing those tight curves. 🙂
Step 7
Embroider the eyes and mouth.
I did it by hand using this stitch for the eyes, and following the instructions for the mouth in the free Warren the Charity Bear pattern. I used a single strand of this thread. That’s the equivalent of two strands of DMC floss, but I love using a single strand of thicker thread so I don’t have to worry about the strands separating on that long stitch connecting the nose to the mouth.
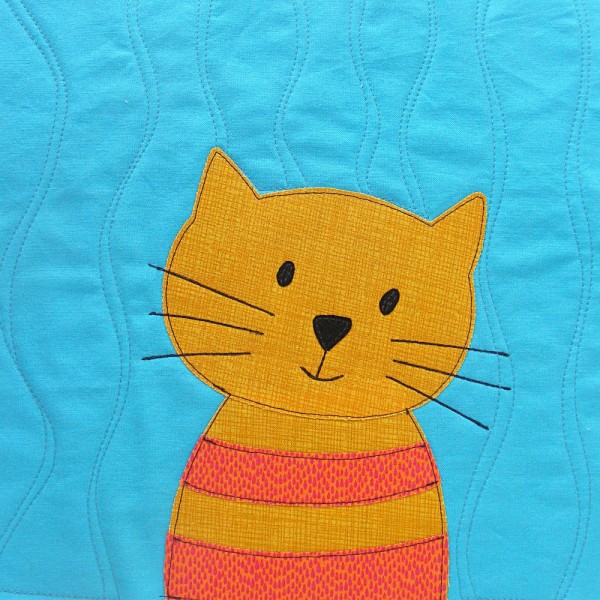
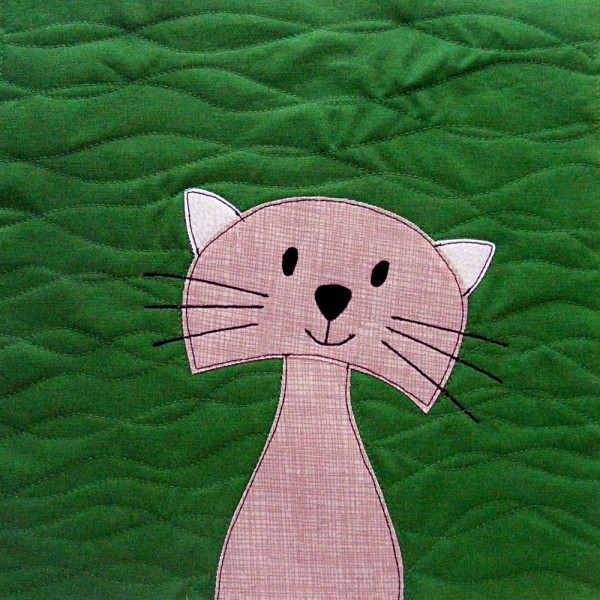
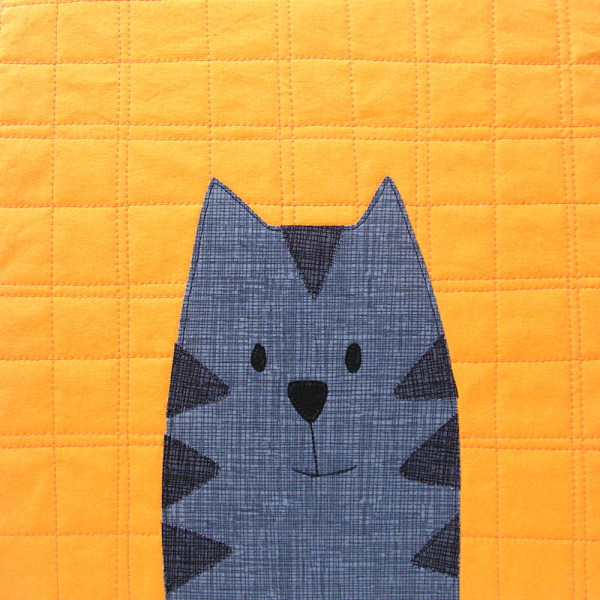
You can also sew the face by machine. That’s what I did for this cat bib. You can find info about how I did the eyes here. The mouth and whiskers are just a simple straight stitch, going over all the lines twice to make them a little thicker. (For those I traced the whole line of the mouth and whiskers in Step 4, not just the endpoints.)
Step 8
Cut a 1-inch square of hook & loop tape (or use snaps or a button).
Sew it to the bib as shown. Both bib pieces are shown right side up. I attached the loop side to the bib front and the hook side to the bib back, but it doesn’t really matter.
Step 9
Layer the bib front and the bib back right sides together.
Using 1/4 inch seam allowance, sew all the way around the edge. Leave a few inches open for a turning hole in the straight part of one of the sides.
Step 10
Clip the seam allowance in the concave curve around the neck.
For more on the the how and why of clipping curves, watch this video.
It would be fun to make a whole set of them with lots of different faces!
Have fun with this pattern! I’d love to see what you make – and I’d really love to see them on some adorable babies. 🙂 Post photos in the Shiny Happy People group so we can ooh and aah over them.
Here are several free patterns that work with my basic 10-inch applique squares – no resizing needed!
Here are several free patterns that work with just some simple resizing. This post about making coasters has info about resizing an applique pattern that can be applied to any of these projects.