Fusible applique is my favorite applique method. It’s fast and easy and it really lets me play with my designs.
I’ve been using this method for some time now, and I’ve refined the method I use. The most recent big change was adding SVG files to my patterns for use with electric cutting machines like Cricut and Silhouette – and that meant a change in how I design some of my template pieces.
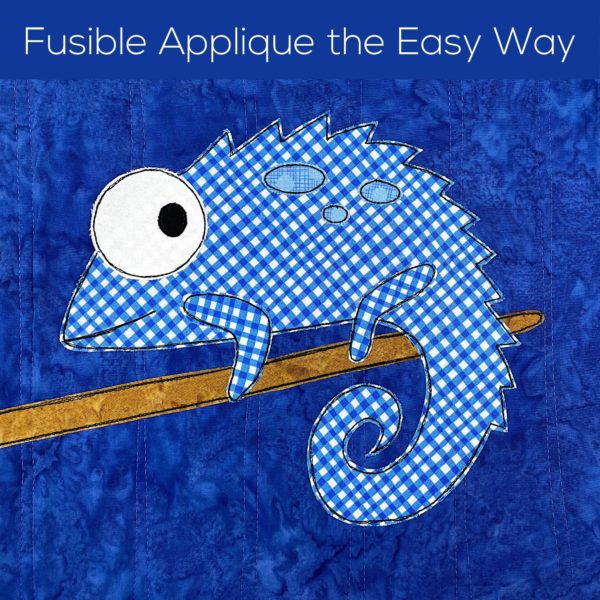
Time for a new tutorial! This video shows all the steps for how I do fusible applique. It’s on the long side, and I mention several other tutorials, so scroll past the video for a list of topics at each timestamp, and all the links I mention in the video.
Introduction – Fusible Applique Made Easy
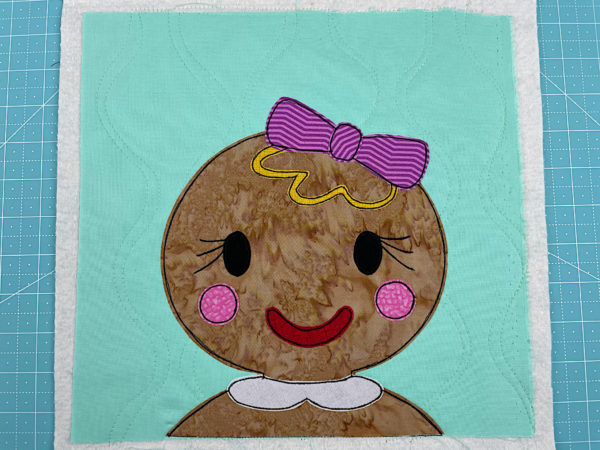
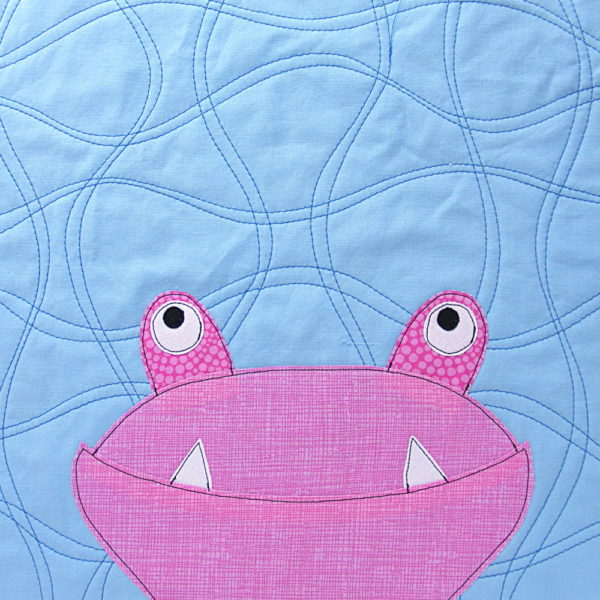
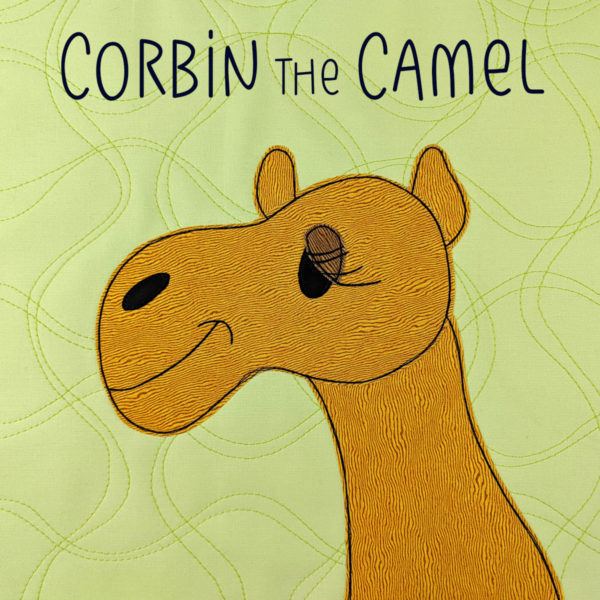
- I use the Carter Chameleon applique pattern for all the demos.
- I explain how to know if your pattern uses these new instructions, or these older instructions.
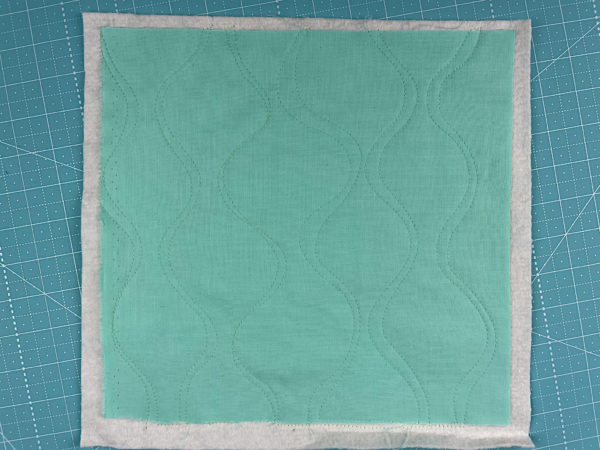
Quilt As You Go (2:29)
I give a quick nutshell view of my method. Visit this post for much more detailed info – Quilt As You Go: Everything You Need to Know. I also mentioned the following tutorials.
- My favorite straight-line quilt designs.
- My favorite wavy-line quilt designs.
- How to quilt some of my favorite designs, including working around the applique if you do that first.
- Get fabric squares printed with the quilt designs here. Easy peasy!
- How to trim finished Quilt As You Go blocks
- How to join Quilt As You Go Blocks
- How to add the backing to a Quilt As You Go quilt
- How to bind a quilt
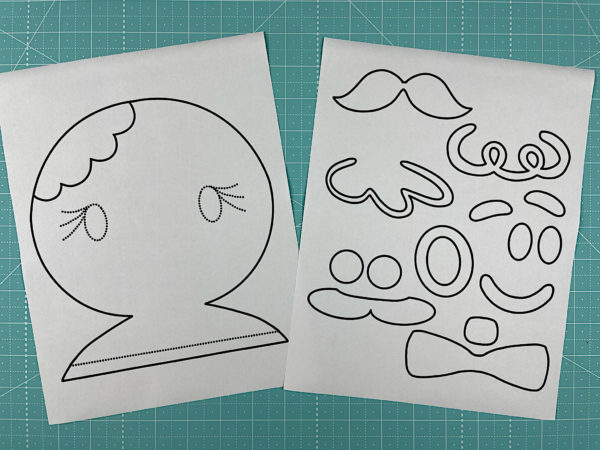
Printing or Tracing the Pattern onto Fusible Adhesive (5:33)
I use Heat & Bond Lite for all my quilts. You can get it at most big box fabric stores, either in a roll, by the yard, or in printable sheets. All of my applique patterns are formatted to work with the printable sheets.
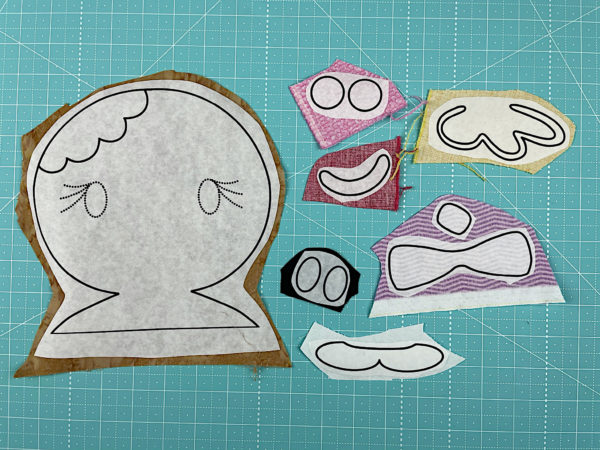
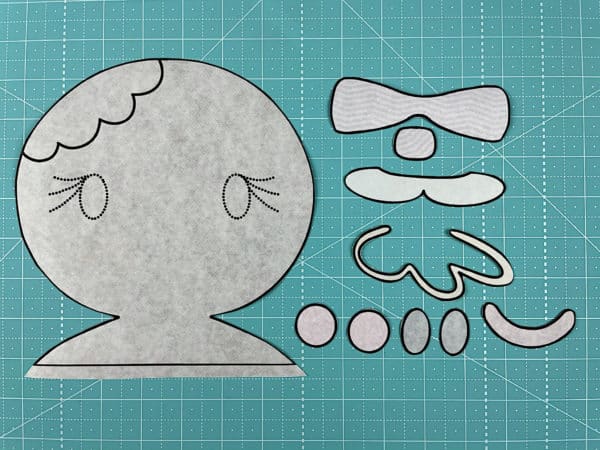
Rough Cutting and Clean Cutting the Applique Pieces (7:15)
I show what I mean by rough cut and clean cut in my patterns, and explain why rough cutting, then fusing, then clean cutting gives you the best results.
- My favorite scissors are Karen Kay Buckley’s Perfect Scissors with 6 inch blades. They really are perfect for cutting applique pieces!
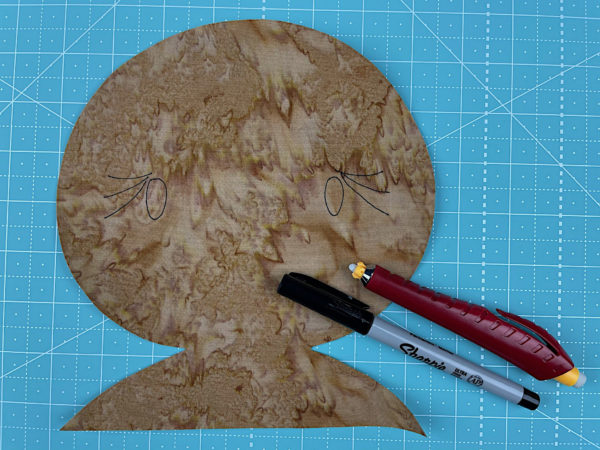
Transferring the Placement Markings (9:28)
I show all my favorite tools for marking placement lines when I applique
- I love this Allary Chalk Cartridge Set.
- I mentioned that I use the same artist’s eraser to clean my cutting mat. Here’s more info about that – How to Clean a Fuzzy Cutting Mat
If you want to skip the placement markings, there’s a tutorial here showing how to get perfect placement without them.
Layering and Positioning the Fusible Applique Pieces (14:43)
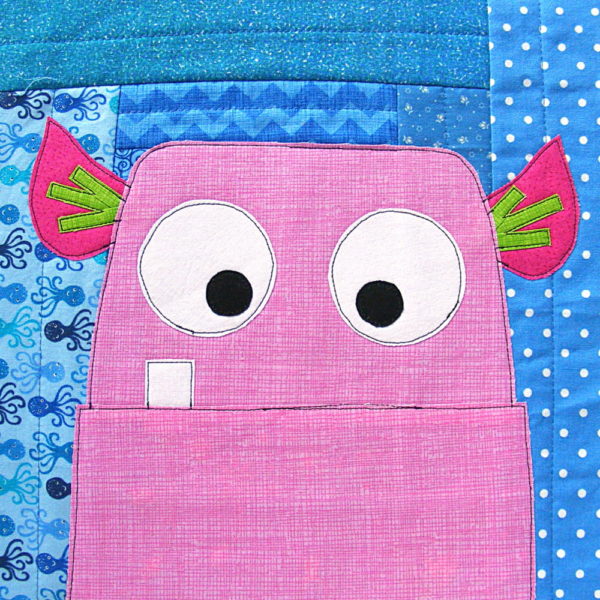
I show how I layer all the pieces together – with extra info about how to mark your fusible adhesive to help you get a directional pattern to run in different directions to help create contrast between overlapping pieces. (Look at the legs on the chameleon block at the top of this post to see what I’m talking about here.)
- How to Minimize Show Through on White Eyes
- I use this Heat & Bond Medium Weight fusible interfacing for that process.
Outlining the Pieces (20:47)
You have to outline the pieces after fusing to get a permanent hold. I use a simple straight stitch. A lot of people ask if that’s durable enough with withstand washing and drying. It is! I show a quilt here after many trips through the washer and dryer.
- How to Outline Small Pieces Like Eyes and Mouths
- Tips for the sketchy outlining I like to do
- Everything you need to know about outlining with thicker thread.
- See examples of several different decorative stitched used to outline in the detail photos from the Parliament of Owls quilt pattern.
- More info about how to know in what order to outline the pieces.
Whew! That is a LOT of info!
I do love fusible applique – and I hope this helps you love it too. 

Here are links to all the posts showing how to applique with fusible adhesive – my favorite method. It’s fast and easy and (with the right materials) it holds up beautifully to rough use and repeated washing.
- How to Applique with Fusible Adhesive – a very basic intro
- How Durable is Applique with Fusible Adhesive?
- Fusible Applique the Easy Way – the way I currently work – use with any of my patterns that include SVG files
- How to Use a Light Box to Layer Your Applique – perfect placement every time
- How to Applique with Fusible Adhesive – photo tutorial – use with any of my patterns that do not include SVG files
- How to Applique with Fusible Adhesive – video tutorial – use with any of my patterns that do not include SVG files
Here are links to special posts about eyes.
- Easy Eye Options for Applique
- Using Fabric Markers and Paints for Small Eyes
- Free Embroidery Machine Files for Machine-Stitched Eyes
- How to Machine Stitch Eyes without an Embroidery Machine
- How to Minimize Show-Through on White Eyes
- How to Applique Dark Eyes on Dark Faces
- How to Add Catchlights to Eyes
- How to Change the Eyes on Your Applique Patterns (adding lashes or changing to sleepy or smiling eyes)
Here are links to some extra fun things you can do with your applique.
- How to Add a Baby Animal to Any Block
- How to Squish Two Animals into One Block
- How to Add Playful 3D Bits to Your Applique
- How to Add Soft 3D Pieces to your Quilt Block
- How to Add a Door (that Opens!) to Your Quilt Block
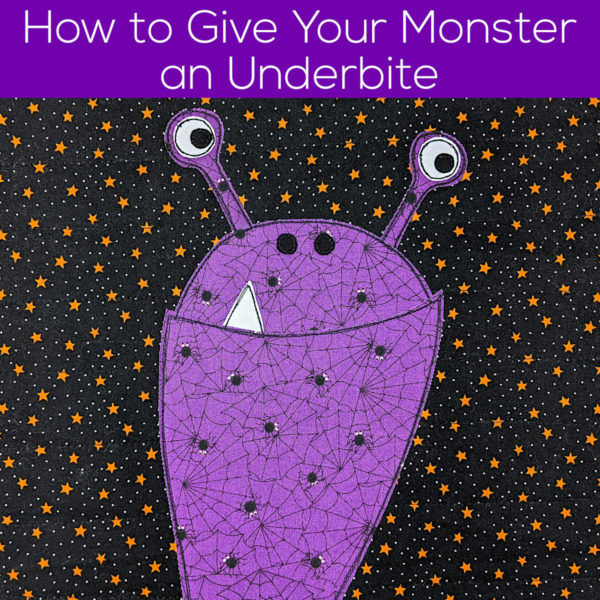
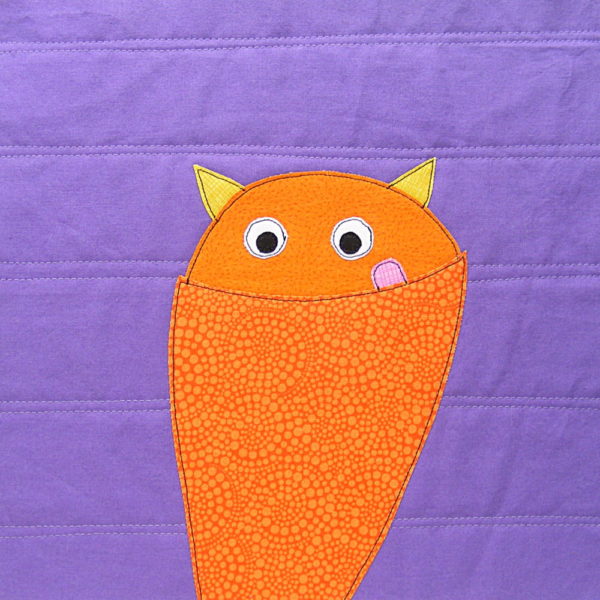
- How to Give Your Monster an Underbite
- Fake Trapunto (Stuffed) Applique
- Broderie Perse Applique
Other Applique Methods
Finished with this topic?
Return to the Let’s Make a Quilt main Table of Contents.
Move on to the lessons about outline stitching.
Happy stitching!