Toy Snakes – free beginner sewing pattern

Stuffed Toy Snakes - a free easy sewing tutorial from Shiny Happy World

These stuffed toy snakes are one of my most popular free patterns! They’re lots of fun for all ages to make.

Years ago I made a book weight – a simple tube of fabric filled with heavy metal pellets.

It was designed to hold a book open, but my daughter immediately saw it as a toy.

Of course.

She played with it all the time so I finally made a toy snake just for her – bright and colorful, with button eyes and a forked tongue, and filled with plastic pellets instead of expensive metal shot.

pink and yellow beanbag snake with yellow button eyes

She still has that original snake. And she still plays with him all the time. Her response when I asked her about him was, “Well, you never know when you’re going to need a snake.”

How true.

Jo helped me make some modifications to the original design. The seams are on the inside now “to make him more smooth and snakelike.” The tongue is made of ribbon so it’s less likely to tear away. I asked her about rounding the head and tail to make him (somewhat) more realistic and got a resounding thumbs down. Okay then. Square-headed toy snake it is.

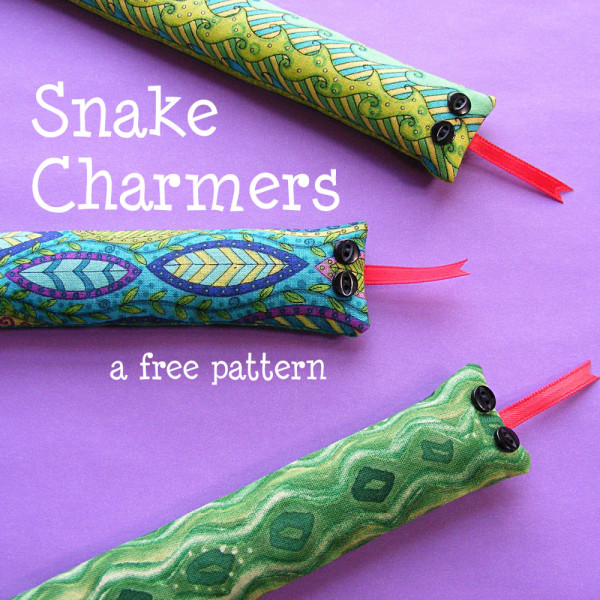
And so I bring you the new and improved – and FREE – Snake Charmers. These toy snakes are quick and easy to stitch up, small enough to fit in a pocket, and have a pleasing drapability (if you don’t fill them too full). They’re a good size to interact with action figures and all kinds of dolls. They’re surprisingly versatile little guys who make their way into all kinds of situations. I hope you enjoy them!

Do make more than one. When I told Jo she could have all the samples I made her response was, “Cool! Now I can have an invading horde attack my American Girl dolls.”

Cool indeed. 🙂

The links in the pattern all go to video tutorials that show that skill in more detail.

Toy Snake Pattern

Materials needed for each snake. . .

  • scraps of fabric -­ I use different prints for the top and the belly
  • two small buttons (1/4 ­- 3/8 inch)
  • scrap of red ribbon (1/4 or 3/8 inch wide)
  • plastic pellets for stuffing (I like Fairfield brand Poly Pellets)

Step 1

Cut two rectangles of fabric, each 2 inches x 9 inches. Click here if you want to learn how to use rotary cutting tools.

Step 2

Sew the eyes in place, with the centers approximately ­1/2 inch in from the cut edge of the fabric.

green snake fabric with black button eyes

This post has some tips about getting different looks from the way you place the button holes.

Step 3

Cut the ribbon 1 1/2 inches long and snip a fork into one end.

red ribbon tongue with forked end -  cut for beanbag snake

If the ribbon seems like it’s going to fray, use a bit of Fray Check or clear nail polish on the forked end.

Step 4

Pin the ribbon in place with the flat edge lined up with the cut edge of the fabric and centered between the eyes.

pin the tongue in place

Step 5

Layer the belly piece of the snake face down over the top. Pin the layers together, sandwiching the ribbon tongue between them. Leave the tail open for filling.

green fabric skinny rectangles pinned together

Step 6

Leaving the tail end unstitched, sew around the other three sides of the snake. Use 1/4 inch seam allowance. Don’t forget to backstitch at the beginning and end of all your stitching.

inside out fabric snake in progress - clip the corners after sewing

Watch this video for help sewing straight lines and turning corners. Clip the corners up to, but not into, your stitching.

Step 7

Gently (don’t tear off the buttons!) turn the snake right side out and use a stick to poke out the corners.

green fabric snake - waiting for stuffing

Step 8

Fold in the raw edges of the tail and press in place.

fold in the raw edges of the tail and press

Step 9

Fill the toy snake with up to 3 tablespoons of plastic pellets.

beanbag snake filled with plastic pellets

Don’t overfill him! He’ll end up stiff instead of bendy and fun.

Step 10

Sew up the opening using the whipstitch or ladder stitch.

green rectangle closed with ladder stitch

Now make a bunch more!

Three finished toy snakes made with a free pattern from Shiny Happy World

Toy snakes (like real ones) love to gather in packs. You’ve seen Indiana Jones, right?

Extra Bonus Sewing Skills! I used this pattern in a very cool project. You can use your sewing machine to decorate the fabric you use to make your snakes! It’s a great way for beginners to practice their sewing machine skills and make something extra cool at the same time. My daughter Jo (age 11 at the time) shows you how to make all those slithery snakes in this video.

Teach your kid how to use a sewing machine and make these super fun stuffed snake toys!

Have fun making these easy stuffed toy snakes! And happy sewing!

Best,
Wendi
Applique Wendi (with fabulous hat)

Edit – Over on Flickr, Curlysue7795 commented on the fabrics I chose, and that reminded me that I meant to mention that in the post. For these snakes I chose fabrics that had wiggly stripes on them, and I centered the stripe so it ran down the backs of the snakes. You certainly don’t have to do this, but I think it’s a nice effect.

How to Turn a Tube of Fabric Right Side Out – video

How to Turn a Tube of Fabric Right Side Out - video tutorial

If you need to turn a tube of fabric (especially a skinny one) right side out, it can be a real pain if you don’t have the right tools. There are a few options out there. I used to wrestle with a safety pin and yarn, and I’ve tried using hemostats – but I swear by my turning tubes. They’re inexpensive and they work like magic. Really! Just watch!

See how slick that is? They are the perfect tool. Want to order a set? You can find them here.

The most common time you’ll need to turn a tube of fabric is if you’re sewing clothing – especially anything with straps or bands or belts.

I usually use double-fold strips of fabric for tote bag handles – but a lot of other patterns will call for fabric tubes.

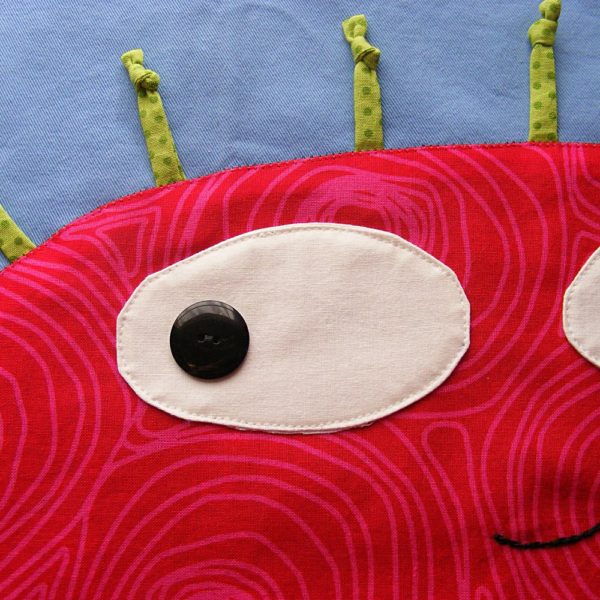
Once in a while I’ll use little tubes of fabric for 3D hair on a quilt – like this silly monster.

For each lock of hair I sewed a skinny tube, turned it right side out, and tied a little knot in the end before slipping it under the edge of the applique and stitching it down.

But I use fabric tubes most often for softies! Arms, legs, and tails are all just tubes of fabric.

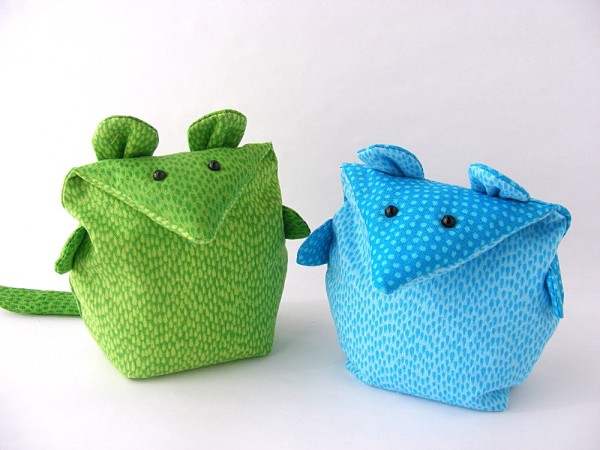
Mischief of Mice - softie sewing pattern from Shiny Happy World

The tails on these mice are extra skinny tubes.

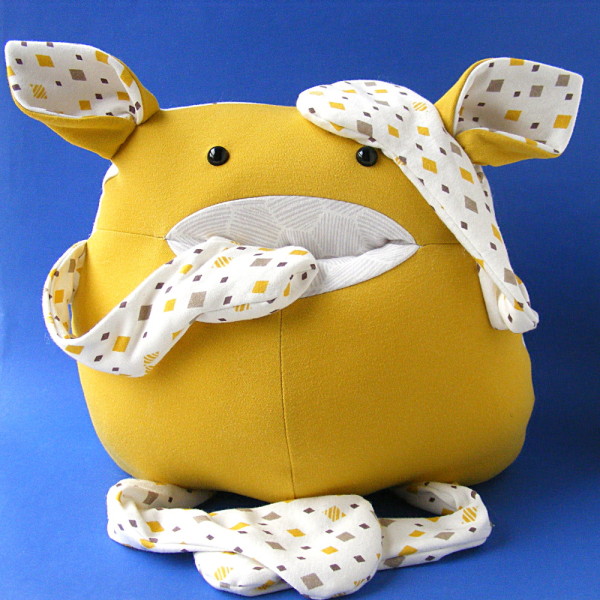
I love making softies with floppy arms and legs, like this Munch Monster.

Use stretchy knit fabric to make extra soft stuffed animals - tips and tricks from Shiny Happy World

Want to practice turning some tubes? These snakes are really fun to make.

finished snakes

And the pattern’s free! Get it here.

Happy sewing!

Tips and Tricks for Sewing Curves – video

How to Sew and Clip Curves

You can make an awful lot of stuff just sewing straight lines, but at some point you’re going to want to sew a curve.

Sewing a curved line isn’t really any harder than sewing a straight line – unless it’s a tight curve. And the tighter the curve, the tougher it is to sew smoothly. In the video I show you a couple of tricks for keeping things together when you’re sewing tight curves.

Even more important – I show you what you need to do to those curves after you sew them, so that when you turn you work right side out those nice smooth curves stay nice and smooth.

You can download the PDF of practice lines here. In the video I show you how to stitch right on those lines – but I advise you to print this page out a few times. Practice sewing on the lines until you have a feel for what your machine can do. Then cut a sheet apart along those lines and practice sewing with a 1/4 inch seam allowance along the cut edge of the paper. You can practice sewing with a 5/8 inch seam allowance too – but only practice that on the gentle curve. Keep practicing until you’re ready to try it out on fabric – then change your needle. It’ll be dull from sewing through the paper and you want a nice sharp needle for sewing through fabric.

Happy sewing!

Best,
Wendi
Applique Wendi (with fabulous hat)

Ladder Stitch – The Invisible Way to Stitch up Softies

How to Ladder Stitch - video tutorial - showing the back of a green stuffed mouse and the invisible stitching sewing up the stuffing opening

There are two common ways to sew up stuffed animal openings – whipstitch and ladder stitch.

Whipstitch is super easy – it’s what I do with the youngest stitchers, as young as four. Here’s a video showing how to whipstitch.

The drawback is that the stitching is visible.

Ladder stitch is preferable because it’s totally invisible.

It isn’t exactly tricky, but it does require a little more skill with the needle than the whipstitch method. So if you’ve never done much handwork, try the whipstitch a few times – until you get comfortable with it. Then give ladder stitch a try. It really is invisible and once you get the hang of it, it doesn’t take any longer than whipstitching the opening closed.
In the top photo (and in the video) you see what ladder stitch looks like when it’s used with woven fabric. Here’s a photo showing how it looks with fleece – which I use for a lot of softies.

the back side of a stuffed animal showing how invisible the ladder stitch is

See? Just about invisible!

Update – There’s an excellent question in the comments about when to iron. I iron after I turn it right side out and poke out the corners – but before I stuff it. It’s really easy to turn those raw edges in and press them nicely while the softie is still flat.

Ladder stitch is perfect for stitching up those stuffing holes. It also works really well for sewing up pillows, patching and mending clothes, sewing in linings, and more. I also use ladder stitch for the hand-sewing step every time I bind a quilt.

Give it a try. 🙂

Happy sewing!

How to Stuff a Pillow or Softie – video

How to Stuff a Softie - video

Stuffing a softie is a little more involved than you would think. It often takes me as long to stuff a softie as it took me to sew it! It’s not hard to do it right – it just takes some patience. And a TON of stuffing. Seriously!

The number one problem I see with handmade softies is not enough stuffing. Pack it in there people! And watch this video to see how to get it smooth and even and in all the nooks and crannies.

Happy stuffing!

Best,
Wendi
That's me!

Free Pattern – Five Stones Game

Five Stones Game - a free pattern
Way back in the early eighties we played a game called Chinese Jacks.

Everyone had a set of jacks – customized in your favorite colors, of course – and if we had five free minutes we plopped down on the floor wherever we were and played a few rounds.

Chinese Jacks was an American eighties version of a very old game called Five Stones (or Knucklebones, or Jackstones, or a kajillion other variations). You can find some “official” rules here, and I like this video for showing it in action.

Part of the fun of Chinese Jacks was making your own set of jacks, in your own favorite color combinations. Five Stones is also a game where you can (and should) make your own set. It’s easy and pretty fast and uses just scraps.

What you’ll need

  • 5 scraps of fabric – each at least 2 1/4 x 4 inches
  • small amount of rice, plastic beads, or other small filler
  • sewing machine
  • thread
  • basic sewing tools
  • about an hour

Difficulty

Very easy – great for beginners of all ages.

Step 1

Iron your fabric so it’s nice and smooth. Cut 5 rectangles – each 2 1/4 x 4 inches.

Step 2

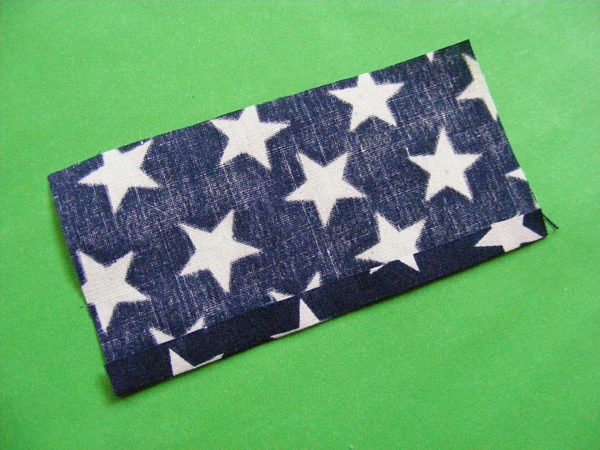
Choose one rectangle to start with. Turn ONE long edge under 1/4 inch.

Press to set the fold, then open it back up. You won’t be stitching this down yet, but the piece is so small that it will be almost impossible to measure and press this fold after you sew so we’re doing it now.

Step 3

Fold the rectangle in half (with right sides together) so that it’s almost a square.

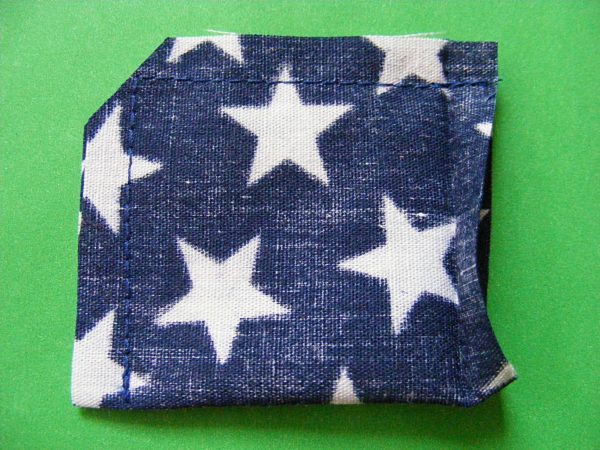
Using 1/4 inch seam allowance, stitch two of the open sides of the square. Remember to backstitch at the beginning and end of your stitching.

Clip the corner close to – but not into – your stitching.

Step 4

You should have a little pouch. Turn it right side out and turn under the fold that you pressed in place in step 2.

Step 5

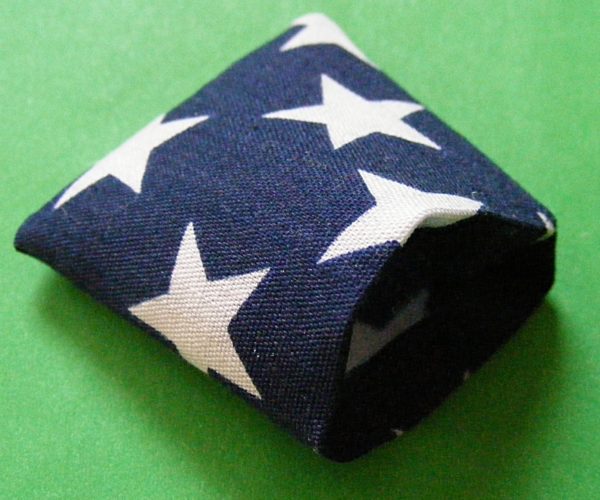
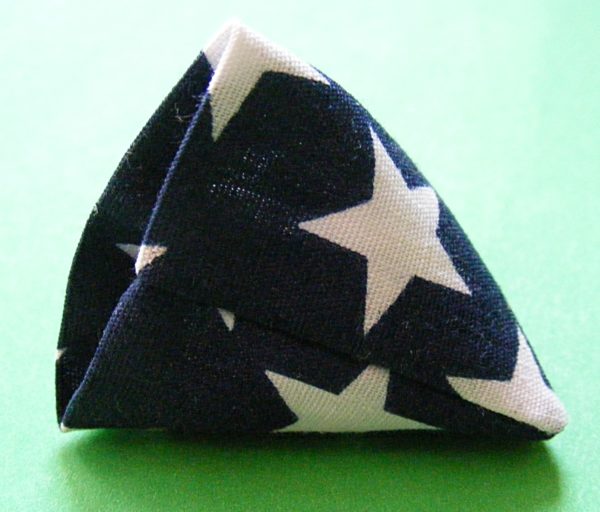
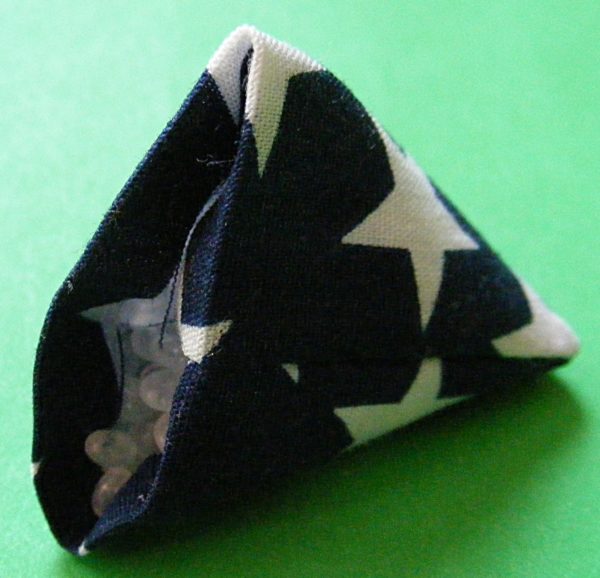
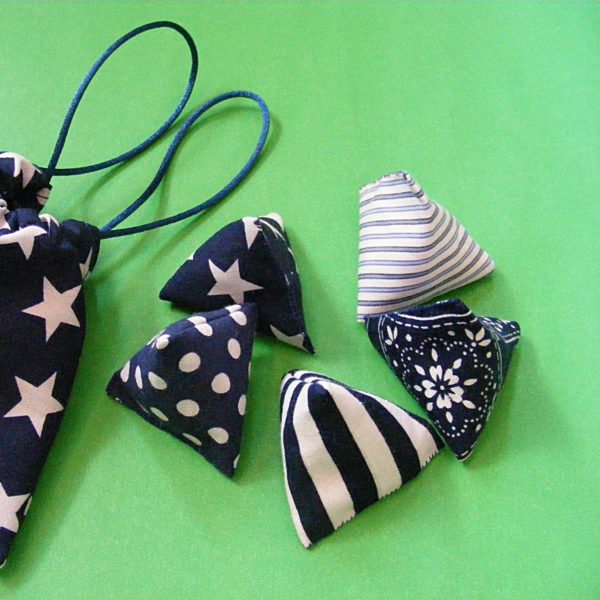
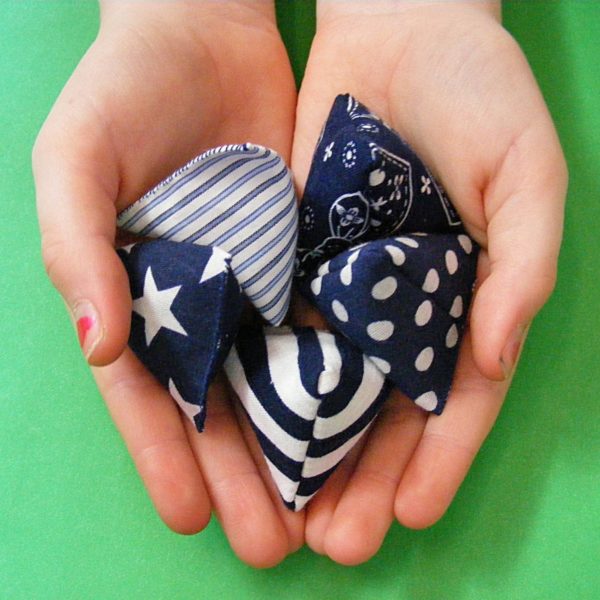
Now here’s the trickiest part – and it’s really not tricky at all – just very clever. Refold the opening so that the seam is running up the center instead of along one of the sides. It should reshape the flat pouch into a teeny little pyramid.

Fill the bag with 2 teaspoons of filler. For this project I used little plastic pellets because I KNOW they’ll get played with (and forgotten) outside. Rice or lentils would be nice, but they will clump and mold if the game gets wet.

Two teaspoons will fill it loosely – and that’s exactly what you want. Tossing and grabbing is easier when the “stones” have some give to them.

Step 6

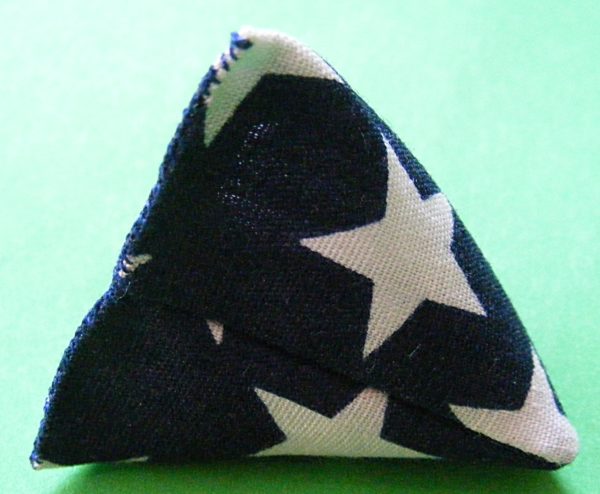
Now stitch up that nice folded edge using a whip stitch or ladder stitch. Use small stitches spaced pretty close together so the filling doesn’t come out through the spaces.

Step 7

Done! Now repeat all the steps with the rest of the rectangles. You should end up with 5 squishy little pyramids. You’re ready to play!

You can find the rules a lot of places online but I like this video. Actually seeing the play makes it easier to understand.

It takes practice to get really good! Have fun!

Best,
Wendi

Applique Wendi (with fabulous hat)

How to Whipstitch – The Easy Way to Sew Up a Stuffing Opening – video

How to Whipstitch

If you make softies or pillows – or anything else that requires stuffing – you’ll need to sew up the opening by hand. I teach two basic methods for doing that – the easy way and the invisible way. This is the easy way.

I’ve taught it to 5 and 6 year-olds and they do a great job with it. I recommend it for beginners of all ages.

For those of you eager to try out the invisible way, watch How to Ladder Stitch.

Happy sewing!

Best,
Wendi
That's me!

A Rice Bag to Keep You Toasty Warm

Free Rice Bag Pattern from Shiny Happy World

Stitch up this easy rice bag and pop it in the microwave whenever you need a little warmth. Heat it for one minute (or a little more) in the microwave. Use it as a foot warmer when you go to bed at night. Or lay it on your chest when you have a cold. Drape it around your neck if you’ve spent too long at the sewing machine. 🙂

Don’t save this project for next winter! In the summertime my daughter likes to keep hers in the freezer to pull out whenever she needs a quick cool-off. Drape the cold bag around your neck on a hot day for instant bliss.

Make one for yourself – and lots more for gifts.

Update! I posted instructions to turn this into a Vicks VapoRub scented rice bag here. Use that version to help soothe a cough and clear a stuffy nose. And be sure to download the free monster rice bag cover pattern too! The link is in the same post. 🙂

What you’ll need

  • 2 squares of fabric – each 10 1/2″ x 10 1/2″
  • 2 1/2 cups rice or other filler
  • scented mix-ins – optional
  • sewing machine
  • thread
  • basic sewing tools
  • an hour or less

Difficulty

Super easy! Just a few straight lines and all machine work! Plus the pattern has links to videos teaching you all the skills you’ll need.

Step 1

Iron your fabric so it’s nice and smooth.

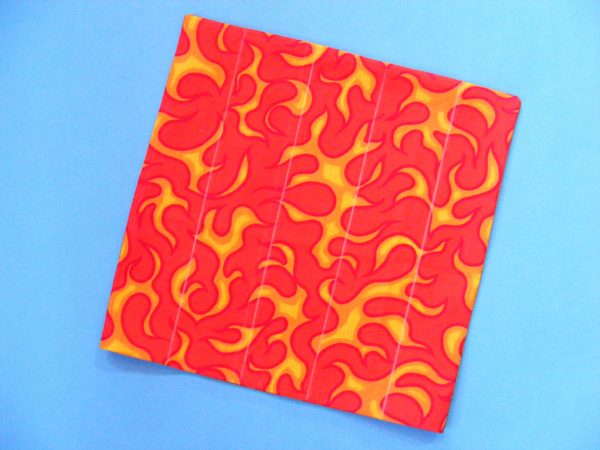
Lay your fabric squares right sides together. Using 1/4 inch seam allowance, sew around three sides. If you’re a new sewist, watch this video showing you how to sew straight lines and turn corners.

Step 2

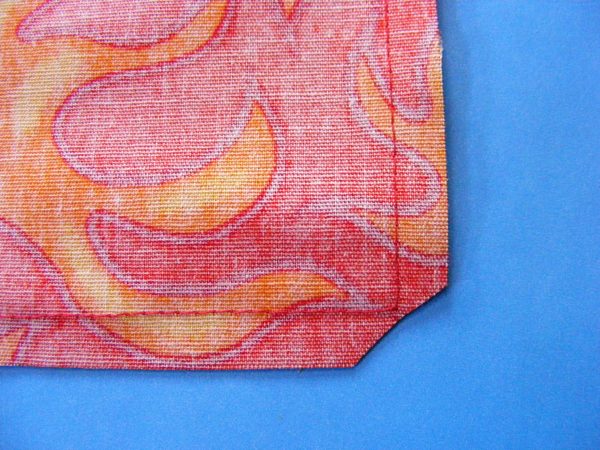
Clip the corners close to -­ but not into -­ the stitching.

It should look like the photo.

Step 3

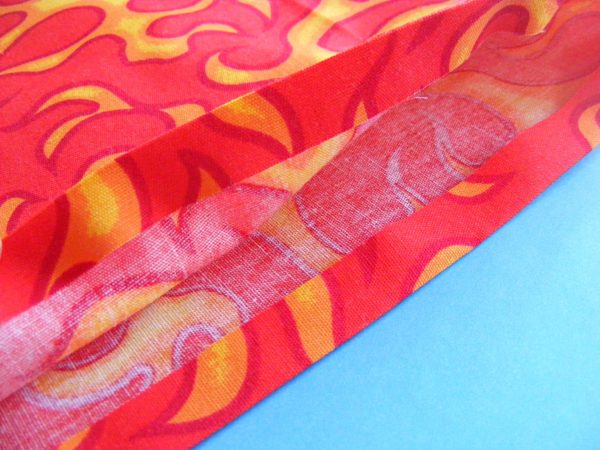
Turn the bag right side out. Turn the raw edge under 1/2 inch and press.

The entire top edge (all the way around) should be folded under so you have a clean edge.

Step 4

Using a piece of chalk or other erasable marking tool, mark lines every two inches along the length of your rice bag.

This will make channels that help keep the rice spread evenly throughout the bag so it doesn’t all shift into one corner.

Step 5

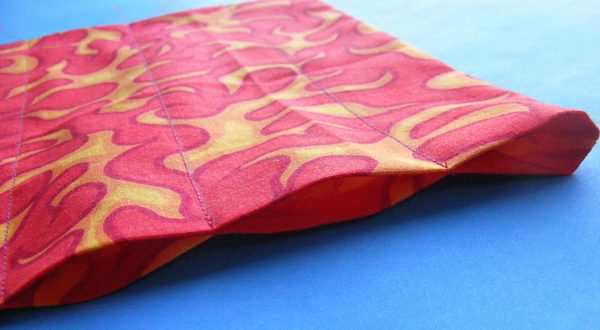
Stitch along the marked lines -­ right up to the open edge of the bag. Don’t forget to backstitch at the beginning and end of your stitching!

It should look like this.

Using a funnel, fill each channel with about 1/2 cup of rice. There should still be room to spare. Careful! If you fill your bag too full, it will be stiff and won’t mold to your body.

If you want your bag to be scented, now is the time to mix in some additions. I added a few cloves and some broken cinnamon stick pieces to each channel. You can add a few drops of essential oil to the rice before filling the bag. Lavender or rosemary is also a nice addition. Use your imagination!

There’s a tutorial here showing how to make your rice bag into a Vicks Vapo-­rub scented rice bag – perfect for soothing a cough and stuffy head without the icky sticky feeling of the Vicks.

Step 7

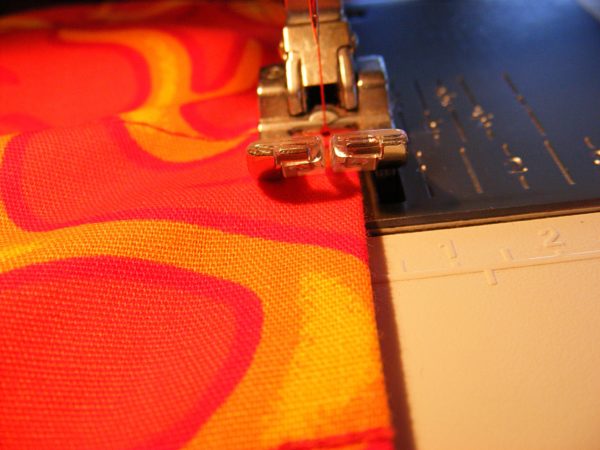
Sew the opening closed. Sew as close to the folded edge as possible.

Don’t forget to backstitch at the beginning and end.

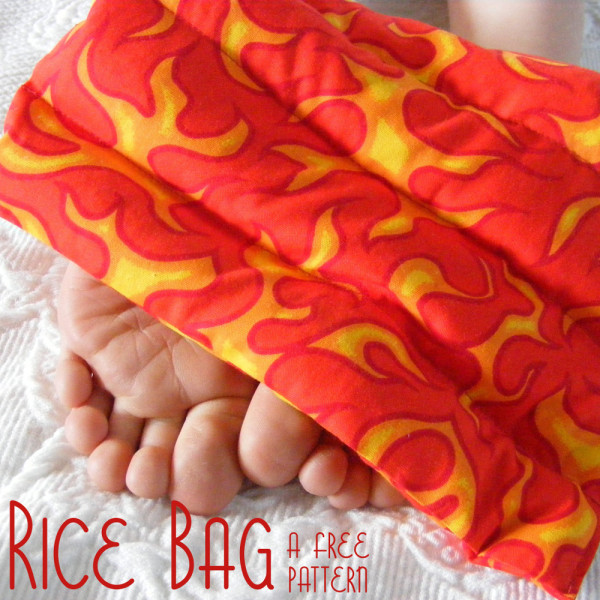
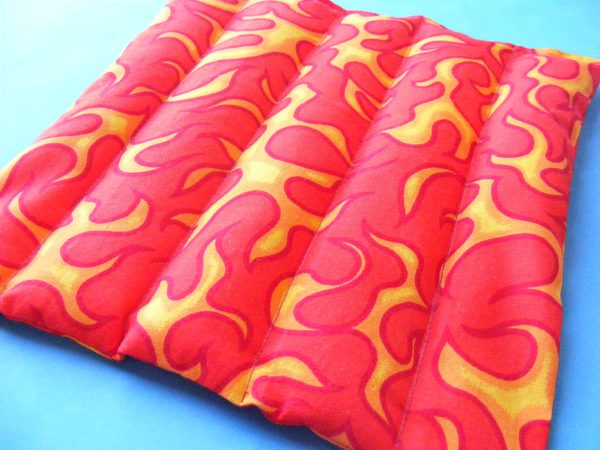
Finished!

Finished rice bag made with flame fabric and the free Rice Bag pattern from Shiny Happy World

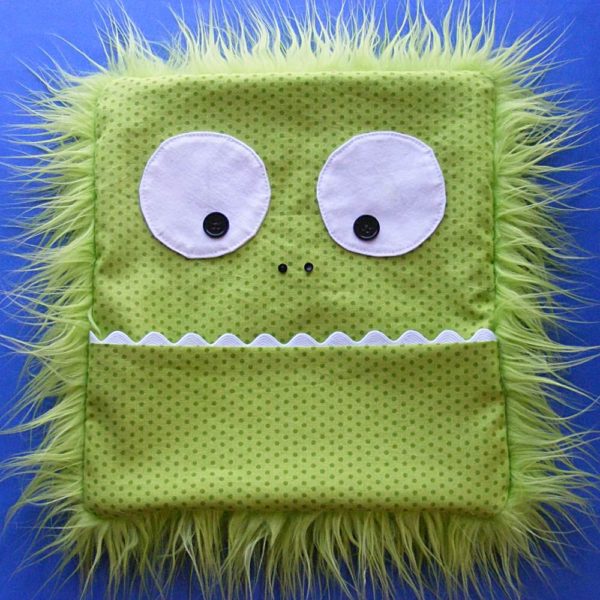
Want to get extra fancy? You can sew up a fun monster cover for your rice bag.

There’s a link to a free tutorial here.

Green monster rice bag cover

Happy stitching!

How to Use a Seam Ripper – video

How to Use a Seam Ripper

If you’re going to sew, I guarantee there will be times when you need to “unsew.” If you’re anything like me – many, many, many times. Learn how to tear out stitches without tearing or distorting your fabric. Trust me. You’re going to need to know how to do this.

I keep one at my sewing machine, on at my ironing board, and one at my work table. That’s how often I need to rip out my work. 🙂

Happy sewing!

Best,
Wendi
That's me!