Connecting your Cow’s Spots… it’s easy!

I’m lovin’ the Cow Crochet-a-long… I’m already seeing some fabulous finished cows! Don’t forget that, to have a chance to win the awesome prize, you’ll need to post a photo of your cow either on our facebook page.

How to connect spots

For those of us who aren’t finished… the tips are still coming! Click here to check out all the previous posts. To this point, we’ve finished the crocheting, and we’re getting ready to start sewing pieces together.

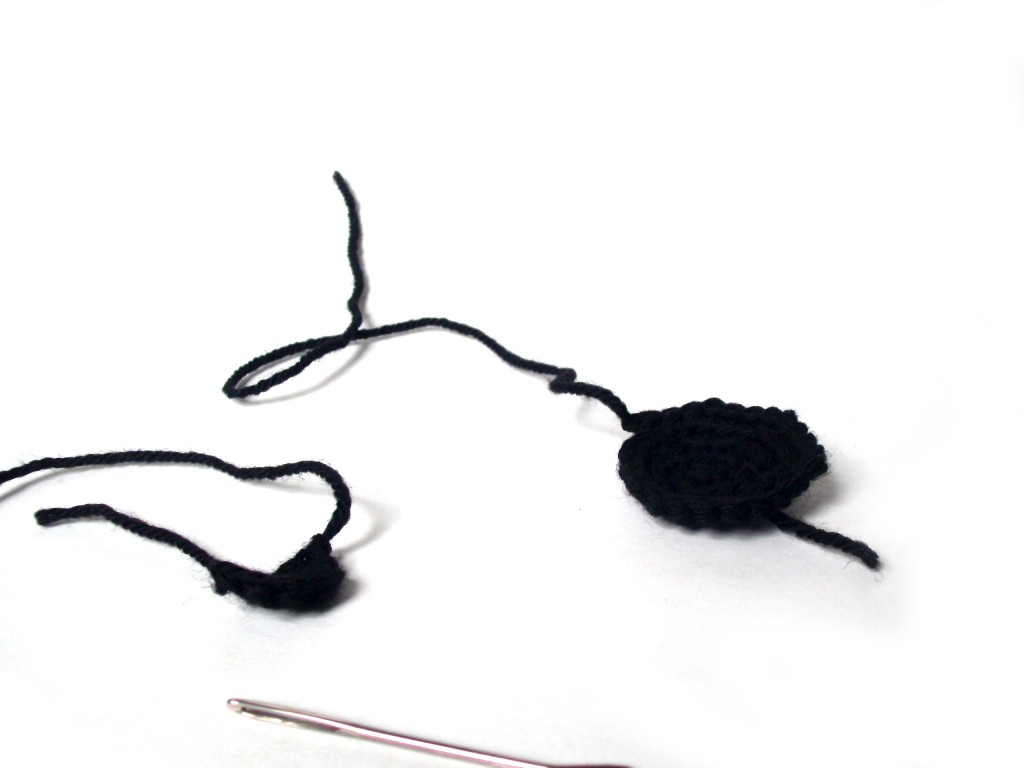
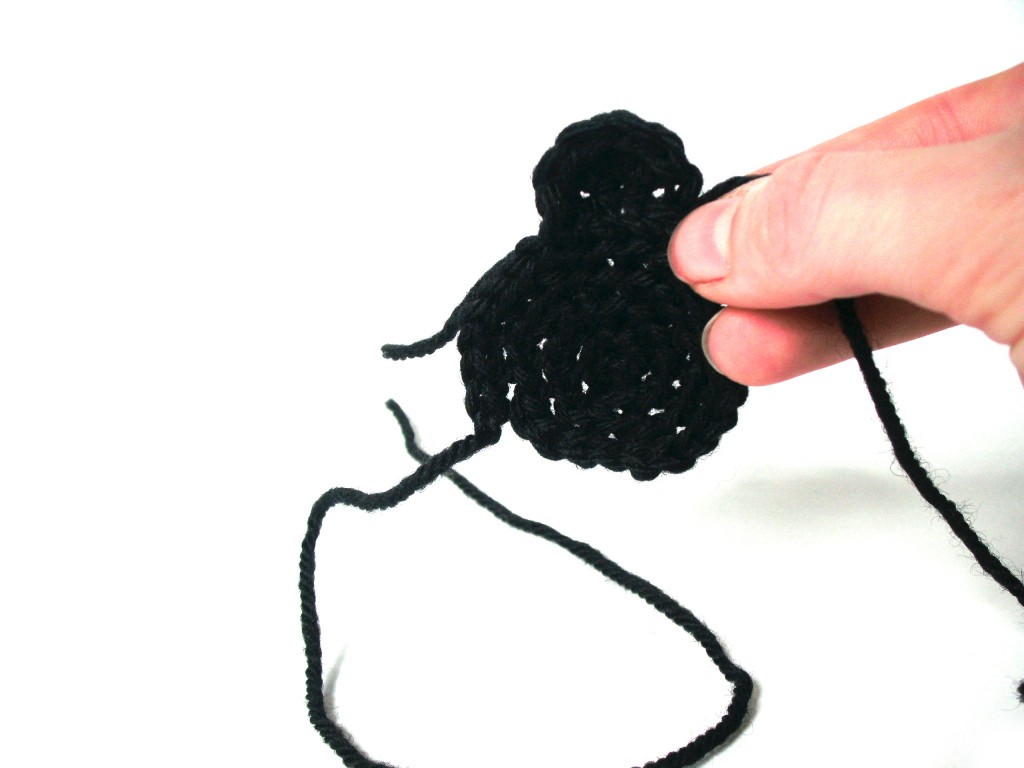
Today, I’m going to show you how to make the spots… which are made by assembling 2 crocheted pieces. Here’s what they look like:

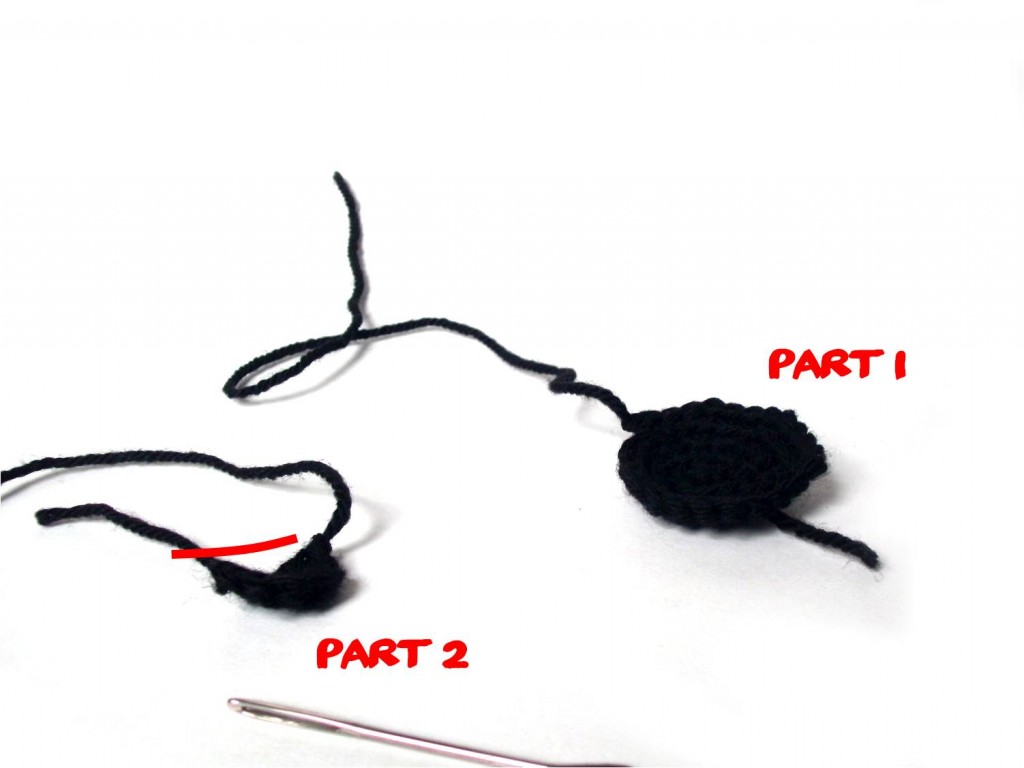
Let me label them (since they’re called part 1 and part 2 in the pattern) to help you out a little:

So, the instructions tell you to attach the flat side of part 2 to part one. Do you see the flat side? I’ve indicated where it is in the picture above with a red line.

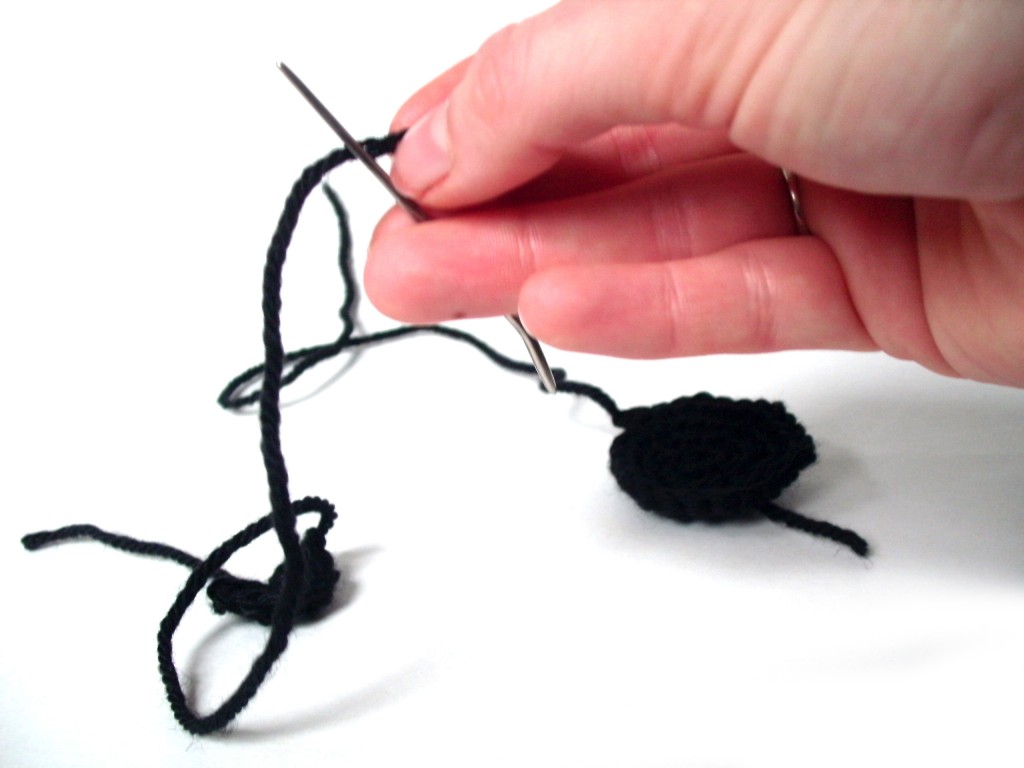
So, let’s start! First, thread a tapestry needle with the long tail of part 2:

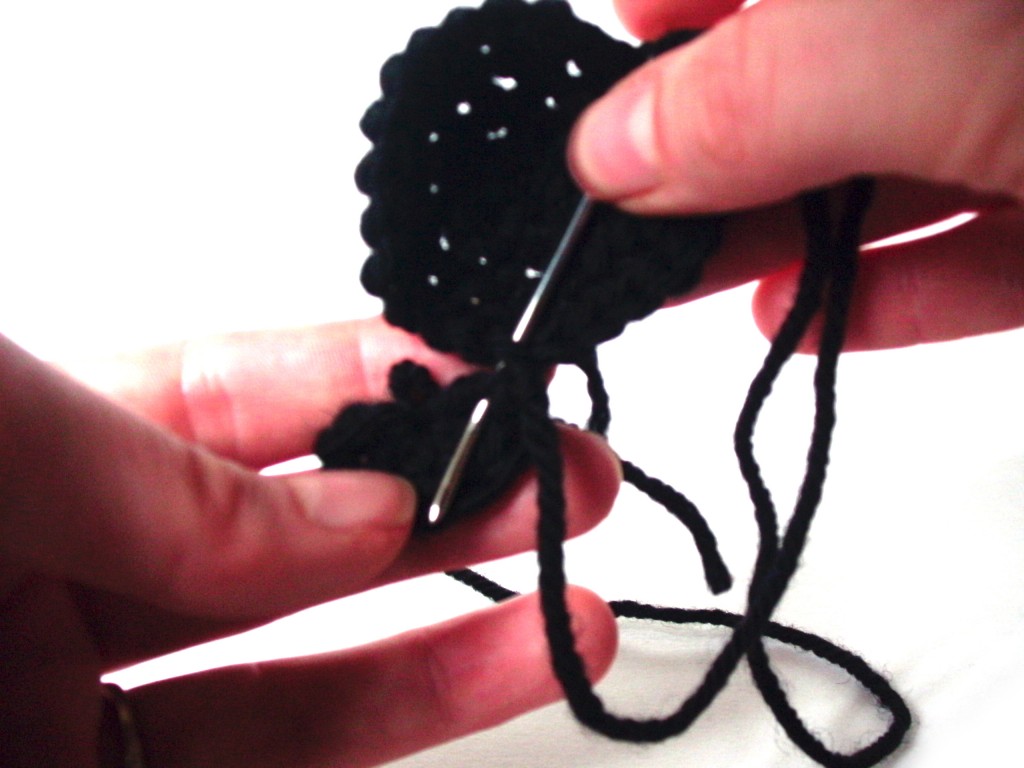
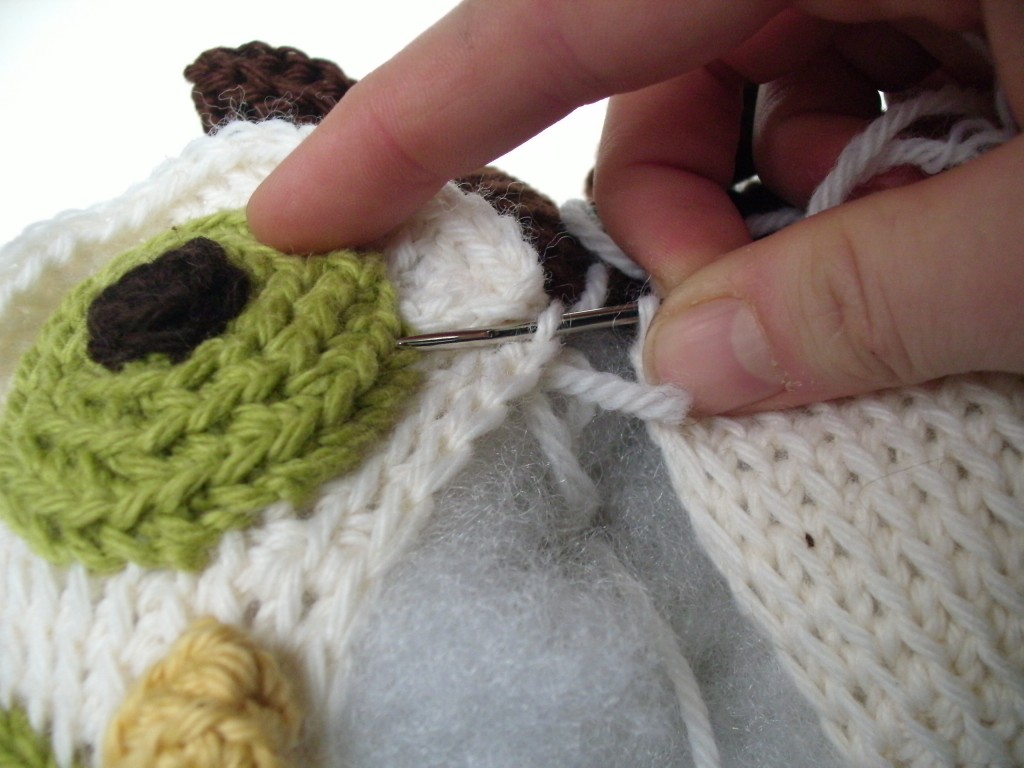
Now, use a whipstitch to attach the flat side of part 2 to part 1. Anywhere along part 1 will do!

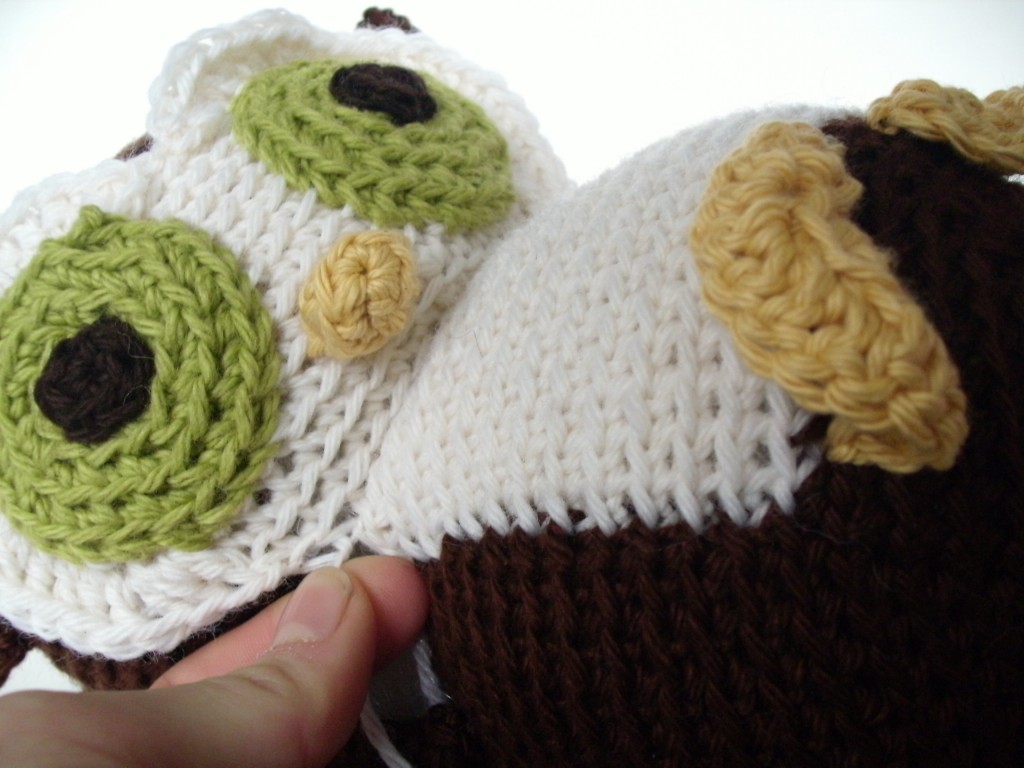
When you’ve gotten to the end of the flat bit of part 2… you’re almost done! Your piece will look like this:

Yay! Doesn’t it look like a cow spot? Now, just tie a knot, and you’re done!

If all those ends are bothering you (’cause there are a lot!), feel free to trim them… but be sure to leave the long tail that’s on part 1. You’ll be using that tail to connect the spot to the body.

Hooray! On Thursday, I’ll shop you how to attach the cow’s limbs easily and evenly!

Crocheting the cow’s mouth: CAL help!

Have you finished crocheting your pieces for the Cow Crochet-a-long? I’ve reviewed the basics for crocheting most of the pieces… but the mouth (and part 2 of the cow spot) are made by double crocheting semi-circles, which is a little different!

Video help is here!

What does ‘4th ch from hook’ mean? How do you turn? Those are just a couple of new terms that pop up when crocheting the cow’s mouth.

In case you’ve gotten stuck, I made a little video to help you out. . .

Show off your progress!

Now you should have all the skills you need to finish crocheting your pieces!

Here’s what mine look like:

Next week, I’ll be giving you tips on assembling this cutie cow’s pieces!

Get your cow pattern here. 🙂

How to Fasten off Amigurumi pieces

How to Fasten Off Amigurumi Pieces - tutorial from Shiny Happy World and FreshStitches

In amigurumi patterns, you’ll often see the instructions ‘Fasten off’ or ‘Fasten off with a long tail’. What does that mean? No worries, I’m here to tell you!

Fasten off.

Whenever you’re making a piece, and you’ve finished all the crocheting… you’ve got to end it! Even though the instruction ‘fasten off’ may sound a little obscure, it’s super-easy (and you’ve probably already been doing it)!

I’ve got a video here, followed by some step-by-step photos for if you just need a quick reference.

Here’s the video

And here’s the photo tutorial

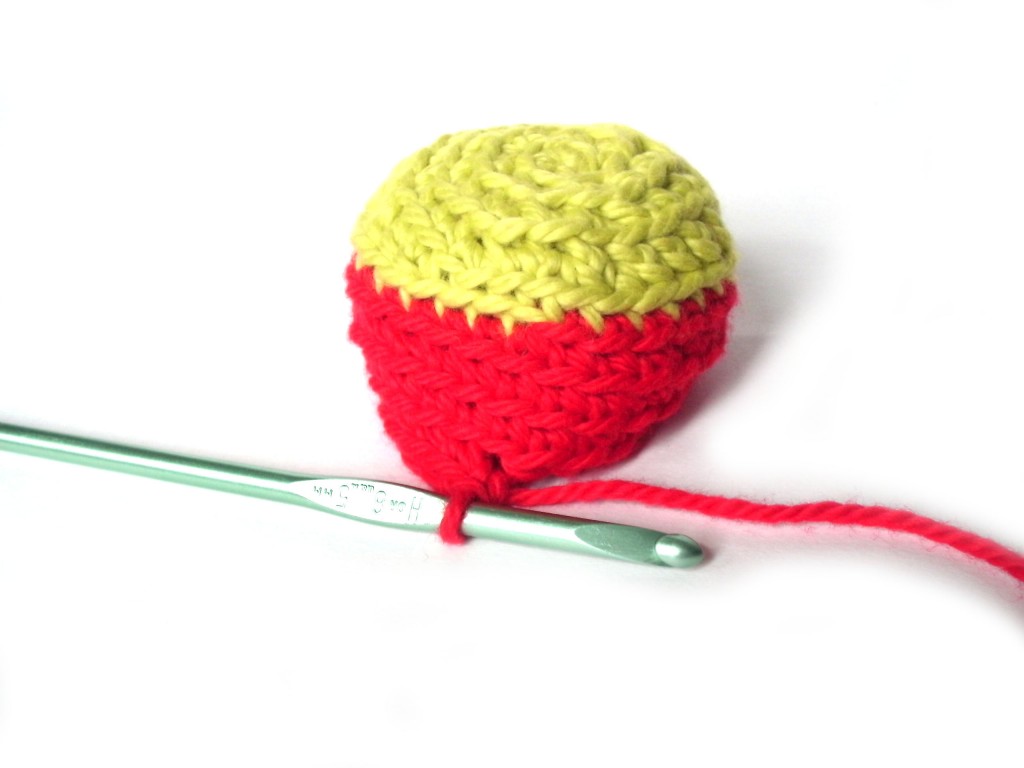
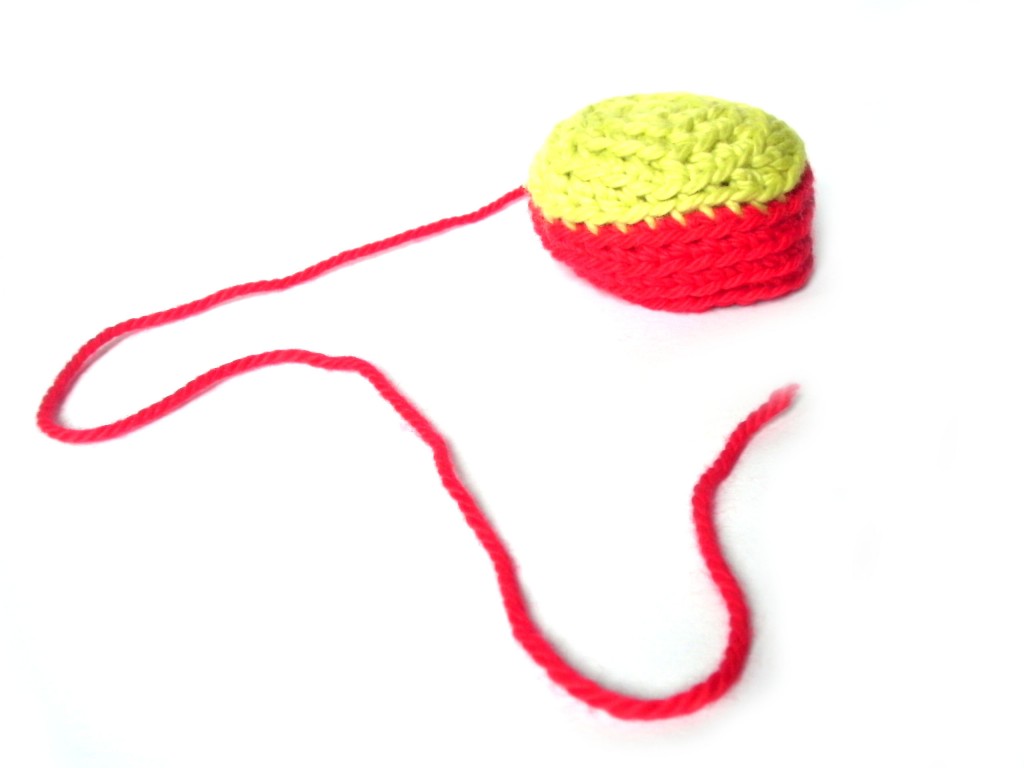
Here’s my snout from my cow (because I’m doing the CAL!), and I’ve finished crocheting:

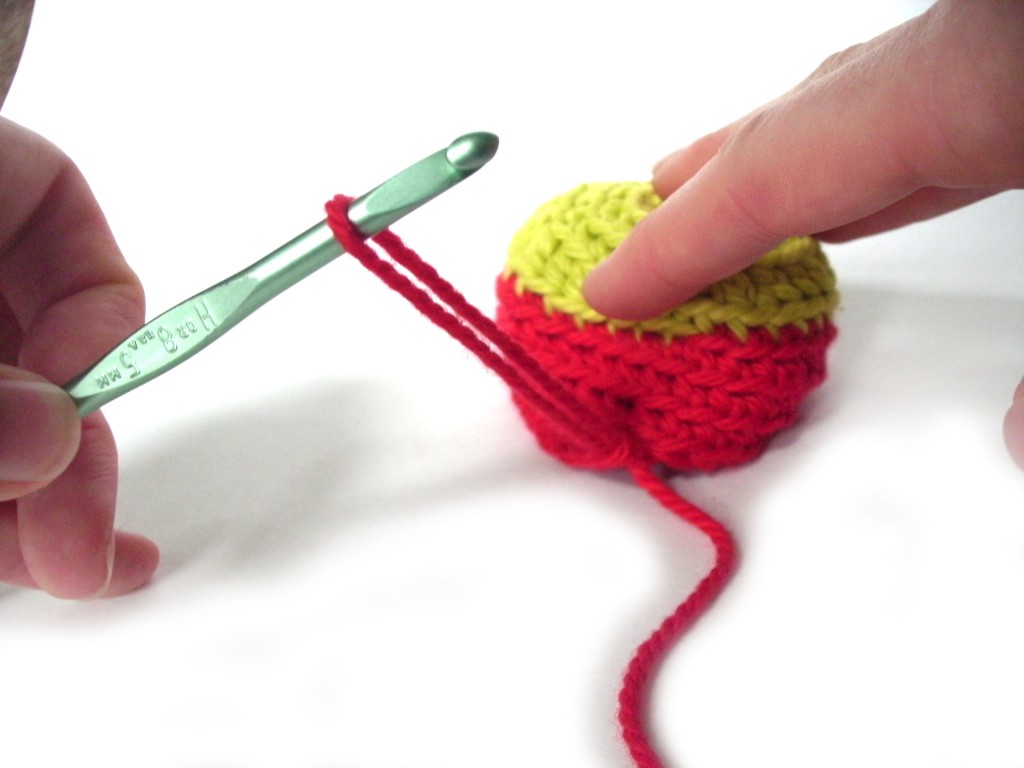
Remove your hook, making the last loop a little larger:

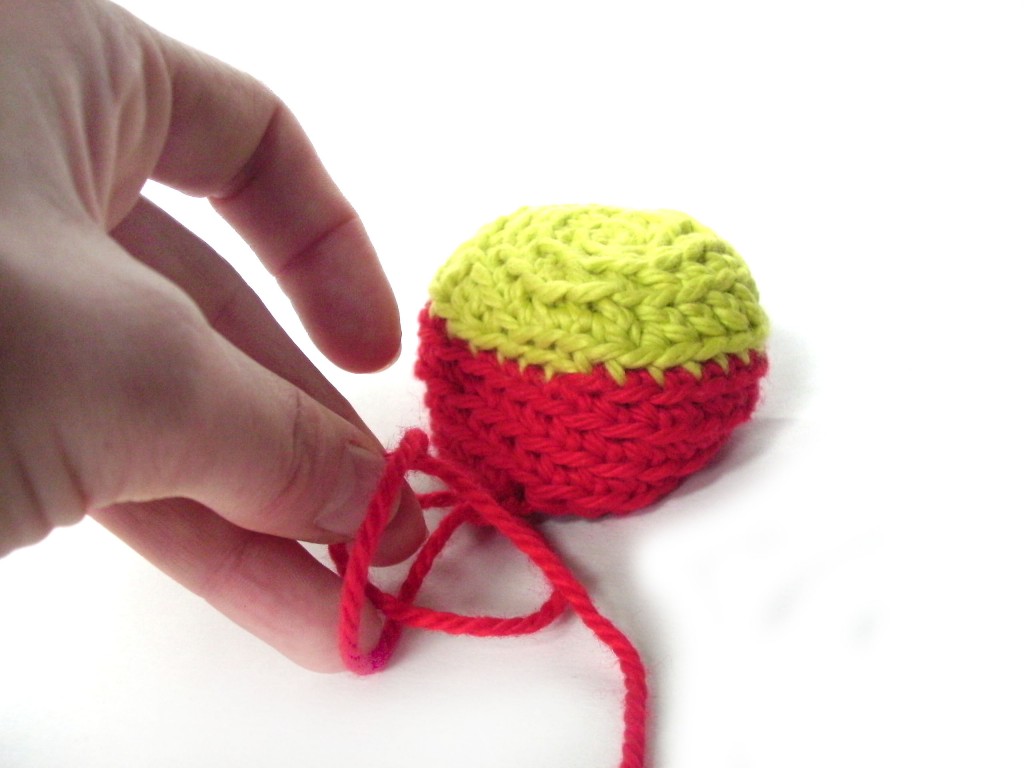
Now, pull the working yarn through the loop (you can either cut the yarn- see the next part of this blog post first- or pass the entire skein through the loop. Up to you!).

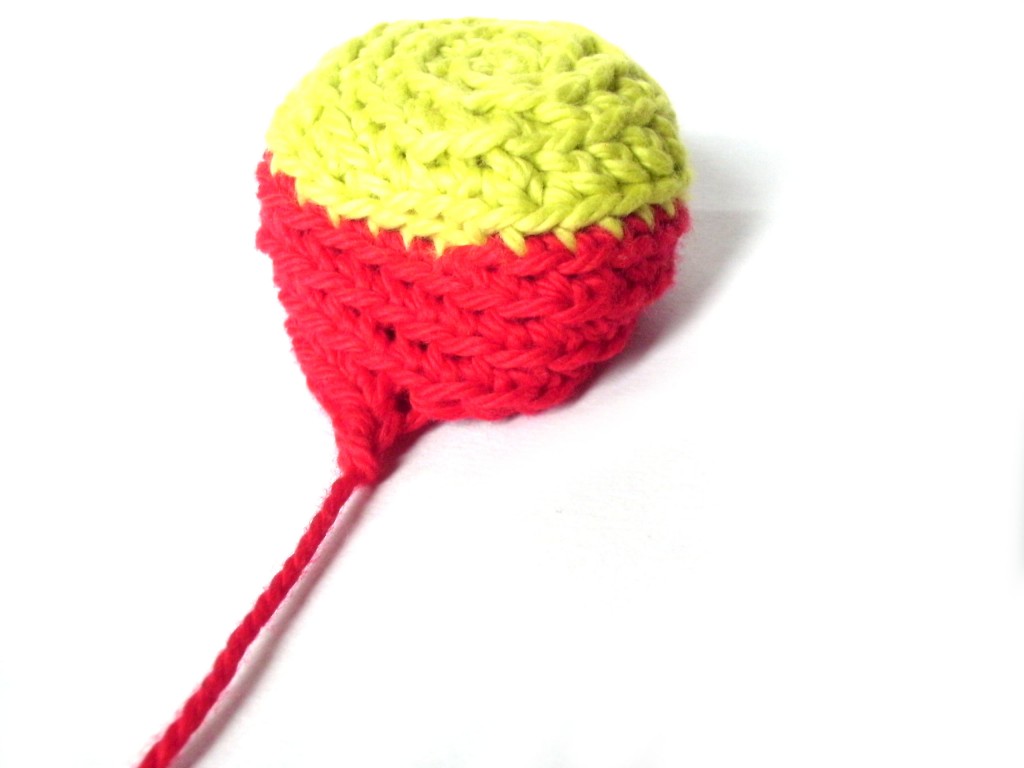
Check out that beautiful knot:

How much tail should you leave?

Excellent question! When you’re cutting your yarn when you’re fastening off), you always want to leave a few inches or so. That way, you’ll have enough to weave in (or hide) the tail on your finished piece.

When making amigurumi, you often want to leave a ‘long tail’… enough so that you can use the tail to attach the piece to another piece later on. I usually say about 12″, but a more accurate measurement is about twice as long as the last round of your piece.

Here’s the step-by-step:

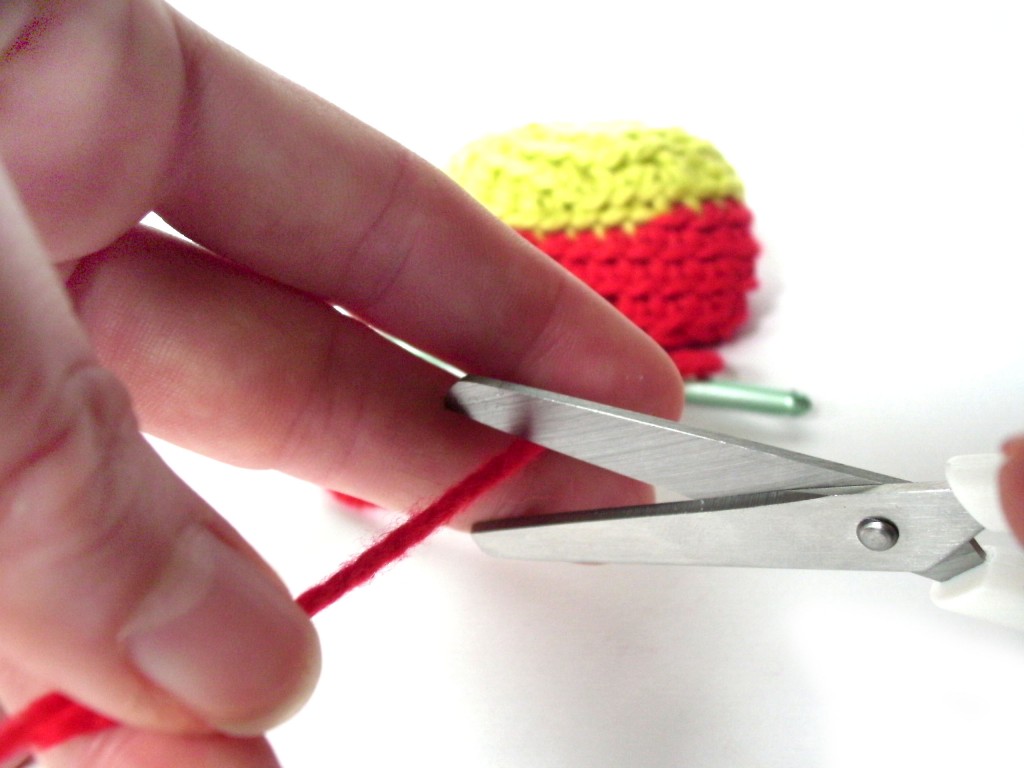
Keep in mind, you can cut your working yarn while tying off the knot (see above) or after the knot has been fastened. Simply snip your yarn (leaving the length I described):

And you’ve done it!

How’s your cow coming?

(It’s not too late to join in! Read all about our Cow CAL here!)

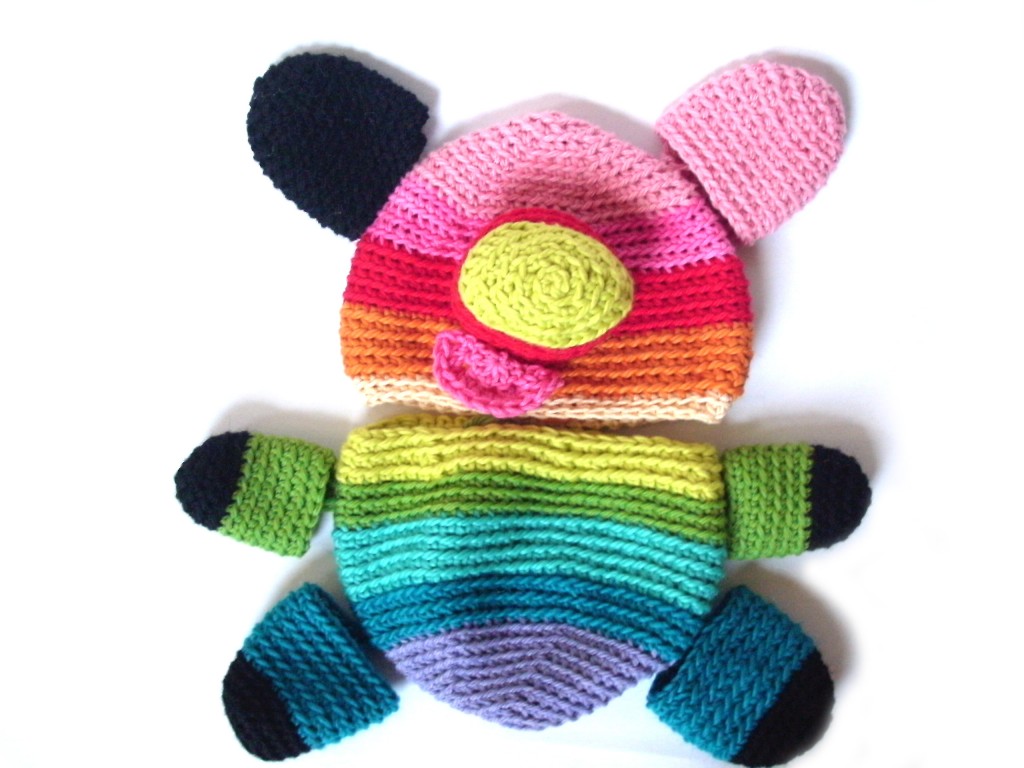
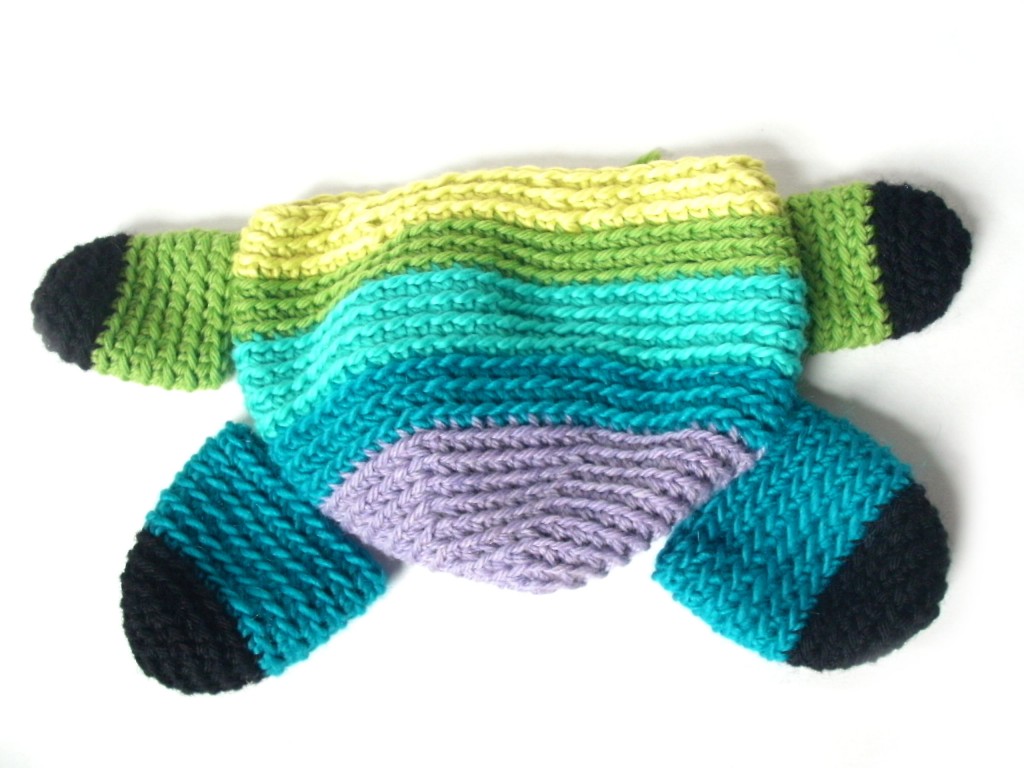
Last time, I showed you that I finished up my cow’s head a couple days ago, and now I’ve finished the body, arms and legs, as well:

Pretty rainbow-y, huh?

On Thursday, I’ll show you how to slip stitch and half double crochet, two stitches you’ll need for crocheting the snout!

Here are handy links to all the posts about closing up the stuffing opening and fastening off in amigurumi. . .

Return to the main table of contents for Let’s Learn to Crochet Amigurumi.

Move on to the lessons for attaching parts.

Happy stitching!

How to Change Colors in Single Crochet

How to Change Colors in Single Crochet - a video tutorial from Shiny Happy World

How’s your cow (for the FreshStitches CAL) coming along?

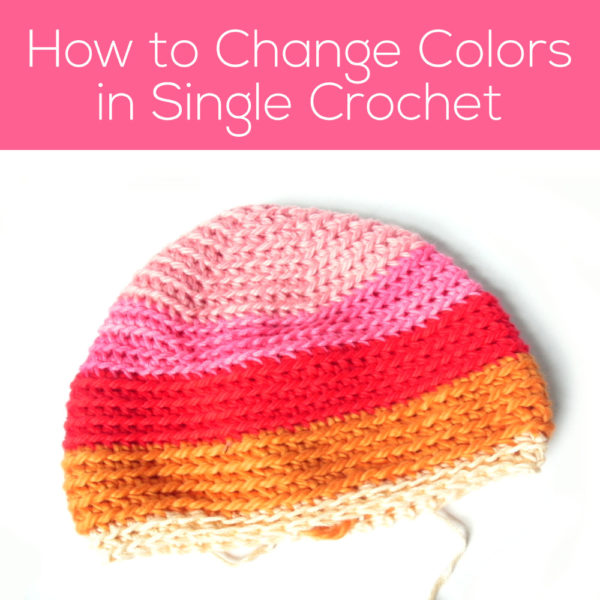
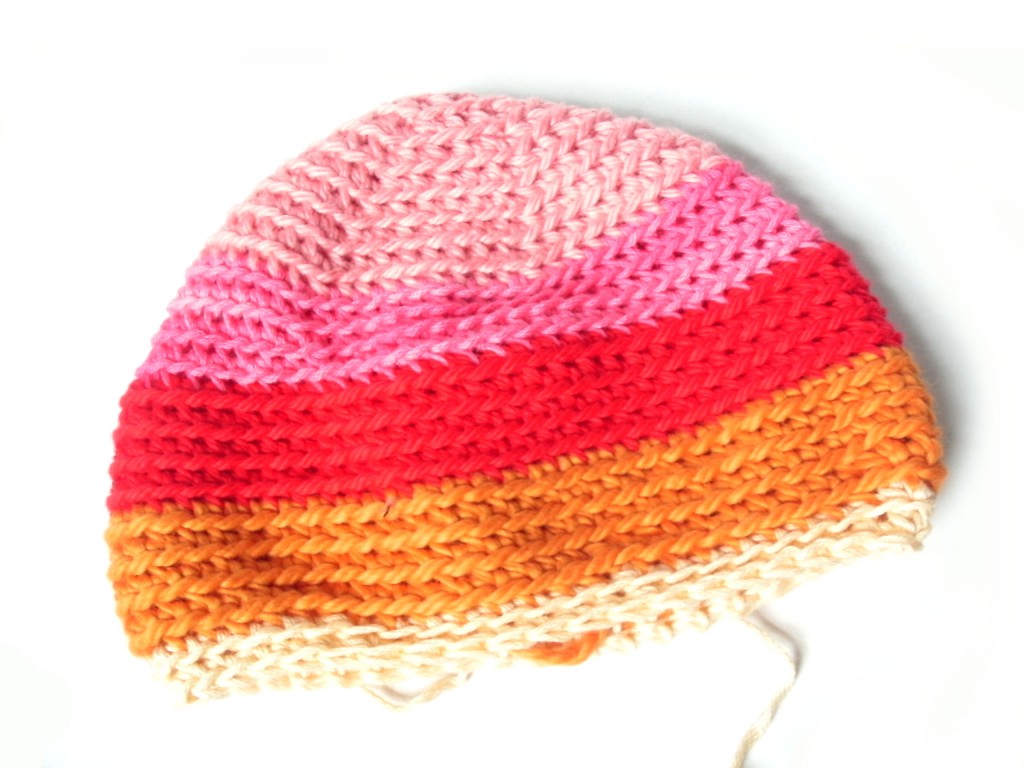
You already know that I’m making a rainbow cow… basically, changing to a new color every few rows to get rainbow-y stripes.

Do you want to know how to change colors?

Of course you do!

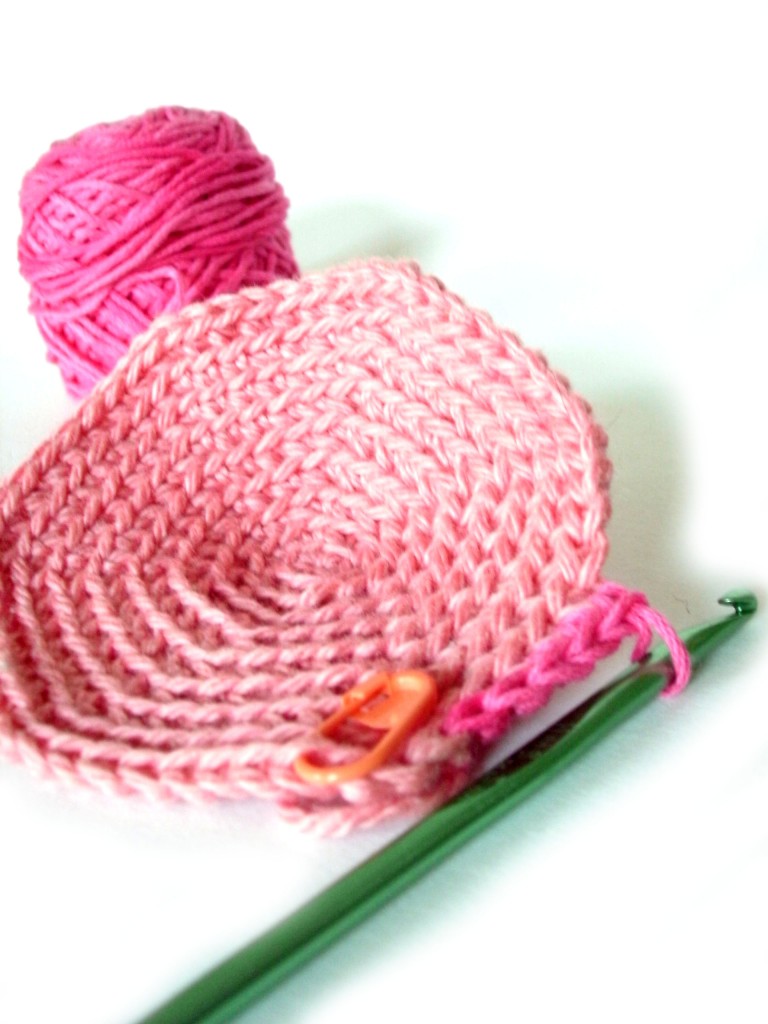
So, I made this little video of me doing the first color change: (click on the square icon in the lower right corner of the video to view it in full screen)


Not so hard, is it?

And if you keep changing colors every few rounds, you’ll end up with a super-fun, stripey head!

Want to get a little fancier? There’s a way to change colors and minimize the look of the little “step” that results. Watch that video here.

Here are handy links to all the posts about changing yarn color in crochet. . .

Return to the main table of contents for Let’s Learn to Crochet Amigurumi.

Move on to the lessons about crocheting stuffed animals in different sizes.

Happy stitching!

How to give your amigurumi a great-looking neck!

How to Give Your Amigurumi a Shapely Neck - tutorial from Shiny Happy World and FreshStitches

What’s the feature that every amigurumi covets?

Is it long shapely legs? A bikini-ready body? Of course not! It’s a nicely defined neck!

Fortunately, creating a shapely neck is easy!

How to create a shapely neck

Sometimes, amigurumi come down with ‘Thick Neck Syndrome’… it’s not their fault, and it’s up to you (their maker) to help them out a little bit.

The secret to creating a defined neck is to tug the yarn tight every few stitches when you’re attaching the head to the body.

Step 1: Begin attaching with the whipstitch

To attach the head to the body, you’ll use a whipstitch (as instructed in the pattern): using a tapestry needle to stitch through one stitch on the head and the corresponding stitch on the body:

Whipstitch the head and body together for about 3-4 stitches.

Step 2: Tug!

Now that you’ve done a few stitches… tug! That’s right, just pull on the yarn and the neck will cinch up a little bit.

Step 3: Repeat steps 1-2

Continue stitching and tugging as you work your way around the neck:

See how I’m tugging? And see how the neck is becoming defined?

Why so much tugging?

You may be asking yourself… why is it important to tug every few stitches? Can’t you just wait until the end?

It’s risky.

If you wait to do a HUGE tug at the end, one of two things can happen:

  1. The yarn will break (trust me… this is really sad! It means you’ll have to start all over with attaching the head)
  2. The neck will be very gathered close to the end, but not very shapely towards the start- since the tugging won’t evenly distribute

Doesn’t your amigurumi deserve the best?

Don’t you want him to have the most shapely neck possible? Then treat him well… follow this trick and he’ll be the envy of all of his friends!

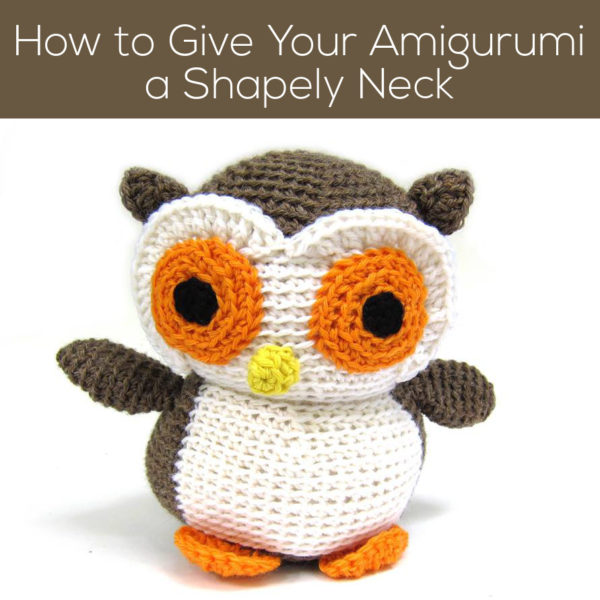
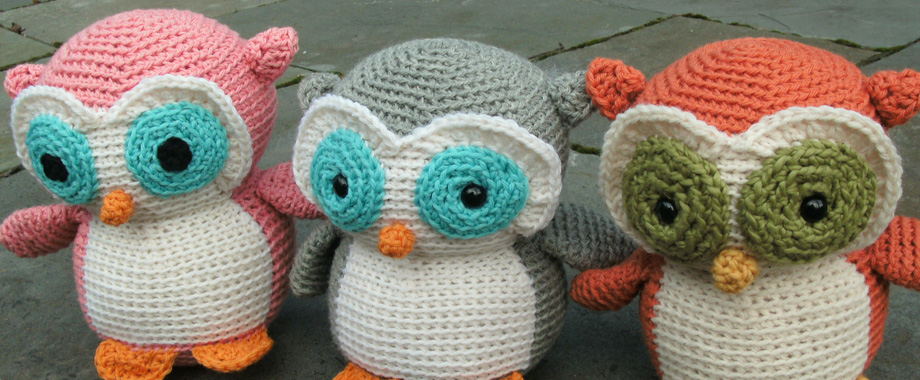
Look at all those adorable owls!

Here are handy links to all the posts about attaching parts. . .

Return to the main table of contents for Let’s Learn to Crochet Amigurumi.

Move on to the lessons about faces and details.

Happy stitching!

Using the Running Stitch for Attaching Amigurumi

How to Attach Flat Spots to Amigurumi Using Running Stitch - a tutorial from FreshStitches and Shiny Happy World


Hooray! It’s another Tip Tuesday! Today, I’m going to show you a new stitch to use for attaching amigurumi pieces that’ll be super-useful… the running stitch!

The running stitch is what you probably used on those lacing cards you had as a kid… so it’s not complicated to do. When you run your needle up, then down, then up again… you’re doing the running stitch.

Ordinarily, I recommend that you use a whipstitch when attaching amigurumi pieces (as shown in this video). It’s quick, secure and allows you to take advantage of those handy loops on your crochet work.

So why use the Running Stitch?

The running stitch is fabulous for times when you want a piece to lay flat. Since the running stitch runs all the way through the base fabric, you can attach crochet pieces that will lie very smoothly.

Today, I’m going to show you how to do it, using a spot on a ladybug as an example. If I had used a whipstitch, the spot would stand out and be puffy… not the look you want!

How to do the Running Stitch

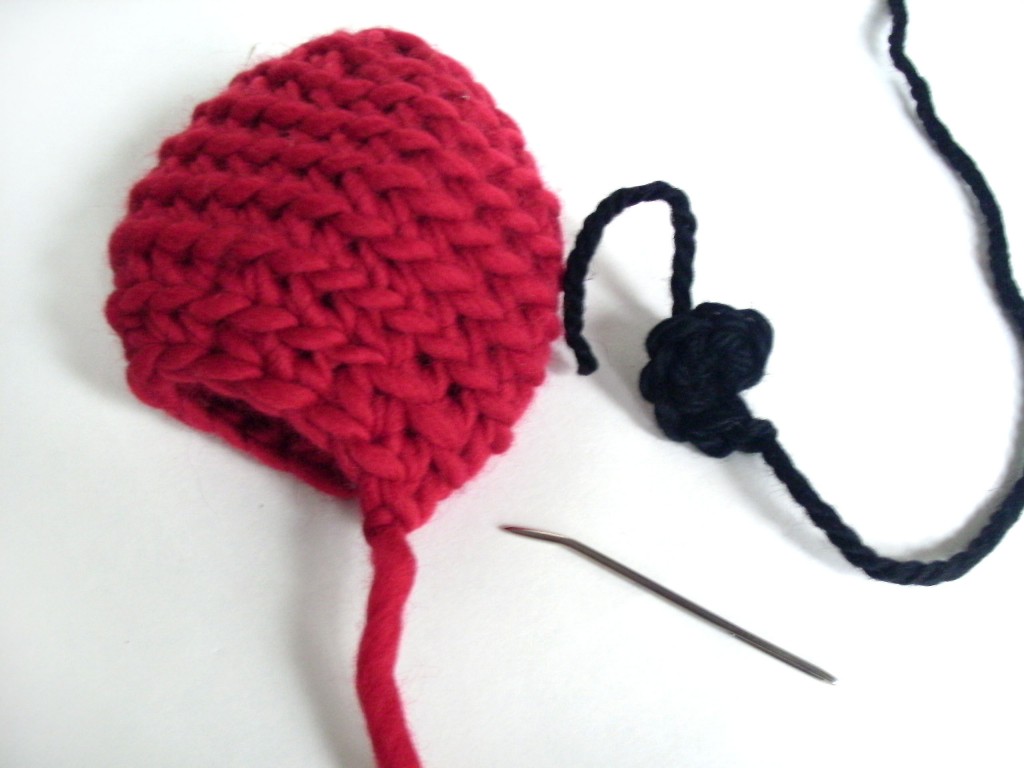
First, gather your supplies. Here, I have a ladybug wing, the spot (that I’m going to attach to the wing) and a tapestry needle (I’m using a bent tip needle here, although that’s less important for the running stitch).

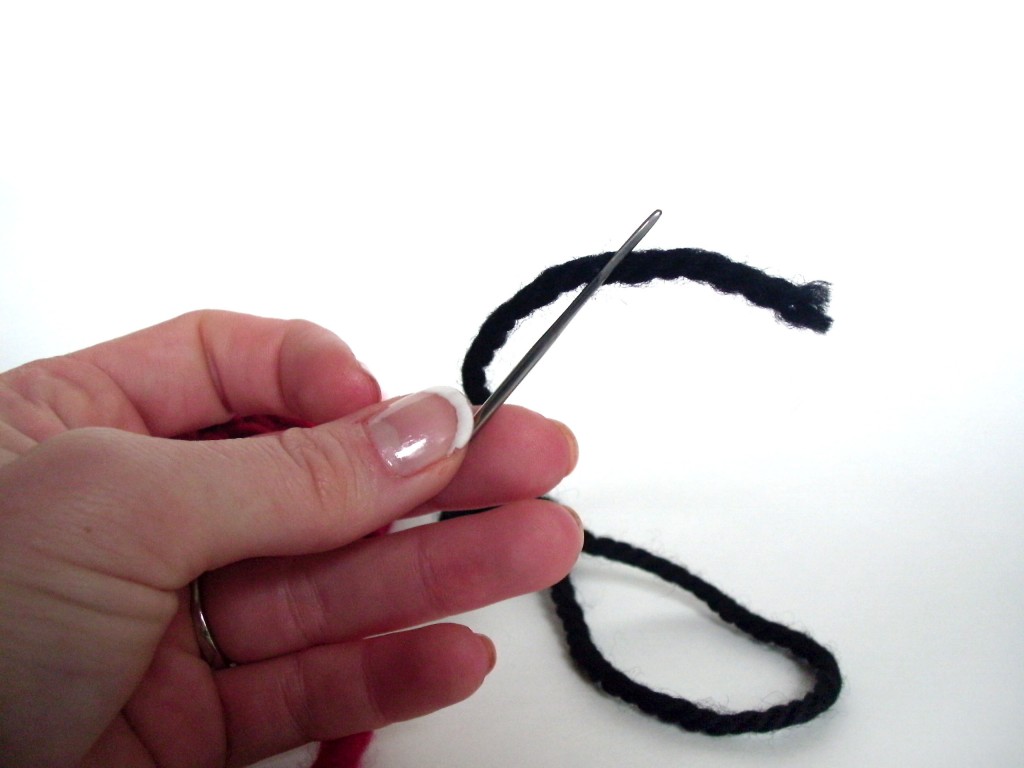
Now, thread the tail of the spot onto your needle:

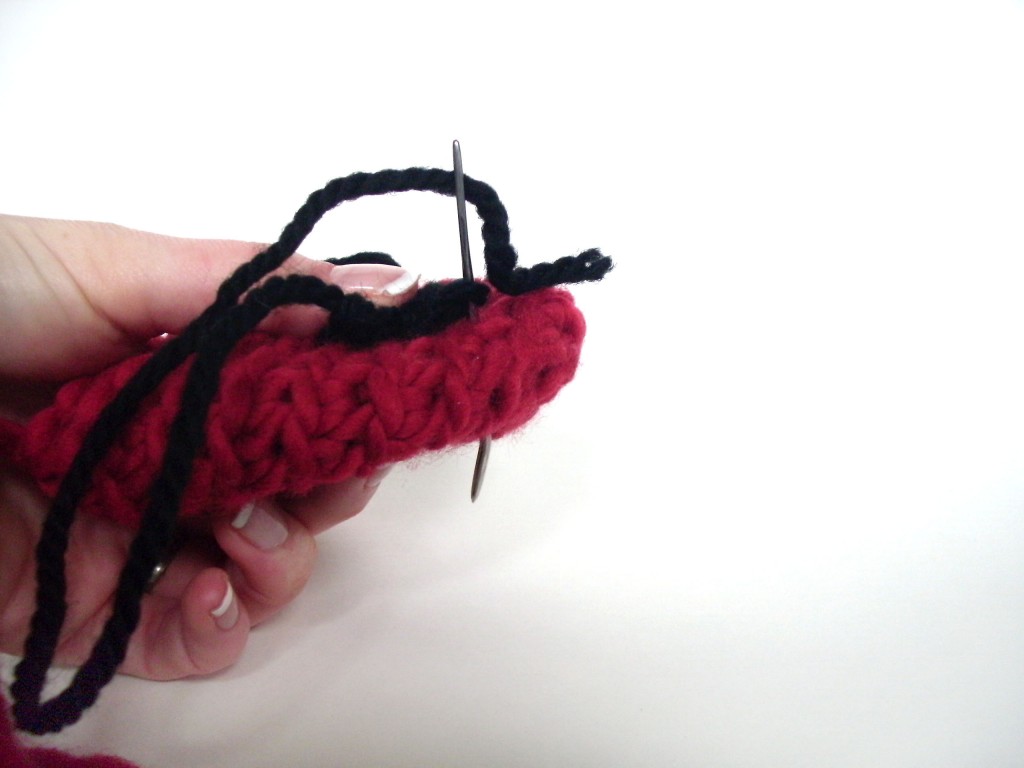
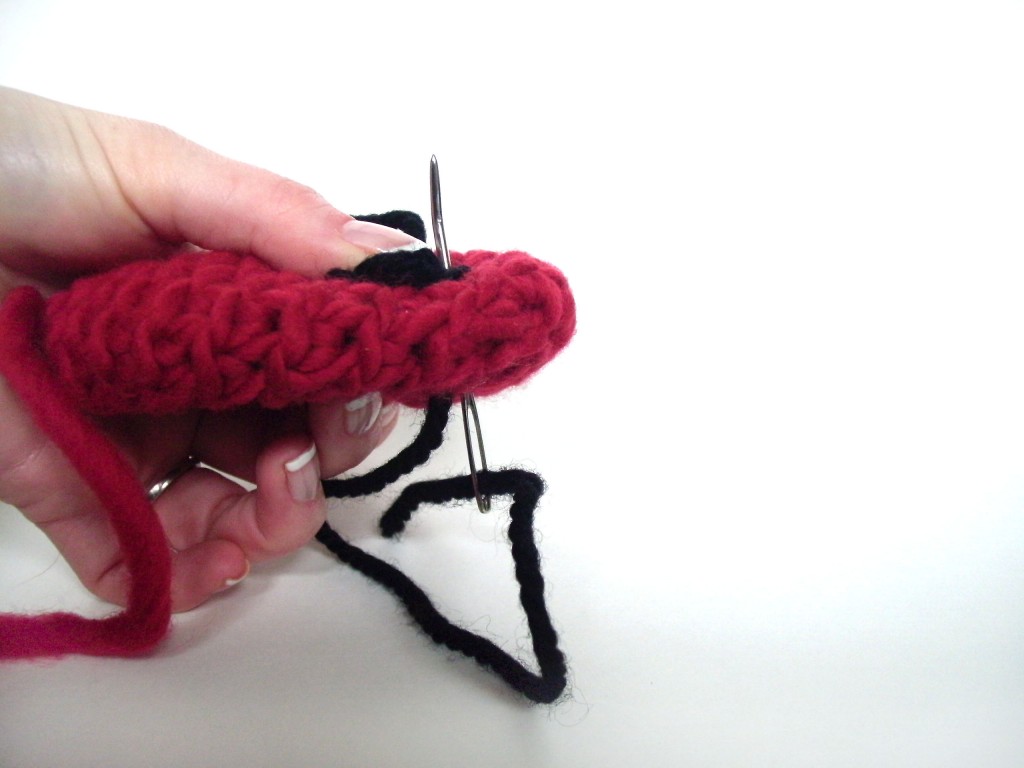
Let’s start the running stitch! It’s easy! Stick your needle through a stitch on the edge of the spot, and all the way through the fabric of the wing:

Pull your yarn tight. To complete the second part of the running stitch, stick your needle (spaced slightly away from where it came through) back through the wing and up through the spot:

Yay! That’s it! Keep repeating the last two steps until your piece is attached!

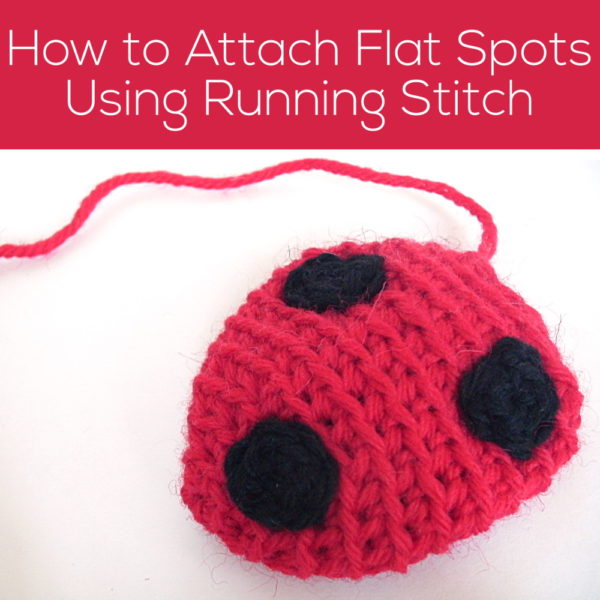
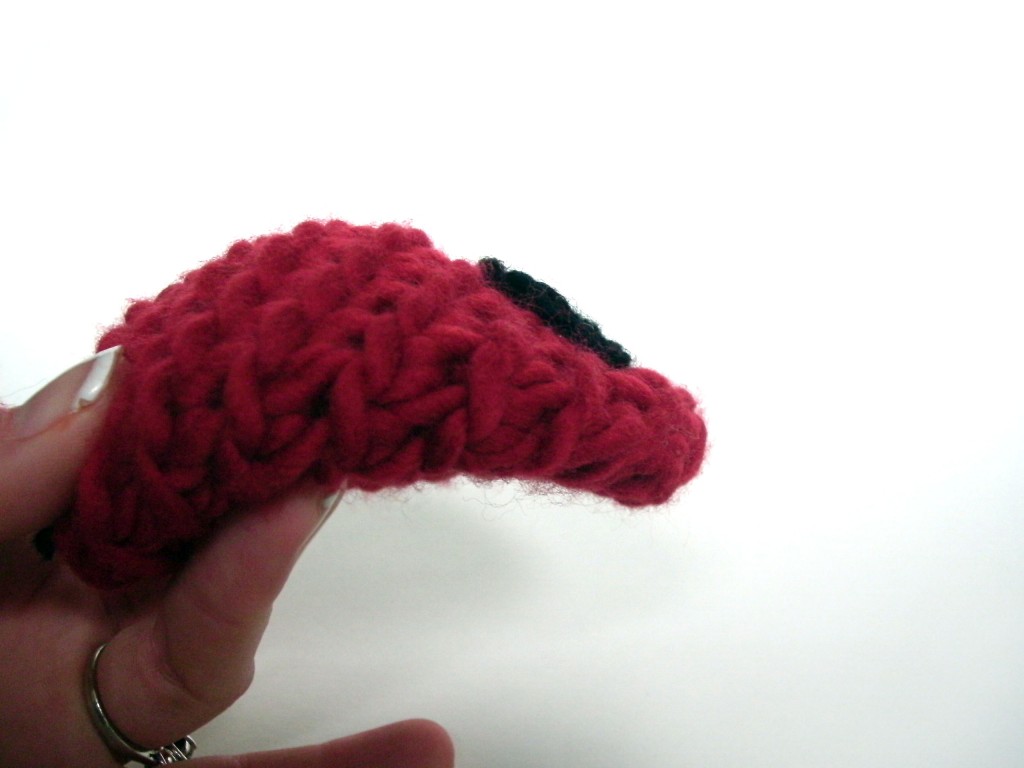
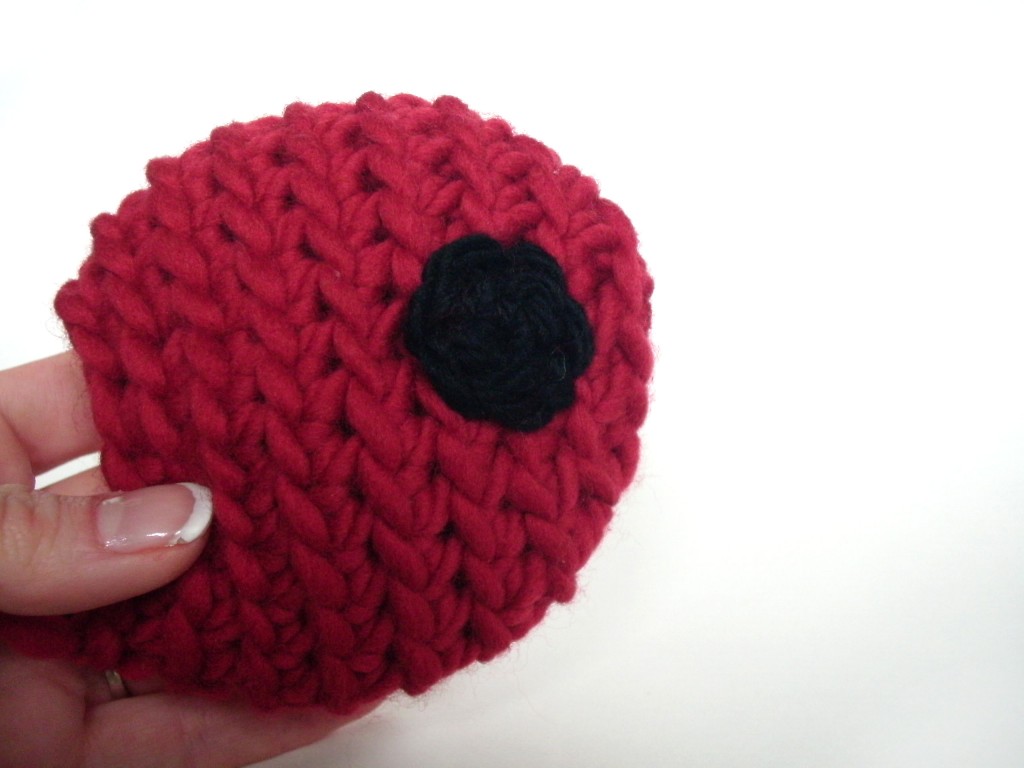
Here’s my result:

See how nice and flat my spot is?

Where else can you use the Running Stitch?

This stitch is awesome for attaching a flat shape to another piece. You’ve just seen me use it to attach a spot to a ladybug wing (squee… my ladybug pattern is available here), but there are plenty more places where it’s useful!

I use this stitch most often when I’m attaching baby safe eyes to stuffed animals. You’ll also find it fantastic for attaching the spots to Jackie the Cow or eyes to Nelson the Owl.

And I’m sure there’s more! Can you think of how you’d use it?

Here are handy links to all the posts about attaching parts. . .

Return to the main table of contents for Let’s Learn to Crochet Amigurumi.

Move on to the lessons about faces and details.

Happy stitching!

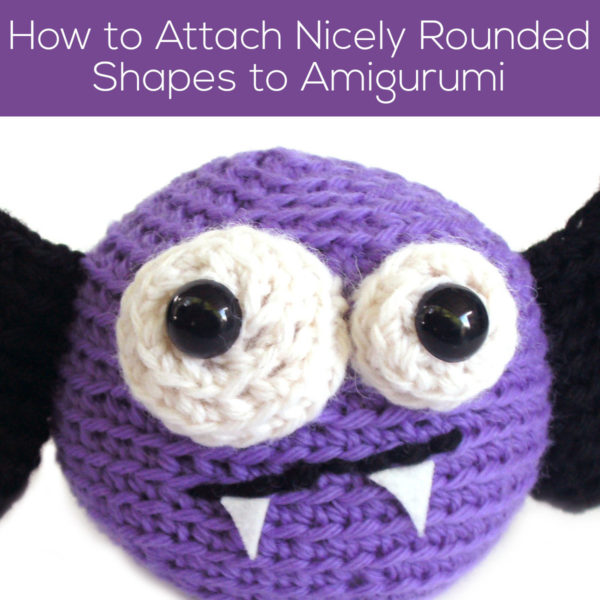
How to attach nicely rounded pieces to amigurumi

I’ve written about how to evenly place limbs on amigurumi by using the stitches as a grid for placement.

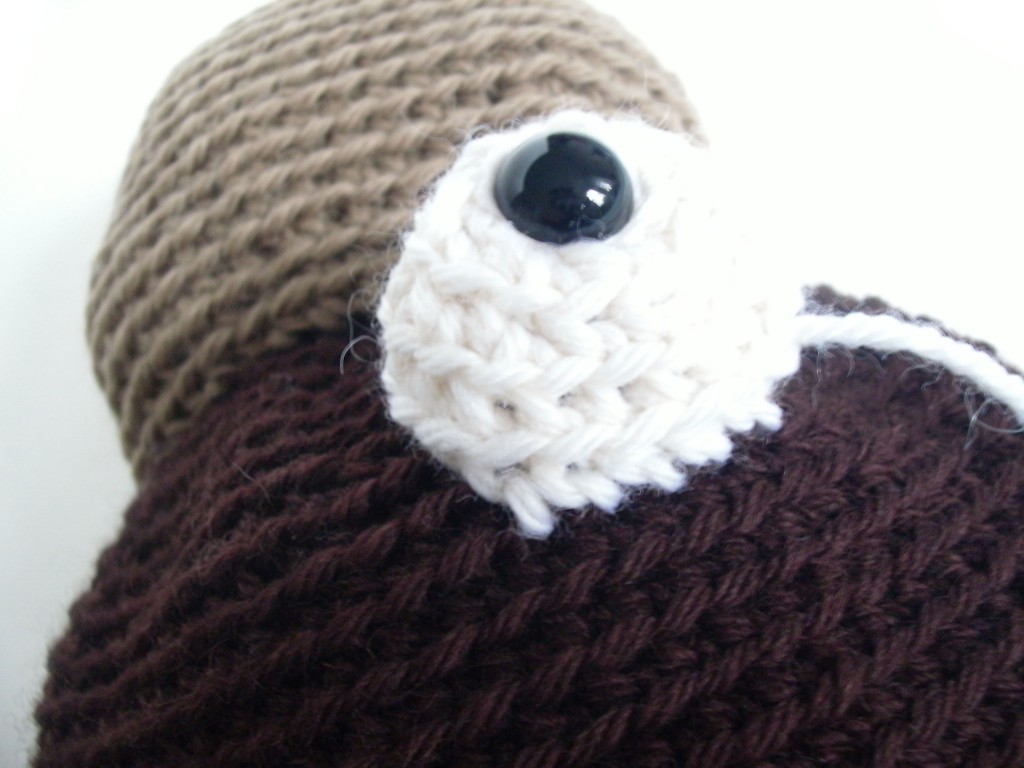
But, sometimes, if you follow the grid technique, you get pieces that look square when they should be round:

Can you see a pointy corner on this platypus eyeball?

Fear not… this is easy to fix!

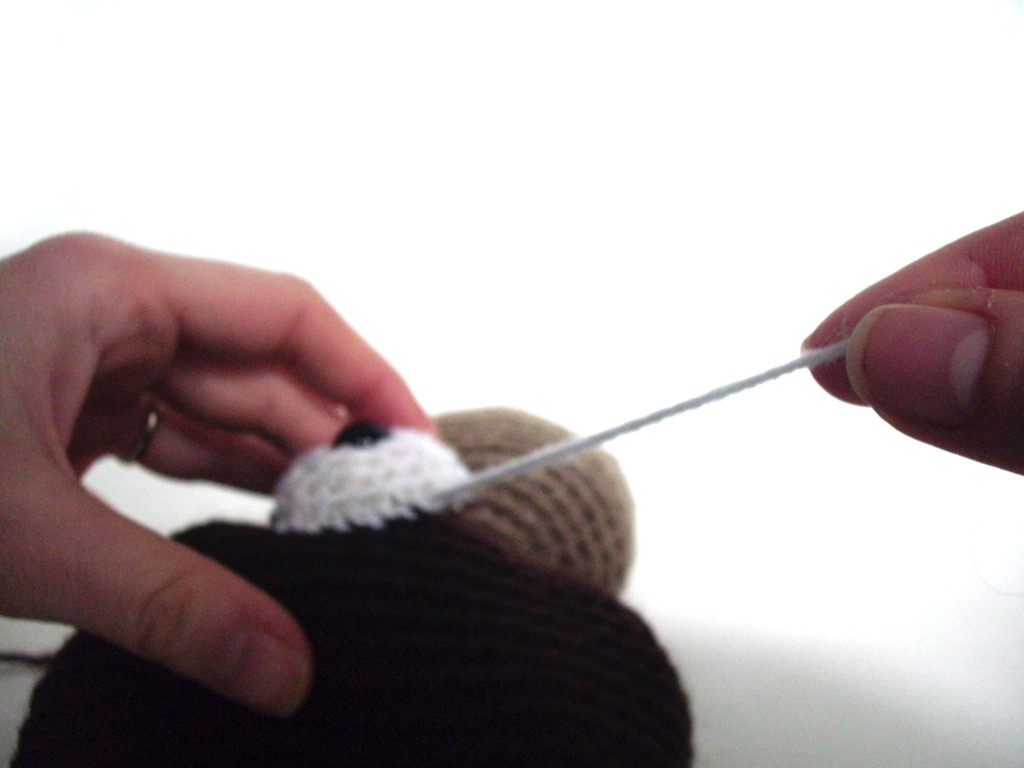
Pointy eyeballs are an easy problem to solve. All you need to do it tug!

When attaching, pull tightly after you stitch a corner:

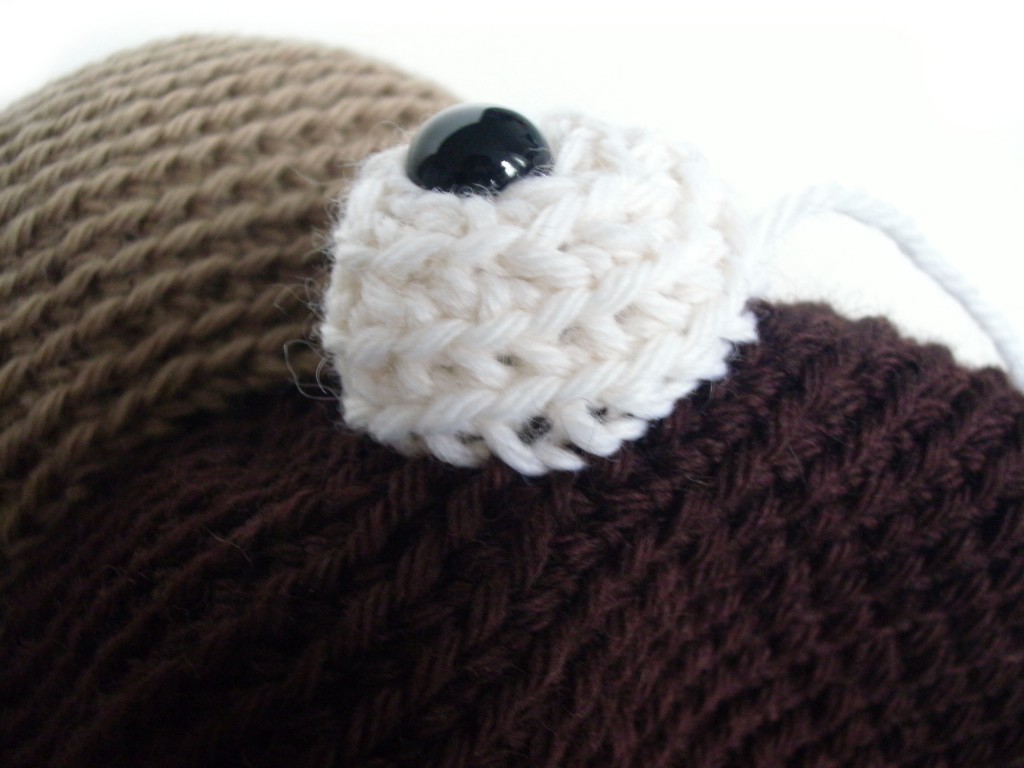
The tugging will round the corner out!

Problem solved!

Looking for the Platypus pattern? He’s a new one! Click here to grab it!

Here are handy links to all the posts about attaching parts. . .

Return to the main table of contents for Let’s Learn to Crochet Amigurumi.

Move on to the lessons about faces and details.

Happy stitching!

Designing a Banana Slug: a peek into the process

Right now, I’m in Santa Cruz, CA… tagging along with the hubby who has a conference to attend at the University of California, Santa Cruz.

In case you didn’t know, the UCSC mascot is a banana slug:

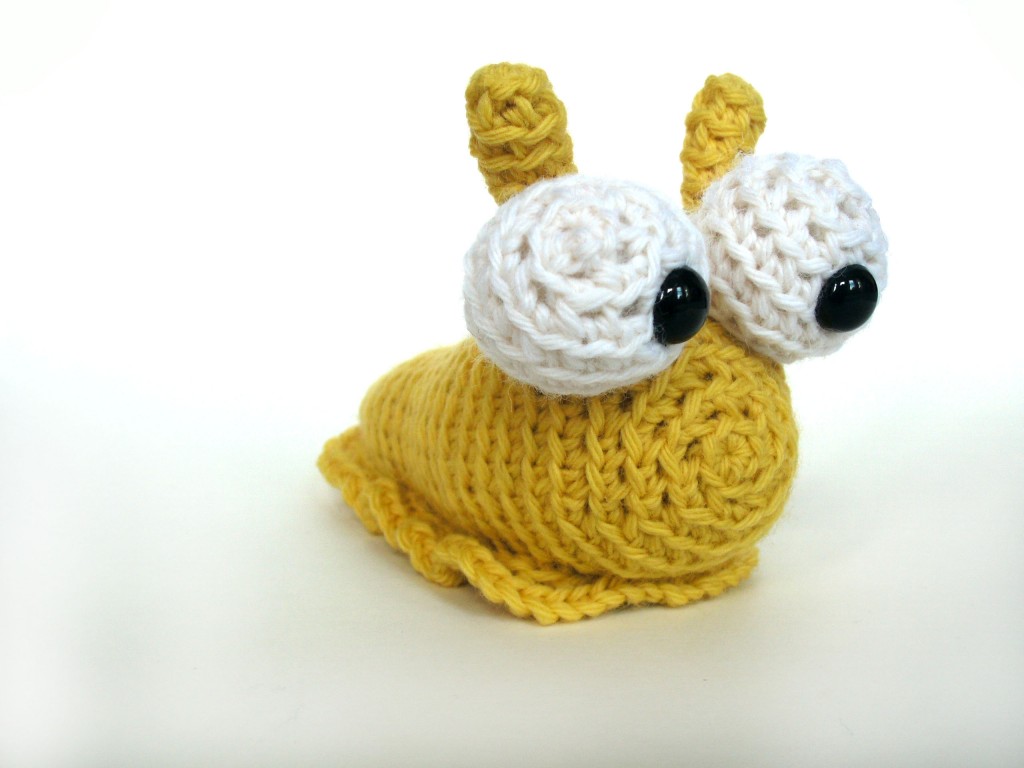
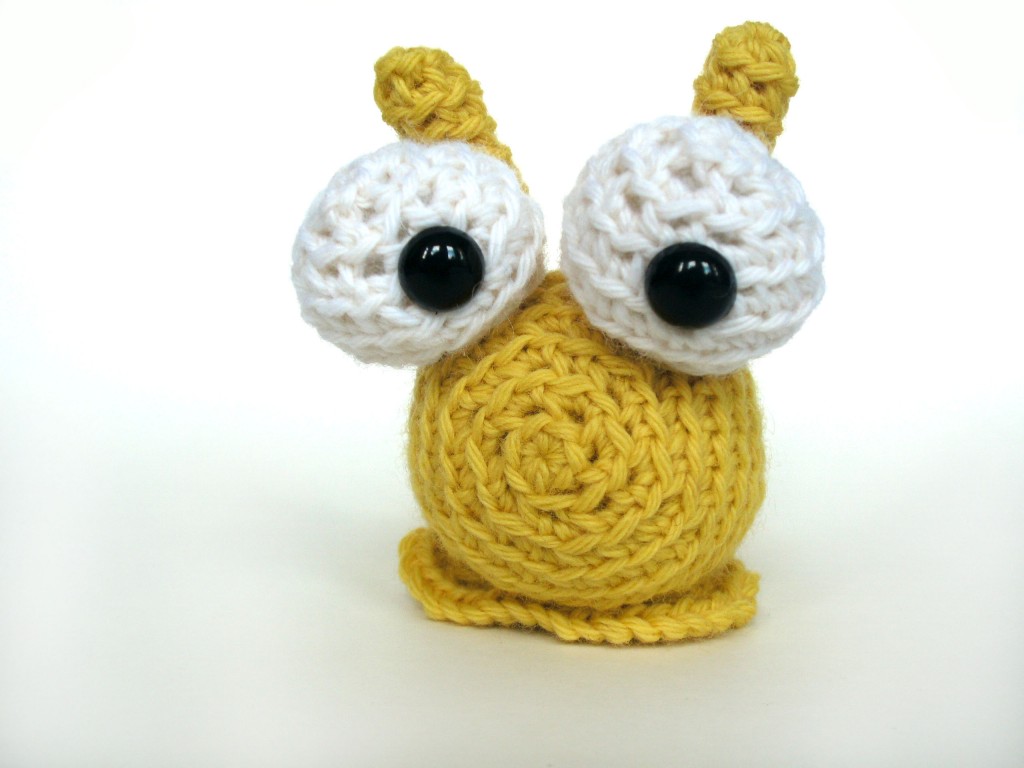
It’s not a fierce mascot, but a darn cute one. I, personally, am a lover of snails and slugs, so I just couldn’t help but to design a crocheted banana slug for the occasion:

How did I design a banana slug… you may wonder? Here’s how it went:

The sketch

When I’m designing a plushie, I want to make sure that I’m not copying anyone else’s design… and that my design is different enough from existing designs so that it’s clearly my own.

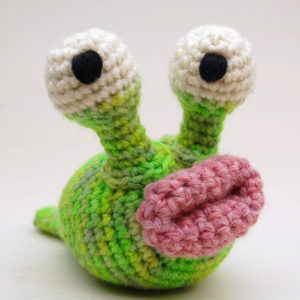
In the case of slugs, there is one undisputed queen of crocheted slugs, and that’s Cheezombie.

image from Cheezombie’s Etsy Shop
Cheezombie’s slug is characterized by a big mouth, eyes on stalks and a distinctive tail shape.

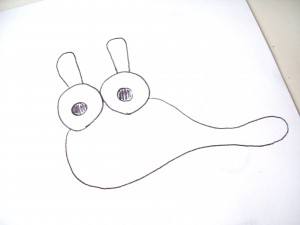
Fortunately, the sketch I had in my head of a slug was quite different:

My idea for a slug had no mouth, buggy eyes and separate antennae. Different and adorable- it was time to get crocheting!

As an aside: I don’t always sketch before I start crocheting. In this case, I had an idea in my head and got straight to work. I just drew this sketch for you to see… I’m so terrible at drawing that making a sketch rarely contributes much!

Starting to crochet

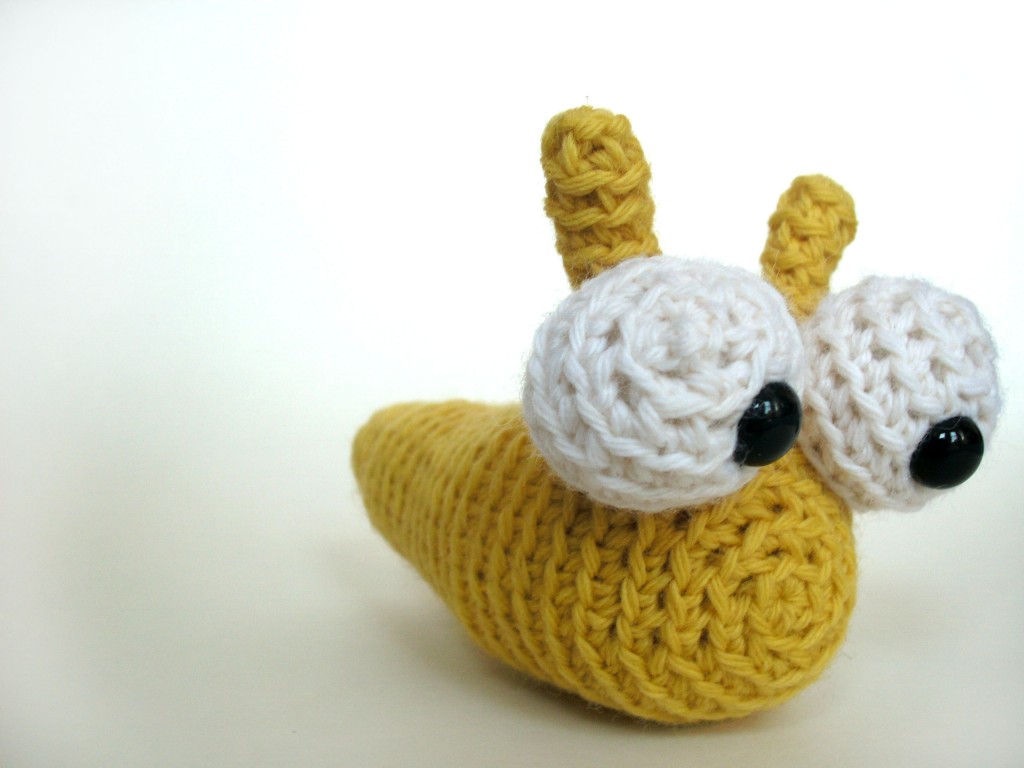
I started crocheting the pieces according to the idea I had in my head… and came up with a guy who was pretty cute:

He was cute… but had two problems:

  1. He was a bit front-heavy, meaning that he’d topple forward unless positioned very carefully.
  2. He just didn’t look… well, slug-y enough!

What to do?

Then it hit me… he needed a foot-ruffle!

The finished slug

I added a foot ruffle, and was very pleased with the result!

The ruffle allows him to sit nicely without toppling, and added that extra slug-i-ness I was looking for!

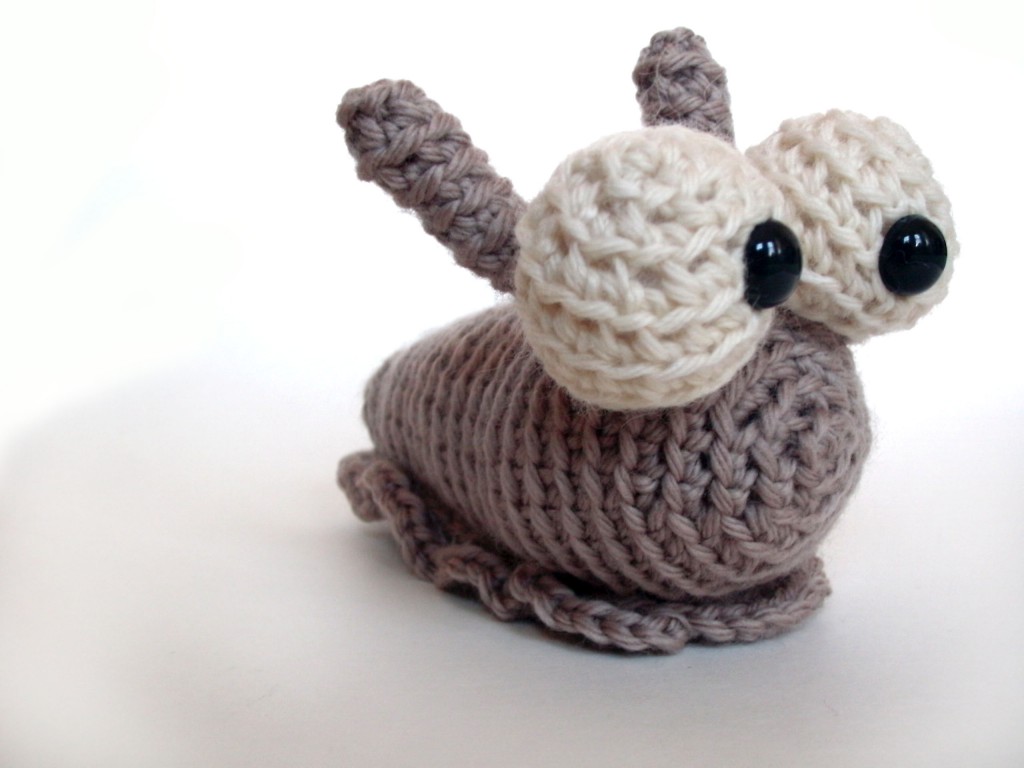
I loved him so much, that I made a ‘normal’ slug color as well:

Look out for the pattern!

That was a little peek into my process: a little sketching (sometimes), then crocheting and adjusting until it comes out right!

Get the pattern here.

Best,
Stacey

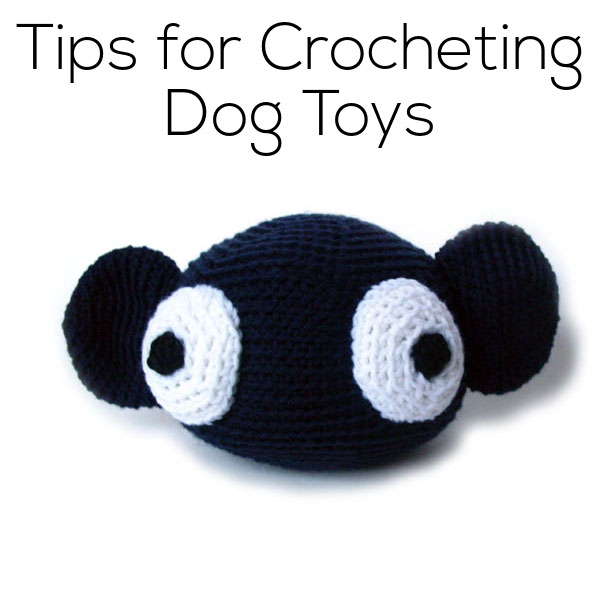
Guide to Crocheting Dog Toys

Tips for Crocheting Dog Toys - from Shiny Happy World

If you have a dog, you probably think of him as a member of the family… so wouldn’t you want to crochet him a sweet toy?

When crocheting for a dog, safety is the top priority! It’s a lot like crocheting for a baby, with a few extra considerations to keep in mind.

Don’t use buttons or plastic parts!

Some dogs are avid chewers, and even ‘safety eyes’ can come off when the fabric they’re attached to has been chewed through. I don’t need to give details about the digestion distress a swallowed eye can give your pup… so just avoid them!

dogs and plastic eyes

For any plush, you can easily add baby-safe crocheted eyes instead of plastic ones.

Select a Sturdy Yarn

Linen would totally rock, but so would wool or cotton. Nothing too soft (no merino!), because you want it to hold up. Even the gentle-est dog will have the toy in its mouth!

You can also look at thin rope in the hardware store. It’ll be sturdy and strong – you’ll just need to do some experimenting to find the right hook size.

Don’t forget to also select a machine washable yarn… because you’ll probably want to wash it!

Crochet a tighter gauge than usual

I used a size G hook on a worsted weight yarn- giving me a very stiff fabric. This will help almost any yarn last longer and stand up to more chewing.

Keep it Safe

Don’t make a super-tiny toy. I don’t know what the exact minimum size is, but make a toy that’s about the size of the toys you see sold in shops- that way you know you’ll be safe.

If you follow these tips, you can crochet an adorable toy that your pup will love… and will last through lots of playing!

A shortcut for crocheting stuffed animals more quickly!
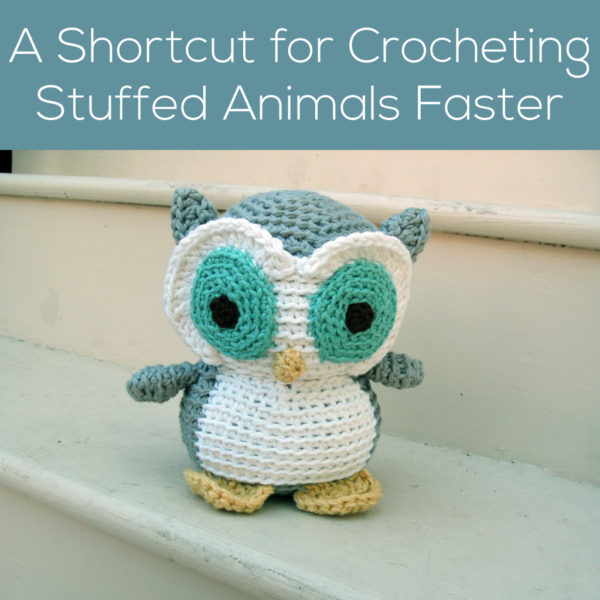
crochet own stuffed animal

It’s Tip Tuesday! Today, I’m going to share my trick for cutting down on the crochet-time of an adorable stuffed animal!
We’ve all been there before: you have a baby shower/birthday party/event to go to this weekend, you want to crochet an adorable stuffed animal, but you don’t have a lot of time. What can you do?

You can slash your crocheting time with a combo approach: use a bulky yarn and downsize the pattern!

I do this all the time… and it cuts my crochet time by about 30%, and you still get a great result! Let me walk you through it.

The side-by-side comparison

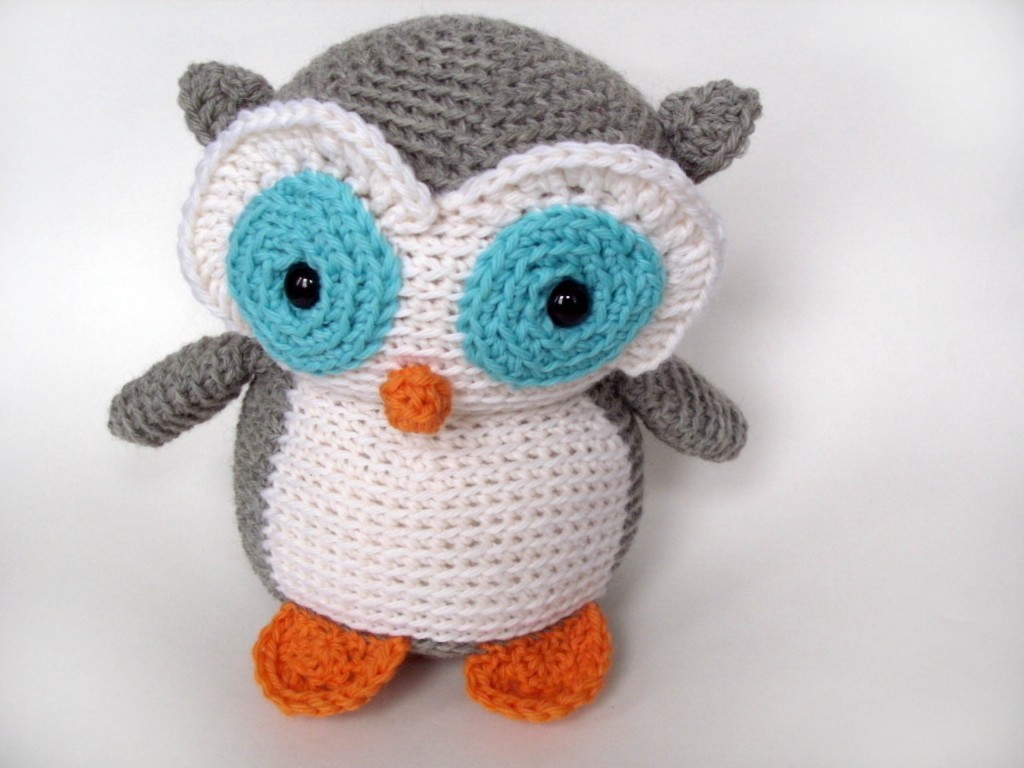
Here is an owl that I crocheted following the pattern exactly (using a worsted weight yarn):

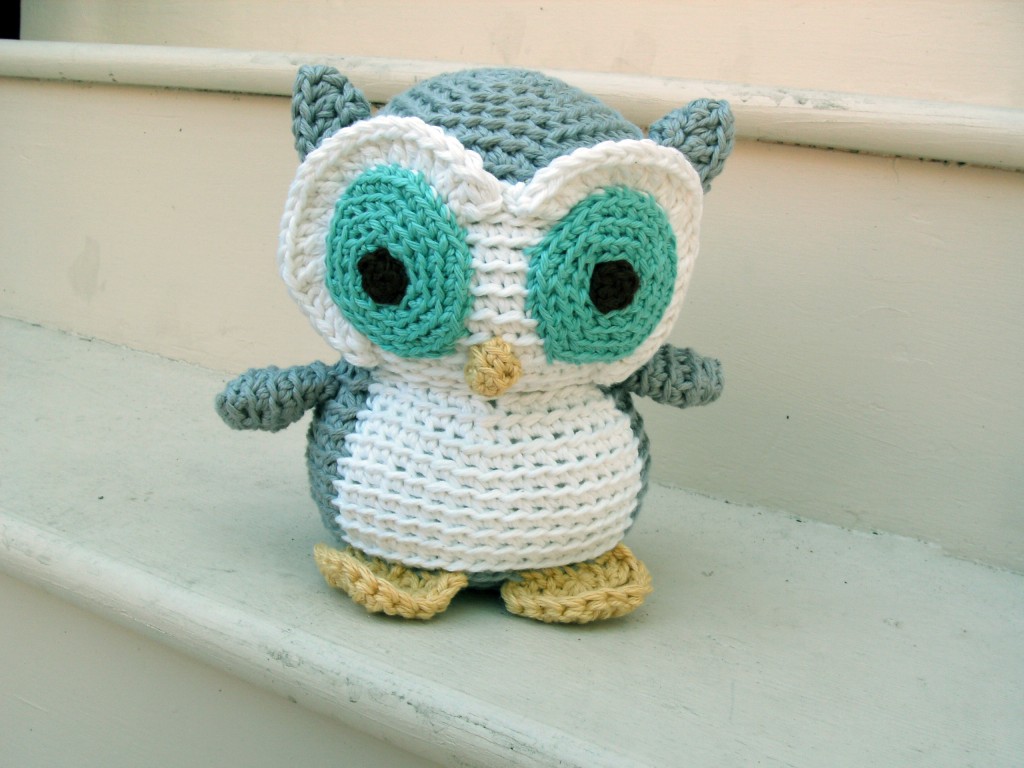
Now, here is an owl that I crocheted using a bulky yarn and a ‘downsized’ pattern:

Can you see a big difference? Probably not! They’re both 8″ tall… but the second one took me far less time to crochet! And you can do it, too!

The trick

The pattern I’m using is Nelson the Owl, but this trick will work on almost any amigurumi pattern.

My owl pattern calls for a worsted weight yarn, and tells me to do work 10 increase rounds for the head & body. So, here’s what I do to speed up the process: I use a bulky-weight (thicker) yarn and tweak the pattern to crochet a smaller amigurumi, basically working fewer increase rounds than the pattern says to.

You’ll want to read this blog post for details on how to crochet a smaller amigurumi… why smaller? Well, because you’re using a thicker yarn- you’ll end up with the same sized owl, but with less crochet time!

You ready to try it?

For my quicker owl, I worked 7 increase rounds on the head and body and crocheted the other features as written in the pattern. This means that the features (eyes, feet, ears) will be slightly proportionally bigger than on the original owl… but that doesn’t bother me! In fact, I think it’s a little extra-cute!

So, are you ready to give it a try? It takes a little bit of experimentation (to get the hang of making a smaller amigurumi pattern), but once you’ve got it… you can save oodles of time!

Here are handy links to all the posts about crocheting stuffed animals in different sizes. . .

Return to the main table of contents for Let’s Learn to Crochet Amigurumi.

Move on to the lessons for crocheting more advanced shapes.

Happy stitching!