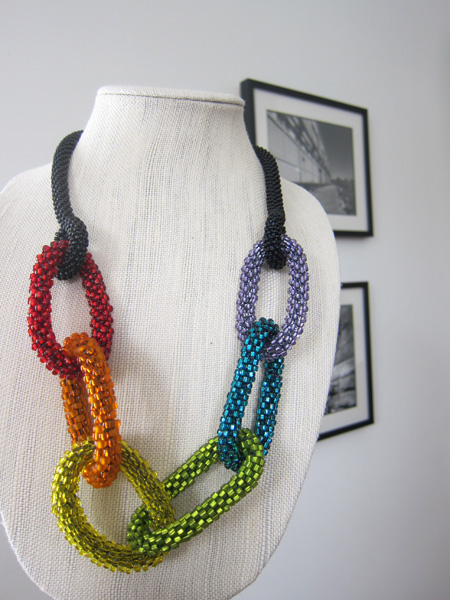
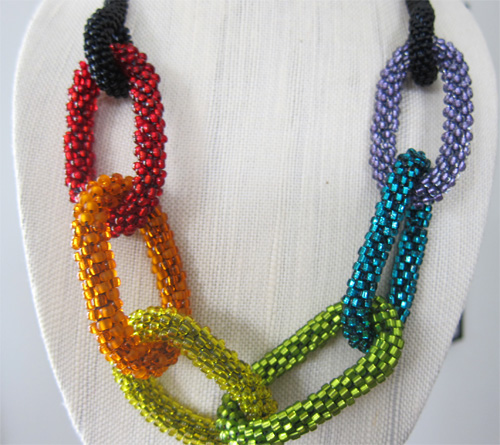
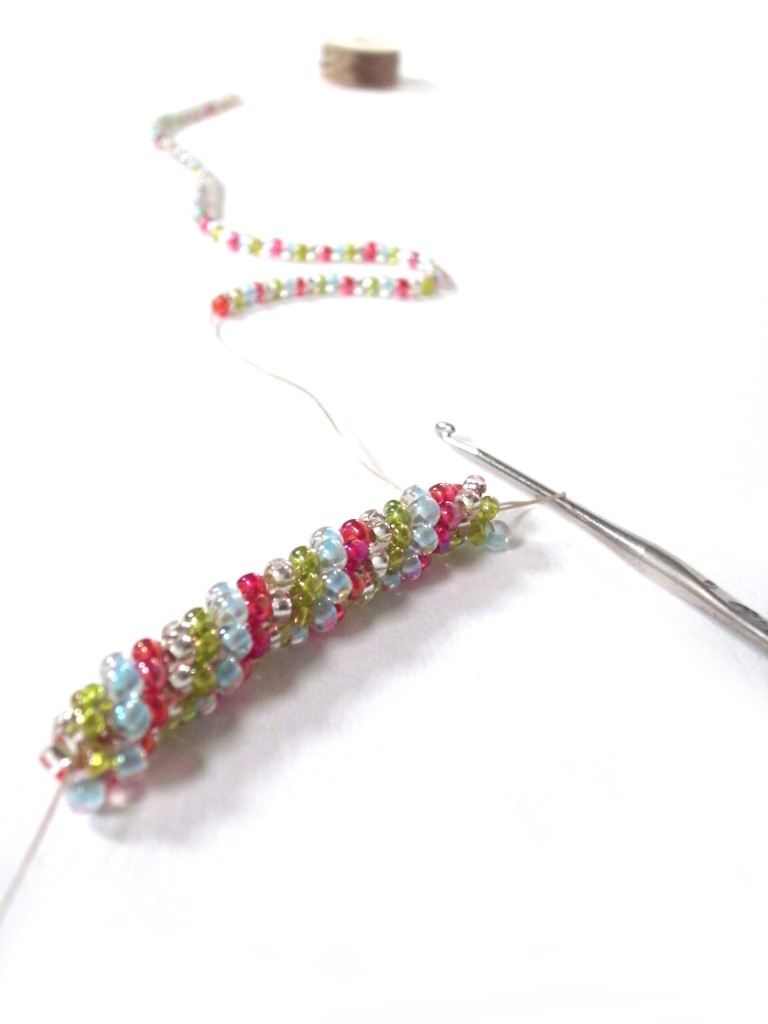
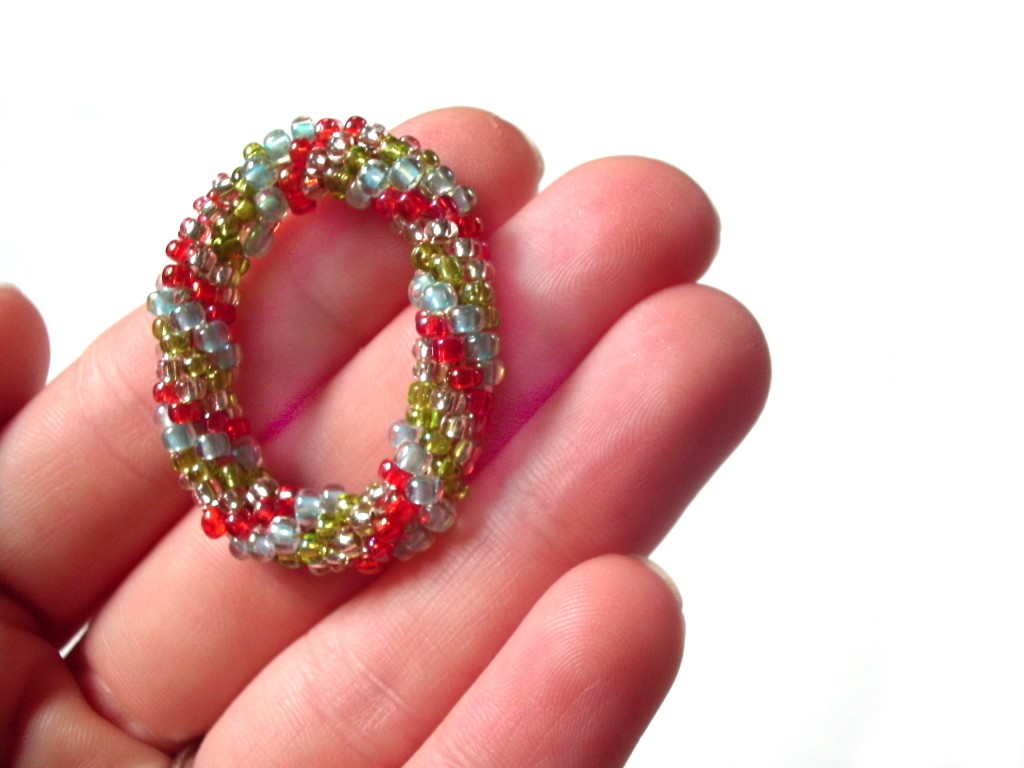
I love bead crochet!
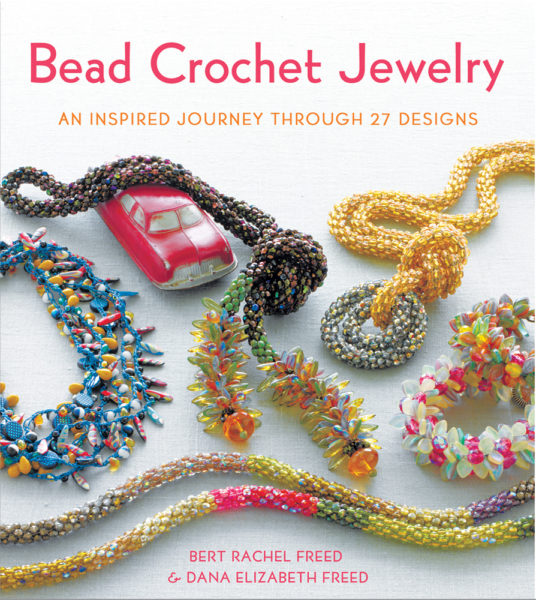
I learned loads of techniques from the book Bead Crochet Jewelry, and I highly recommend it as a starting place for learning!
But what if you want to do more? Today I’m going to show you how to read bead crochet patterns, of the type you’ll find on Pinterest and online!
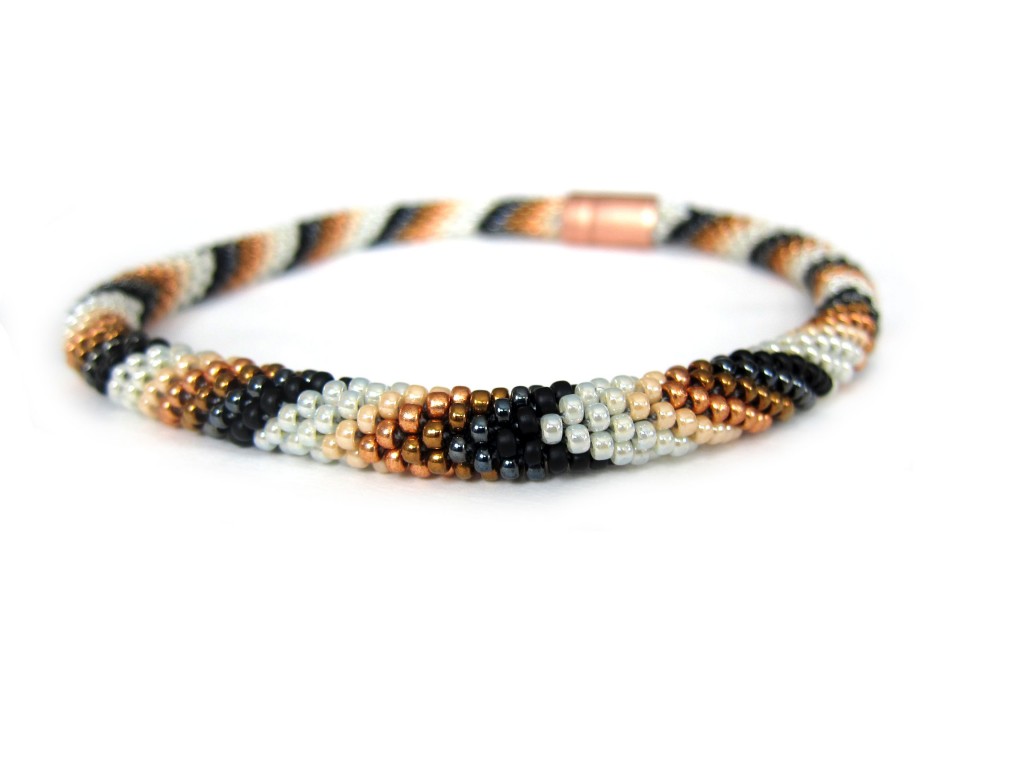
Finding a Bead Crochet Pattern
Much of the bead crocheting comes out of Eastern Europe, so it’s a good thing that patterns don’t use a lot of words! If you search Pinterest for ‘bead crochet pattern’, you’ll find oodles! You can also search Etsy and you’ll discover a number of patterns.
They vary greatly in complexity and size, but don’t worry… I’ll talk about all of that!
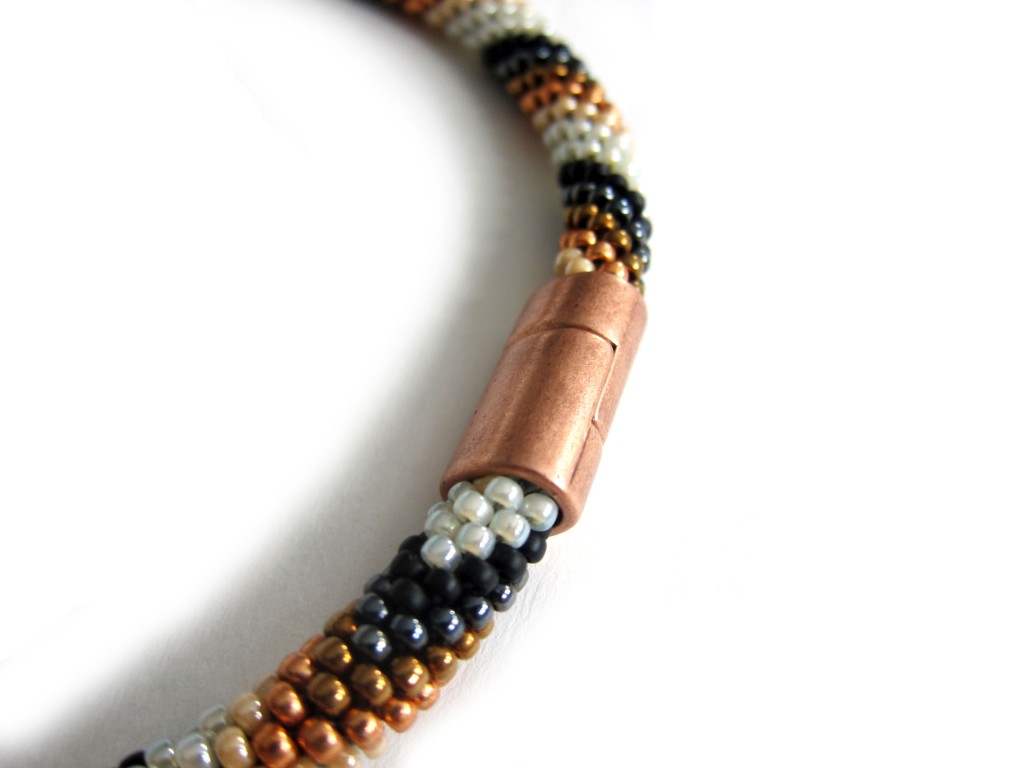
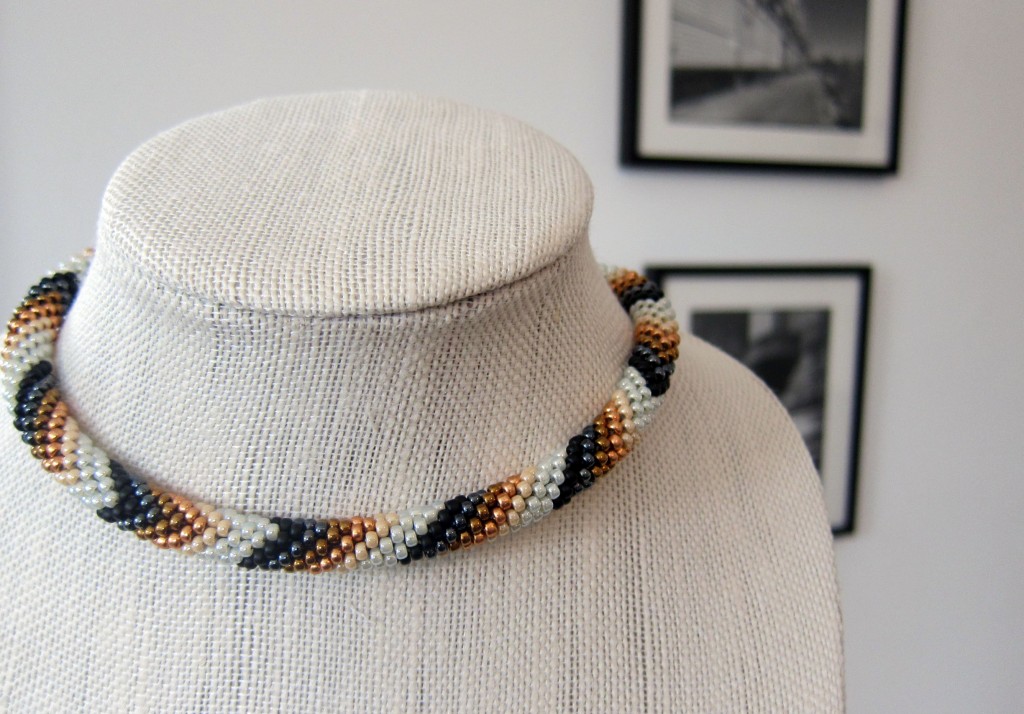
Today, I’ll be using this pattern by Snow Mirna that I found on Pinterest. It’s the pattern I used to make this ombre chevron necklace:
The Anatomy of a Bead Crochet Pattern
If you’re familiar with regular crochet patterns, you’ll find a bead crochet pattern very short! They’re about a half of a page and look like this:
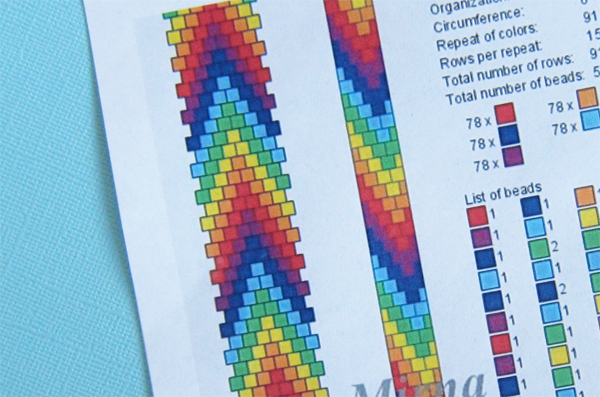
There are essentially 4 parts:
- A description of the pattern (top right)
- A list of the materials you will need (middle right)
- A sequence instructing how to place the beads on the string (bottom right)
- A view of how the pattern will look when crocheted (left)
I’ll explain each of these sections in turn!
How to select a pattern
All of the information you need about selecting a pattern is in the upper right hand corner:
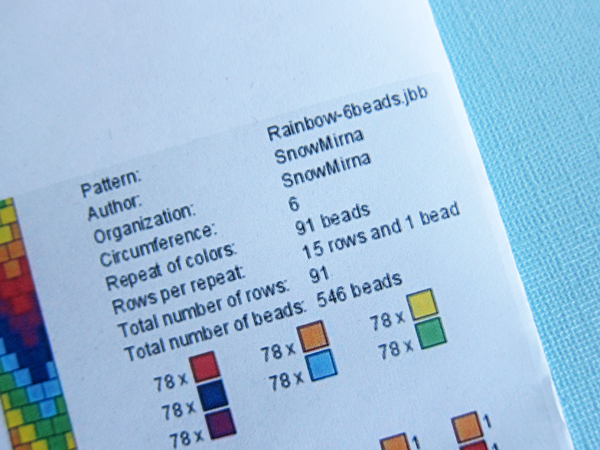
One of the most important dimensions is the circumference. This tells you how many beads need to be in the circumference to get the required pattern. You’ll see that this pattern has 6. I personally like patterns with 4 or 6 beads. The larger the circumference, the larger thickness your finished piece will be. A larger circumference will give you more pattern options, but will produce that a thicker piece that may be difficult to find notions and findings for.
Purchasing Materials
Now, have a look at the middle right:
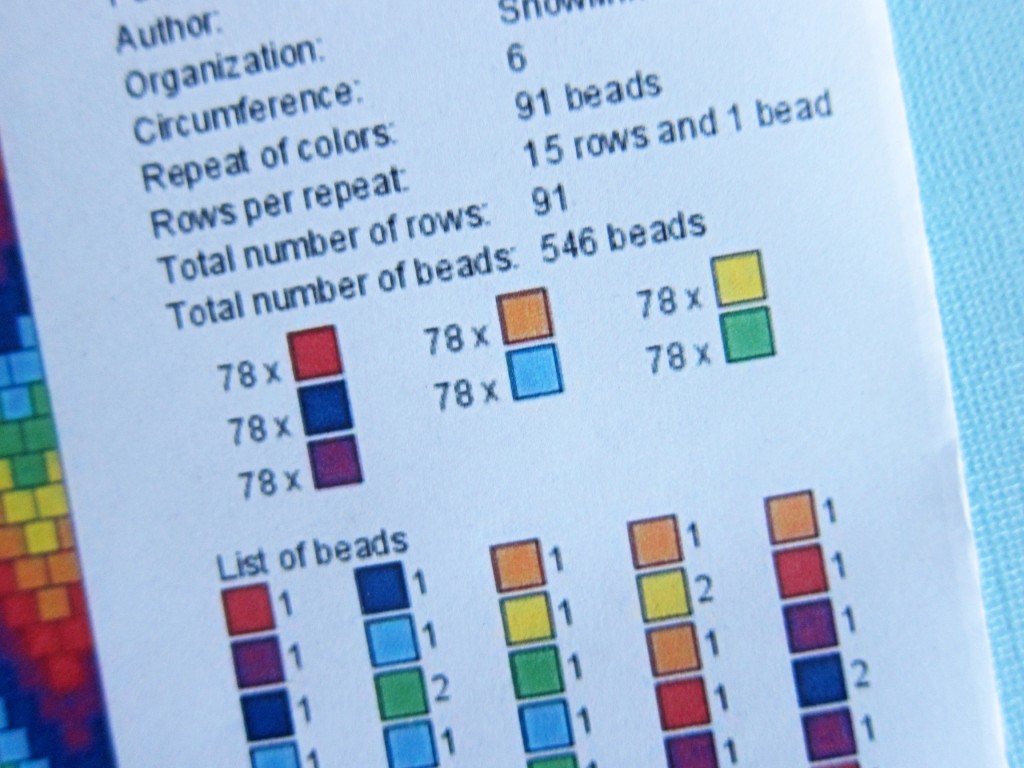
This tells you not only how many beads you need, but how many you need of each color.
This particular pattern uses equal amounts of beads, but other patterns will vary.
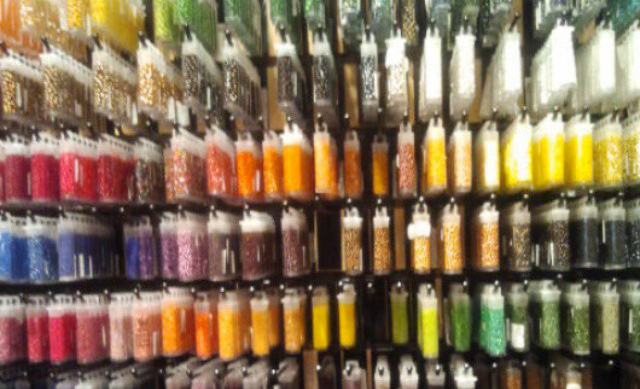
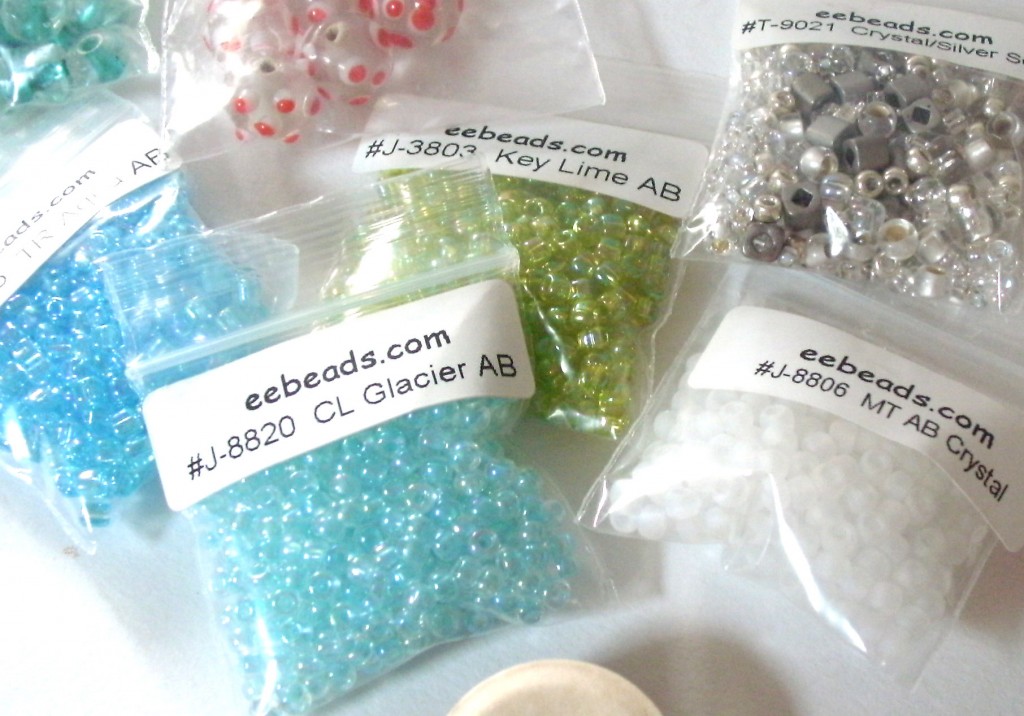
You often purchase beads by the gram.
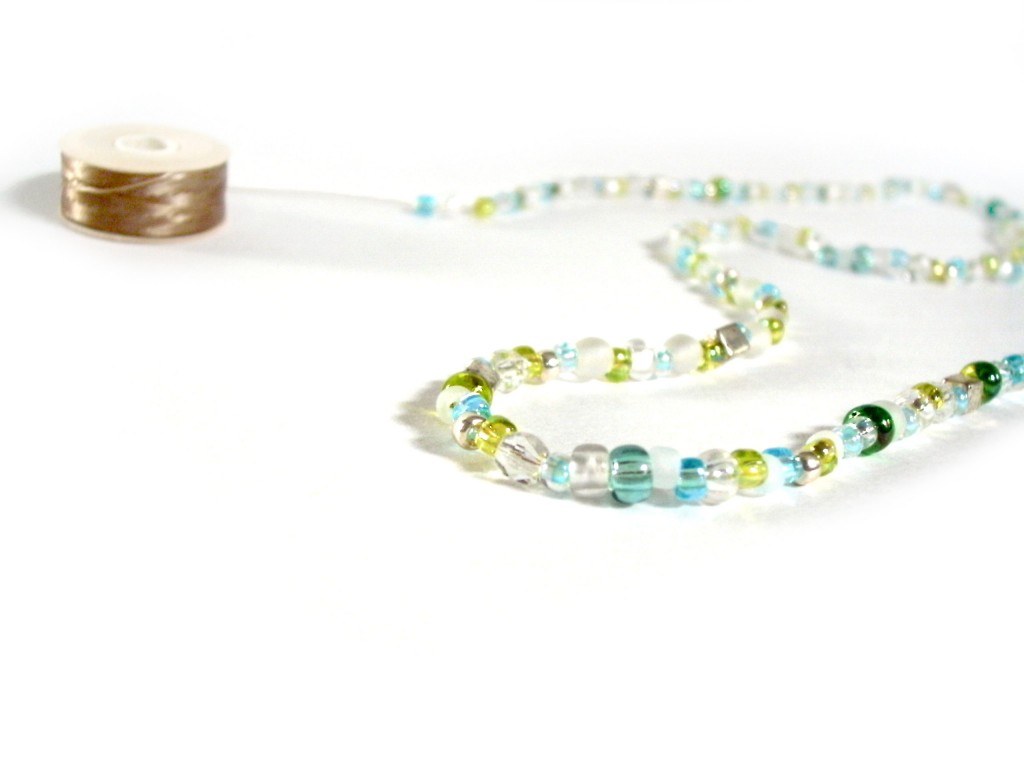
Stringing beads
The hardest part of following a pattern is stringing the beads in order!

Begin at the top left, and work your way down, stringing the number of specified beads for each color. You’ll see that this chart mostly instructs you to string one or two beads of each color, but that too, can vary.
You will repeat this chart according to how long you want your finished piece to be!
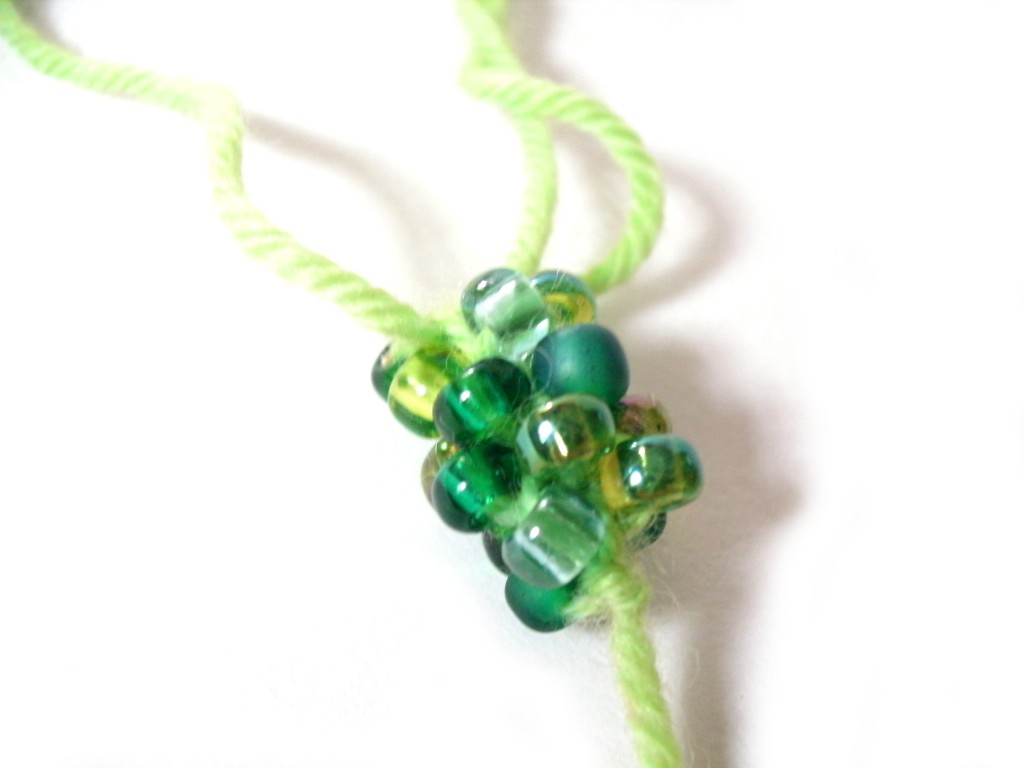
Then, crochet!
Once your beads are strung, the crocheting is the same no matter which pattern you’ve chosen to follow. The chart on the left will show you what your finished piece will look like:
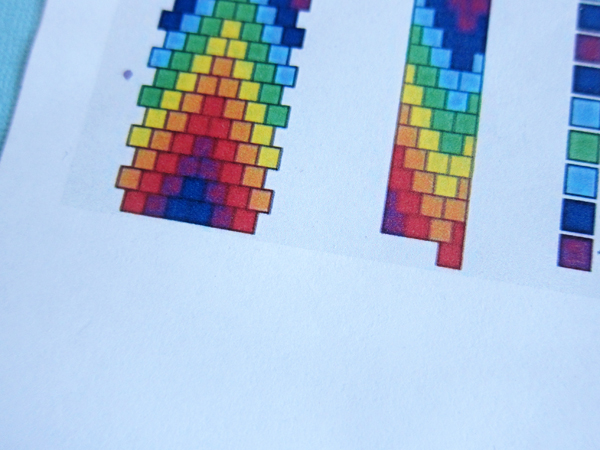
The leftmost view is what the piece would look like flat, and the one on the right (which is optional) gives an idea of how the piece will look in the round.
Ready to try?
With such a variety of patterns, these simple tips will open up a whole new world of bead crochet to you!
Have fun!


