I love wood. Real wood. And I’m a sucker for super-smooth, sanded wood… I’ve been known to stand in my kitchen, just holding (well, fondling, really) my handmade wooden spoons. (That’s not weird… is it?)
Anyway… a few months ago, I heard a rumor on the crochet grapevine: there was a chick up in the Pacific NW who made hand-carved crochet hooks that were divine. And I knew I had to try one.
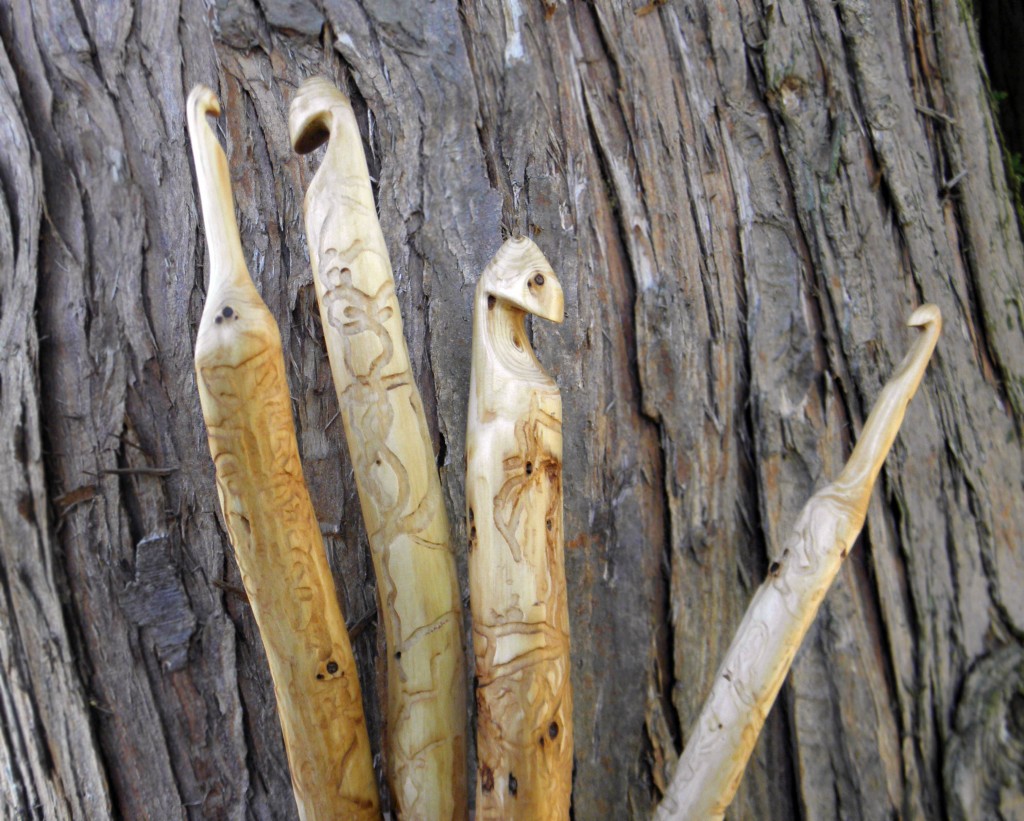
I patiently waited until this fabled carver, Monica, officially launched Craftwich Creations. Then I grabbed one of her hooks and scored an interview with her, as well.
You’ll want one too… trust me!
My Hook
My hook is a piece of art. It’s a size H hook carved from a stunningly beautiful piece of domestic wood. It’s as smooth as a baby’s butt. And it feels like it was made to fit in the palm of my hand.
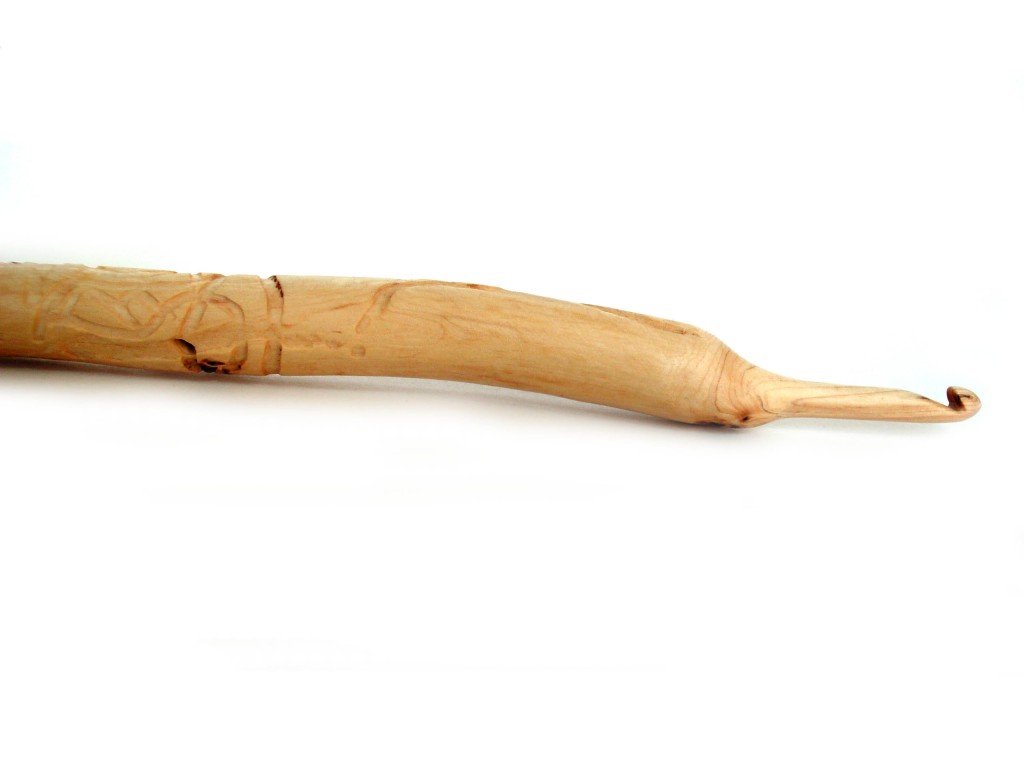
Did I mention it’s smooth? (I just spend the time waiting for that picture to upload stroking the hook against my cheek. I swear… that’s normal behavior!)
Monica isn’t just a carver… she’s a wood-whisperer. And I trusted her to pick the right hook for me. So, I told her that I held my crochet hook like a knife (instead of the pencil-hold) and that I wanted a size H hook.
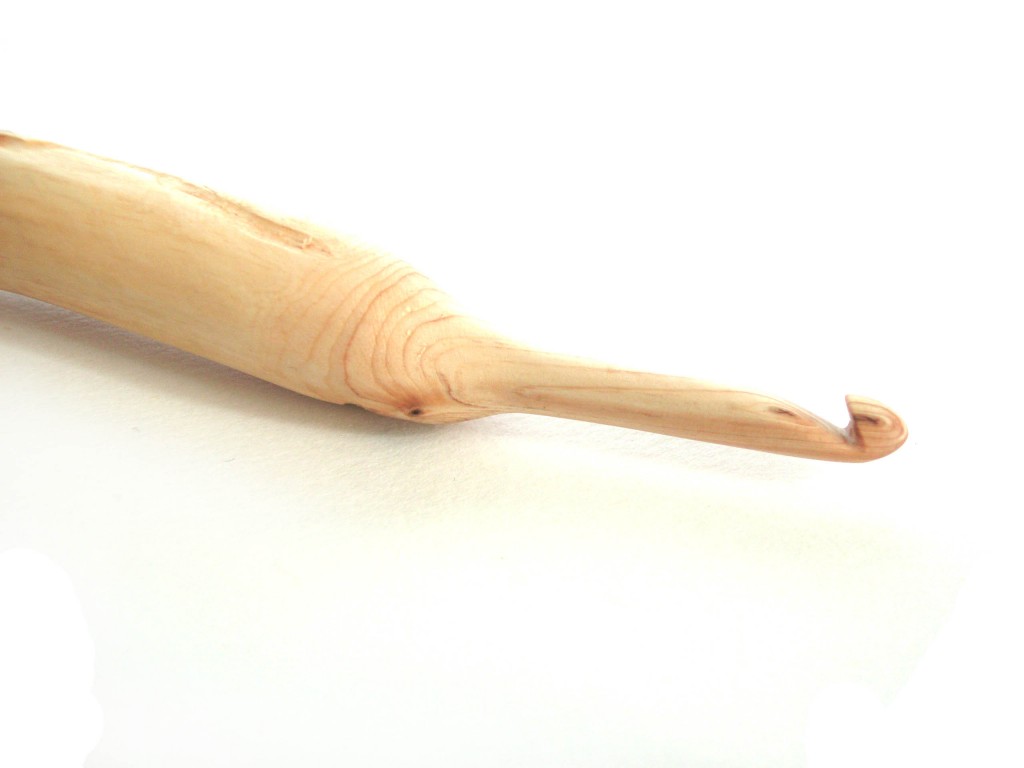
The handle is curved perfectly for the way I hold my hook, the tip is a little pointy (but not too pointy!) and the groove is nice and deep (making it easy to catch your yarn). How did she do it? It’s all that wood-whispering!
I couldn’t be happier!
The Process of Carving a Crochet Hook
I love making things with my hands: I sew, I knit, I crochet, I bake… but I have to admit, the idea of carving something out of wood seems both amazing and baffling. I was delighted that Monica was willing to give me some insight into her process.
Choosing the Wood
It all begins with selecting the right raw materials. Monica says, “I collect wood from my backyard, neighbors, friends, walks in the parks, etc. I also purchase some exotic woods so I can carve smaller sizes, usually for the sizes F, G, 7, H. I go through it and determine if it’s suitable – it can’t have a soft “pith”, or middle. Then I trim down to a good hook length, depending on the features of the wood – where knots are, scars in the bark/wood, neat looking bends that I think will be comfortable, etc.?”
“I use a bigger knife to strip away the bark and see what’s underneath – the whole process is SO cool to me, every step, the wood changes!”
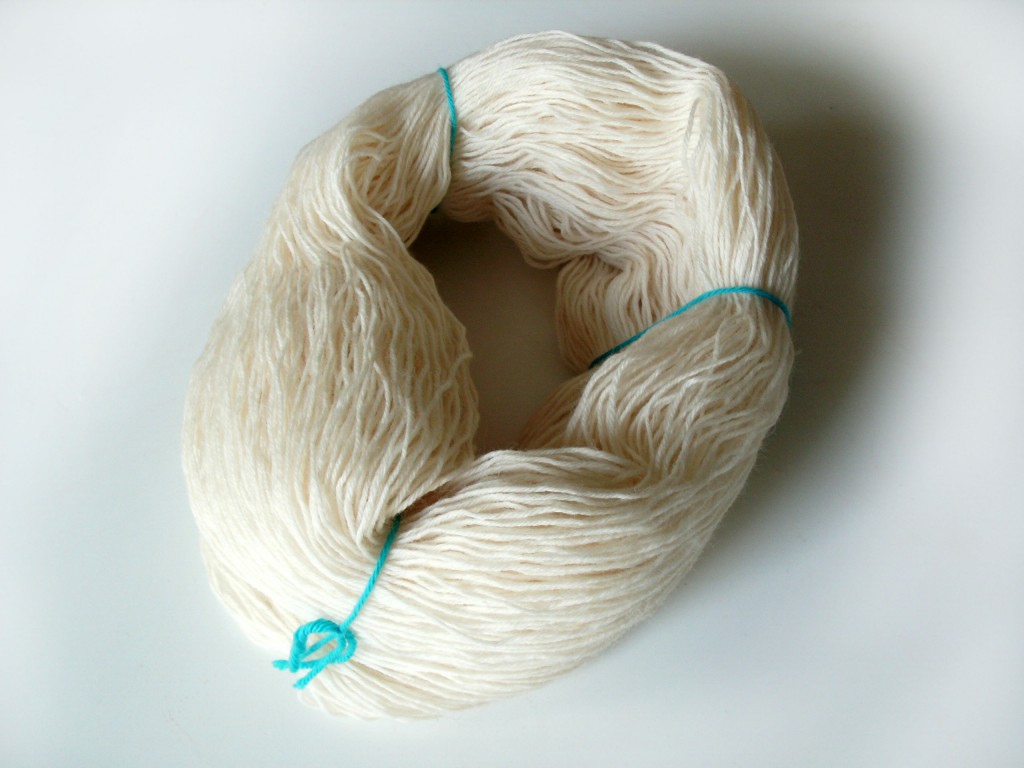
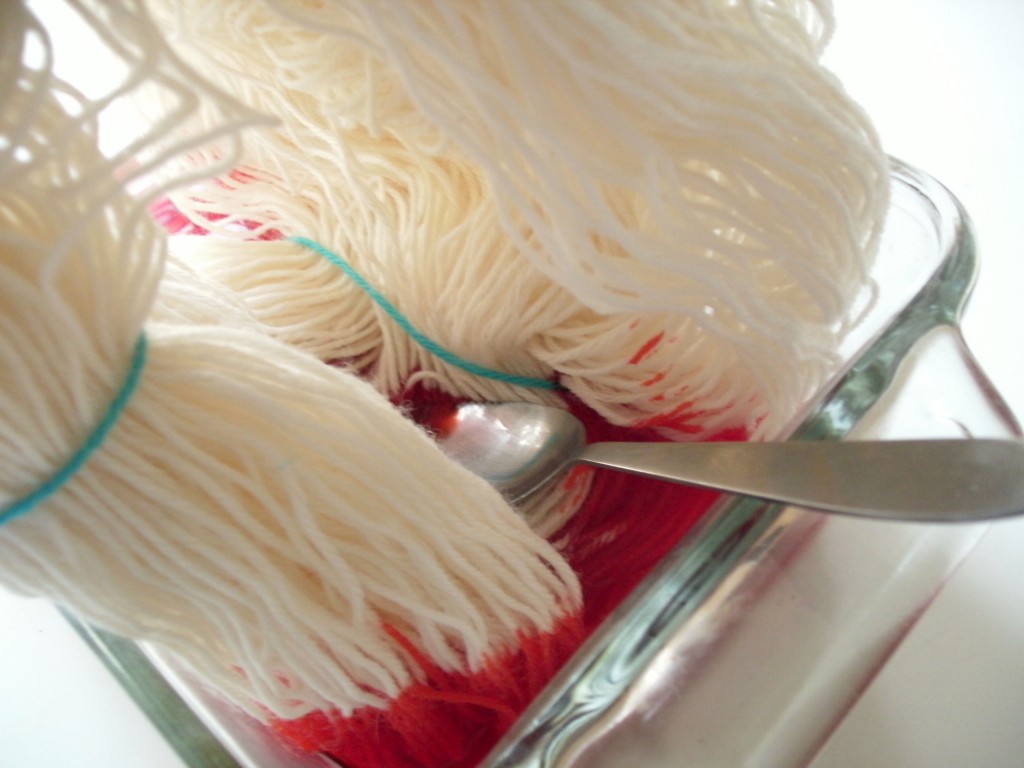
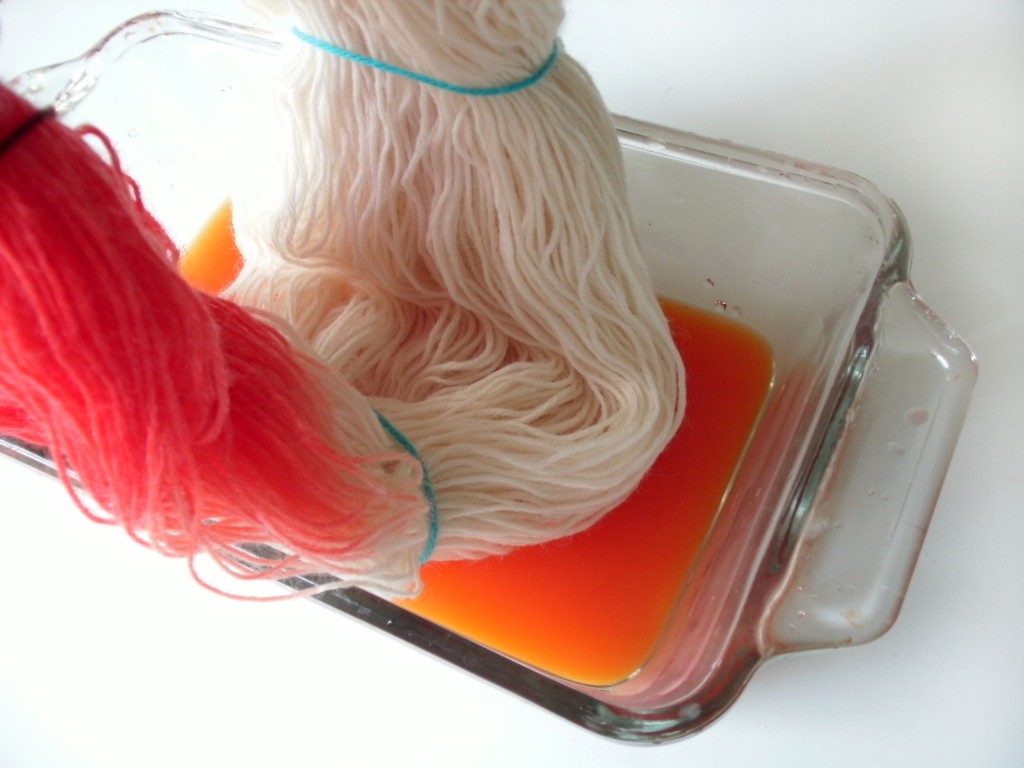
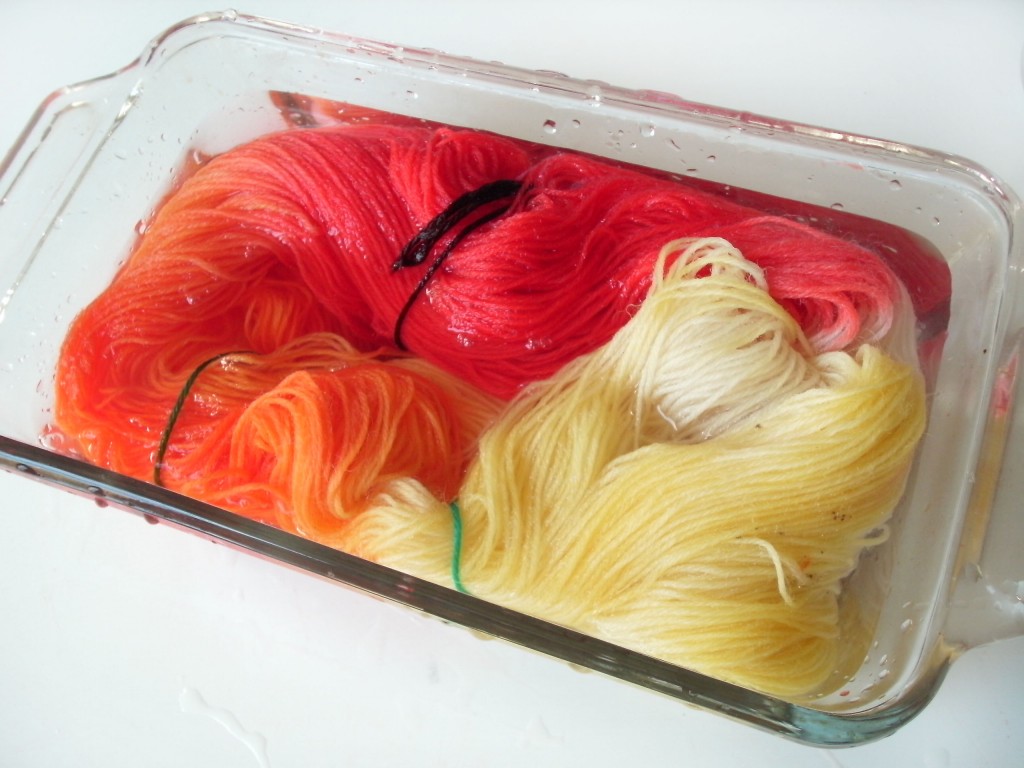
Dyeing
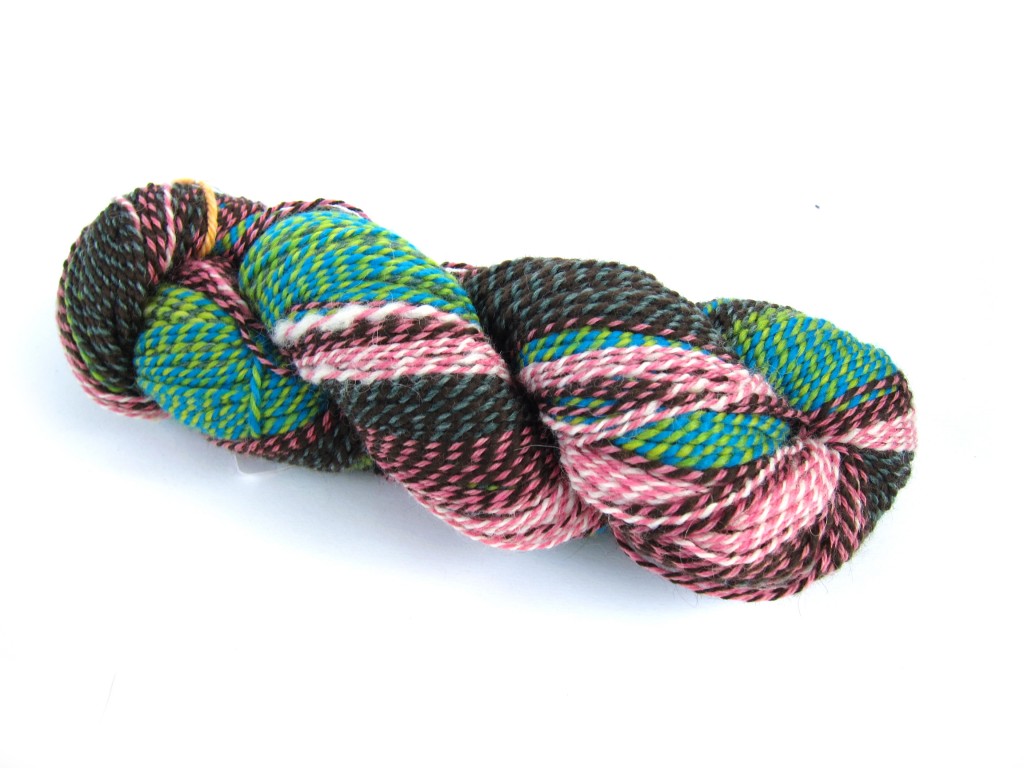
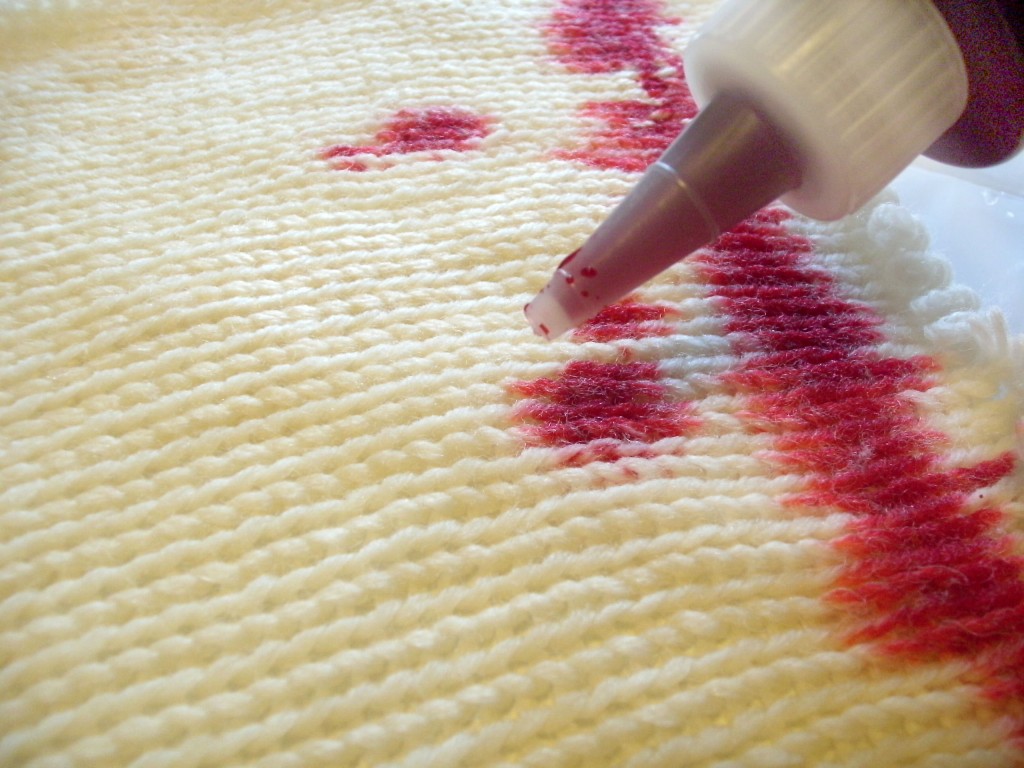
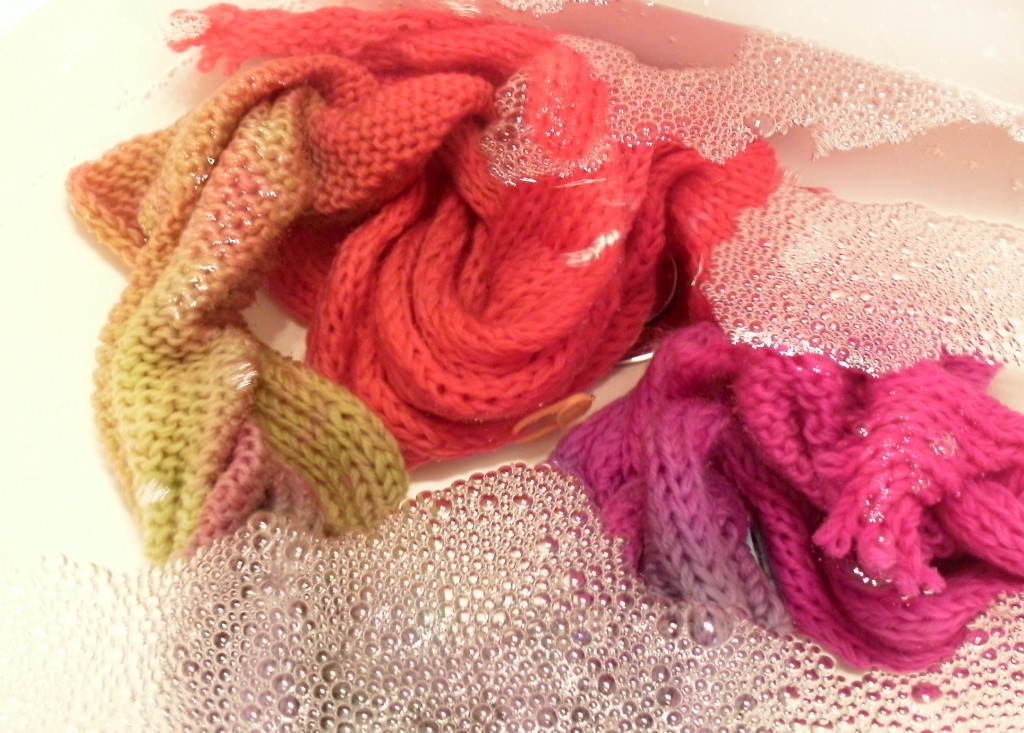
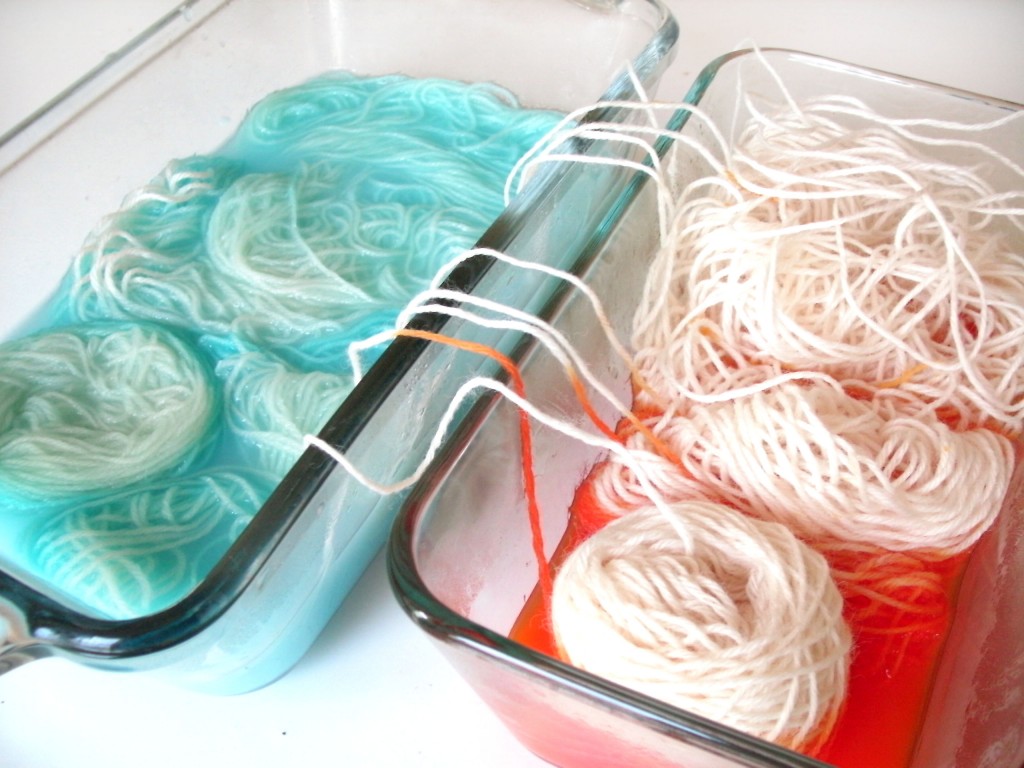
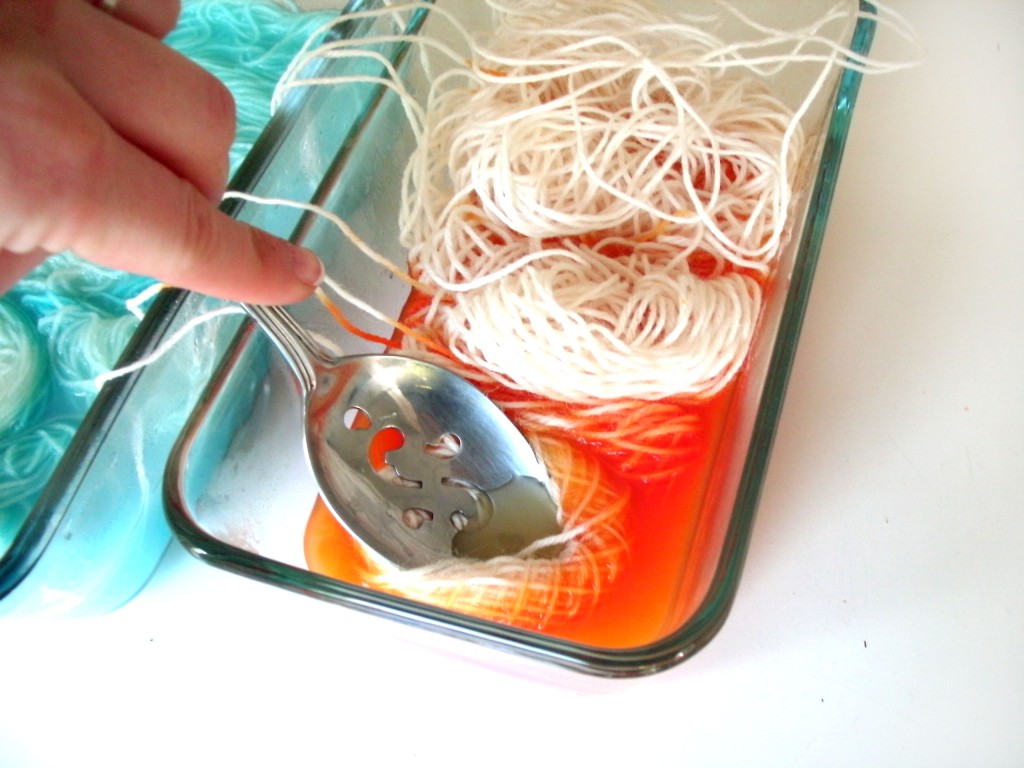
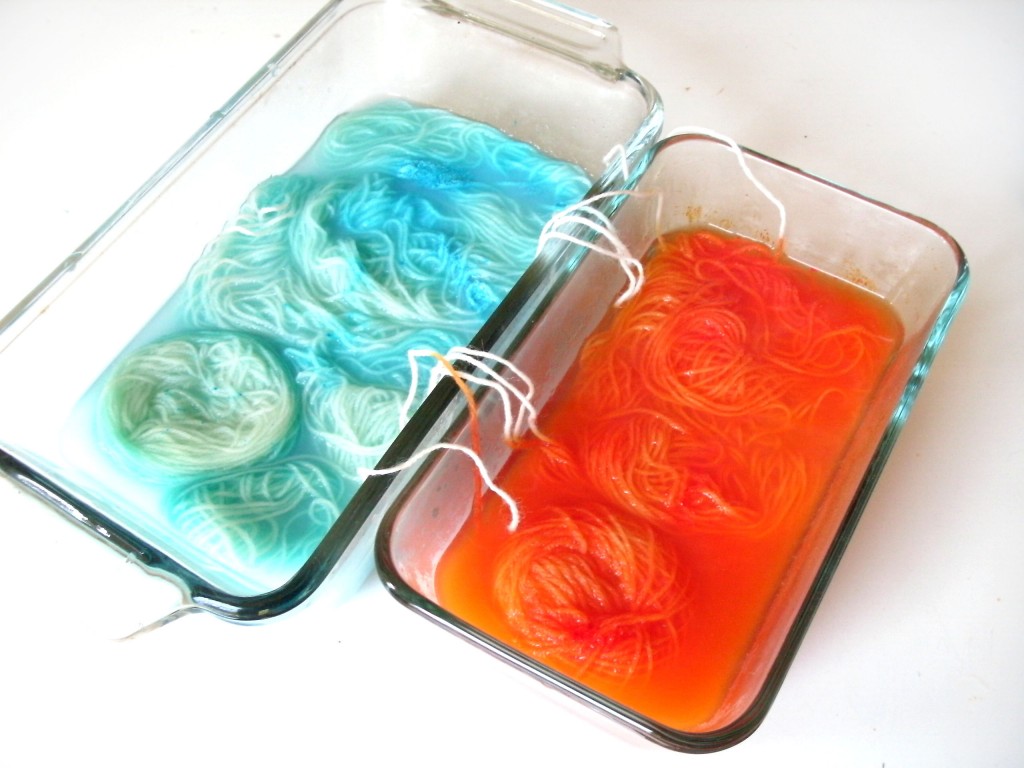
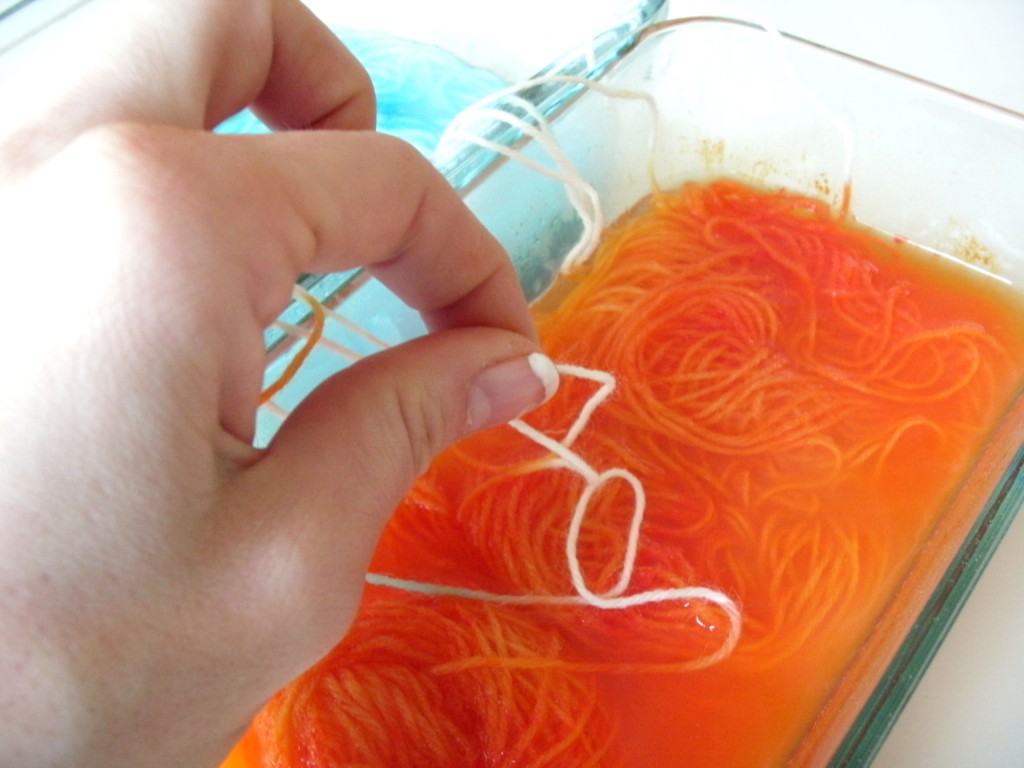
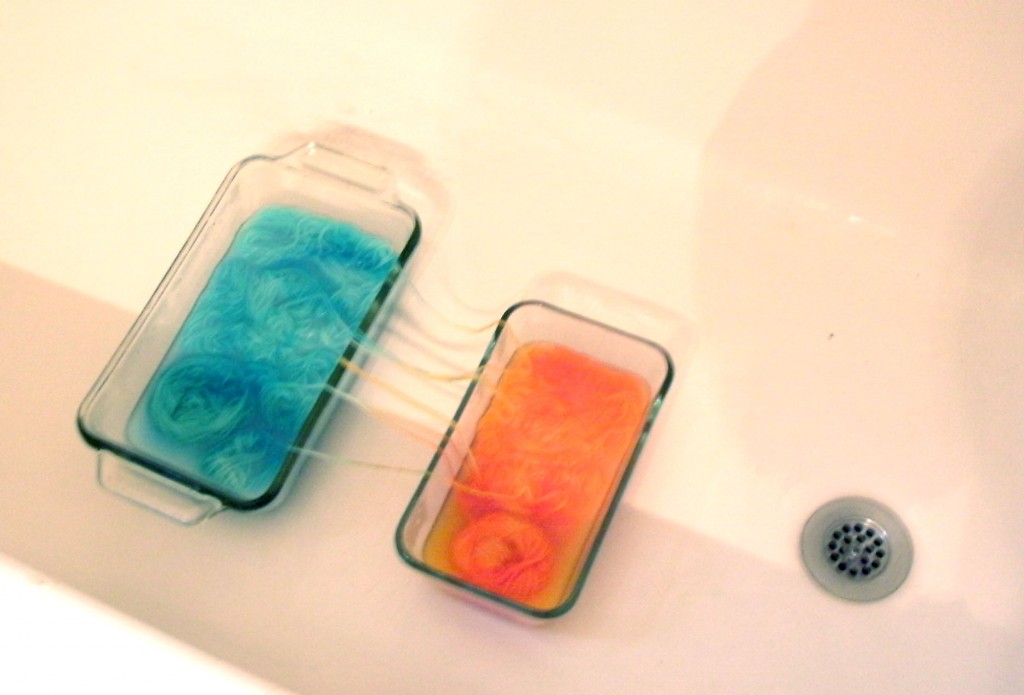
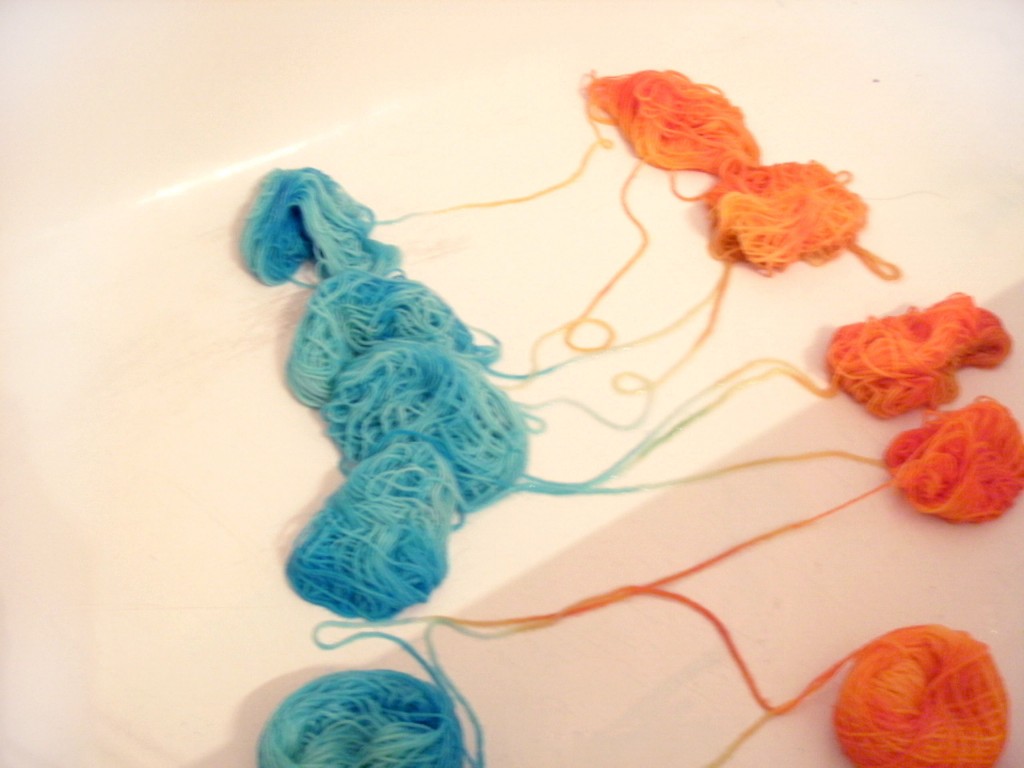
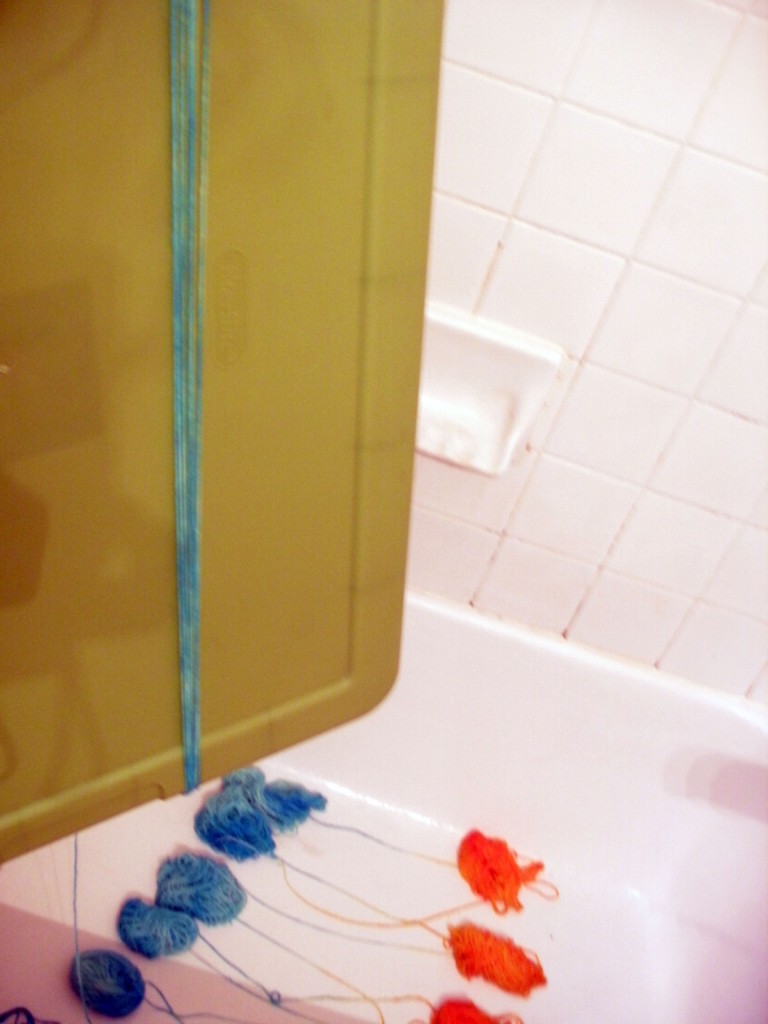
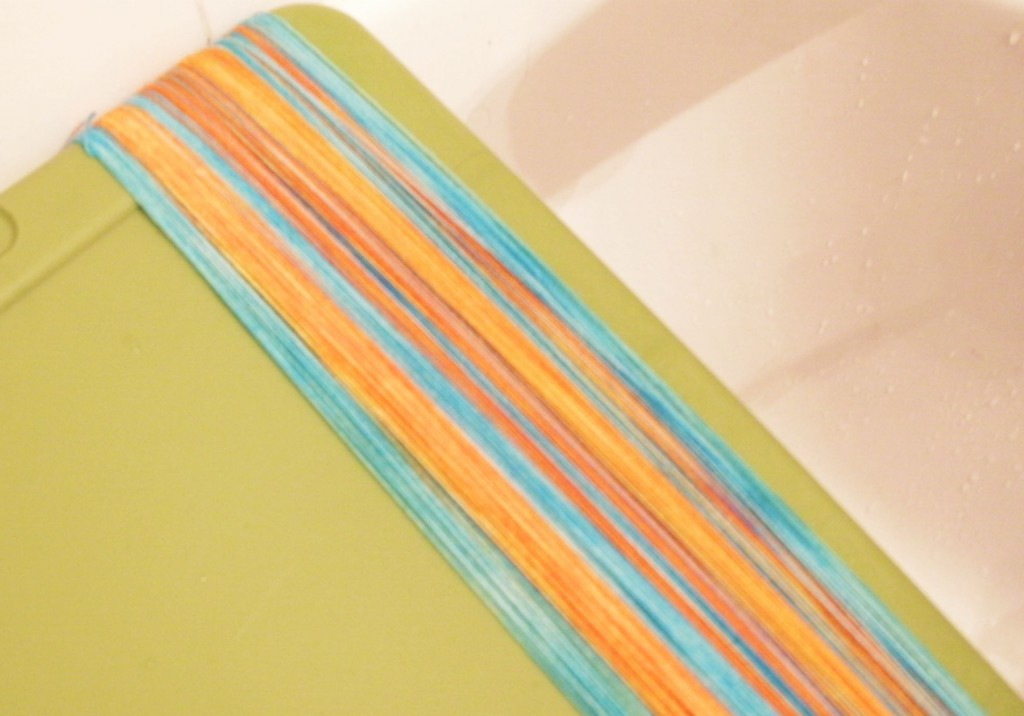
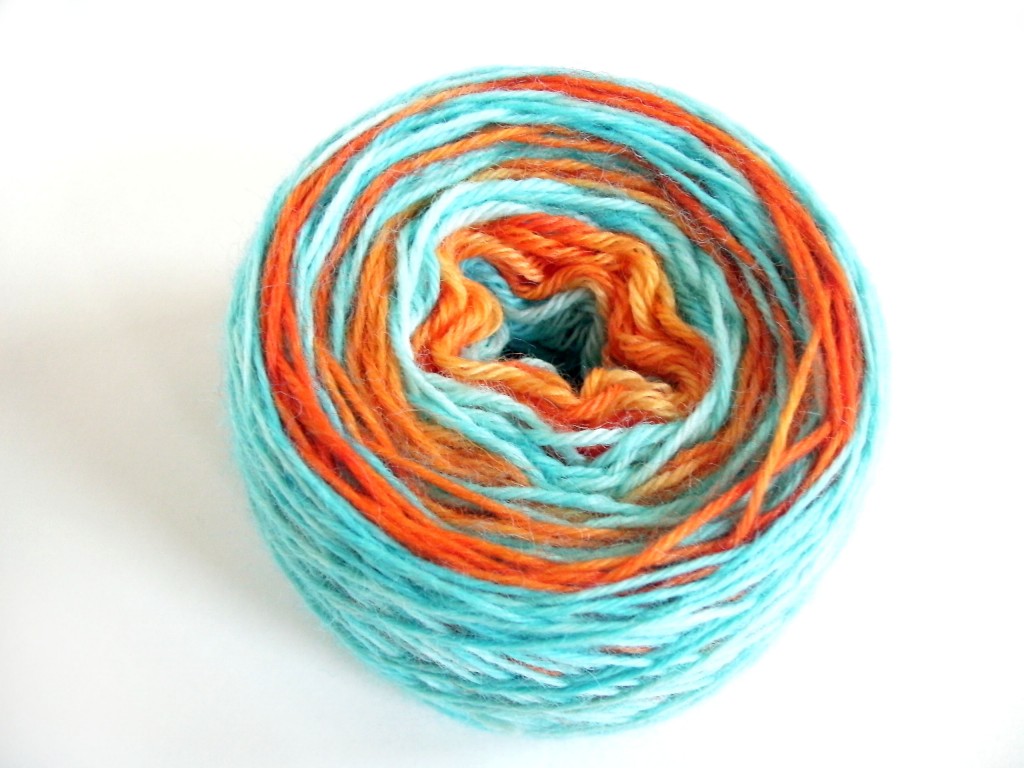
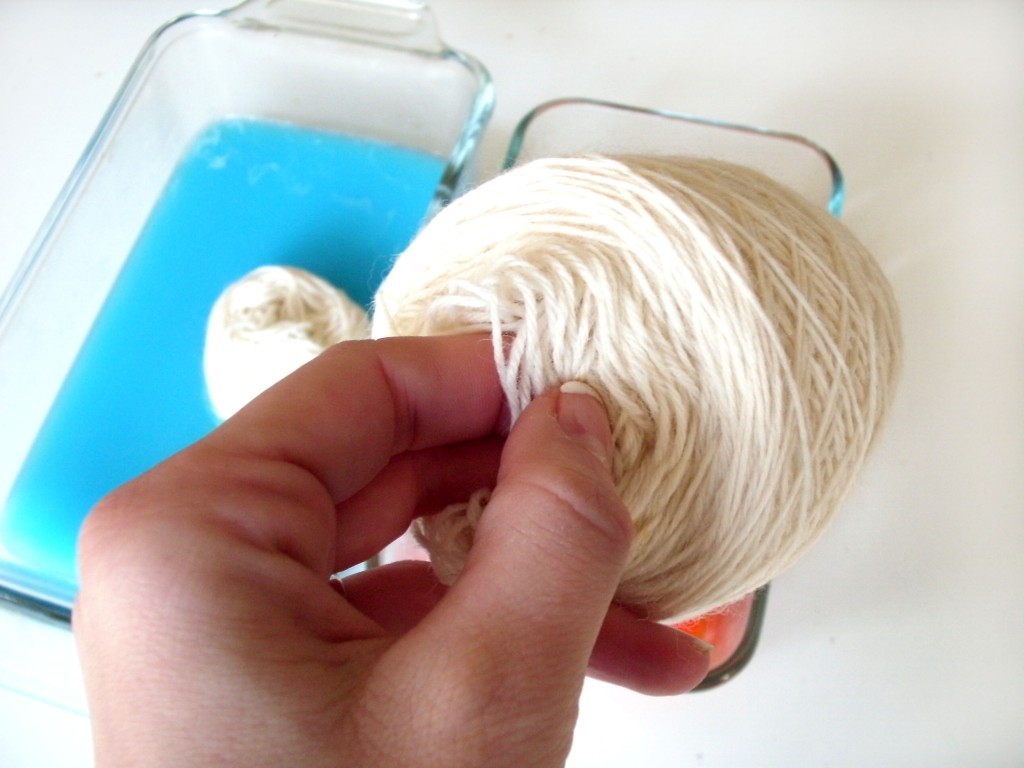
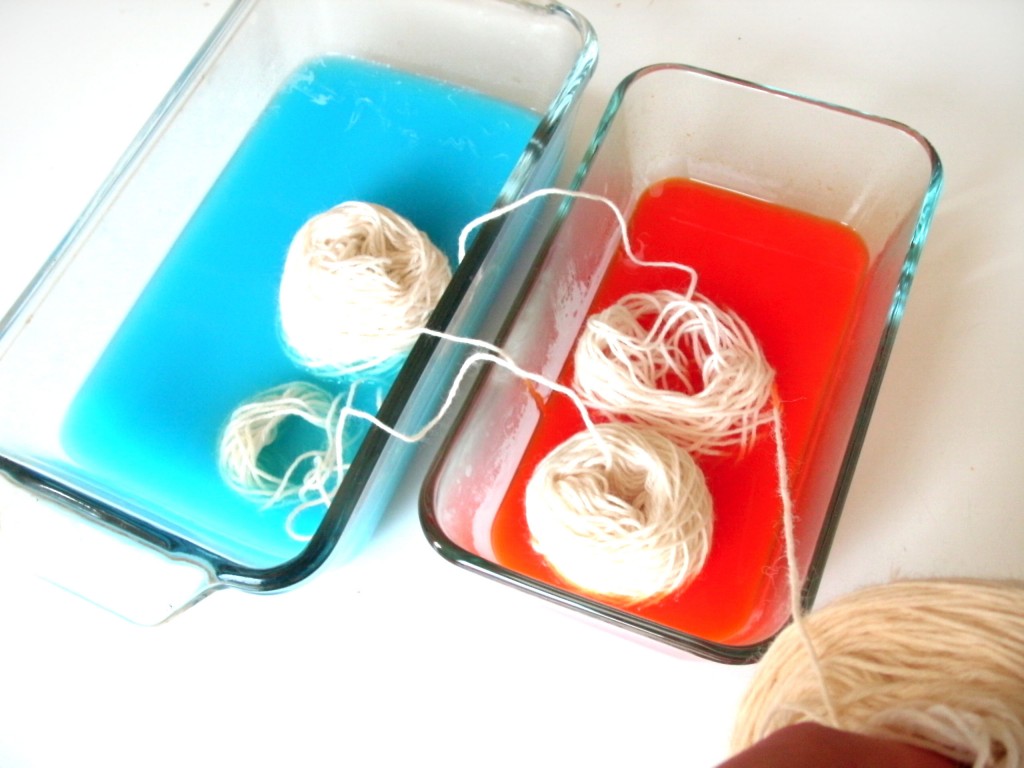
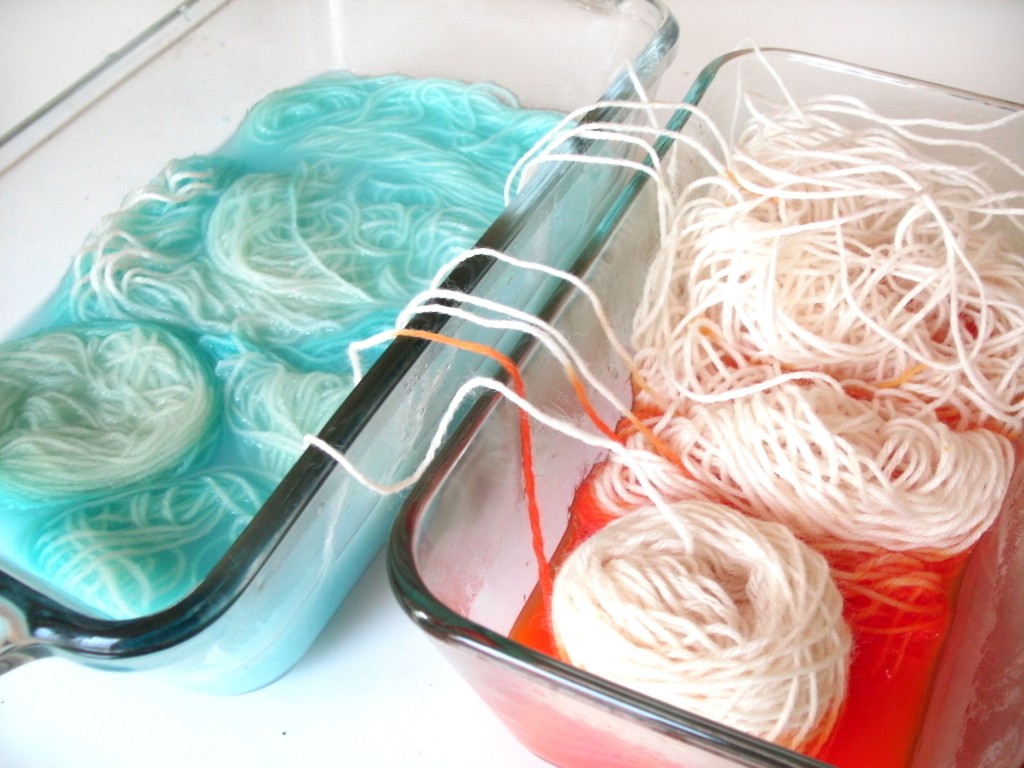
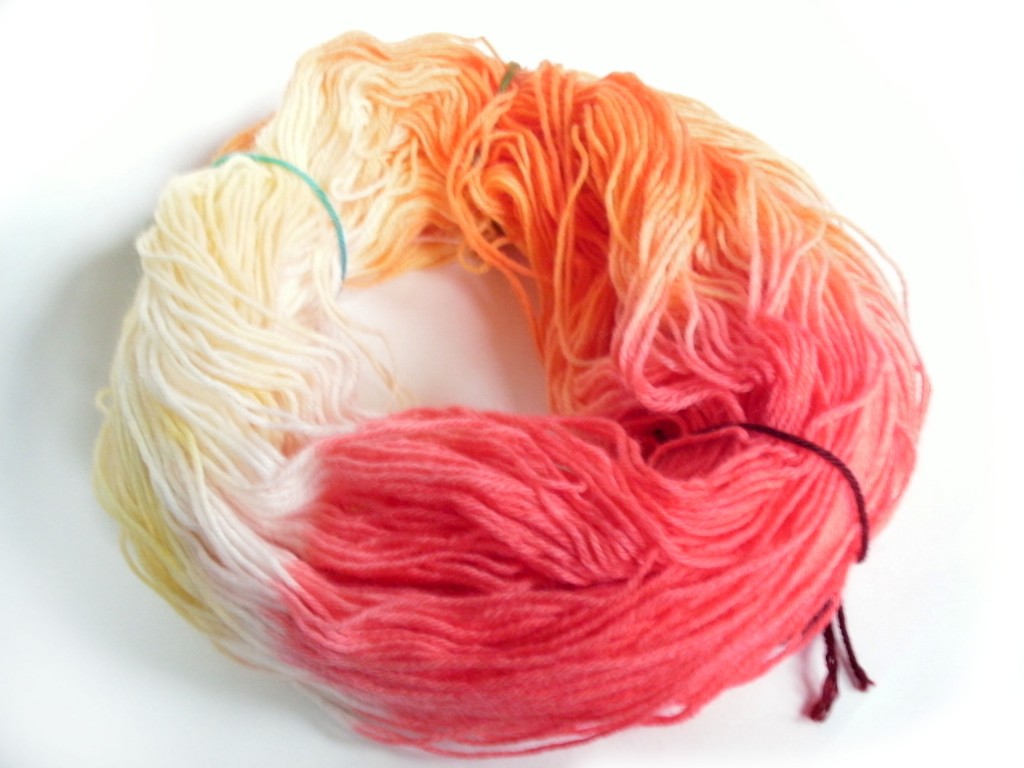
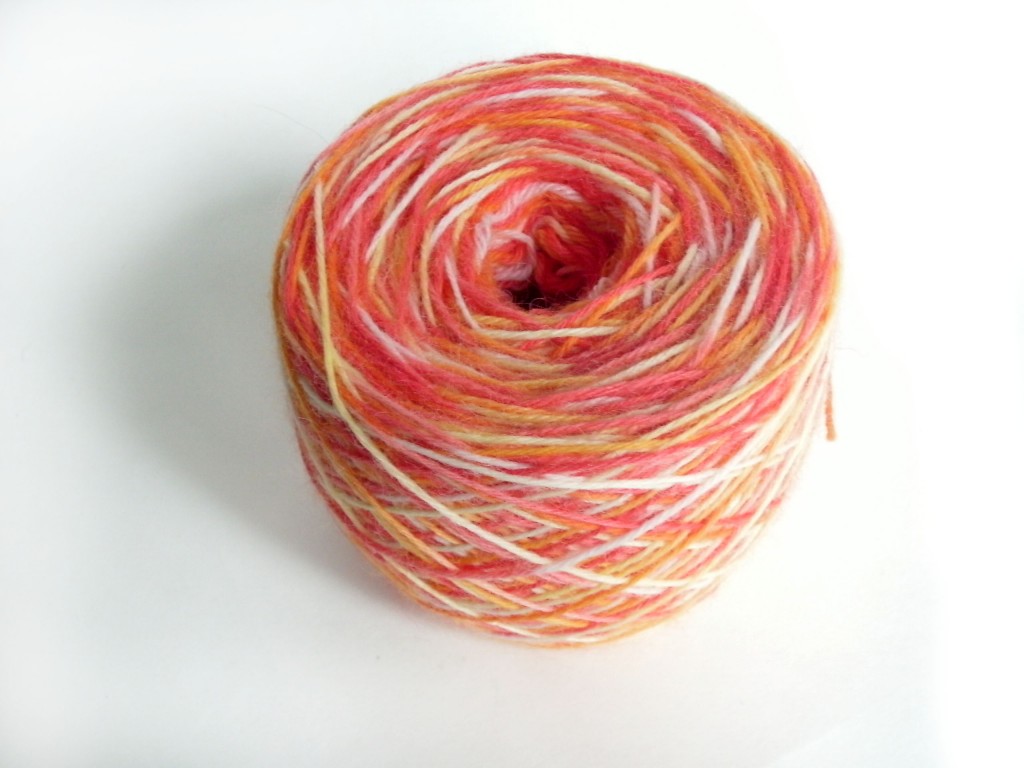
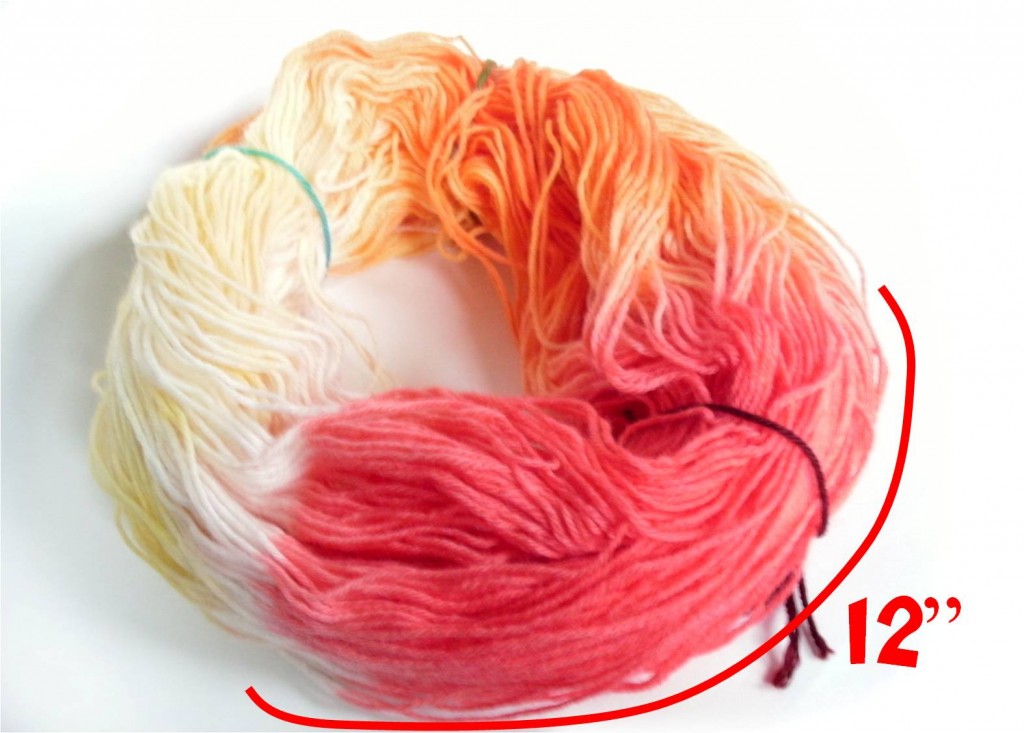
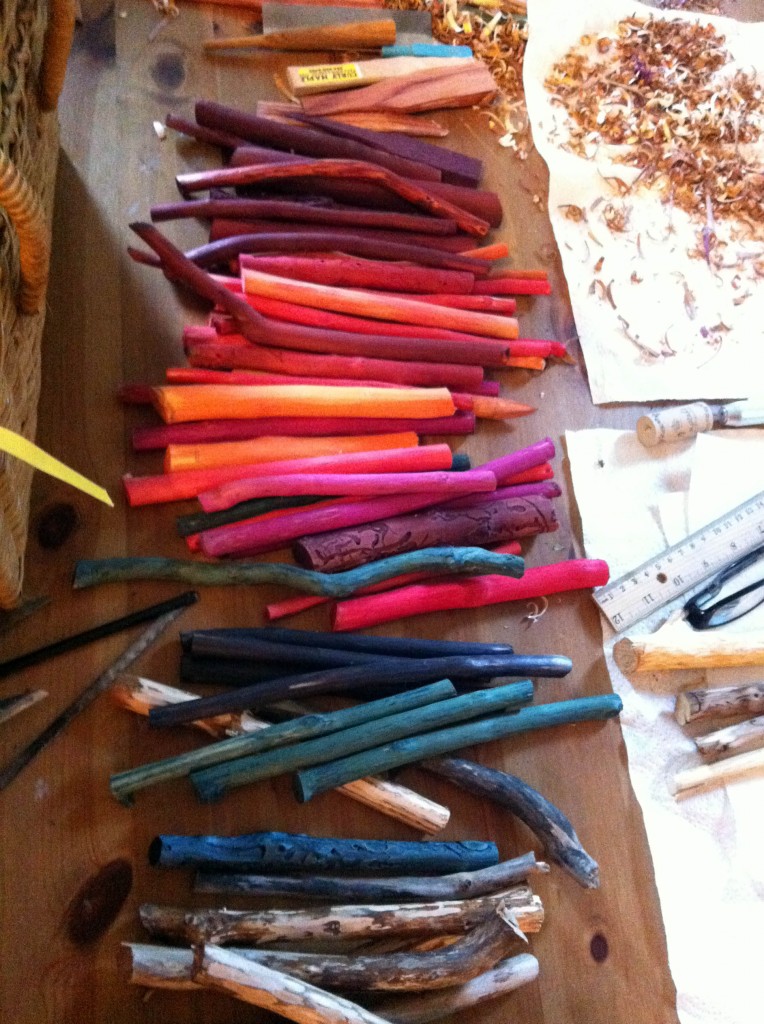
Monica has a line of dyed crochet hooks, and this is the stage where she dyes the wood into brilliant colors:
Carving
The next step is the rough-carving. “I’ll do some light sanding, then start roughing out the neck /shaft area, trim the bottom, always looking to see what the wood wants to do. Sometimes the hook-to-be wants to have more curves, sometimes it wants to have a thumb or finger holds, sometimes it just has a big attitude. Once in a while they tell me a name (I swear, I’m sane..really..) They’re all different.”
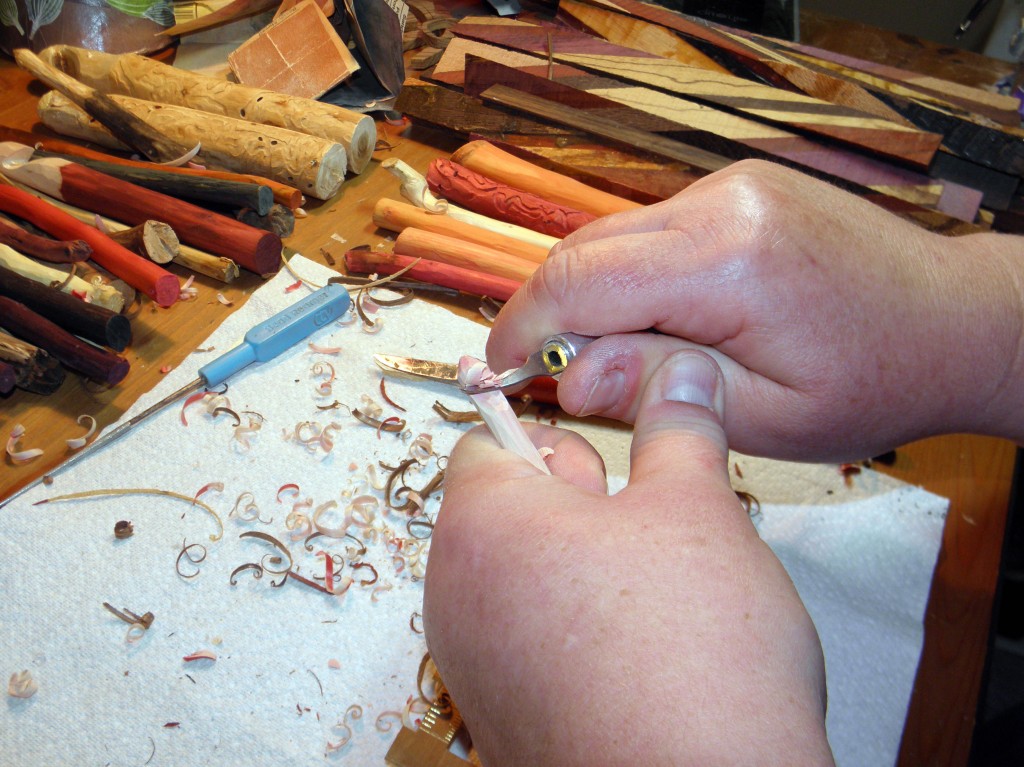
“Before I completely sand and fuss with the handle, it’s time to carve the actual hook part, because if the wood doesn’t want to be a hook, I don’t want to waste the time on the handle! It’s happened. Sometimes the wood ends up being too soft, or cracked, or some other fault that turns it into a shawl/hair stick instead, or even kindling. Ah, well.”
Sanding
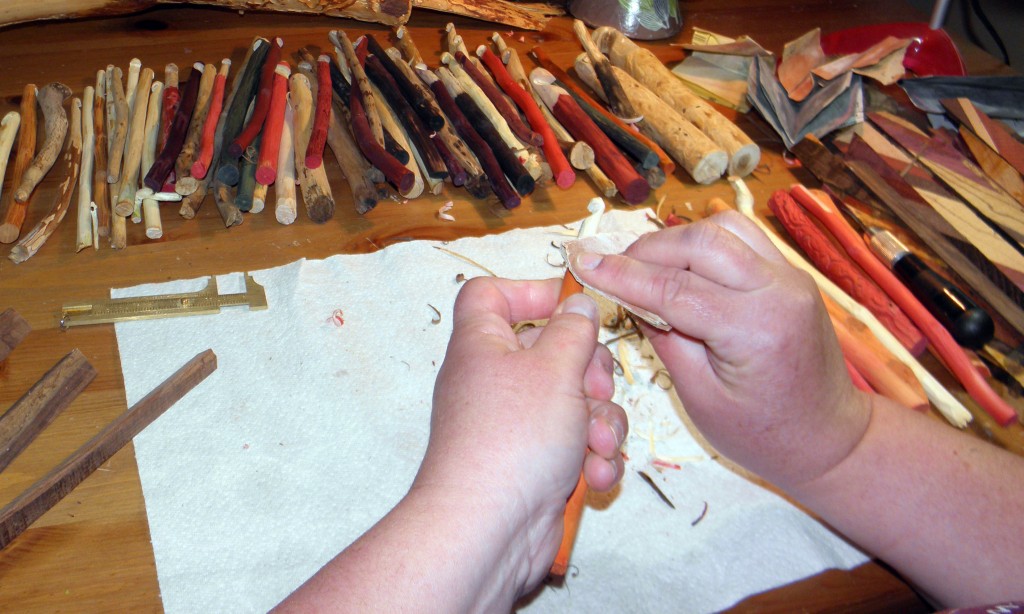
Then comes the part that made my hook oh-so-smooth: the sanding. Monica says, “If we get a good strong hook, then it’s time to use my small knife and give it some finesse. And lots of sanding. I use six different grades – from 150 to 1500! I find that using the really fine grade gives it a good polishing, and that’s very important especially on the working parts of the hook.
Finishing
Although a ton of work has already gone into the making of each hook, it’s not done, yet! “The last step is the wood preserver. I found one I really like which is vegetable based and smells great. It has soybean and coconut oils, carnuba and bees wax, tangerine and sandalwood oils. All natural – just like the hooks! I like it that way – I feel like it really brings the art of crochet back to nature, in a sense. And it truly makes each one a one-of-a-kind piece.”
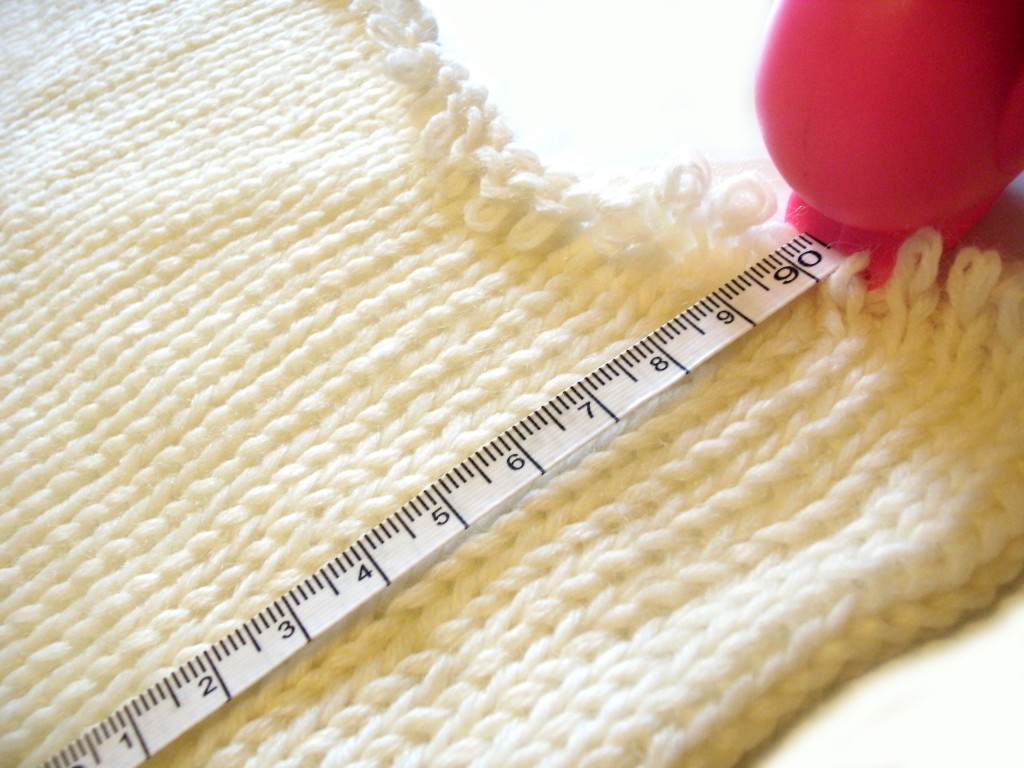
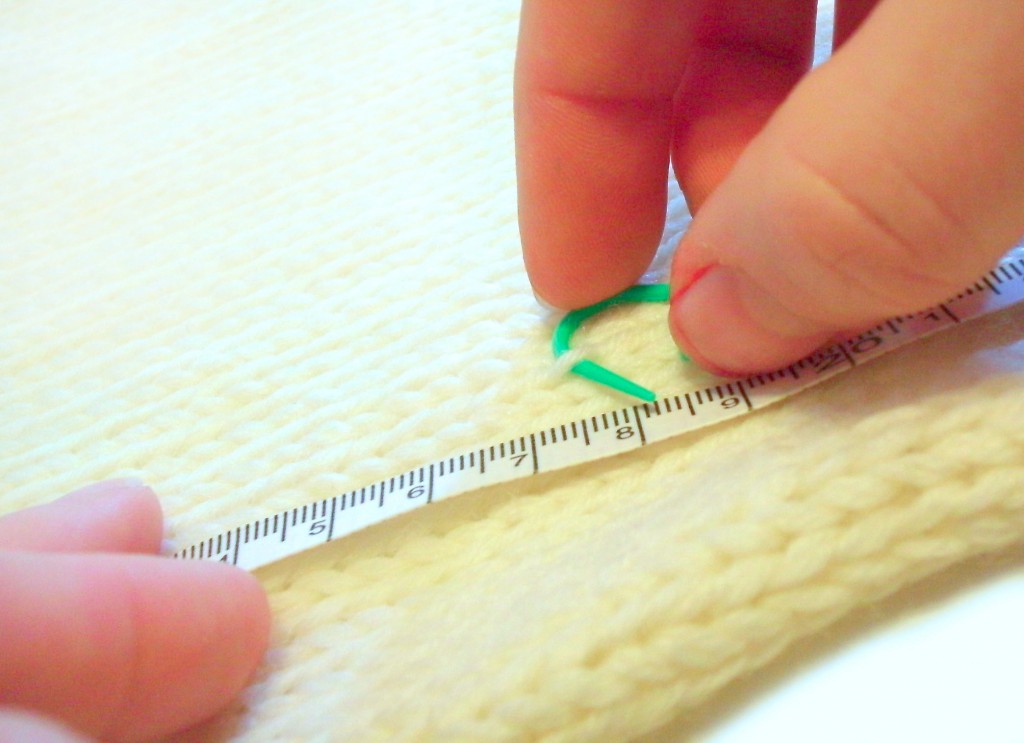
Of course, Monica measures each hook before it goes out, to make sure her unique, hand-carved creations are a standard hook size:
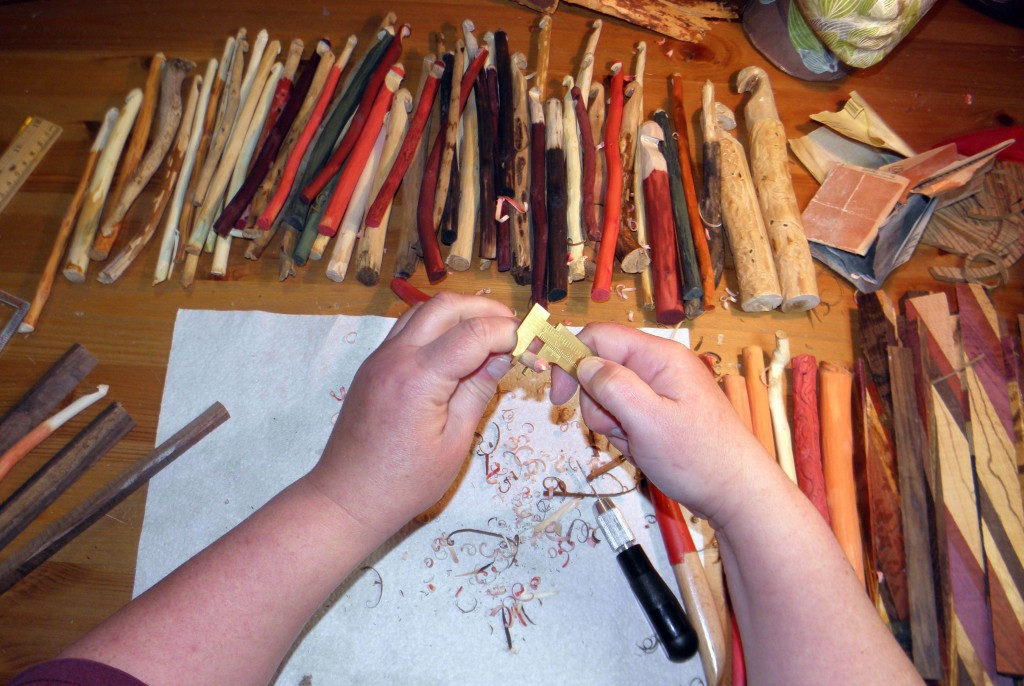
Isn’t it just fabulous when you find a piece of art that you can use every day?
Selecting a Hook
Since Monica hand-carves each piece, every hook is unique: taking on the natural shape and characteristics of the piece of wood. So, how do you find the hook that’s right for you?
Know Thyself
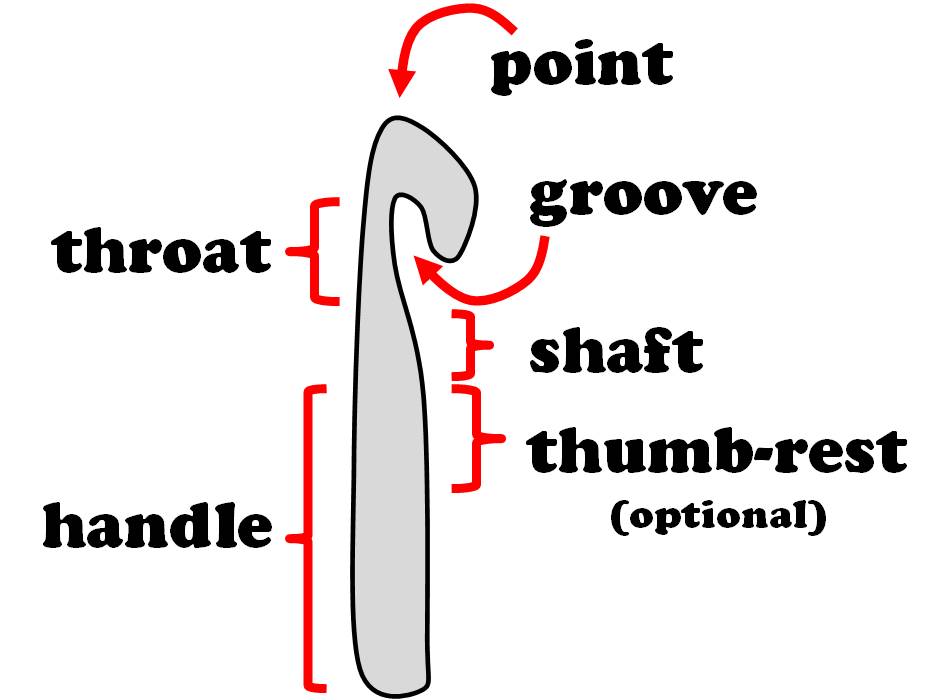
I recommend reading Crochet Hook Anatomy in Action to discover which features of a hook are important to you. Do you hold your hook like a pencil or a knife? Do you split your yarn often? Maybe a more rounded tip is for you. Do you want a thick handle, or one that’s thinner?
Get a little advice
Once you have an idea about your crocheting style, you can browse Craftwich to select your hook.
Monica can help you select the hook that’s right for you, and is happy to rounding the tip off of (an existing) hook to suit your taste. There’s no excuse for not getting the perfect hook!
A handmade hook is only a step away!
I just adore the passion that Monica brings to her craft. She says, “I think my most favorite part of the whole process is actually the bark stripping and initial carving right afterwards – that’s when I discover the beauty of the individual pieces; the colors of the rings, whether bugs carved paths into it or interesting discolorations – if I found a particularly old piece of wood, you can see the effects weather has had on it, and so forth. Quite a process of discovery.”
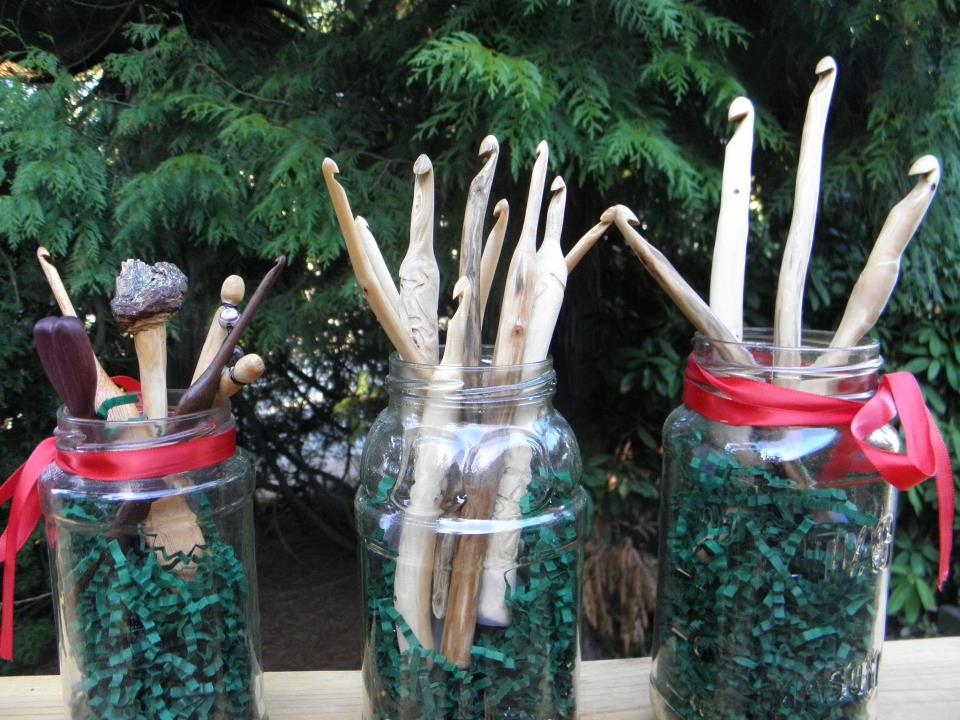
As a person who takes great care to make beautiful crochet pieces, I think it’s almost poetic to have a hook that was crafted with the same care!
Find Craftwich
A HUGE thank-you to Monica for coming by the blog and giving us a peek into her process… all of the lovely in-progress photos are hers!
And reward all of her hard work by stopping by her page and giving her a visit!


