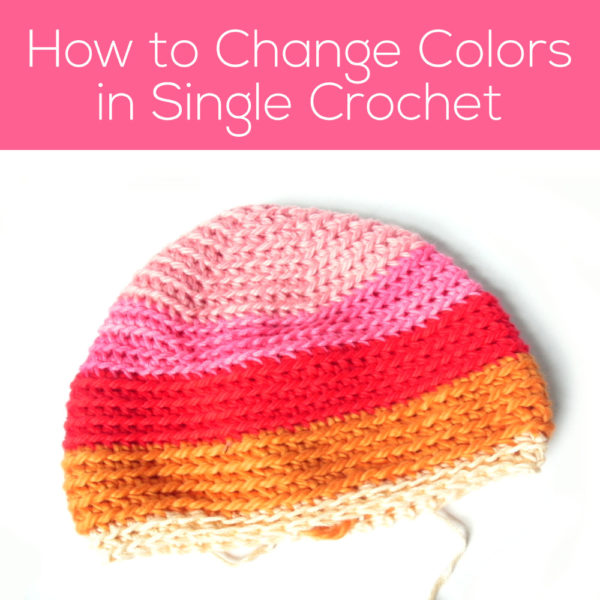
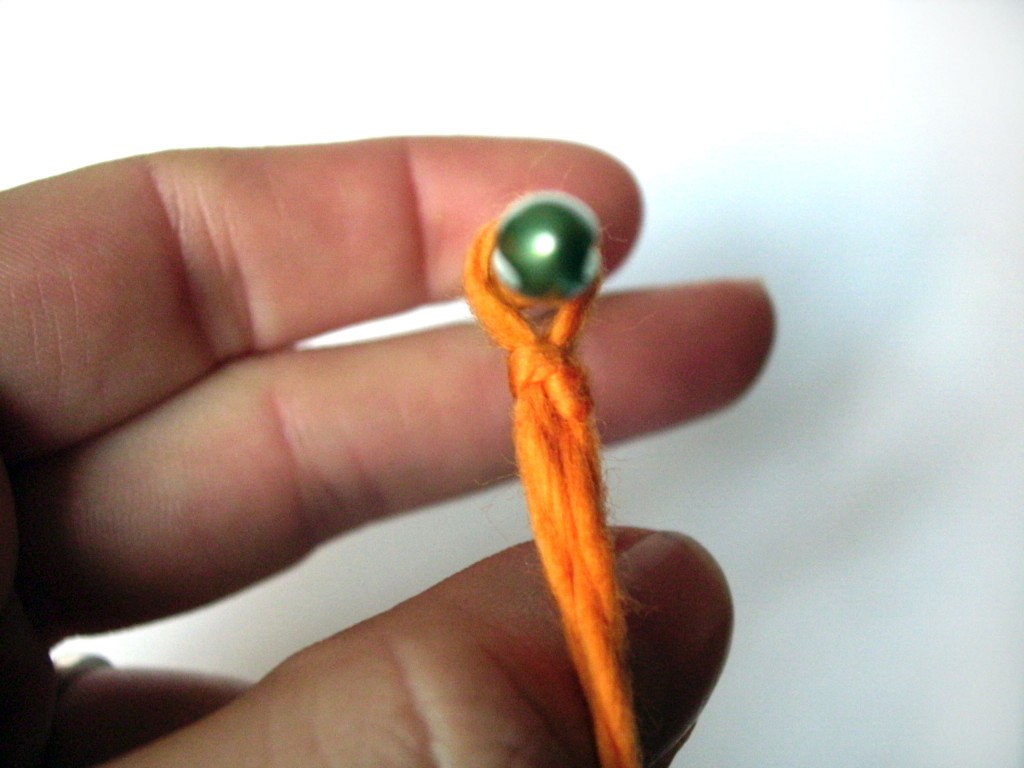
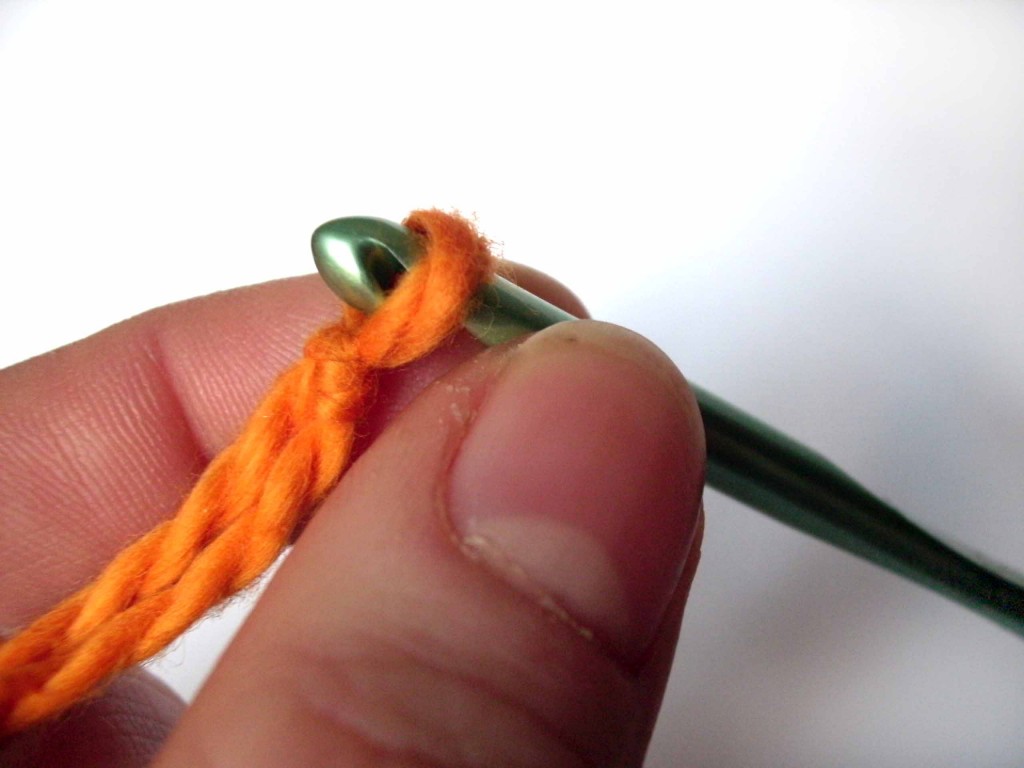
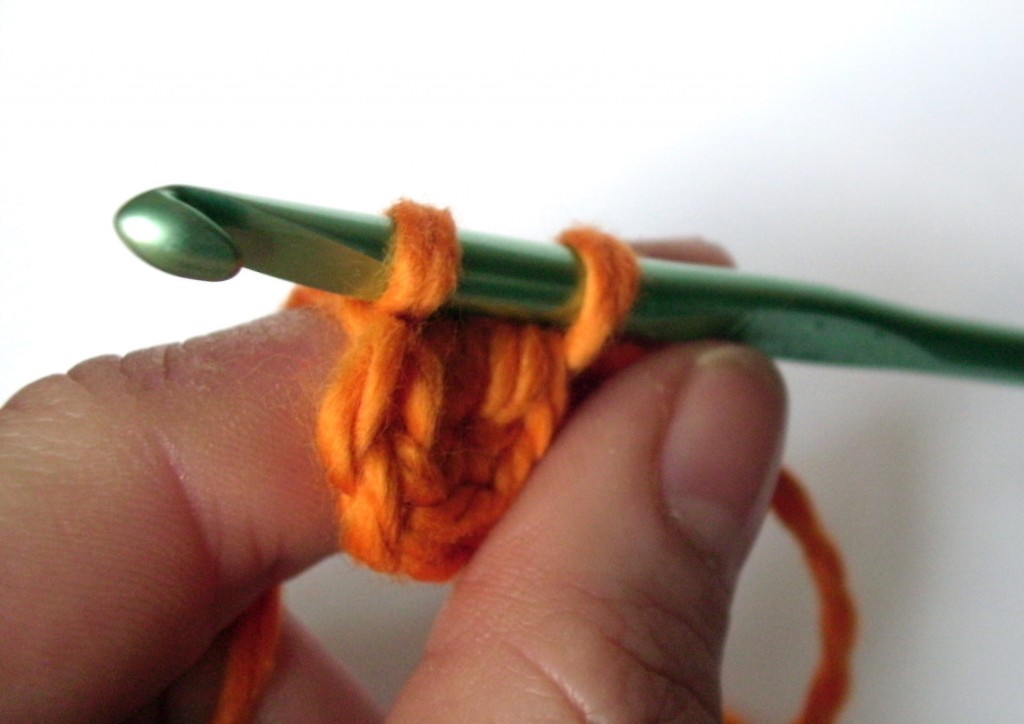
How to Change Colors in Single Crochet

How to Change Colors in Single Crochet - a video tutorial from Shiny Happy World

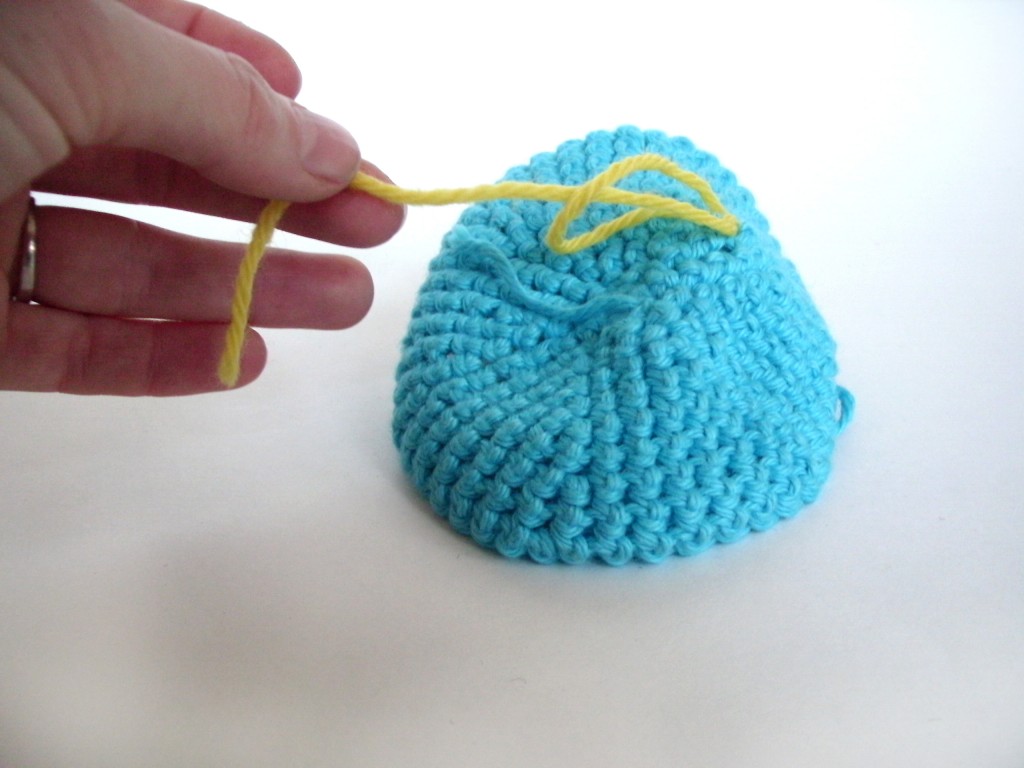
How’s your cow (for the FreshStitches CAL) coming along?

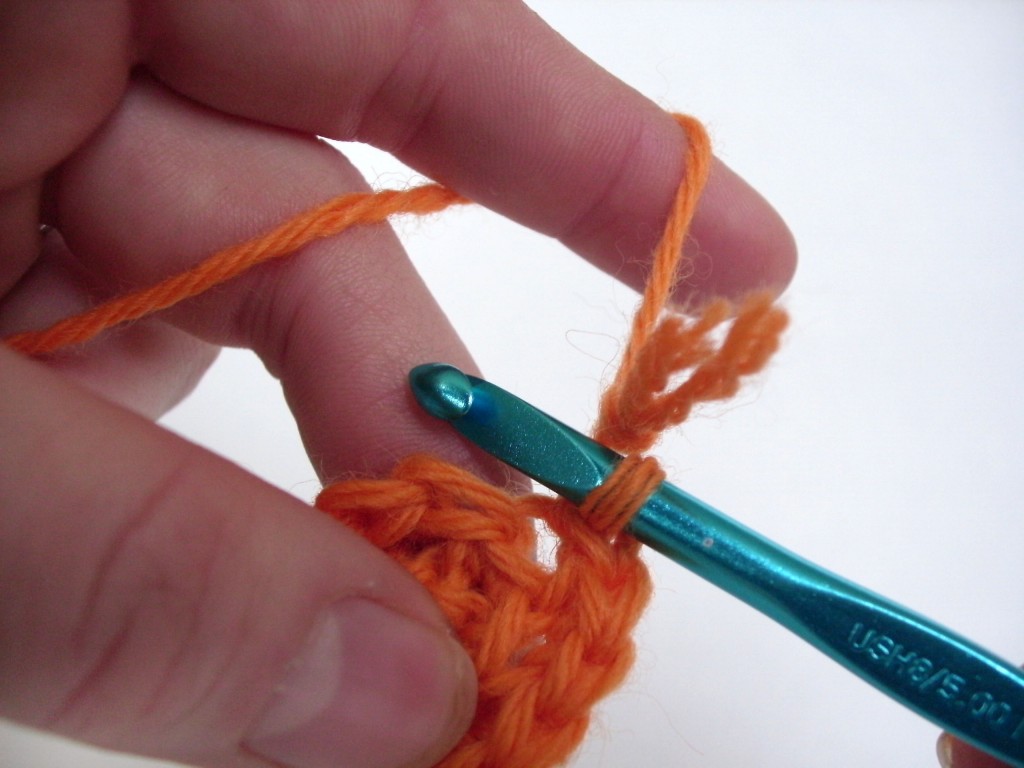
You already know that I’m making a rainbow cow… basically, changing to a new color every few rows to get rainbow-y stripes.

Do you want to know how to change colors?

Of course you do!

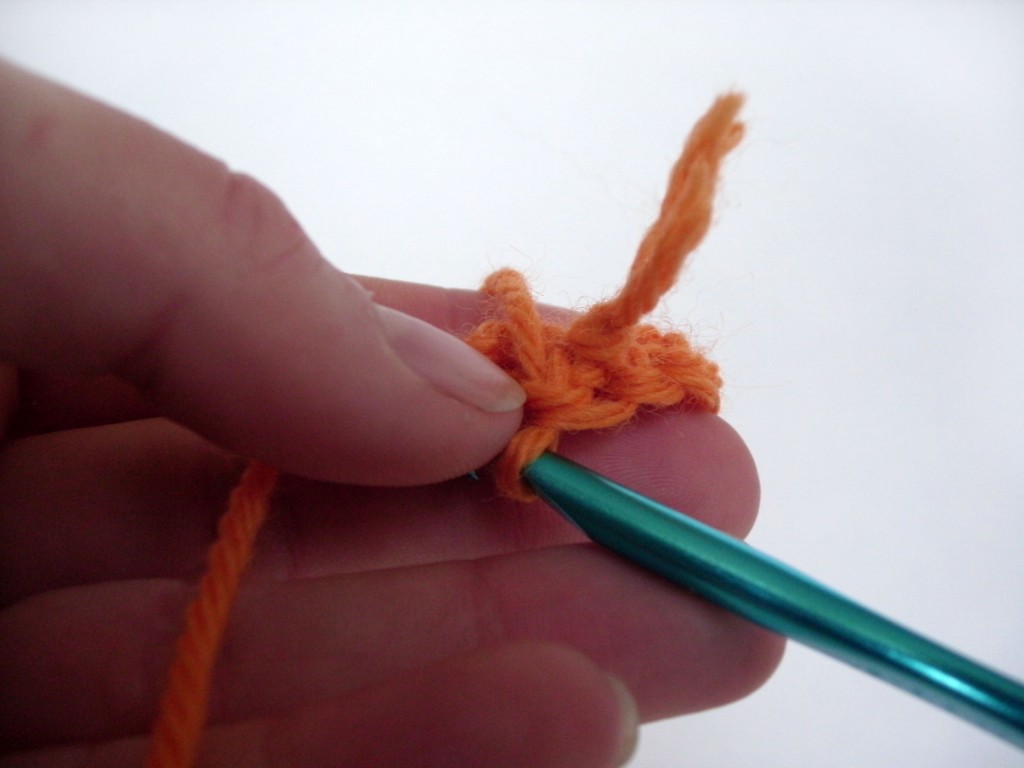
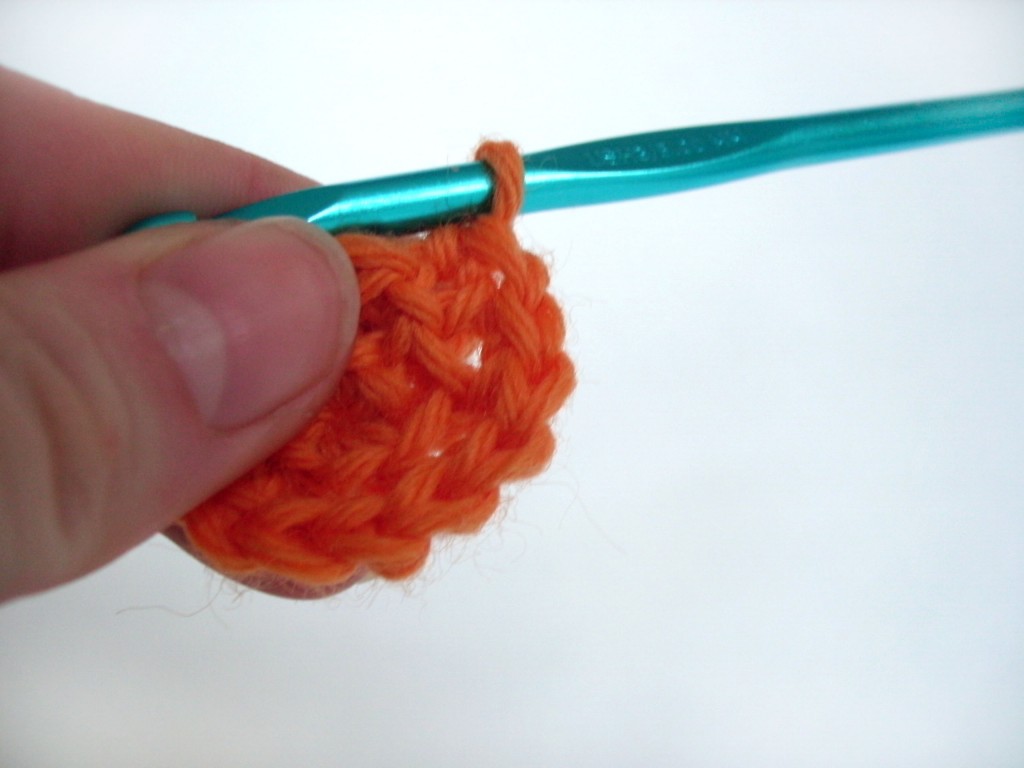
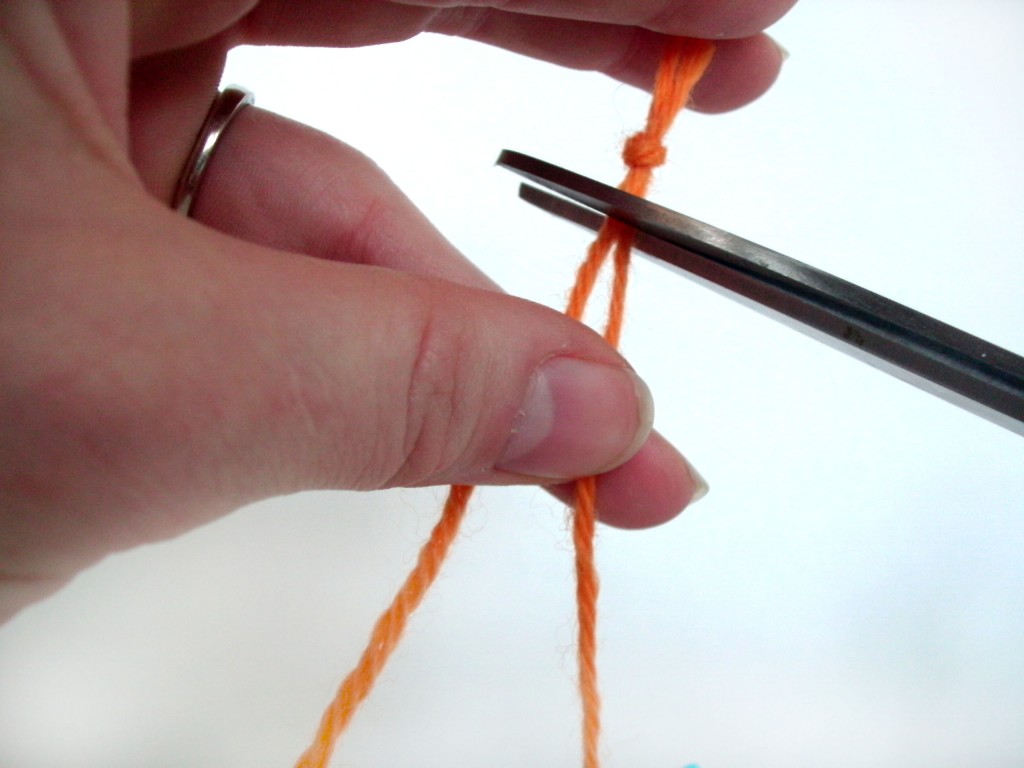
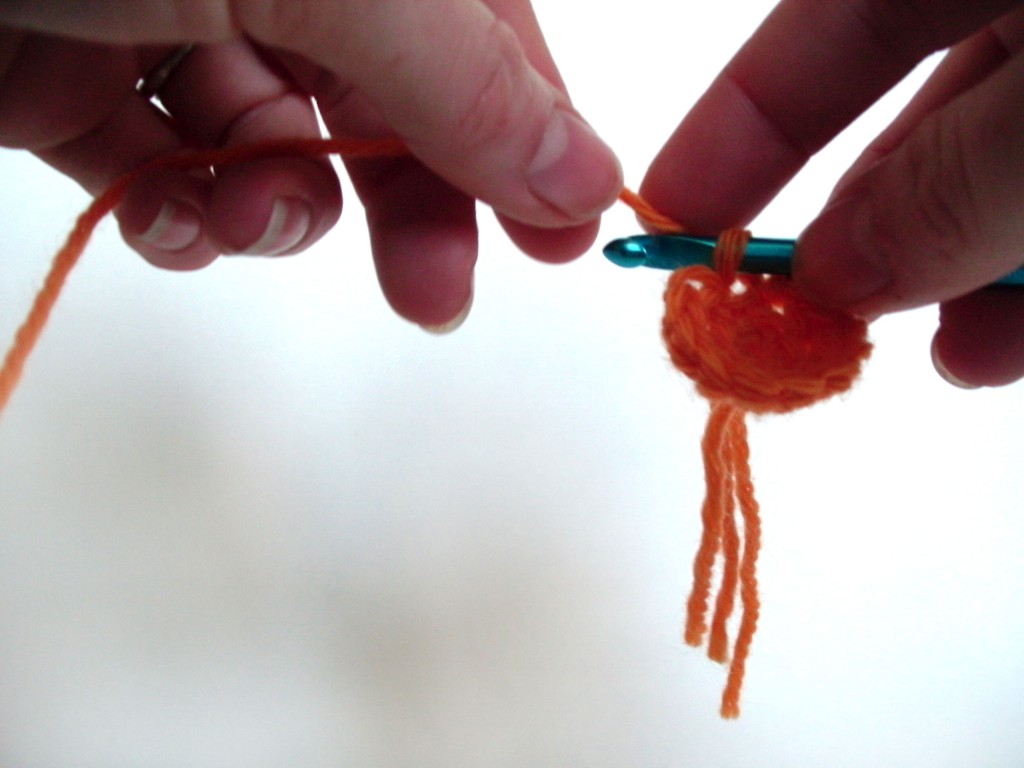
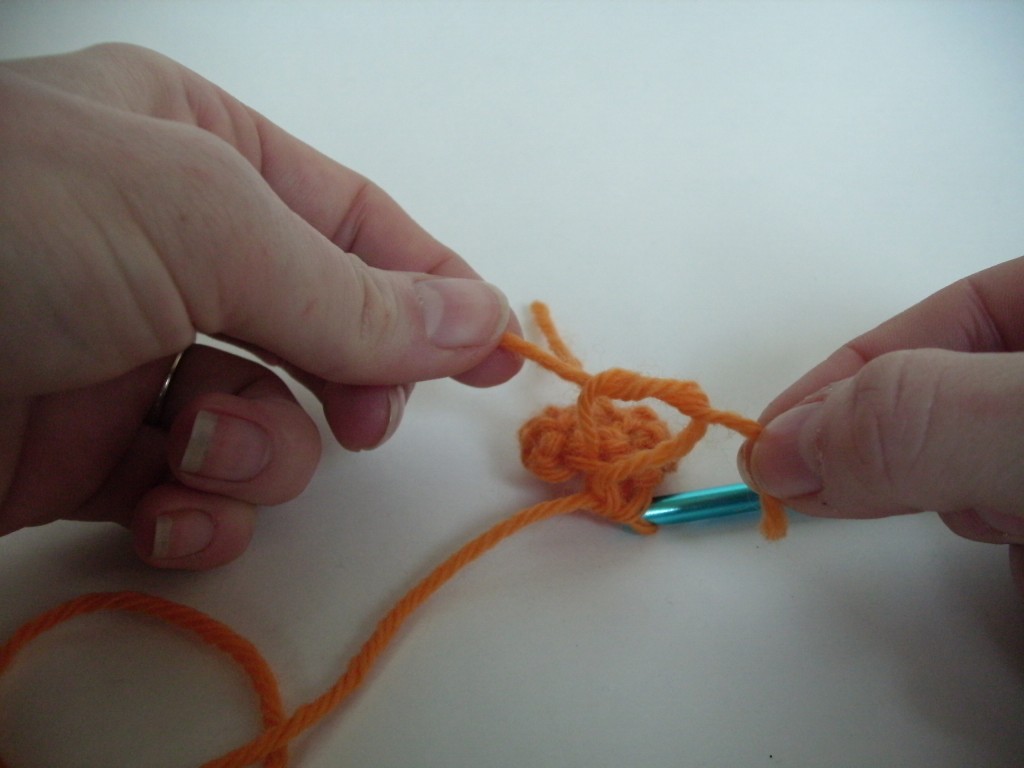
So, I made this little video of me doing the first color change: (click on the square icon in the lower right corner of the video to view it in full screen)


Not so hard, is it?

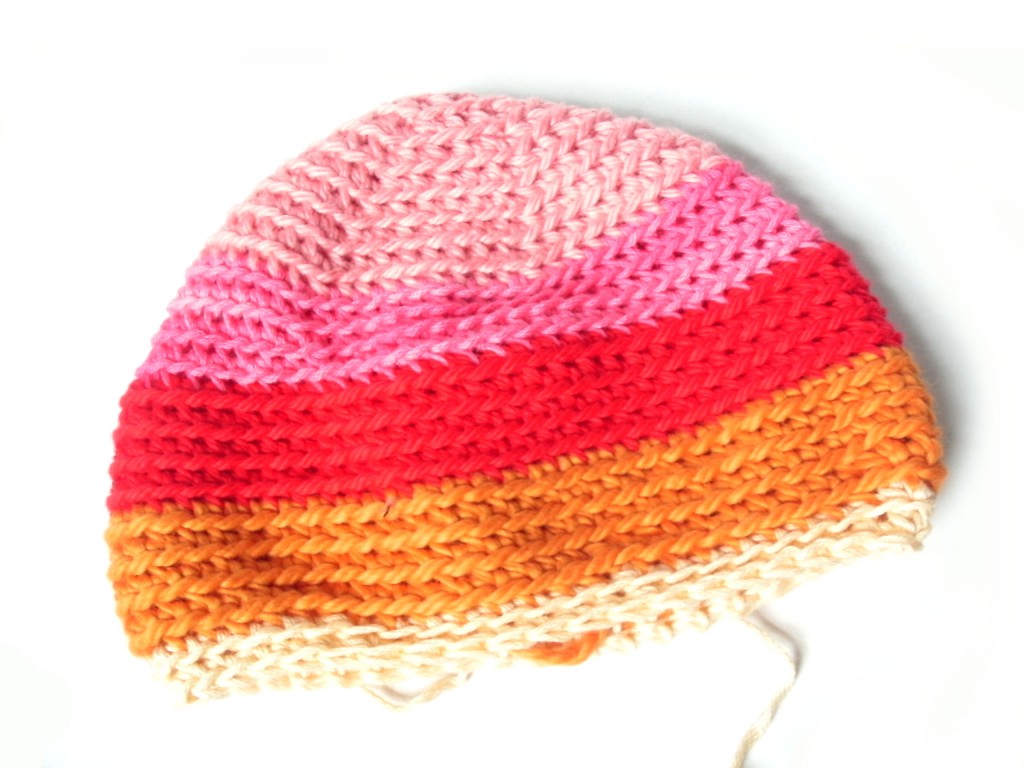
And if you keep changing colors every few rounds, you’ll end up with a super-fun, stripey head!

Want to get a little fancier? There’s a way to change colors and minimize the look of the little “step” that results. Watch that video here.

Here are handy links to all the posts about changing yarn color in crochet. . .

Return to the main table of contents for Let’s Learn to Crochet Amigurumi.

Move on to the lessons about crocheting stuffed animals in different sizes.

Happy stitching!

How to Calculate Yarn Length from Weight

How to Calculate Yarn Length from Weight - tips from FreshStitches and Shiny Happy World

We’ve all been there. We’ve got a big pile of yarn (inherited from a family member, the result of frogging a project, or maybe even a thrift store find)… and we have no idea how much yardage there is!

Since most patterns specify the number of yards you’ll need, determining the yardage of your yarn is crucial. Fortunately, it’s not too tricky! In this post, I’ll show you how to use a scale to calculate the yardage of your yarn.

Materials required

To calculate the yardage of your yarn, you’ll need:

  • the yarn (duh!)
  • a digital scale
  • a box or bowl (to hold the yarn on the scale if you’ve got a lot of little bits of yarn)

Step-by-step: How to determine yardage

Got your materials together? Okay, let’s get started!

Find out the yarn’s yardage per weight information

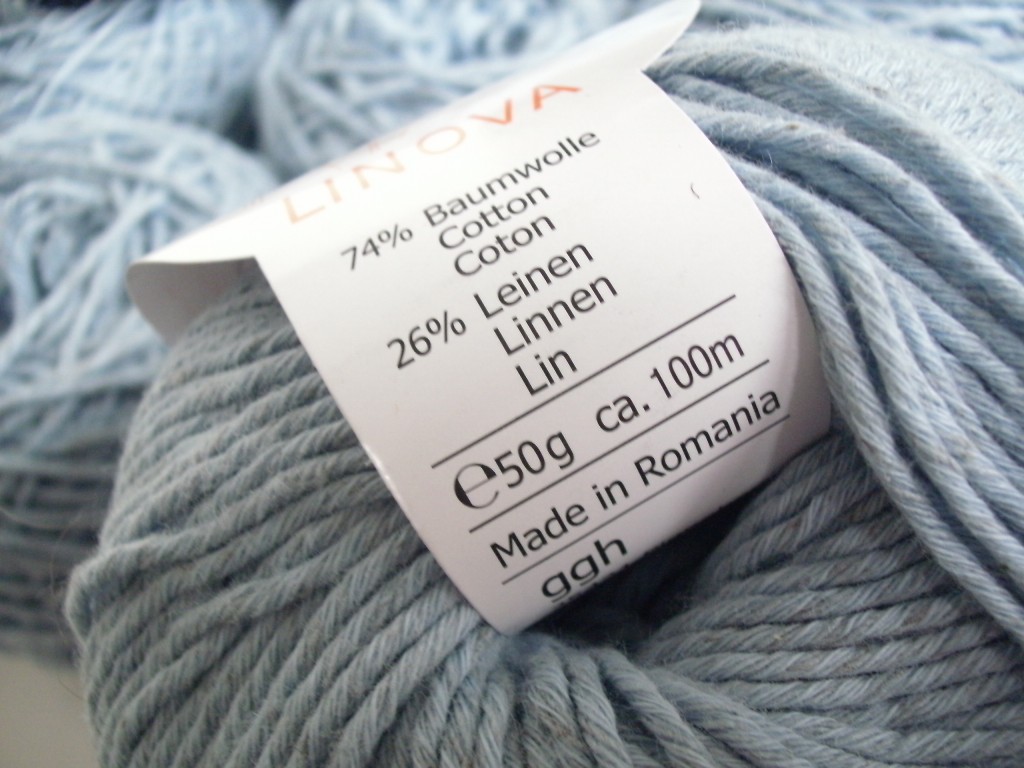
I lucked out a little bit: I had a big bundle of yarn that came along with a label. The label tells you how much length/weight a particular ball of yarn is:

If you aren’t lucky enough to have a label, you have some options, that’s not a problem! Just cut off a small length (maybe a yard or a meter) and weigh it. Boring, but easier than measuring the entire amount of yarn!

Calculate length per unit of weight

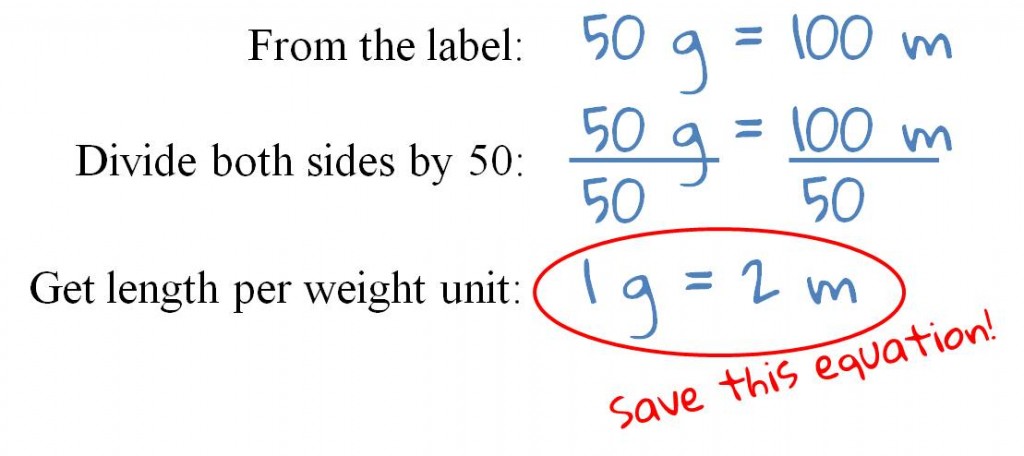
Now I know that my yarn has 100 meters in 50 grams. I want to calculate how much length there is to each gram.

So, each gram of yarn is 2 meters long. We’ll keep this in mind!

For your formula, of course, you’ll be plugging in the length and weight from your yarn label or the small sample you cut and weighed. 🙂

Weigh your yarn

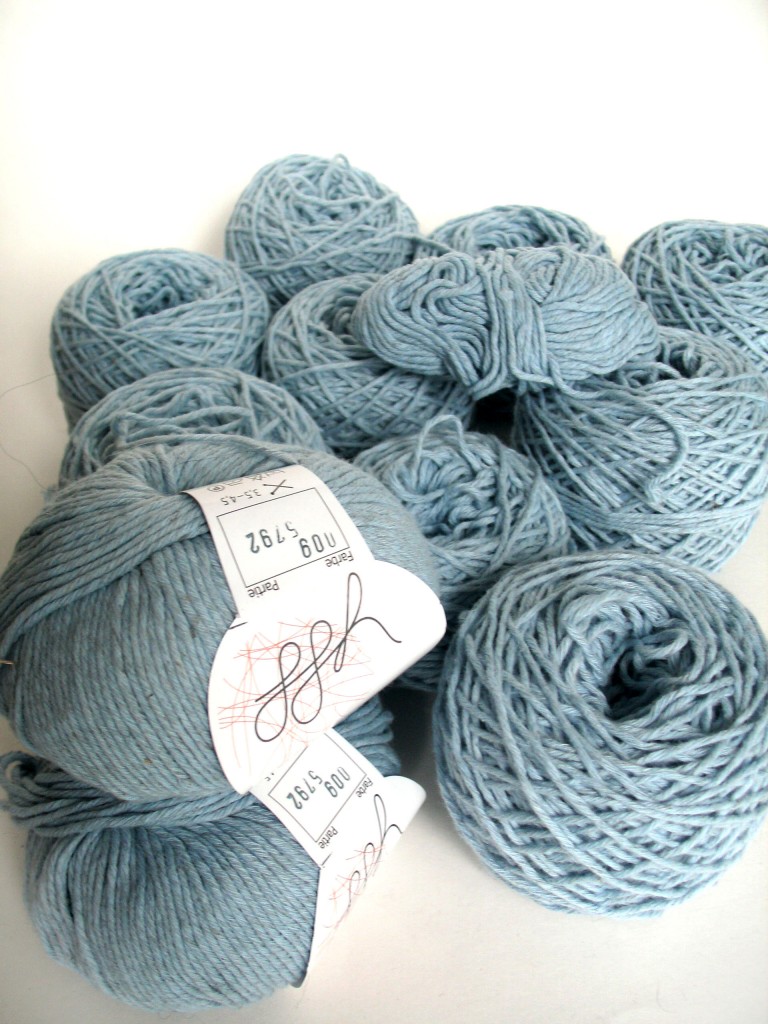
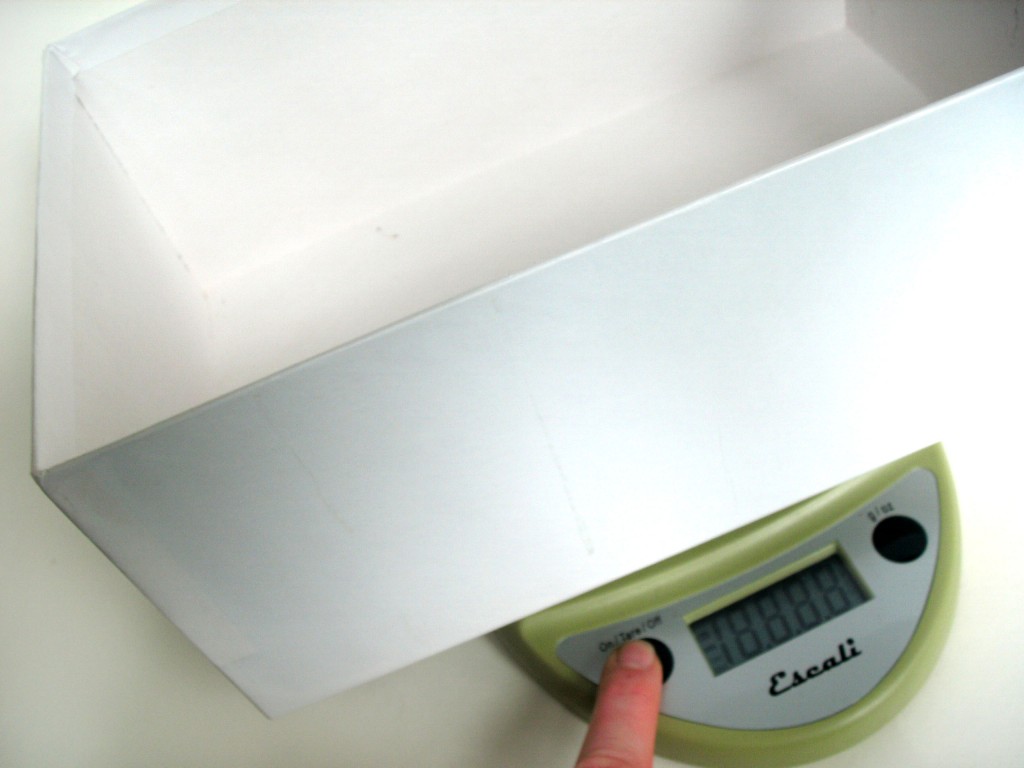
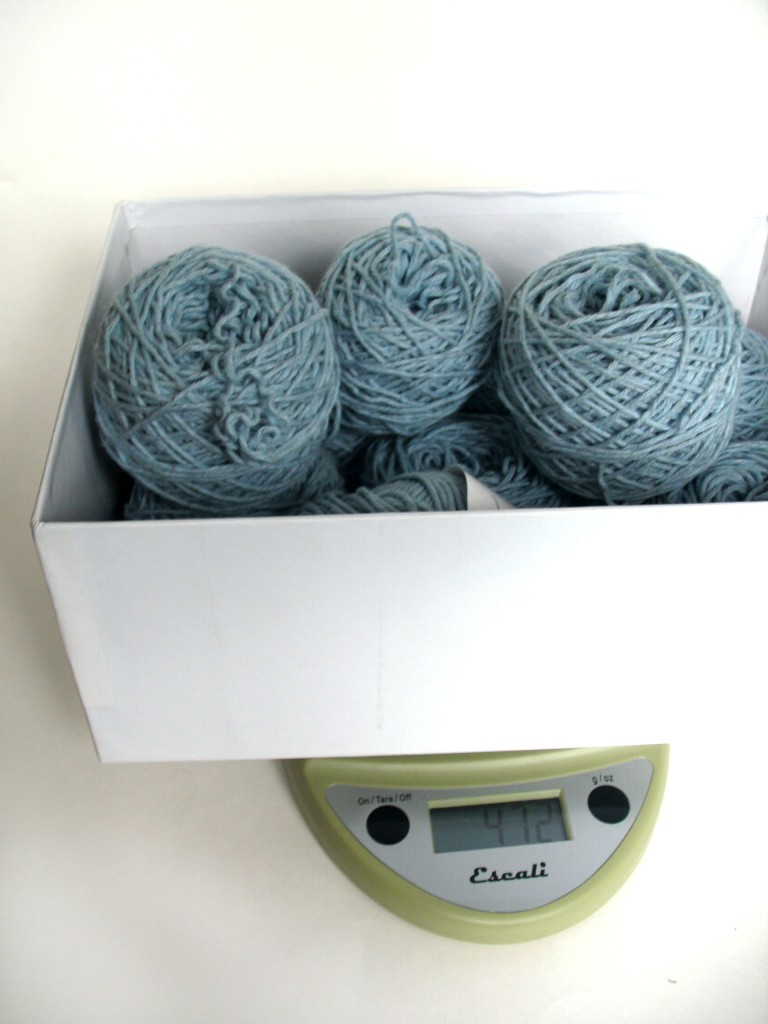
Since I have a lot of little balls of yarn (the result of frogging a sweater), I’m using a box to keep them all together on the scale. Put the box on the scale, and zero the scale:

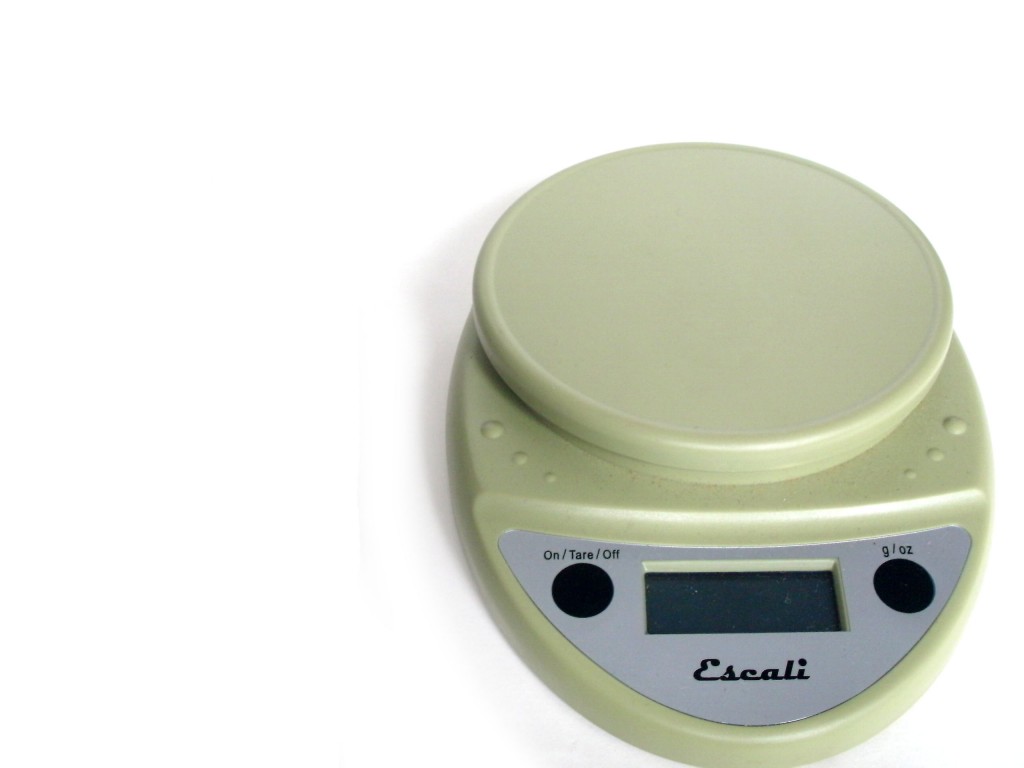
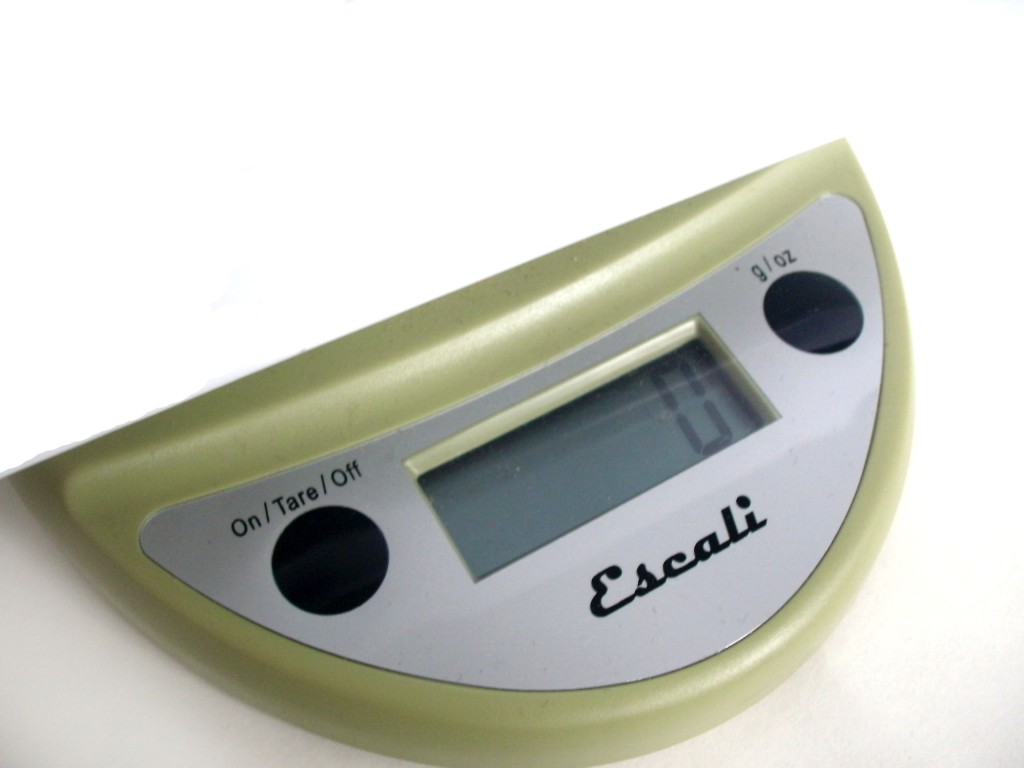
It’s important to put the box on the scale before you zero the scale, so that the box won’t be included in the weight. Zeroing the scale just means that you’re telling the scale to start at zero… and it’s easy to do. On my scale, I just hold down the ‘tare’ button. See how it’s now reading ‘0’?

Since my yarn label listed the length/weight in metric, I’m going to weigh my yarn in grams.

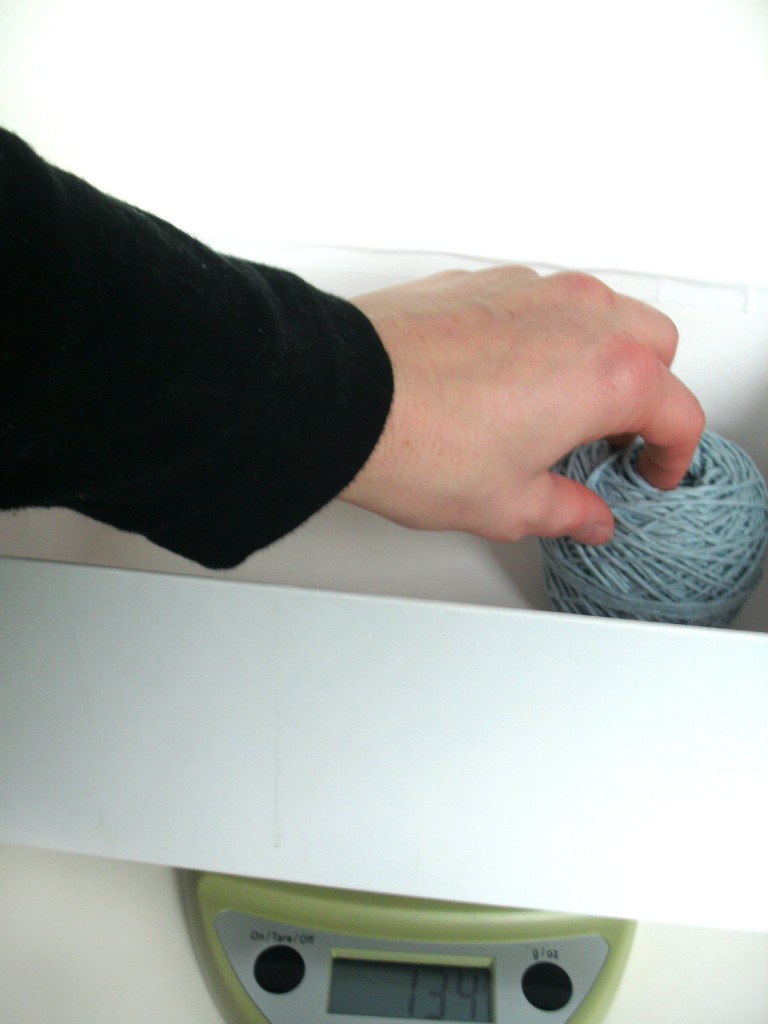
Put the yarn that you want to weigh in the box:

And weigh it!

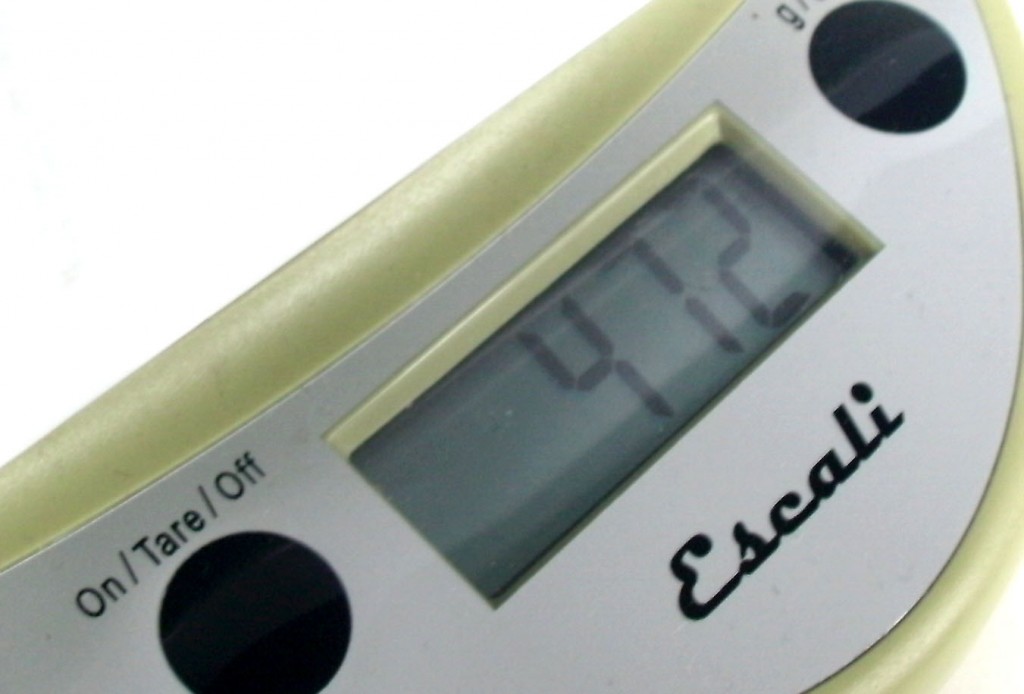
And it weighs…

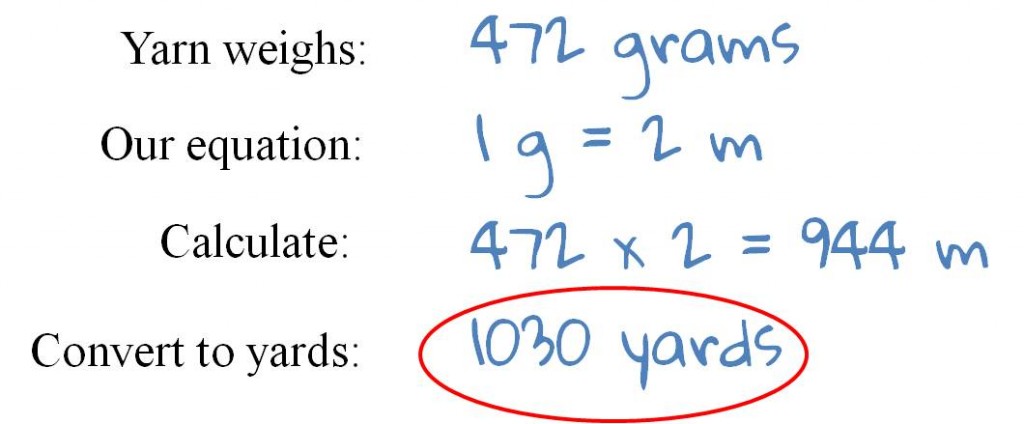
472 grams. Good to know!

Calculate the yardage

Now all we need to do is calculate our yardage! We know (from before) that each gram is 2 meters long, so we multiply 472 (how many grams we have) by 2 to get our total meters.

To do the final conversion from meters to yards… you don’t even need to do any calculations! Just type ‘convert 944 meters to yards’ into Google, and it’ll give you the answer!

What will you make now?

Now that you can determine the length of some of your mystery yarn, what are you going to do with it? I turned mine into a Kyuu cardigan.

Here are handy links to all the posts about yarn. . .

Return to the main table of contents for Let’s Learn to Crochet Amigurumi.

Move on to the lessons for the basic crochet stitches.

Happy stitching!

How to give your amigurumi a great-looking neck!

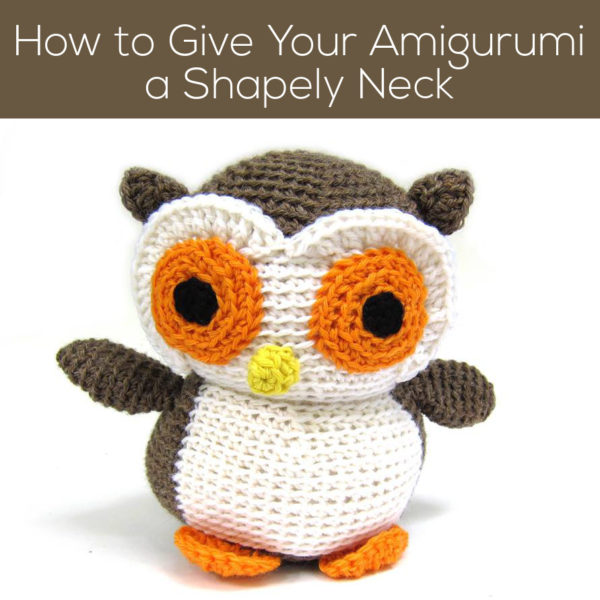
How to Give Your Amigurumi a Shapely Neck - tutorial from Shiny Happy World and FreshStitches

What’s the feature that every amigurumi covets?

Is it long shapely legs? A bikini-ready body? Of course not! It’s a nicely defined neck!

Fortunately, creating a shapely neck is easy!

How to create a shapely neck

Sometimes, amigurumi come down with ‘Thick Neck Syndrome’… it’s not their fault, and it’s up to you (their maker) to help them out a little bit.

The secret to creating a defined neck is to tug the yarn tight every few stitches when you’re attaching the head to the body.

Step 1: Begin attaching with the whipstitch

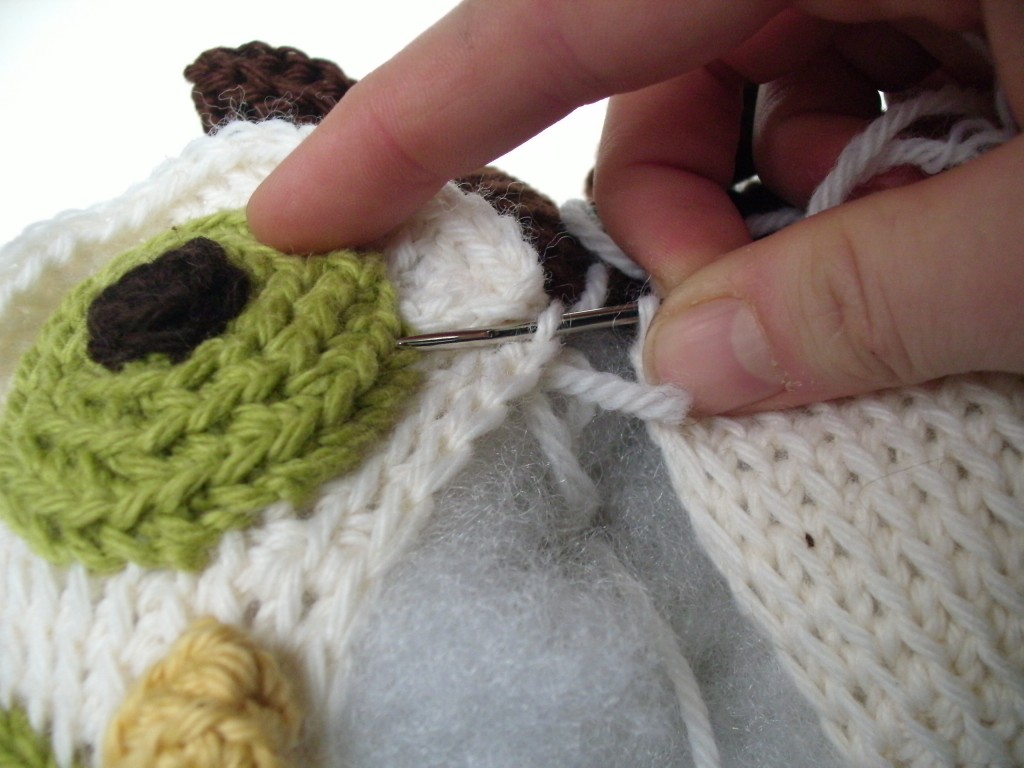
To attach the head to the body, you’ll use a whipstitch (as instructed in the pattern): using a tapestry needle to stitch through one stitch on the head and the corresponding stitch on the body:

Whipstitch the head and body together for about 3-4 stitches.

Step 2: Tug!

Now that you’ve done a few stitches… tug! That’s right, just pull on the yarn and the neck will cinch up a little bit.

Step 3: Repeat steps 1-2

Continue stitching and tugging as you work your way around the neck:

See how I’m tugging? And see how the neck is becoming defined?

Why so much tugging?

You may be asking yourself… why is it important to tug every few stitches? Can’t you just wait until the end?

It’s risky.

If you wait to do a HUGE tug at the end, one of two things can happen:

  1. The yarn will break (trust me… this is really sad! It means you’ll have to start all over with attaching the head)
  2. The neck will be very gathered close to the end, but not very shapely towards the start- since the tugging won’t evenly distribute

Doesn’t your amigurumi deserve the best?

Don’t you want him to have the most shapely neck possible? Then treat him well… follow this trick and he’ll be the envy of all of his friends!

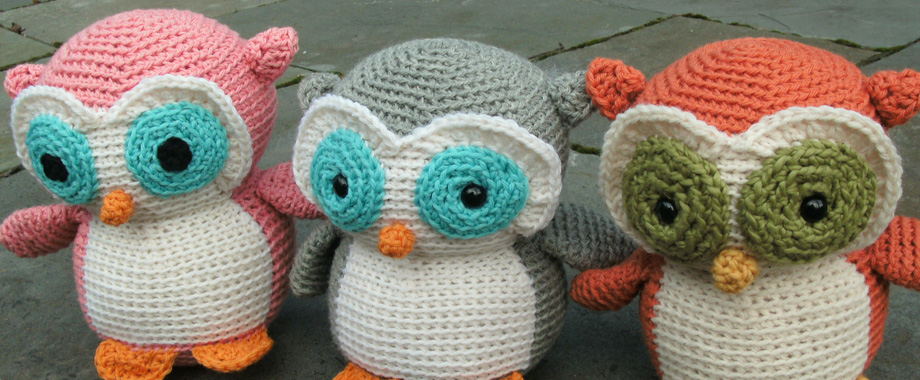
Look at all those adorable owls!

Here are handy links to all the posts about attaching parts. . .

Return to the main table of contents for Let’s Learn to Crochet Amigurumi.

Move on to the lessons about faces and details.

Happy stitching!

Using the Running Stitch for Attaching Amigurumi

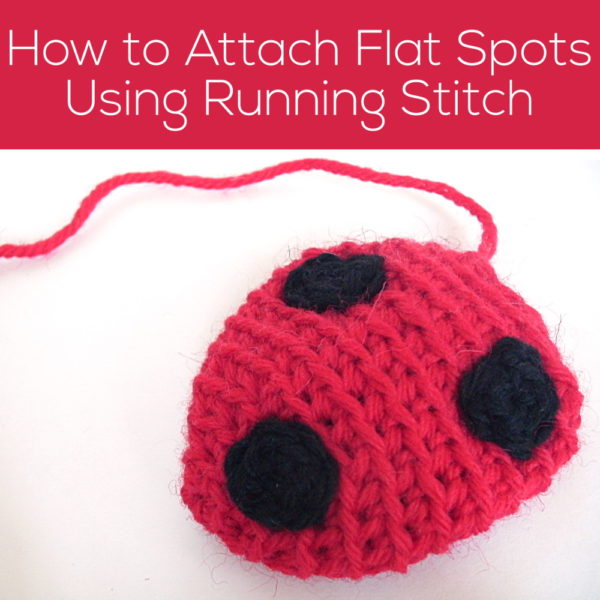
How to Attach Flat Spots to Amigurumi Using Running Stitch - a tutorial from FreshStitches and Shiny Happy World


Hooray! It’s another Tip Tuesday! Today, I’m going to show you a new stitch to use for attaching amigurumi pieces that’ll be super-useful… the running stitch!

The running stitch is what you probably used on those lacing cards you had as a kid… so it’s not complicated to do. When you run your needle up, then down, then up again… you’re doing the running stitch.

Ordinarily, I recommend that you use a whipstitch when attaching amigurumi pieces (as shown in this video). It’s quick, secure and allows you to take advantage of those handy loops on your crochet work.

So why use the Running Stitch?

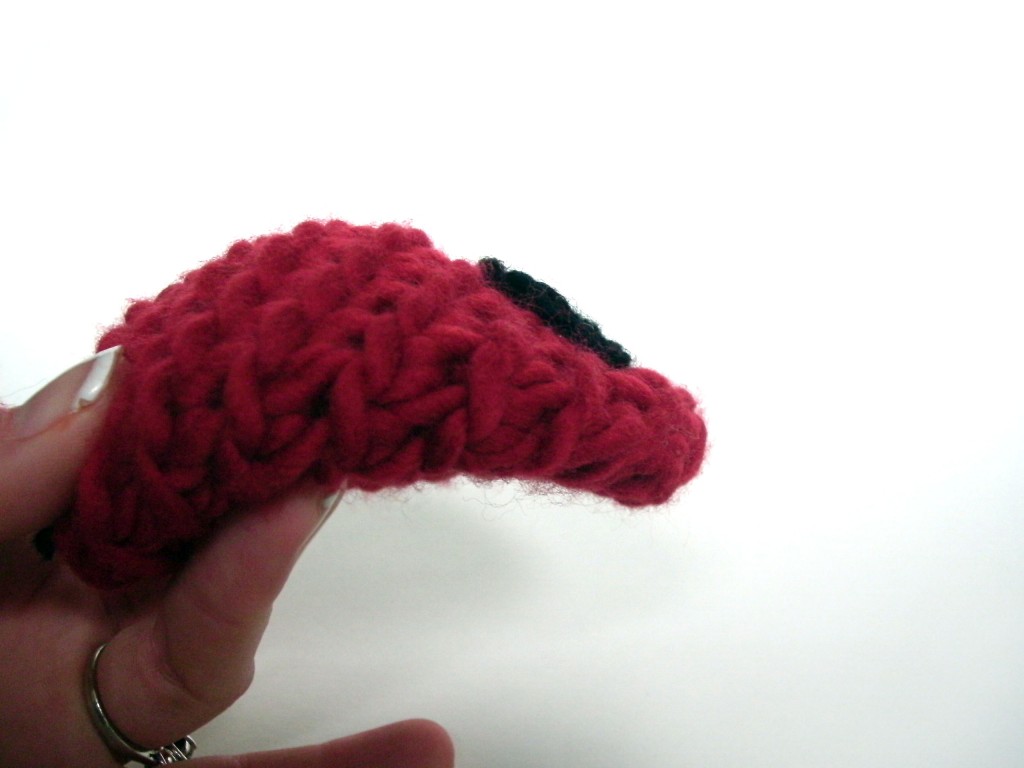
The running stitch is fabulous for times when you want a piece to lay flat. Since the running stitch runs all the way through the base fabric, you can attach crochet pieces that will lie very smoothly.

Today, I’m going to show you how to do it, using a spot on a ladybug as an example. If I had used a whipstitch, the spot would stand out and be puffy… not the look you want!

How to do the Running Stitch

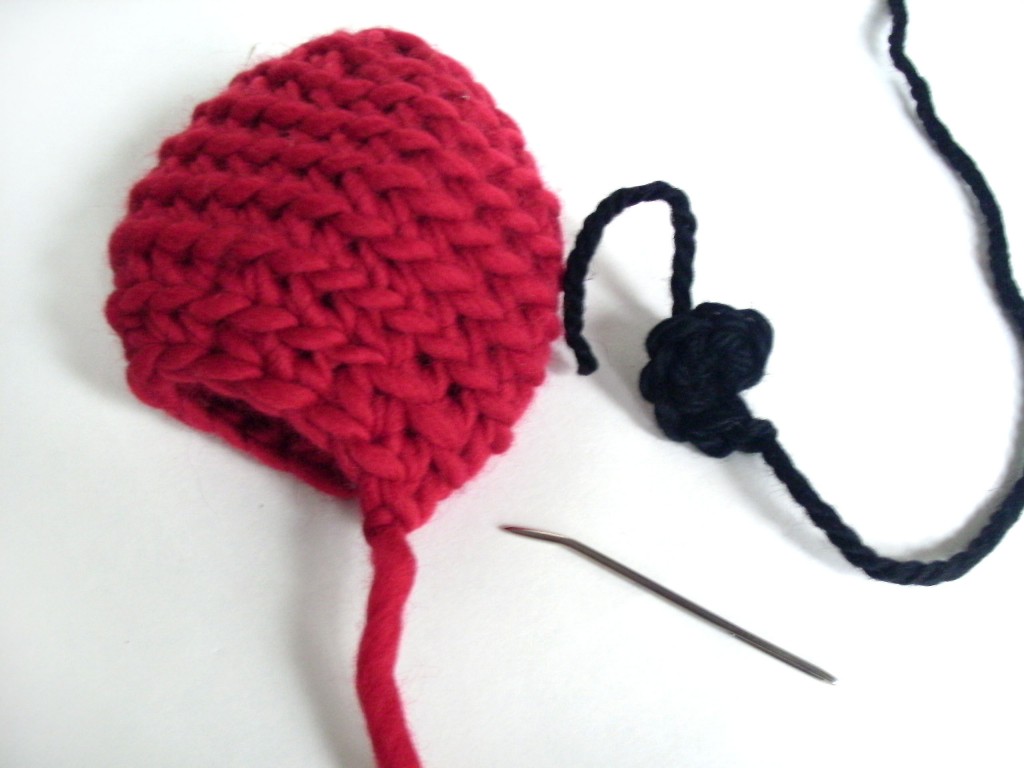
First, gather your supplies. Here, I have a ladybug wing, the spot (that I’m going to attach to the wing) and a tapestry needle (I’m using a bent tip needle here, although that’s less important for the running stitch).

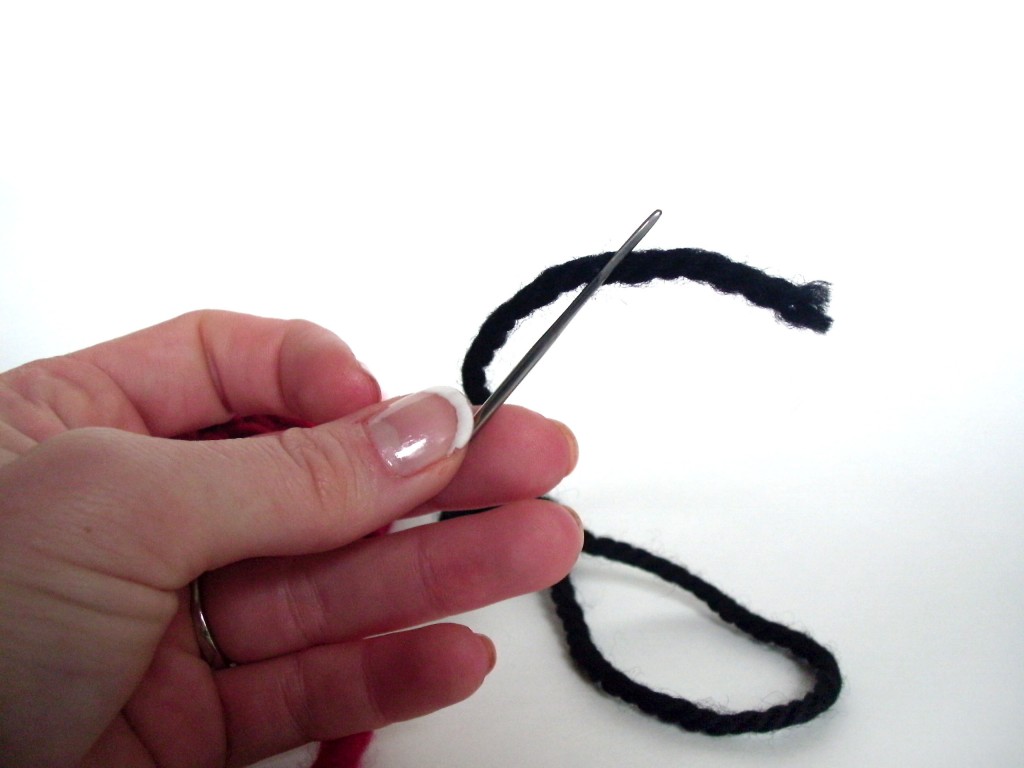
Now, thread the tail of the spot onto your needle:

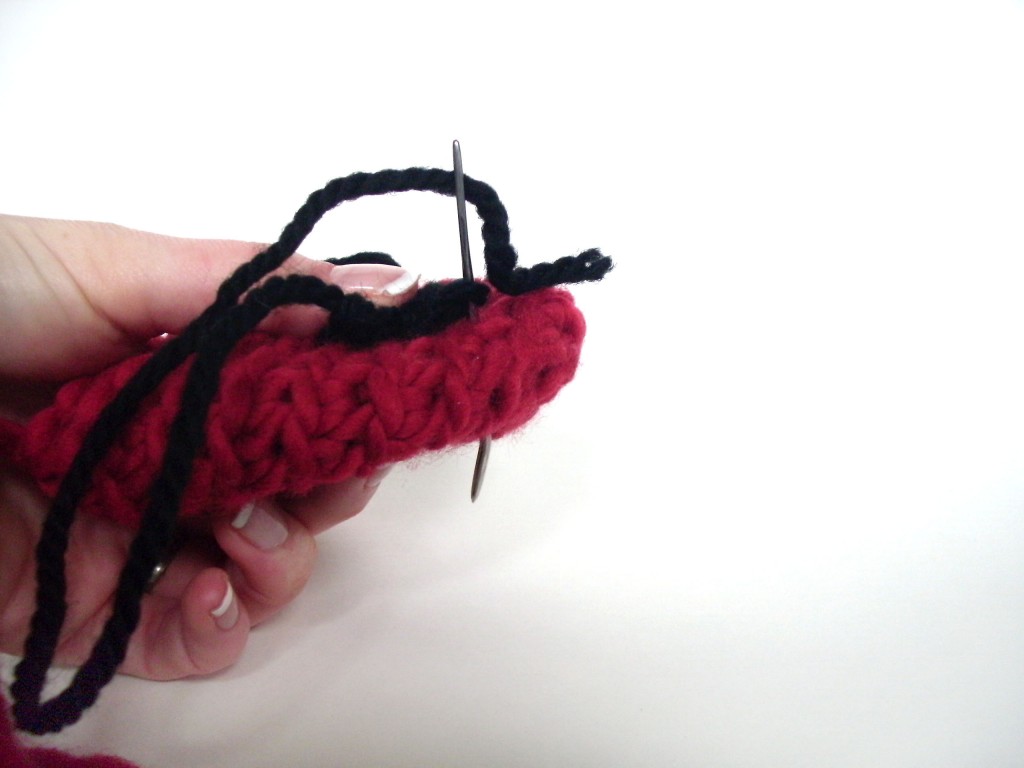
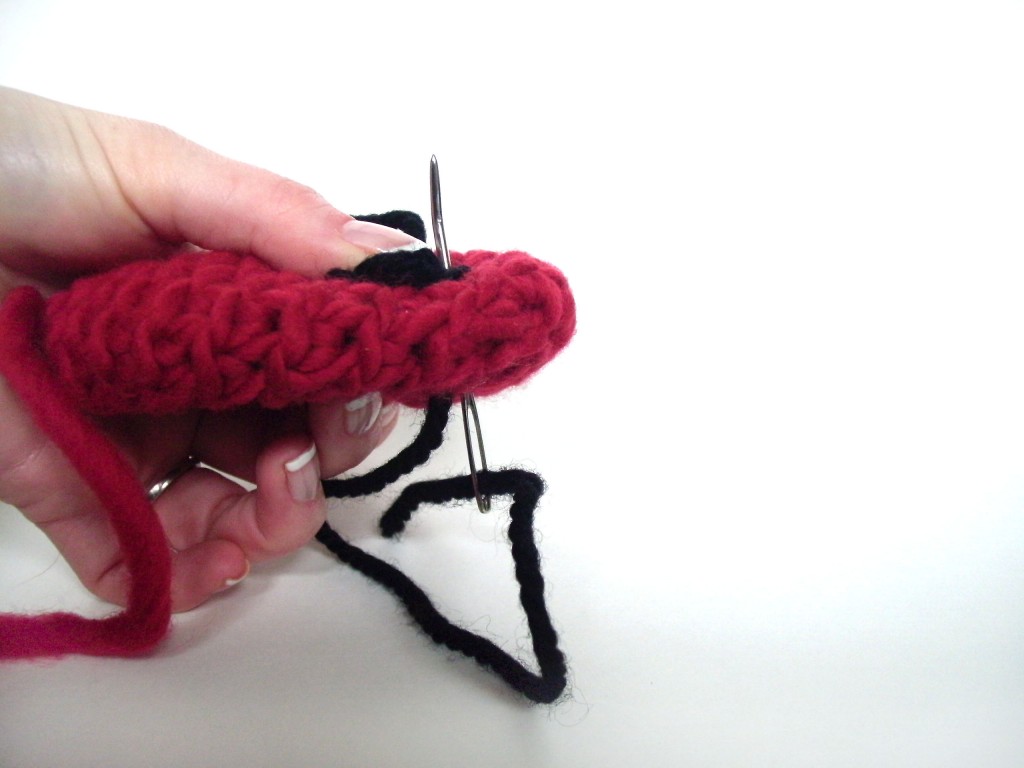
Let’s start the running stitch! It’s easy! Stick your needle through a stitch on the edge of the spot, and all the way through the fabric of the wing:

Pull your yarn tight. To complete the second part of the running stitch, stick your needle (spaced slightly away from where it came through) back through the wing and up through the spot:

Yay! That’s it! Keep repeating the last two steps until your piece is attached!

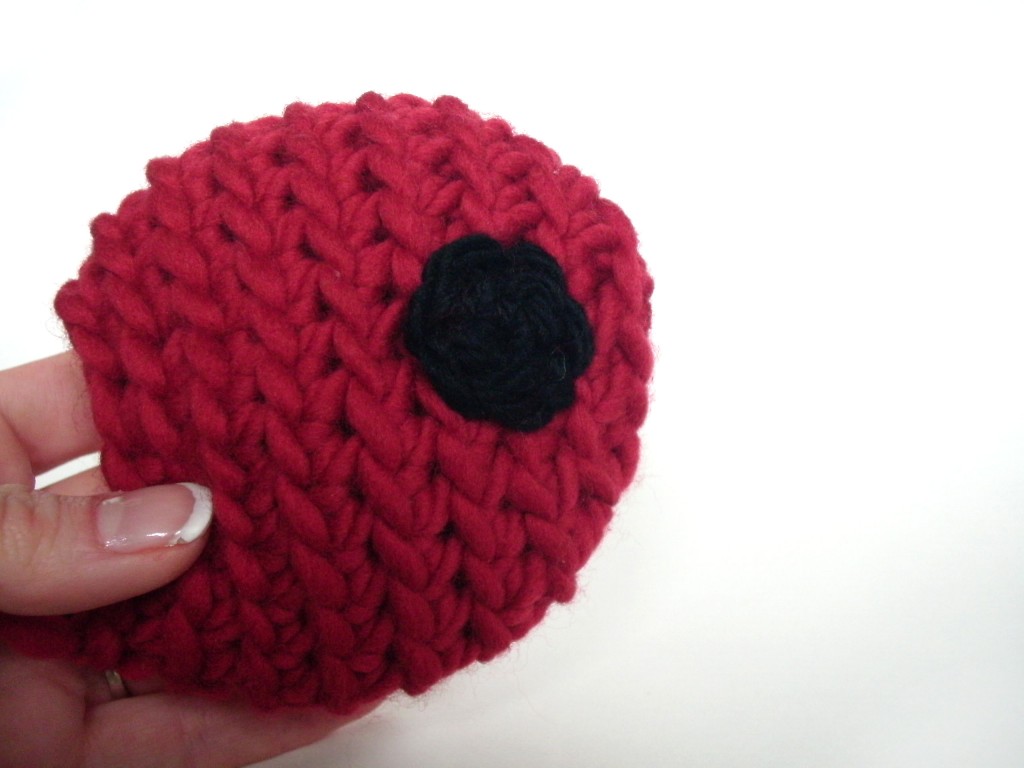
Here’s my result:

See how nice and flat my spot is?

Where else can you use the Running Stitch?

This stitch is awesome for attaching a flat shape to another piece. You’ve just seen me use it to attach a spot to a ladybug wing (squee… my ladybug pattern is available here), but there are plenty more places where it’s useful!

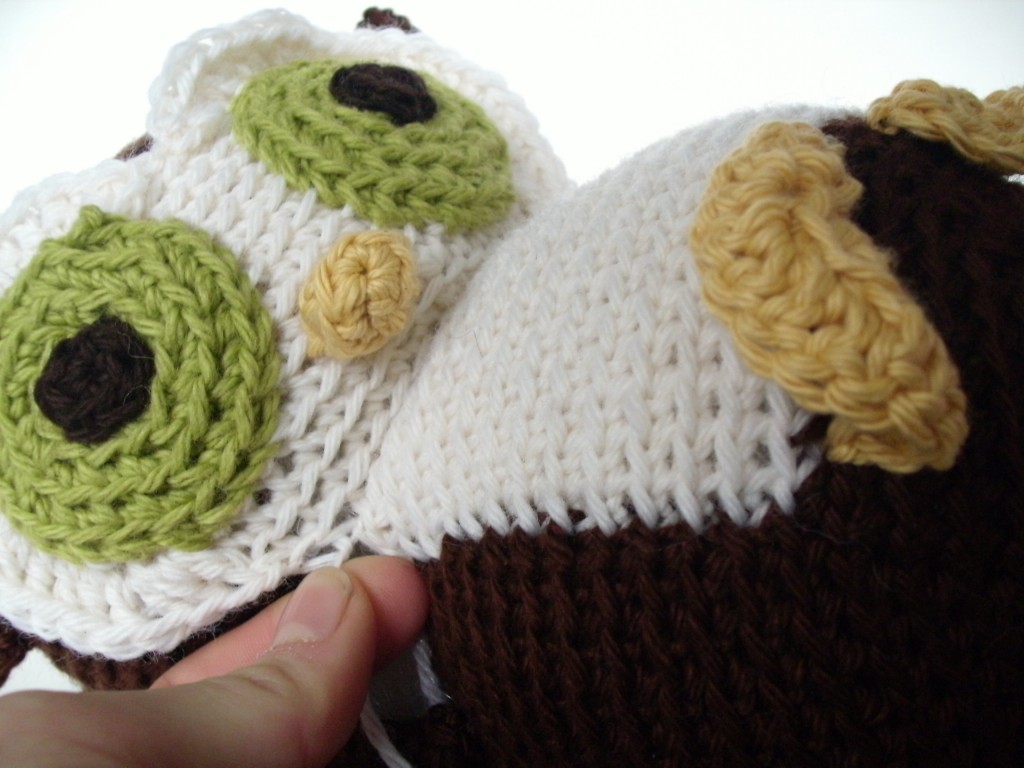
I use this stitch most often when I’m attaching baby safe eyes to stuffed animals. You’ll also find it fantastic for attaching the spots to Jackie the Cow or eyes to Nelson the Owl.

And I’m sure there’s more! Can you think of how you’d use it?

Here are handy links to all the posts about attaching parts. . .

Return to the main table of contents for Let’s Learn to Crochet Amigurumi.

Move on to the lessons about faces and details.

Happy stitching!

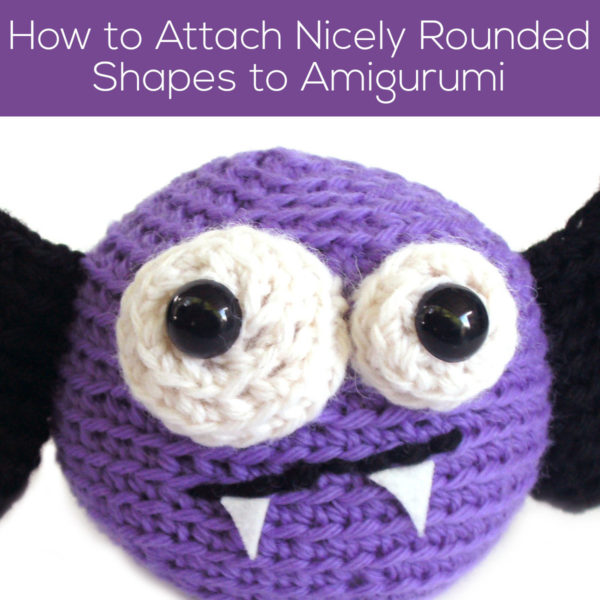
How to attach nicely rounded pieces to amigurumi

I’ve written about how to evenly place limbs on amigurumi by using the stitches as a grid for placement.

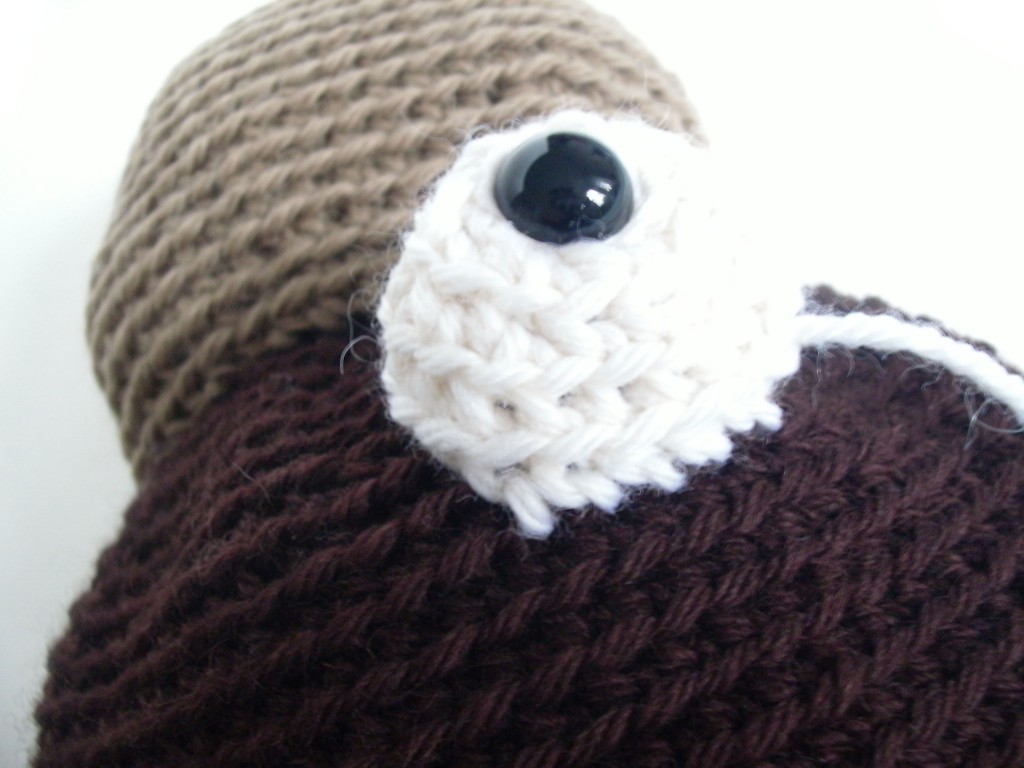
But, sometimes, if you follow the grid technique, you get pieces that look square when they should be round:

Can you see a pointy corner on this platypus eyeball?

Fear not… this is easy to fix!

Pointy eyeballs are an easy problem to solve. All you need to do it tug!

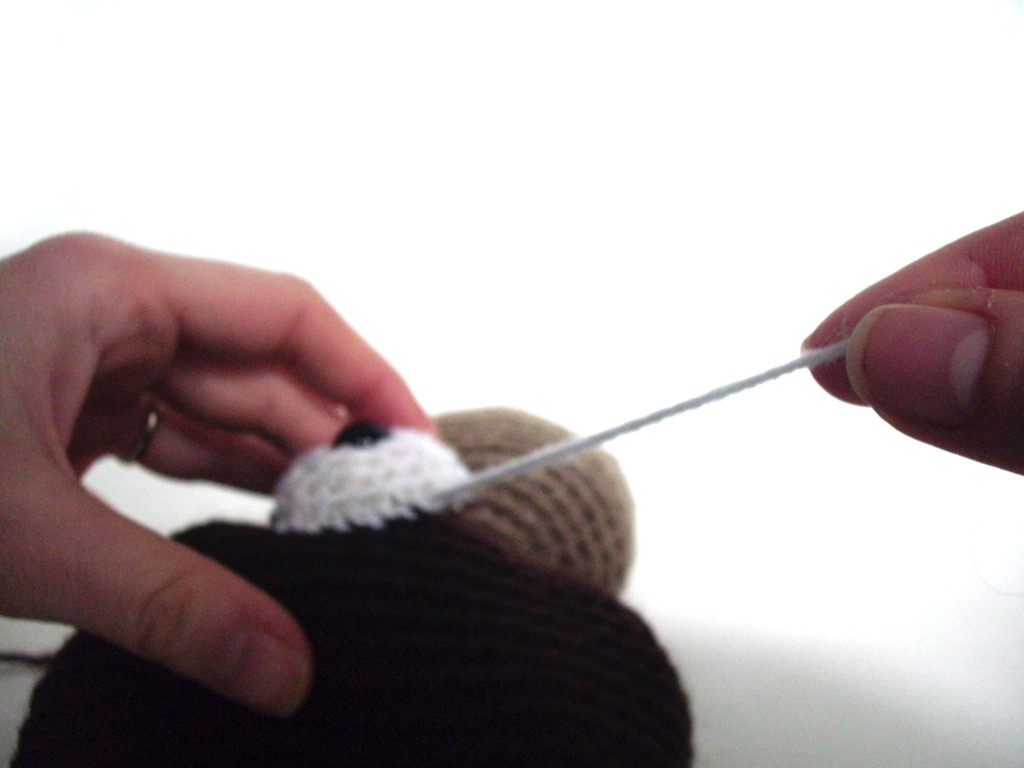
When attaching, pull tightly after you stitch a corner:

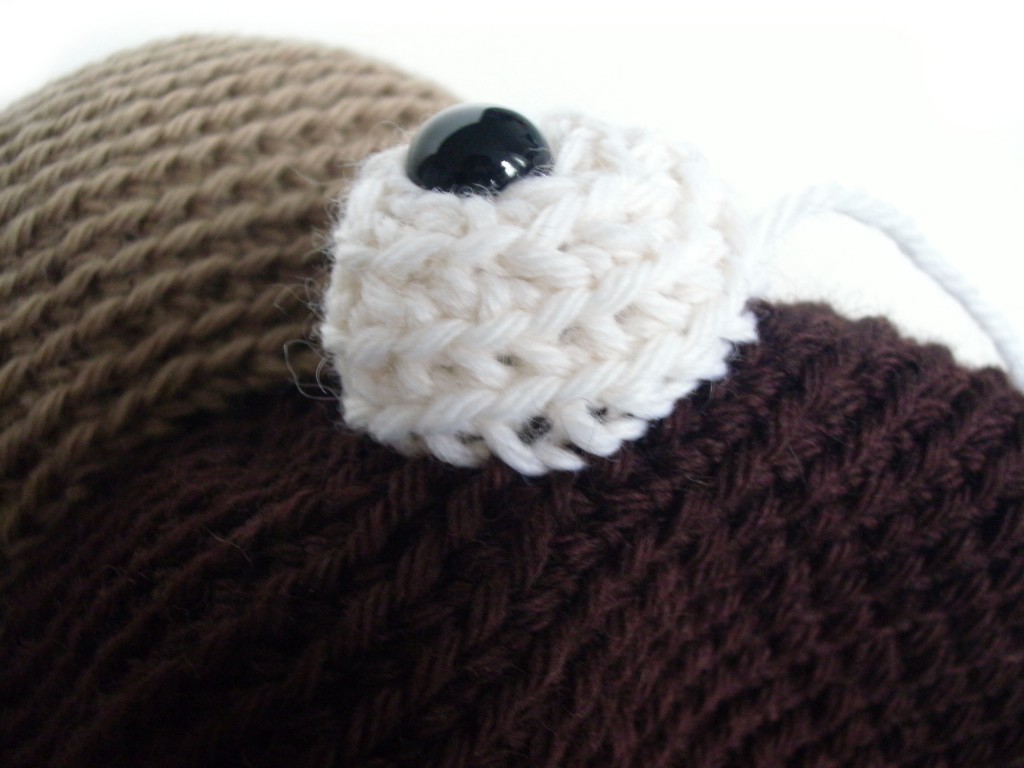
The tugging will round the corner out!

Problem solved!

Looking for the Platypus pattern? He’s a new one! Click here to grab it!

Here are handy links to all the posts about attaching parts. . .

Return to the main table of contents for Let’s Learn to Crochet Amigurumi.

Move on to the lessons about faces and details.

Happy stitching!

Knook (knitting with a crochet hook): is it worth learning?

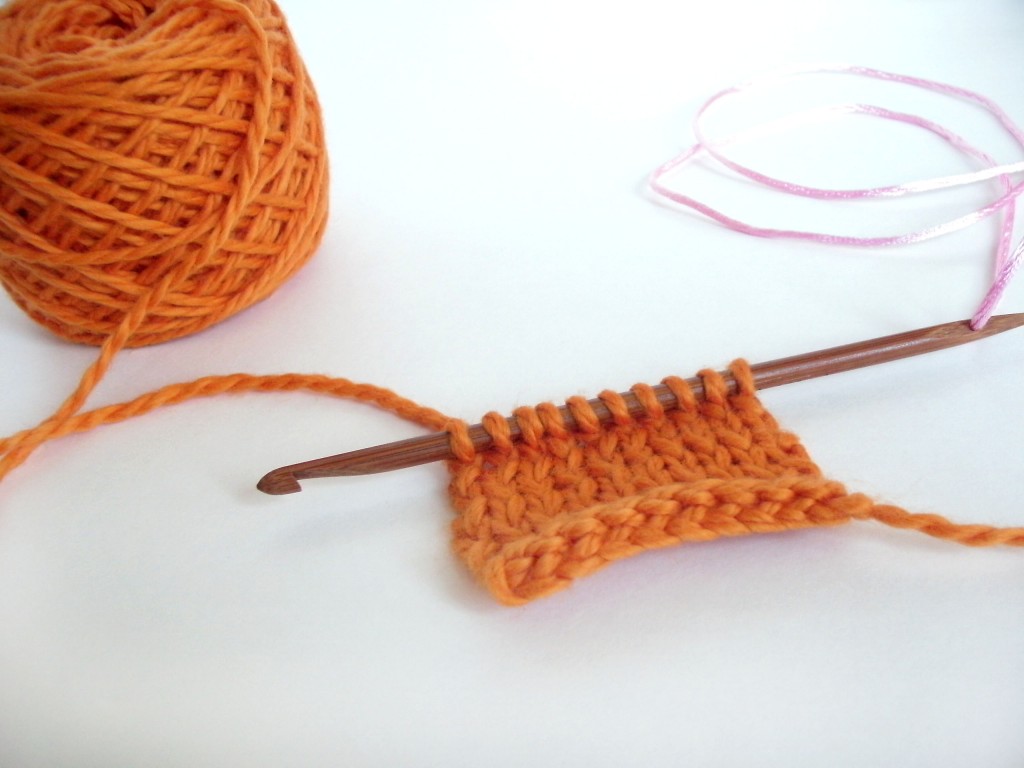
Have you heard of the Knook (pronounced ‘nook’)? It’s a very clever hook/technique that allows you to form a fabric that looks like knitting by using a special crochet hook.

While it’s a very interesting idea, it requires learning new stitches (not crochet stitches or knit stitches), so isn’t exactly a short cut for learning to knit. I’ll show you know knooking is done, then chat about the pros and cons, so you can decide whether you’d want to learn to knook, or would rather just learn to knit.

How to knook

The knook is a crochet hook with an eye at the non-hook end (exactly like a locker hook, if you’re familiar with one) accompanied by a nylon cord. I haven’t seen knooks for sale alone in the store, so you’re probably best off grabbing The Knook Beginner Set, which comes with a variety of hooks, cords and a beginners book. Videos about how to knook are available on the Leisure Arts Website, and they’re pretty clear and easy to follow.

You begin knooking by threading the cord into the eye in the hook. The first row is done by crocheting a single chain, nothing tricky!

To Knook the first row, you insert your hook into the chain stitches and pick up your working yarn… similar to how you would work in Tunesian Crochet. Then, you slip all of your loops onto the cord:
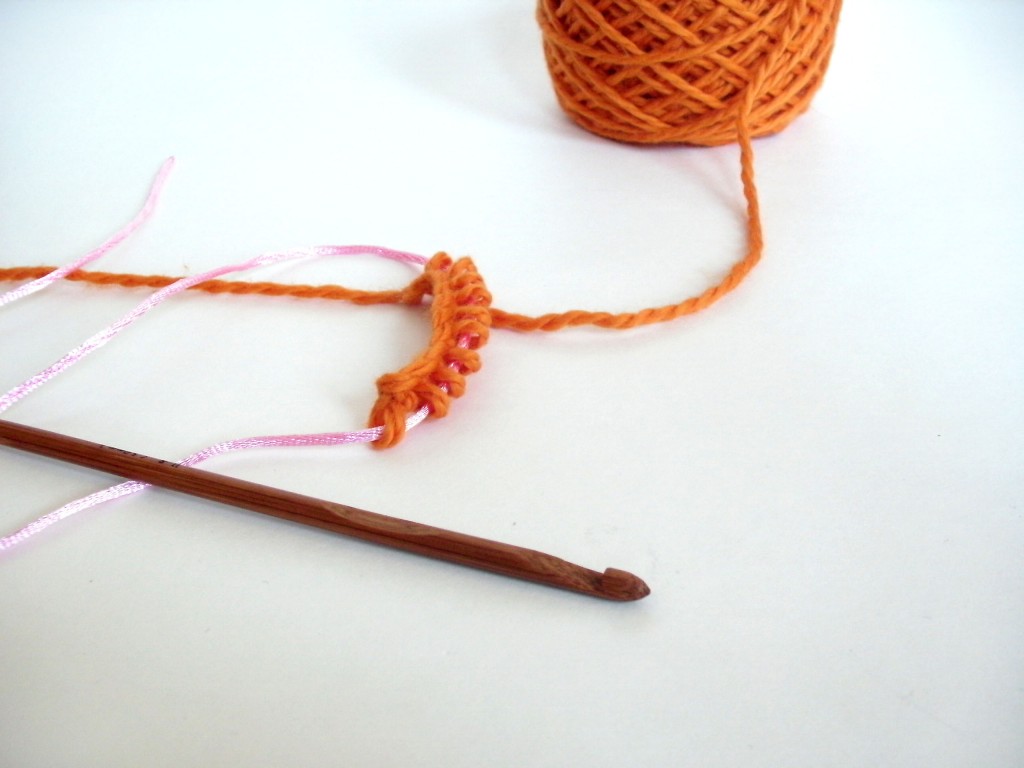
To continue, you use the hook to pick up a new row of stitches, inserting the hook into the loops that are now held on the cord. Whether you make knit or purl stitches depends on which way you wrap the yarn around the hook.

The fabric looks pretty impressively like a knit fabric!

The Advantages of Knooking

The advertisement is true: you can accomplish a fabric that looks like a knit fabric by using only the knook (crochet hook + cord). For crocheters, there are some big advantages:

  • If you’re already familiar with using a crochet hook, the movements will feel very natural, most likely making the technique easier to learn.
  • The first row is done by crocheting a chain, so there’s no need to learn a cast on.
  • Stitches remain on the cord while you’re working, so there’s less danger of dropped stitches (but see my exception to this in the next section).

The Downsides to Knooking

There’s no doubt that it’s a clever tool, but there are some downsides to learning knooking, especially if your goal is to make knitted items that you’ll see in patterns:

  • You need to learn how to wrap the yarn to knit and purl- these aren’t the same stitches that you already know from crochet.
  • A fair amount of translation is required if you wanted to make an item from a knitted pattern. There are knooking books available, but you’d be limited to that small selection of patterns.
  • The stitches are kept on a nylon cord with no method of securing the stitches. If you were to toss your knooking in a bag, you’ve have oodles of dropped stitches if the cord came out.

Is it worth it?

I’m going to start with an interesting statistic that I’ve gathered after years of teaching knitting and crochet. Knitters, when first learning crochet, typically do no better than the rest of the novice crocheters. (sorry, knitters!) However, crocheters, when learning to knit, typically learn much faster than newbie knitters!

Crocheters already know how to tension the yarn, hold things in their hands, and all they really need to learn (in order to knit) is how to pass a stitch from one needle to another. In my experience, with a good teacher and when learning to knit continental (i.e. holding the yarn in the left hand, which is how a crocheter holds it when crocheting), crocheters have a fairly easy time learning to knit.
So, if you’re deciding whether to learn to knook, it’s important to think about your goals. Do you want to knit socks? Learn to knit. Do you want to knit sweaters? Learn to knit. Do you just love the look of knitted fabric and want to make small projects? Maybe knooking is for you.

One main factor is that the knook is a product manufactured by one company… so you only have one hook style available to you and a limited selection of pattern books. Both crocheting and knitting have available lots of different hooks/needles to suit your particular style, and patterns made my thousands of designers. In order to invest time in learning to knook, you’ll have to be sure that you’re happy being limited to the options available.

I have spoken with some people who love that the action uses a crochet hook, and much prefer knooking over learning to knit. Wonderful! I’m happy whenever someone finds what works for them!

But if you have a hankering to knit… I’d recommend giving knitting a try!

Best,
Stacey

How to use a ball winder

How to Use a Ball Winder - a video from FreshStitches and Shiny Happy World

This post contains affiliate links. That means I make a little commission if you buy something after clicking through. All affiliate links are marked with an *.

Today, I’ve put together a little video to show you how to use a ball winder.

What is a ball winder?

A ball winder* is a handy device that allows you to make neat center-pull yarn balls (also called ‘cakes’). They’re a great alternative to hand-winding yarn, and contrary to popular belief, aren’t terribly expensive.

About the Lacis Ball Winder

Specifically, I’m going to show you how to use the ball winder that I own, the Lacis Wool Yarn Ball Winder*. Why this one?

In my opinion, this is the best ball winder for the at-home crafter: it’s inexpensive and very reliable. You can read my full review about the winder, by clicking here.

However, I’ve read some not-so nice things about this winder in online reviews: saying that it doesn’t work properly. Unless the reviewer received a defective model, I think the problems experienced come from improper installation/usage of the ball winder.

So, I’m going to show you how to install, tension and use the winder… and you’ll be a happy camper!

The Video

To view the window in full-screen mode (which is probably easier to see), click the icon in the lower right corner of the insert.

With proper installation and usage, I think you’ll find that your winder works like a dream!

Here are handy links to all the posts about yarn. . .

Return to the main table of contents for Let’s Learn to Crochet Amigurumi.

Move on to the lessons for the basic crochet stitches.

Happy stitching!

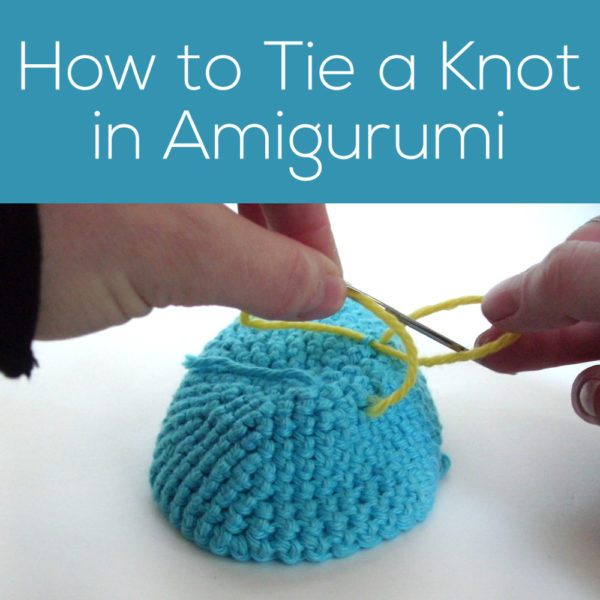
How to tie a knot in amigurumi

How to Tie a Knot in Amigurumi - a tutorial from Shiny Happy World and FreshStitches

It’s another Tip Tuesday! Today, I’m going to show you, step-by-step, how I tie a knot in my amigurumi to secure limbs.

My preferred method of tying knots in amigurumi is to attach the limbs to the body before the body is stuffed, so that you can tie the knot on the wrong side of the work.

How to tie a secure knot

You don’t want your animal’s arm/leg/whatever to fall off, so it’s important to tie a secure knot. Here’s how I do it:

The knot begins after you’ve already done your sewing of the limb to the body. Once you’ve done that, pull your yarn (already on a tapestry needle) to the wrong side of your work:

Insert your tapestry needle (from right to left) into a stitch of the body. I like to pick a stitch close to where the yarn has been pulled through to the wrong side, so that there isn’t extra yarn flying around:

Now, pull the tapestry needle with your left hand (not all the way!), and stick your right index finger in the loop that forms on the right:

Insert your tapestry needle (from left to right) into the loop that the index finger on your right hand has been holding open:

Hold onto the tapestry needle with your right hand (taking it out of the loop it was holding), and stick your left index finger into the new loop that has formed on the left:

With your left hand, pull on the loop. This will cause the old ‘right-side’ loop to shrink:

You’re almost there! Now, insert the tapestry needle (from right to left) into the loop that your left hand is holding:

Now, you want to pull the knot snug. Pull the yarn (you can remove the tapestry needle if you’d like):

And you’re done!

It looks a little complicated at first, but once you do it a few times, it becomes second nature! And this trick results in a firm and secure knot… gotta love that!

Here are handy links to all the posts about closing up the stuffing opening and fastening off in amigurumi. . .

Return to the main table of contents for Let’s Learn to Crochet Amigurumi.

Move on to the lessons for attaching parts.

Happy stitching!

Eep! There’s a knot in my yarn! Help is here…

What to Do When You Find a Knot in Your Yarn - tips from Shiny Happy World and FreshStitches

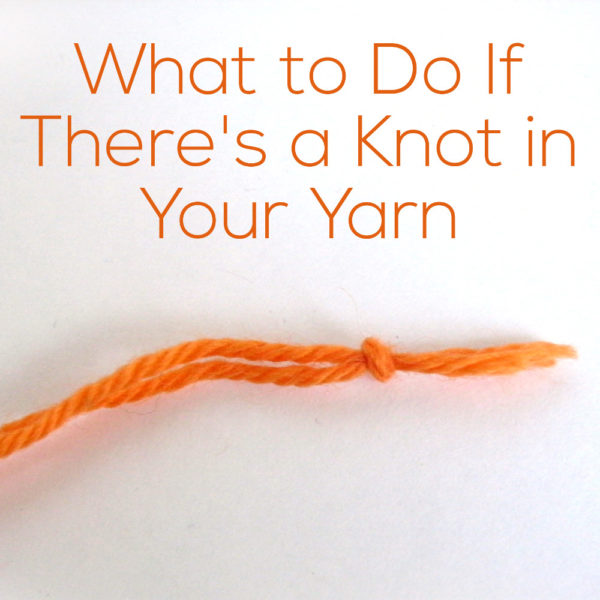
Yippee! Another Tip Tuesday, where I share (what I hope is) a super-helpful crocheting tip. Today, I’m going to talk you through what to do when you arrive at an oh-so-pesky knot in your yarn.

Knots in yarn are a part of life. Even in commercial yarns, knots occur when the manufacturer needs to join two (very long) lengths of yarn together. Unfortunately, that knot has to go somewhere – and sometimes it’s your skein! But fear not- I’ll show you a couple ways of handling it.

Option 1: Check if the yarn is actually broken

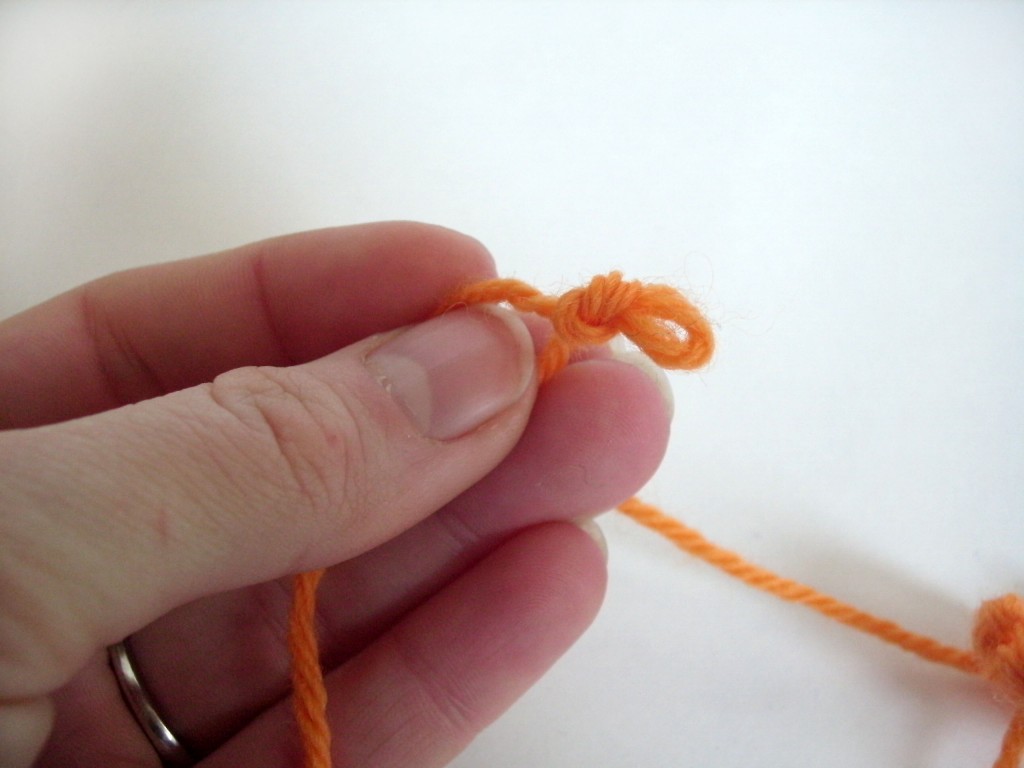
Sometimes, there’s a knot in your skein because the yarn has gotten a bit tangled.

I’m not sure if you can tell from the photo, but this knot is just a tangle- there’s no break in the yarn. Gently work to untie the knot, and you can just keep on crocheting! Like nothing ever happened!

Option 2: Continue crocheting with the knot in place

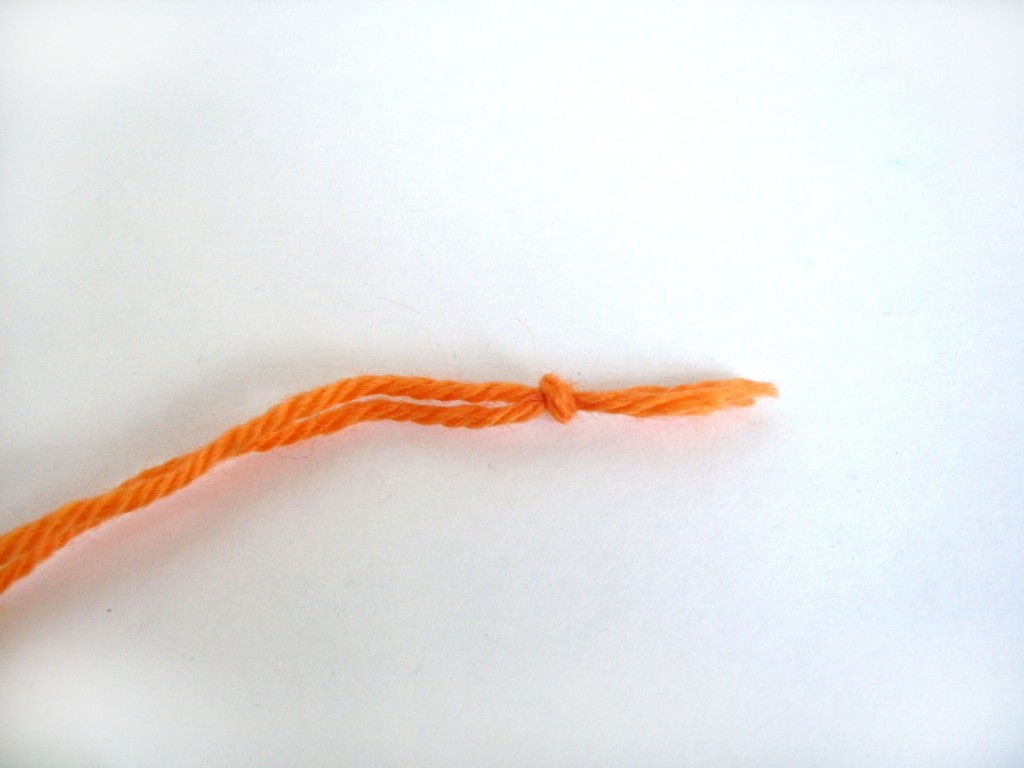
What if you’re not so lucky and there is actually a break in your yarn?

Sometimes, you can keep right on crocheting! You can see here, I’ve crocheted until I’m at the knot:

Can you tell that the knot is very close to my hook? That’s a good sign! It means that I’ll be able to crochet right over the knot, and just push the knot to the wrong side of my work.

To do this, I continue crocheting- coaxing the knot to stay on the wrong side of my work:

And the right side looks marvelous!

Crocheting over the knot only works if:

  • The knot happens to fall in the right place while crocheting. A centimeter further along, and it might end up smack in the middle of your stitch. Bleh.
  • You don’t mind having a knot in the back of your work. I make a lot of stuffed animals, so I don’t mind (the inside gets stuffed). But if you’re making a shawl, this may not be ideal.

So what if crocheting over the knot doesn’t work? Onto option 3…

Option 3: Cut the knot

If the knot happens in a funny place (so that you can’t hide it on the back of your work) or you don’t want a knot, then you’ll need to cut the knot.

To do this, stop crocheting a few inches before you get to the knot, and cut the knot off:

Now you have no knot, but two pieces of yarn. From now on, you’re going to work as if you’re changing colors… but you’re really just changing yarns!

As if you’re about to change colors (check out this video on color changes if you’re unfamiliar), begin working with your new yarn:

and continue working with the new yarn.

You’ll have 2″ or so of tails (one from each piece of yarn) on the wrong side of your work… and you’ll want to handle them the way that suits your project best. For a stuffed animal, I would tie a knot:

If you’re making a shawl or another piece where you don’t want a knot, you’d want to weave the tails in to secure.

And that’s it! No matter where the knot turns up, now you know how to tackle it!

Here are handy links to all the posts about yarn. . .

Return to the main table of contents for Let’s Learn to Crochet Amigurumi.

Move on to the lessons for the basic crochet stitches.

Happy stitching!

How to get an even stitch and gauge in crochet

Happy Tip Tuesday! Today, I’m going to share my trick with you for getting a lovely, even gauge when you crochet.

Grab your yarn and hook, and follow along!

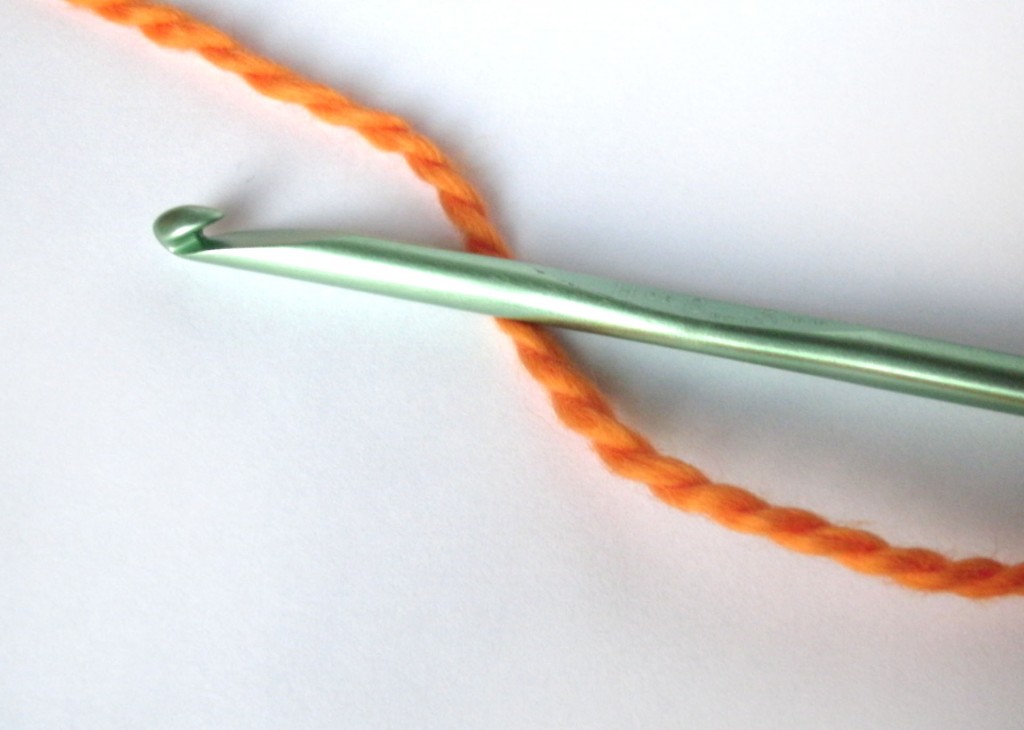
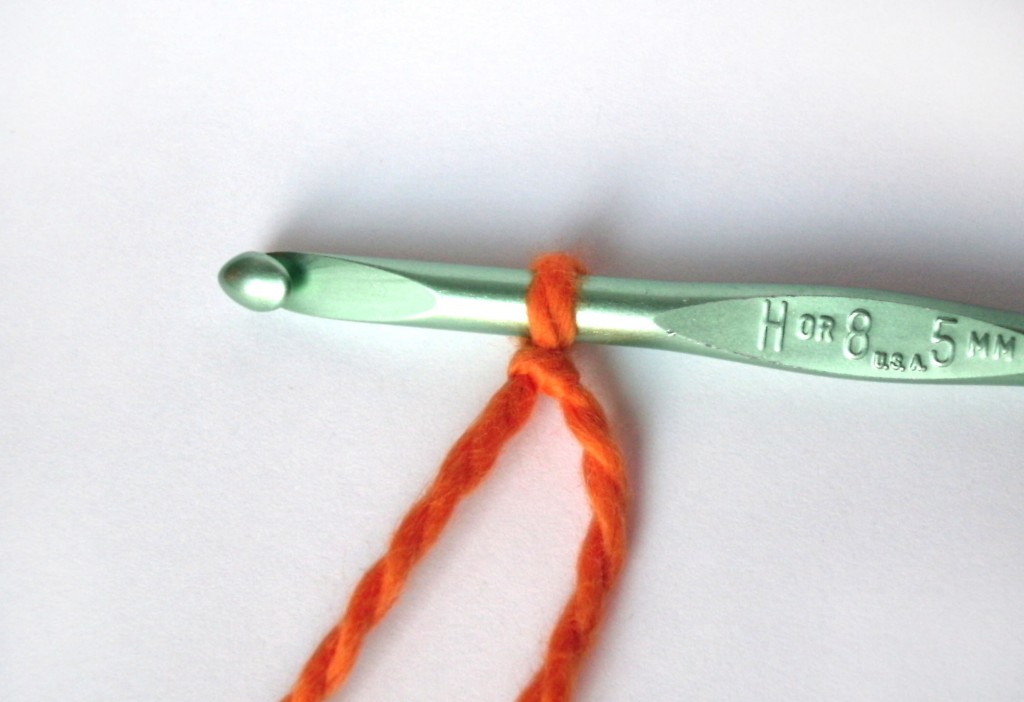
Step 1: Make sure your loop is on the shaft of the hook. This is where the hook size is measured, so it’s where you’ll want to put your yarn to get the appropriately-sized stitch.

Don’t know where the shaft is? Don’t worry! Check out this crochet hook anatomy lesson! It’s basically the even cylinder above the handle. If you pull your loop tight around the throat (the skinny part near the hook), you’re going to get too-tight stitches.

Step 2: Look for the teardrop-shape. What teardrop shape? Take a look at your hook head-on. The loop should look like an upside-down teardrop that fits snugly around your hook.

Do you see it?

Why is the upside-down teardrop shape so important? Because you’ll need that point to slide the hook through while stitching!

See how my hook is sliding through? If your loop is a perfect circle (strangling the poor hook!), then your hook is probably going to get caught on your loop as you try to pull yarn through- making crocheting very frustrating!

Step 3: Check for the teardrop at every step. Look at me! I’m single crocheting!

Now, take a look at my loops… still in the teardrop shape! To get a nice, even gauge, you’ll want to check these loops to make sure they are the right shape at every step. A lot of beginning crocheters let their stitches get super huge (a non-snug teardrop) while they’re in the middle of the stitch, which leads to very loose stitches.
Follow these three steps, and you’ll get beautiful, even stitches every time! Rock on, teardrop!