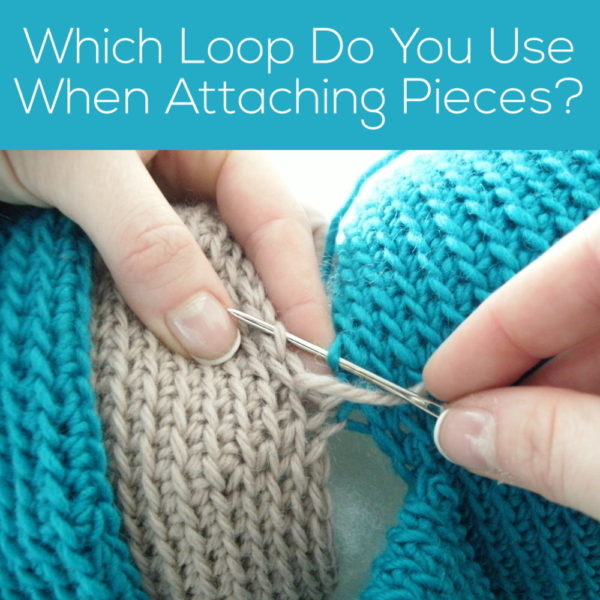
Which loop to use when attaching…

Which Loop Do You Use When Attaching Amigurumi Pieces? - tips from FreshStitches and Shiny Happy World

Yay, it’s Tuesday… which means it’s time to share another amigurumi-making tip! This week, I’m answering a question sent in to me by Mary:

When attaching parts do you sew into both loops on the piece to be added? Which do you recommend?

Excellent question! And I have two answers.

The first answer is that it really doesn’t matter whether you attach your animal’s pieces using both loops or just one. Neither way results in a significantly different look. For the best results, you should be consistent throughout the piece about which one you use.

Okay, now the second answer is about what I do. I actually only use the back loops when attaching pieces.

There’s no real method to my madness- I think that, since I crochet through the back loop, it’s easier for me to attach through the back loop!

So, there you go… either way you want to do it will result in a happy amigurumi! Hope you have a great Tuesday!

Here are handy links to all the posts about attaching parts. . .

Return to the main table of contents for Let’s Learn to Crochet Amigurumi.

Move on to the lessons about faces and details.

Happy stitching!

A little help assembling amigurumi

Today is another ‘Tip Tuesday’! Today, I’m going to share a little tip that helps me when I’m assembling tricky amigurumi pieces (although, you could use this when you’re seaming anything small)!

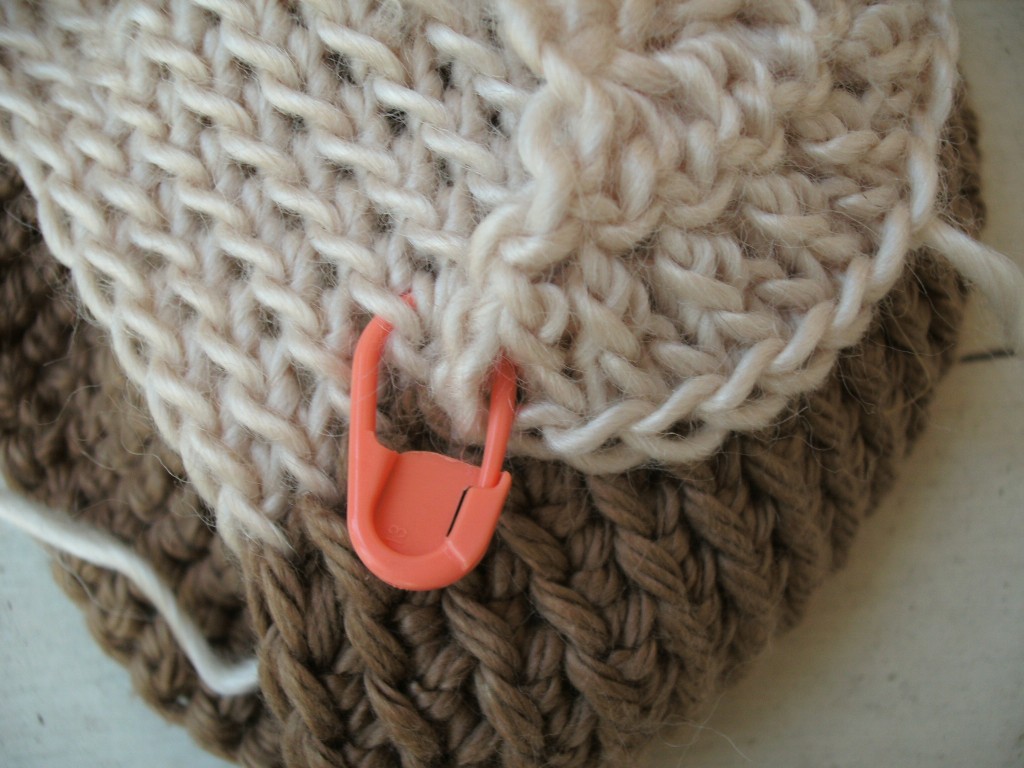
I use locking stitch markers to hold my pieces in place!

locking st marker

I’ve already talked about using locking stitch markers to help you keep track of your rounds while crocheting, but they’re great for holding two pieces of fabric together, as well!

Just place a couple around the piece that you’re attaching, and it’ll be held in place- making your sewing even easier. Yay!

How to get great-looking stripes!

How to get Great-Looking Stripe Patterns - tips from Shiny Happy World and FreshStitches

Welcome to ‘Technique Tuesday’! Every Tuesday, my blog post will feature a new tip/technique that will help you with your crocheting! Be sure to join me ever week!
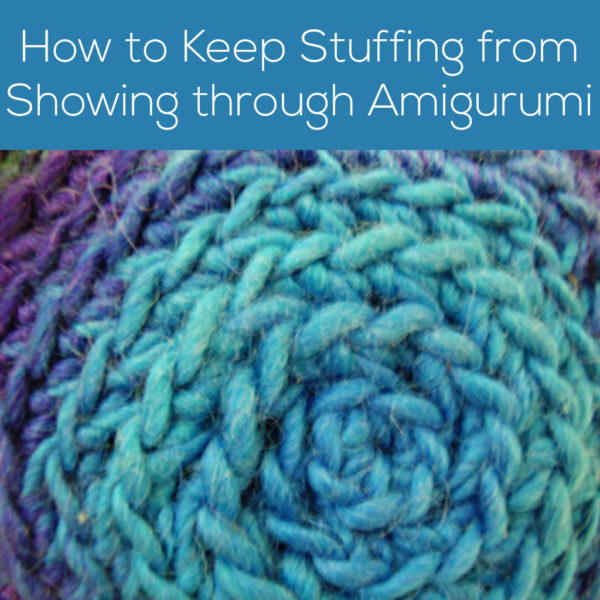
I’ve been on a stripe-kick recently… I just can’t get enough of them! Stripes are a great way to use up leftover yarn: you can mix together half-used skeins into a beautiful finished project- if you pick a good color combination and pick a pleasant striping pattern! In this post, I’m going to share a few tips I’ve learned for making beautiful-looking stripes. I’m going to share tips for striping with 2 colors, striping with 3 colors, and striping with a whole bunch of colors.

The key to a good stripe is a little bit of randomness. We want to develop patterns that are a bit beyond “2 rows green and 2 rows of yellow, repeat”.

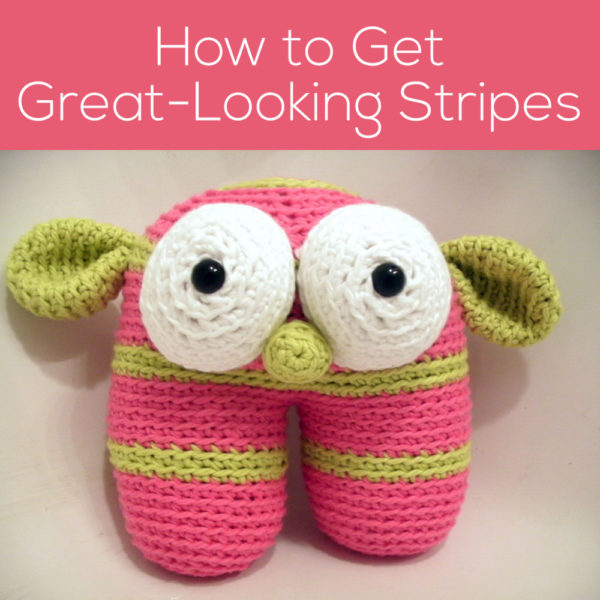
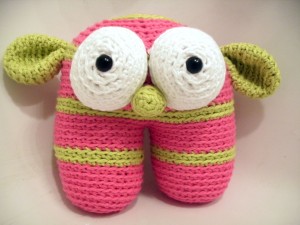
An easy way to insert a little bit of randomness into your stripe pattern is to make one band of color thicker than the second band. This is a simple, 2-color stripe that still has a bit of pizazz! Check out monster’s stripe pattern, below:

This monster is crocheted with a 5 round-thick stripe of pink, and a 2 round-thick stripe of yellow. This is a very simple pattern to follow, but is still a little unexpected!

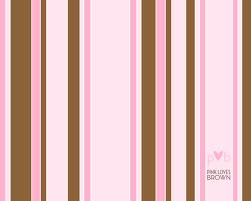
Okay, now let’s move to using stripes with 3 colors effectively. As before, we want to keep a little bit of randomness going… so let’s look at an example where 3 colors were used really well:

This striping pattern uses brown, light pink, and dark pink. There are two things to note: one, all three colors go together well. Even though the brown is a contrasting color, it matches well with the pink. Two, the stripes are not of even thickness. Thick stripes occur with thinner stripes. Try writing out a pattern that uses these principles. For example: 4 rounds brown (medium stripe), 2 rounds light pink (thin stripe), 2 rounds dark pink, 6 rounds light pink (thick stripe), and repeat. It’s not a very long pattern, but will give a look of variety.

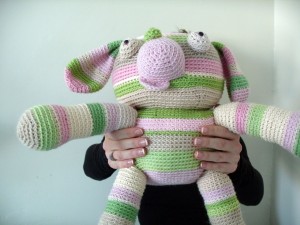
Now, what if you have a lot of yarns in your stash, and want to use up a whole bunch of colors in a striping pattern? The key to doing this effectively is to select three color families. Put each color family in a pile, and stripe according to the 3 color scheme- treating each family as a color. This is the technique I used with my striped pup:

I gathered all of my spare yarn that fit into one of the following color families: cream/white, light-medium green and light to medium pink. Then, I striped: 6 rounds of family one, 4 rounds of family 2, 1 round of family 1, and 3 rounds of family 3. This resulted in the pattern that looks so great on the pup!

I’ve loved this technique so much, that I’m doing a second pup, with three different color families: pinks, burgundy and orange-y/pink. The result (I’ve only finished the pup’s head, so far) is below:

Because all of the colors complement each other, it’s going to turn out fine!

So, next time you’re feeling adventurous, try some stripes… see what great combinations you can come up with!

Creating cone shapes in amigurumi

Want to learn how to make adorable crocheted stuffed animals with an easy online workshop – totally free?

Sign up for Let’s Make Amigurumi here. You’ll learn how to get started, the tools and supplies you’ll need, and how to make an easy amigurumi from start to finish using simple crochet stitches.

It’s a fun, inexpensive, and totally portable craft. You can do it!

A basic amigurumi circle is made by working an increase round (usually 6 evenly-distributed increases) every round. This standard pattern of increasing is how you get nice round shapes, such as the baby penguin’s head and body.

crocheted baby penguin

In this blog post, we’re going to show how changing the number of increase rounds can provide you with different cone shapes. Once you’ve learned how to make them, you won’t want to stop!


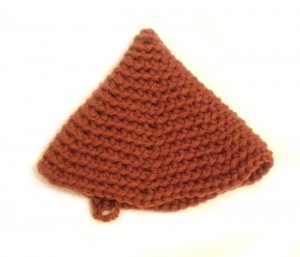
In sample #1, we’ve increased every other round (working the remainder of the rounds without increasing). This creates a cone with about 45 degree-angle sides. If you increase every third round (as we’ve done in sample #2), you the head of my squid and I’ve used this shape in making the hat for my gnome. Can you think of other animals that might have a cone shape in them?

There are already oodles of possibilities for what you can do with cones… but you can do even more! All of these shapes can be flattened, and used for other amigurumi parts. For example, I used a flattened elongated cone as the hat in our holiday penguin. Flattened cones can also be used as dinosaur spikes, pointy ears… and so much more!

I hope that you have fun experimenting with some fun cone shapes!

Making yarn from fabric strips

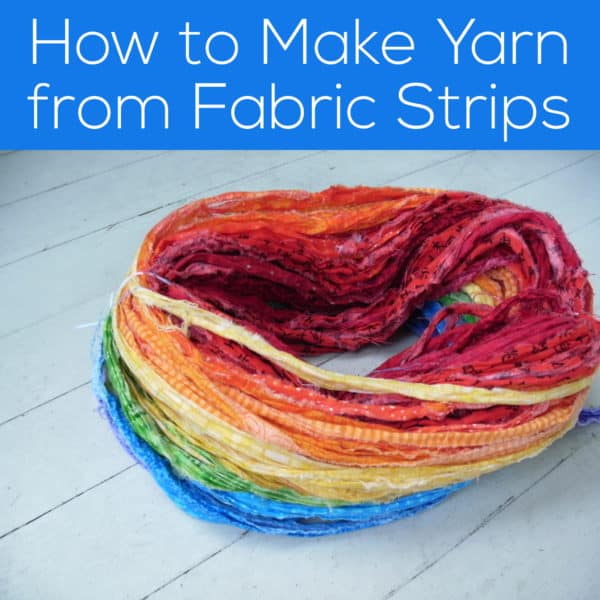
I recently knitted a bath mat using yarn that I had made from fabric strips. Unfortunately, I didn’t photograph the entire process (because I didn’t know I’d like the end product so much!), so this post is more of a guideline than an actual tutorial… but I hope you’ll get the idea about how to make your own.

Making yarn from fabric is a lot of fun, because you have complete control over the process! You can select the colors of fabric that you’d like, and pick the order that you’re going to put them in. Here are the basic steps:

  1. Pick your fabric I would recommend 100% cotton fabric, like the type used for quilting. Not only is cotton fabric machine washable and durable, you’re sure to find it in lots of colors because of the quilting market. You’re going to be using a fair amount of fabric, so take amount into consideration when purchasing… you might not want to select the priciest cottons on the market.
  2. Turn your fabric into 1″ strips One benefit of cotton is that you can tear (yes, literally rip) the fabric into perfect strips along the grain of the fabric. Tearing your fabric is MUCH quicker than using a ruler and scissors to cut it, and it also results in fewer ‘loose threads’ as the fabric wears. See this video to see how to tear your fabric.
  3. Put your strips together Some sites recommend sewing the strips together… but, if I had to do that, I wouldn’t have gotten enough strips together to make anything! This video (the same one I linked to above) is where I learned to join the strips of fabric together. Just ignore the bits about locker hooking… this is the best way (in my opinion) to join fabric strips together.
That’s it! Join as many strips as you need… and you have fabric yarn!

Here are handy links to all the posts about yarn. . .

Return to the main table of contents for Let’s Learn to Crochet Amigurumi.

Move on to the lessons for the basic crochet stitches.

Happy stitching!

Too tight foundation row?

For some amigurumi pieces, you’ll need to crochet a foundation row, instead of working straight out from a circle. An example is when I was crocheting the leg of Gordon the Flamingo.

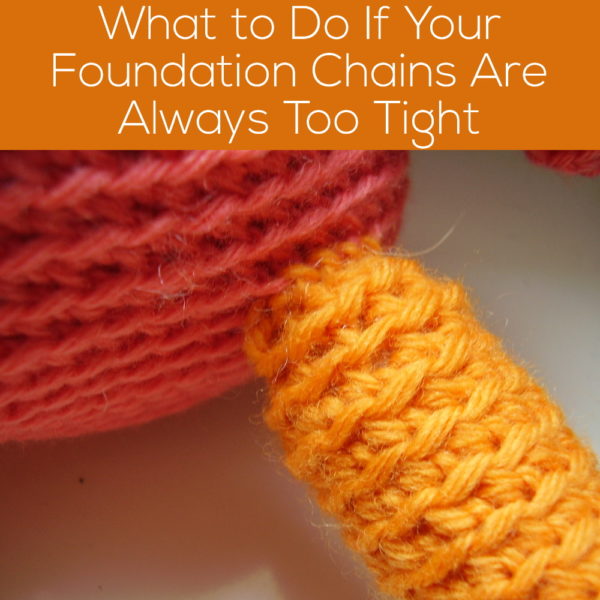
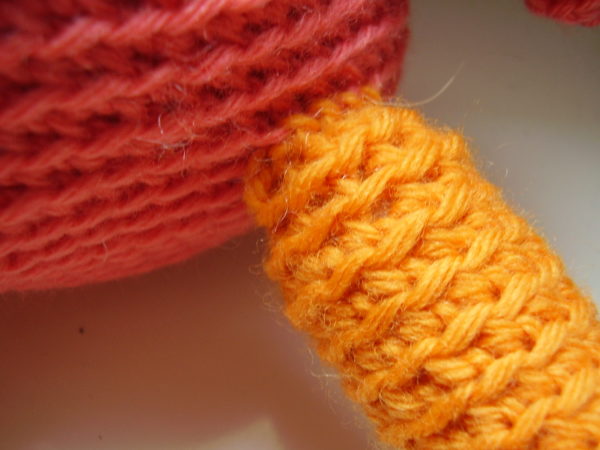
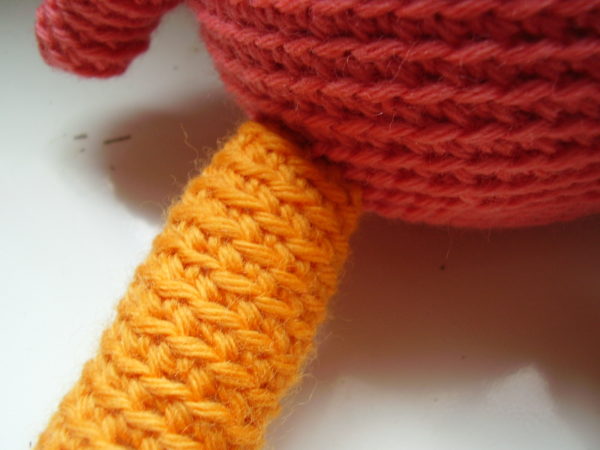
Sometimes, when you begin with a foundation chain, the stitches in the chain can be too small, making the top of the leg look a little anemic.

foundation chains are too tight

But don’t worry… there’s an easy solution!

If your foundation rows tend to be a little tight, all you need to do is go up a hook size when you crochet the first chains! For example, my pattern called for a size H hook, so I would use a size I to crochet the foundation chain. Then, continue as usual (with your normal sized hook). And, as you can see below, the top of the leg flows nicely into the rest of the animal… no chain-induced restriction!

This tip will also work wonderfully on blankets, or any other piece where the chain row tends to get tight.

Here are handy links to all the crochet troubleshooting posts. . .

Return to the main table of contents for Let’s Learn to Crochet Amigurumi.

Happy stitching!

Using a Nostepinne

Using a Nostepinne Replacement to Make a Center-Pull Yarn Ball - tutorial from FreshStitches and Shiny Happy World

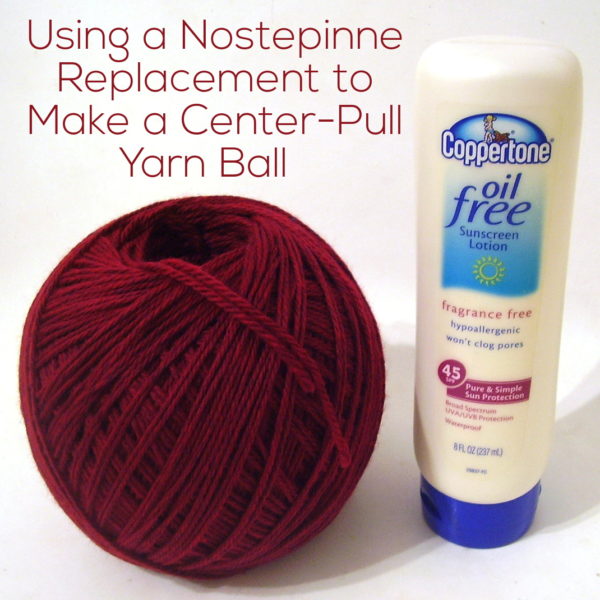
In this blog post, I’m going to show you how I used a sunscreen bottle to wind a beautiful center-pull ball of yarn!

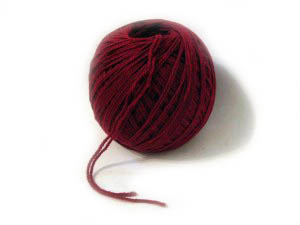
ball of yarn

When you purchase yarn that comes in a hank, you’ll need to wind it before using. You can usually wind your yarn at your local friendly yarn store when you purchase it… however, if you want to wind your yarn into a ball at home (maybe because it’s midnight and you’re itching to start a new project), you’ll have to come up with something else.

Some folks own a their own ball winders… but, the nice ball winders can be pricey, and the cheap ones can be unreliable. I used to wind my yarn on my hands… but you either wind up with a ball (pretty, but not center-pull), or you wind a center-pull ball on your hands, which makes your fingers feel all squished. (Read here for why you may want to use a center pull ball.) I’d heard about using a Nostepinne for winding balls… and not being one to splurge on new tools, I decided to give it a try, but using a sunscreen bottle.

A Nostepinne is (usually) a wooden stick used to wind beautiful balls of yarn. One end of the Nostepinne is tapered, so that the ball easily slides off. Since a ‘real’ Nostepinne doesn’t have too many intricate details, I found a suitable replacement in my medicine cabinet… a bottle of sunscreen! I found this set of instructions for using a Nostepinne.

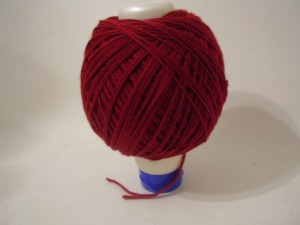
I grabbed my sunscreen, and set to work. I used the ‘football-shaped’ method of winding yarn, simply because it was quick and easy. As I wound more balls, the process got to be quite quick. Below, you’ll see a photo of the yarn still on the bottle.

on bottle

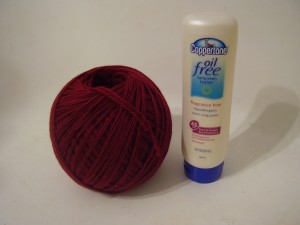
Then, I pulled the ball off of the bottle, and it looks lovely! It sits nicely (doesn’t roll around) and is center-pull. Yay!

ball & bottle

So, you don’t need to buy a ‘real Nostepinne’ to get great results. Find something in your cabinet and give it a try!

Here are handy links to all the posts about yarn. . .

Return to the main table of contents for Let’s Learn to Crochet Amigurumi.

Move on to the lessons for the basic crochet stitches.

Happy stitching!

How to work with two yarns at once

I often get asked about the best way to work with two yarns at once. So, in this post, I’ll talk about the pros and cons of three different ways of working with a double yarn.

Big owl crocheted cuddly

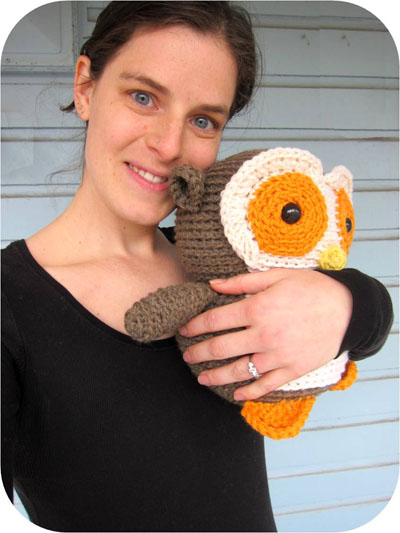
Of course, for any amigurumi pattern, you can crochet with two yarns at once, use a bigger hook and follow the pattern… and you’ll end up with a bigger animal! Fun! (shown above: a giant Nelson the Owl!)

Working with two balls of yarn

how to work with two strands of yarn at once

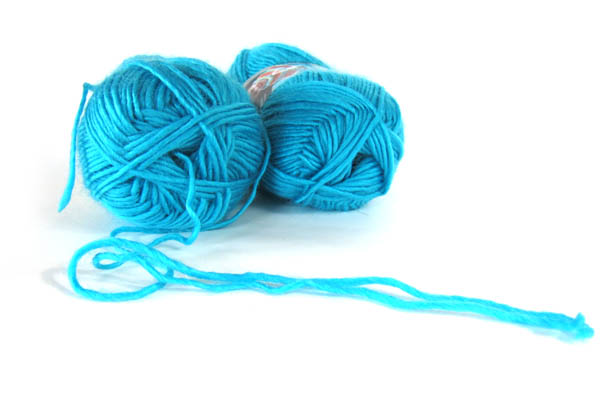
The most obvious way of working with two yarns at once is to simply hold two strands of yarn together from two separate balls of yarn.

advantages

  • If you purchase your yarn already in balls, you don’t have to do much… just find the ends and go!
  • If you want to do some interesting yarn combinations (such as hold one strand of plain yarn together with one strand of beaded yarn- which I’ve done when knitting a felted bag), no additional work needs to be done.
  • Since the balls of yarn are independent, it’s okay if one ball is longer/shorter than another. Just work on a new second ball when one runs out.
  • You can hand-wind your balls of yarn. Since you can work from the outside of the yarn, there’s no need to make center-pull balls (which either require a ball winder or a specialized hand-winding technique).

disadvantages

  • Balls can sometimes be unruly. With this technique, some people struggle with keeping both balls of yarn in the same place, or keeping them from becoming hopelessly tangled. If you want to avoid this, consider winding two center-pull balls, and only working from the center. This eliminates (at least lessens the amount of) the ‘rolling-around factor’.
  • If you purchase your yarns in skeins, you’ll need to wind two skeins at a time to work in this technique. This can sometimes be inconvenient.
  • If you’re working on a small project that doesn’t need two balls worth of yarn, this technique requires modification. You can divide your yarn in half, and work with two smaller balls, but in my opinion, this eliminates the ‘easy advantage’ of this technique.

Work from two ends of a center-pull ball

how to work with two strands of yarn at once
A second technique is to work from both ends of a center-pull ball: holding the yarn that comes from the center together with the yarn that comes from the outside.

advantages

  • You only need to wind one ball of yarn at a time: particularly great if your project requires only one ball of yarn, or an odd number of balls.
  • You can do this ‘straight off the shelf’ with many yarns packaged as balls – most are center-pull.

disadvantages

  • You’ll need to make center-pull balls… which either require a ball winder or a specialized hand-winding technique.
  • This, like working with two balls at once, can sometimes become tangled and a little unruly.

Winding two balls of yarn together

together-300x225
A third technique is to wind two balls of yarn together, and then knit or crochet with the two ends.

advantages

  • This technique is easy to work from: no ends or stray balls to get tangled.
  • You can hand-wind your balls of yarn. Since you can work from the outside of the yarn, there’s no need to make center-pull balls (which either require a ball winder or a specialized hand-winding technique).
  • If you purchase your yarn in skeins, winding two yarns together takes half the amount of time as winding two separate balls of yarn.

disadvantages

  • If you purchase your yarn already in balls, this technique takes extra time to get started.
  • If you’re working on a small project that doesn’t need two balls worth of yarn, this technique requires modification. You can divide your yarn in half, and then wind these two smaller balls together…but that makes this technique more time-intensive.

So, there you go! Hopefully, one of these techniques will be right for you!

Best,
Stacey

How to Keep Stuffing from Showing through Amigurumi

How to Keep Stuffing from Showing through Amigurumi - tips from Shiny Happy World

It’s a common problem when making amigurumi: the stuffing sometimes can be seen through the stitches, something nobody wants! Fortunately, there are a couple of ways to minimize the stuffing from poking through the stitches. The photo below is one of my amigurumi… and you can’t see a single bit of white fluff!

making amigurumi with no stuffing poking through

Crochet through the back loop

This is my favorite technique to eliminate stuffing-peak-through: crochet through the back loop only (see this post for more details). Basically, crocheting through the back loop only creates a less-holey fabric, great for amigurumi.

Use a smaller hook

This seems to be the most common solution. I’ve seen lots of people using a size C hook on a worsted weight yarn… now, that’s tiny! This solution definitely creates tighter stitches, but it’s fairly common to get hand cramps because you’re crocheting too tightly.

Use less stuffing

The classic amigurumi advice is to stuff your amigurumi with way more stuffing than you think you’ll need (I’m a proponent of this advice, as well!). However, if your amigurumi is decorative (and isn’t going to be squished/hugged very often), you can probably get away with stuffing your toys a little less… which will result in less stuffing poking through.

Use colored stuffing

The main reason that you stuffing can be seen is because it’s white, and usually, what you’re crocheting isn’t. One solution is to use colored stuffing. Now, you may need to get a bit creative here. I haven’t seen commercially available colored PolyFil, but you have lots more choices than just polyester stuffing to fill your amigurumi. One idea is to use wool roving (the stuff used for spinning). You can select a roving that closely matches the yarn you are using, or you can dye the wool yourself (click here to learn how to dye wool with Kool-aid). The downside to this idea is that roving is more expensive than dedicated stuffing (unless you happen to have a sheep in your yard), and it can be difficult to get an exact color match.

Needless to say, there are lots of options to keep that stuffing from showing through! Try one, and end up with great-looking amigurumi!

Here are handy links to all the posts about stuffing amigurumi. . .

Return to the main table of contents for Let’s Learn to Crochet Amigurumi.

Move on to the lessons for closing up the opening.

Happy stitching!

Tips and Techniques for felting

bearfelt

One of my newest patterns is Gerry the Felted Bear! We have become quite taken with felting, so in this blog post, we’ll review all the important stuff you need to know. But trust me, it’s easy!

Selecting yarn for a felted project

All of our FreshStitches patterns are made using worsted weight yarn. You’ll notice that most of our cover models are made from Ella Rae, a 100% wool yarn. For most of our patterns, any worsted weight yarn will work – so many of our customers use acrylics (such as Red Heart classic), or their favorite yarn. But when you make a felted animal, you need to take a little more care to select a yarn because you need to pick a yarn that will felt!

It’s important to select a yarn that is made from 100% animal wool. Acrylics won’t work here! Also, select a wool that doesn’t say ‘superwash’. A wool will say ‘superwash’ if it is a wool that can be put in the washing machine. It means that the wool has gone through a special process that removes the fiber that makes it felt – you don’t want to use that for a felted animal!

Here’s an easy way to check if your yarn will felt – if it says ‘100% wool’, and the label says ‘hand wash with cold water only’, then there is a good chance that it will felt!

Different brands felt differently, so you may want to do a test swatch. Also, different colors felt differently. For example, white yarn sometimes doesn’t felt very well: the bleaching process occasionally removes the felting ability of the fiber. That said, many whites do felt, so try a test to find out if yours does!

Okay, so you’ve picked your yarn, and you went ahead and crocheted your amigurumi. Now it’s time to felt! The three crucial ingredients to the felting process are: heat, water and agitation. Here, we’ll talk about three ways to achieve a great felting job.

felting in the washing machine

You’ve probably heard stories of someone putting a hand-knit sweater in the washing machine, and it comes out super-tiny… that’s because it felted! No surprise, then, that the washing machine is the easiest way to felt a stuffed animal. It doesn’t matter if you have a top- or front-loading washing machine: both will work. (You’ll read lots of places where it’s claimed that front-loading washing machines don’t work – but I live in an apartment, and my laundromat only has front loaders, and I’ve never had a problem). If you have a European super-energy efficient washing machine, then you may want to use another method, because super-energy efficient often means that there isn’t enough water to get the felting to work.

So, you have a washing machine. Toss your crochet in, put a tiny bit of detergent in (like, 1 tablespoon), turn the machine to the hottest setting, and let it go! With stuffed animals, you want the yarn to felt as much as possible, so there is no worry about over-felting. If the piece doesn’t felt as much as you’d like, just throw it in for another cycle.

felting in the dryer

If you don’t have a washing machine that will work, you may want to use the dryer. The dryer is hot and spins stuff around, so it’ll felt the yarn just fine!

Soak your crocheted pieces in water, and toss them into the machine. If the pieces are too dry, the dryer will dry them, without completely felting them… so wet is good! Same as above, if the piece doesn’t felt as much as you’d like, just re-wet the pieces, and throw them in for another cycle.

felting by hand

Finally, you can felt by hand. I’m not going to fib – it’s tiring. I have often attempted to felt by hand, and then I get tired and decide to throw the pieces in the washing machine instead! But, if you’re energetic, give it a try.

Fill a tub with hot water- as hot as you can stand. You may want to put on some rubber gloves if it allows you to use hotter water. Toss in a little bit of soap or detergent, and scrub away! You want to agitate the fabric as much as you can – rub it together, twist it, beat it. The difficult part is sustaining the scrubbing long enough to felt the piece, and also to felt evenly around the entire piece.

Give it a try!

So, there you have it! Lots of ways to felt! After you are done felting, stuff your pieces with newspaper to allow them to dry in a nice shape. Once they’re dry, you’re ready to assemble according to the directions in the pattern.
Happy felting!