Okay, so here’s a question I get often: when making a stuffed animal, is it important to weave in ends?
I’ll tell you!
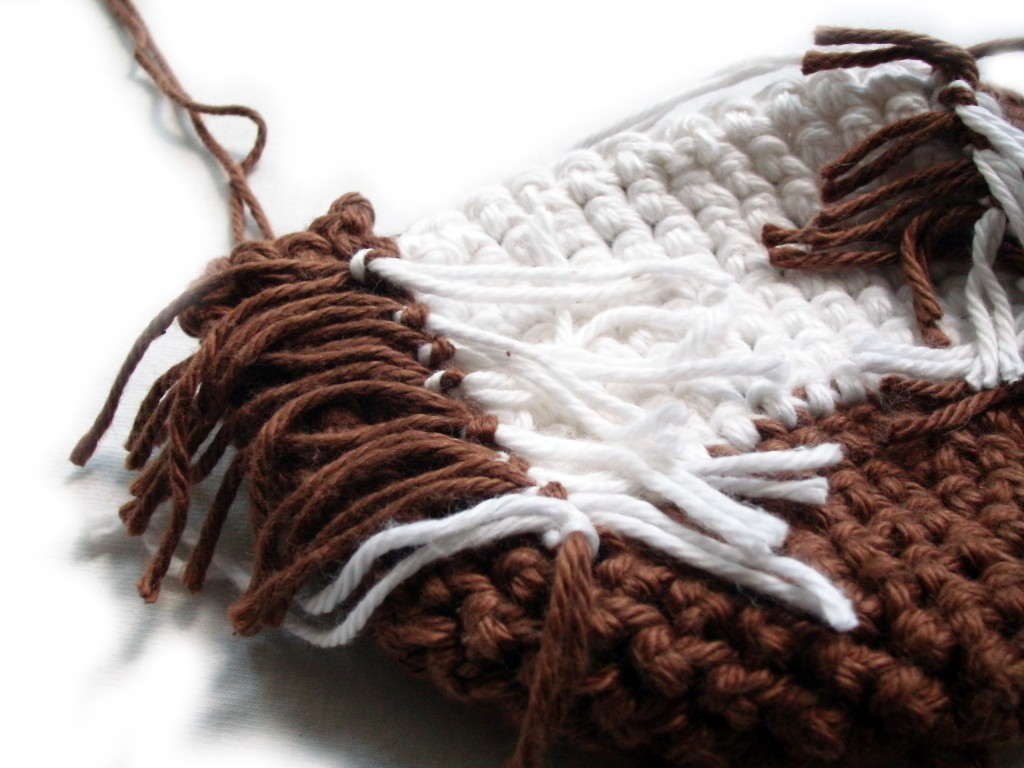
Weaving in ends
What is weaving in ends? When you change colors (or start a new skein of yarn), you’ll have little tails left behind. Those are called ‘ends’. Weaving in ends just means using a tapestry needle to hide those ends.
What about stuffed animals?
Are you ready for some good news? Because the ends of a stuffed animal are on the inside of the body, you don’t need to weave the ends in!
That means, no matter how many messy tails there are on the inside of the stuffed animal, you’ll never see them!
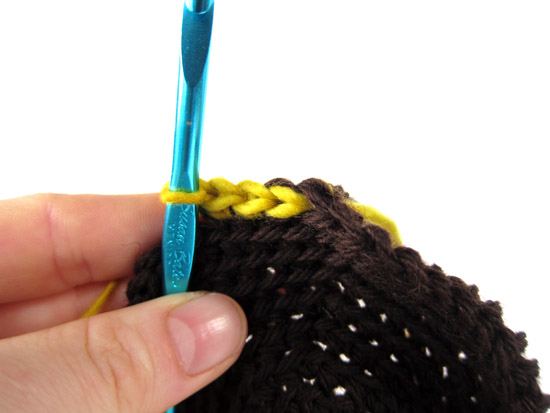
If you crochet amigurumi, you have probably heard of the Invisible Decrease. The Invisible Decrease is another name for slip stitching 2 together through the front loop.
The result is a decrease that is thinner (and less bumpy) than a regular decrease.
Is it right for you?
I often get asked if I recommend the Invisible Decrease. And my answer is, “it depends”.
The Invisible Decrease is designed to reduce the thickness in fabric when you’re crocheting through both loops.
As you may know, I prefer crocheting through the back loop only. This creates a less-dense fabric than crocheting through both loops.
When you crochet through the back loop, the ‘extra bulk’ of the decrease isn’t a problem! You should happily do your normal decrease!
Alternatives
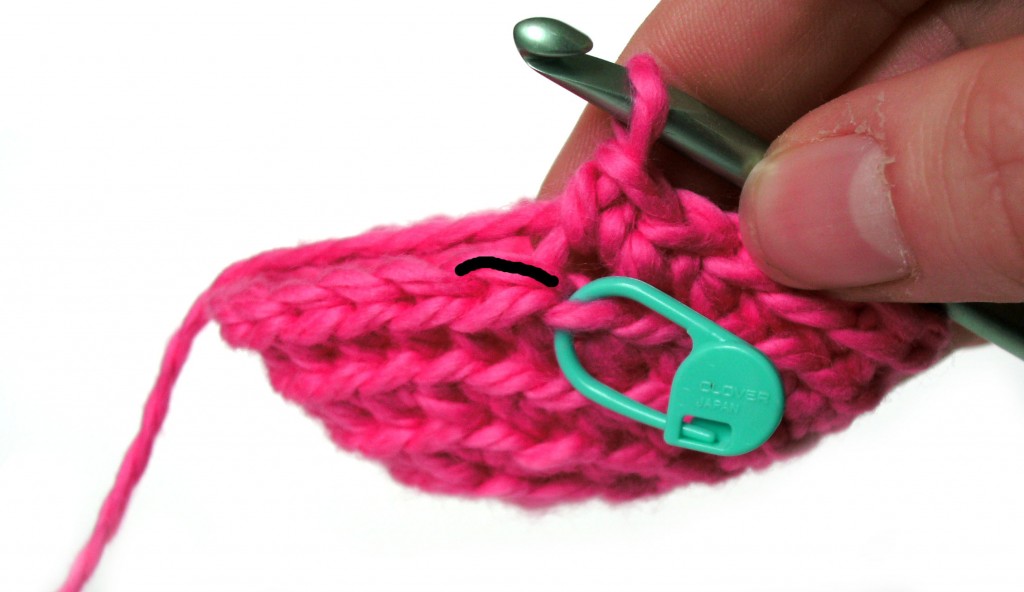
If you’re still looking to cut down on bulk while crocheting through the back loop, you can slip stitch 2 together as your decrease, but just don’t do it through the front loop.
Just be aware that because the Sl St2tog is ‘smaller’ than a normal Sc2tog, this could change the appearance of your final piece if your decreases are stacked.
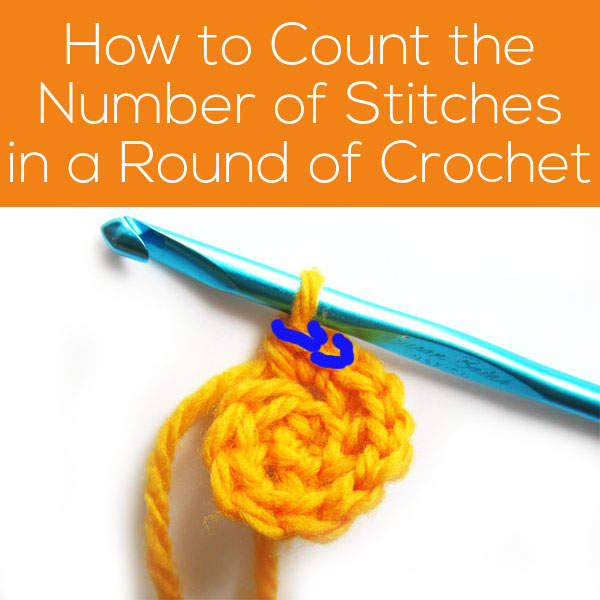
When you crochet in the round, it can be tricky to count your stitches. But counting is important to make sure that you’re on track for following your pattern.
Today, I’ll show you how to count your stitches!
The loop on the hook doesn’t count!
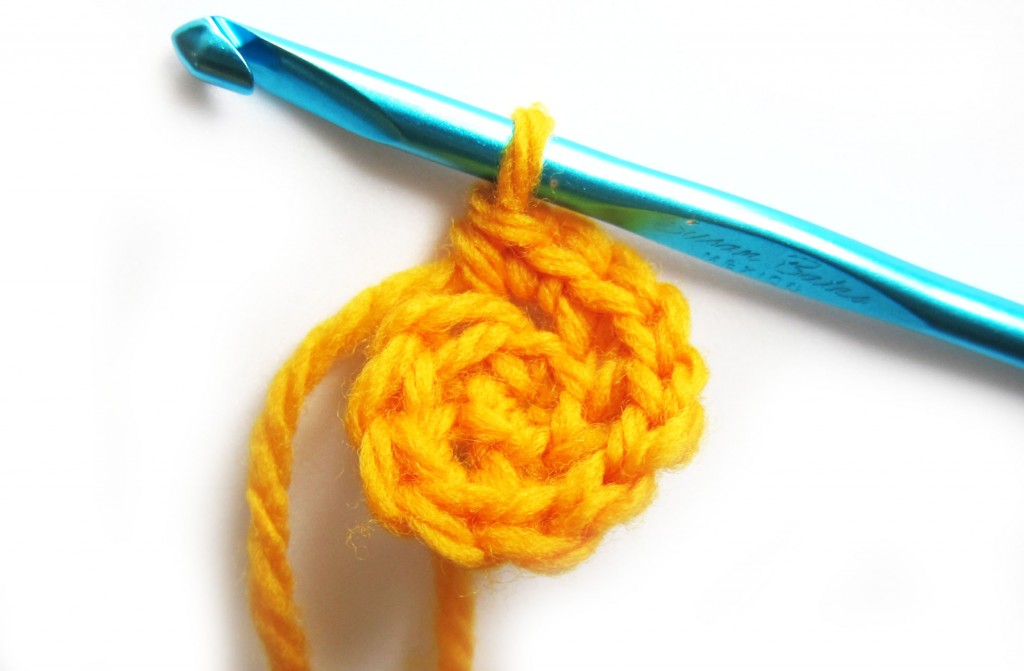
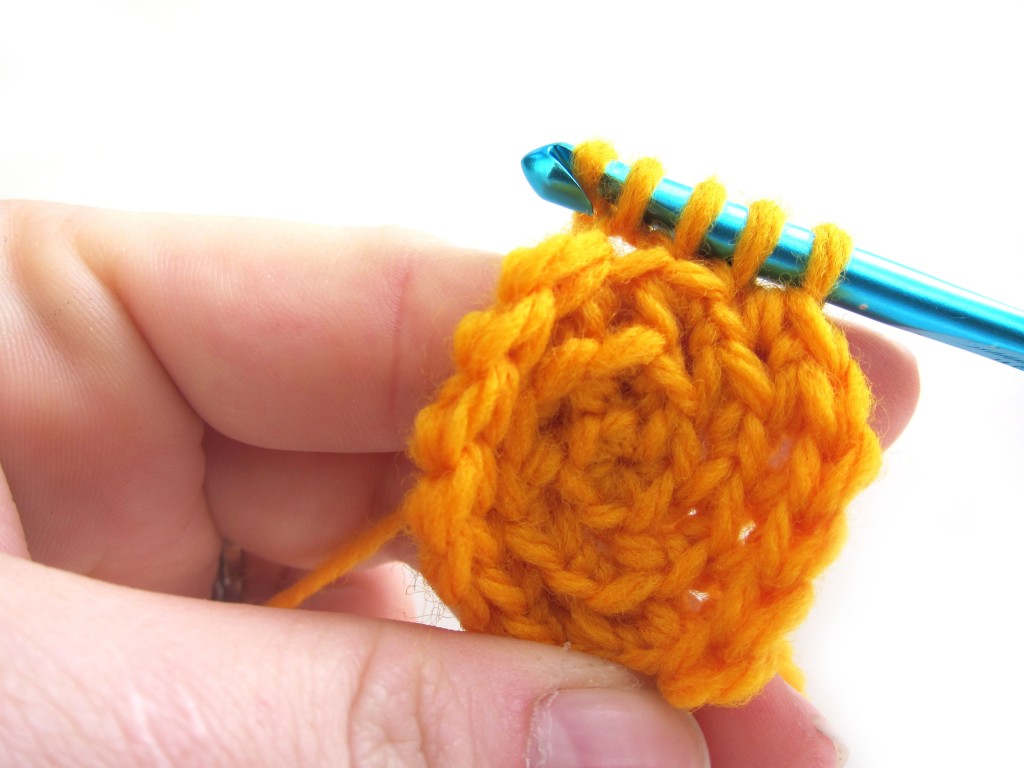
Here’s a photo of my work:
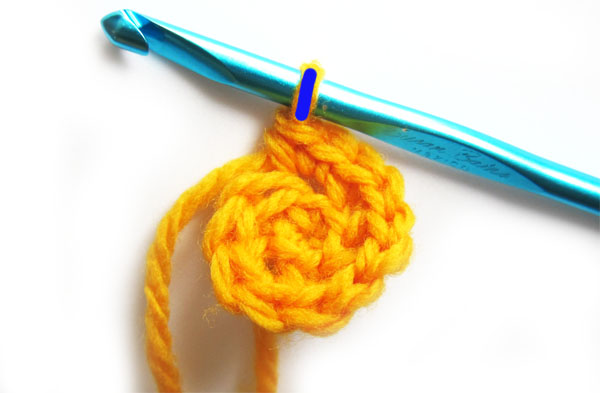
Do you see the loop that’s on my hook? (I’ll be highlighting all the stitches I’m chatting about in dark blue):
This loop does not count as a stitch! This might come as a surprise, especially if you’re a knitter.
Look for the ‘V’s
So what does count? You want to look for the ‘V’s. I like to start at the hook and work my way around. Here, I’ve highlighted the first V:
Let’s do another:
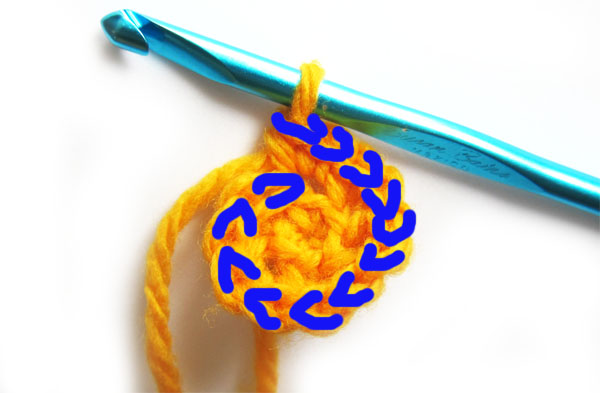
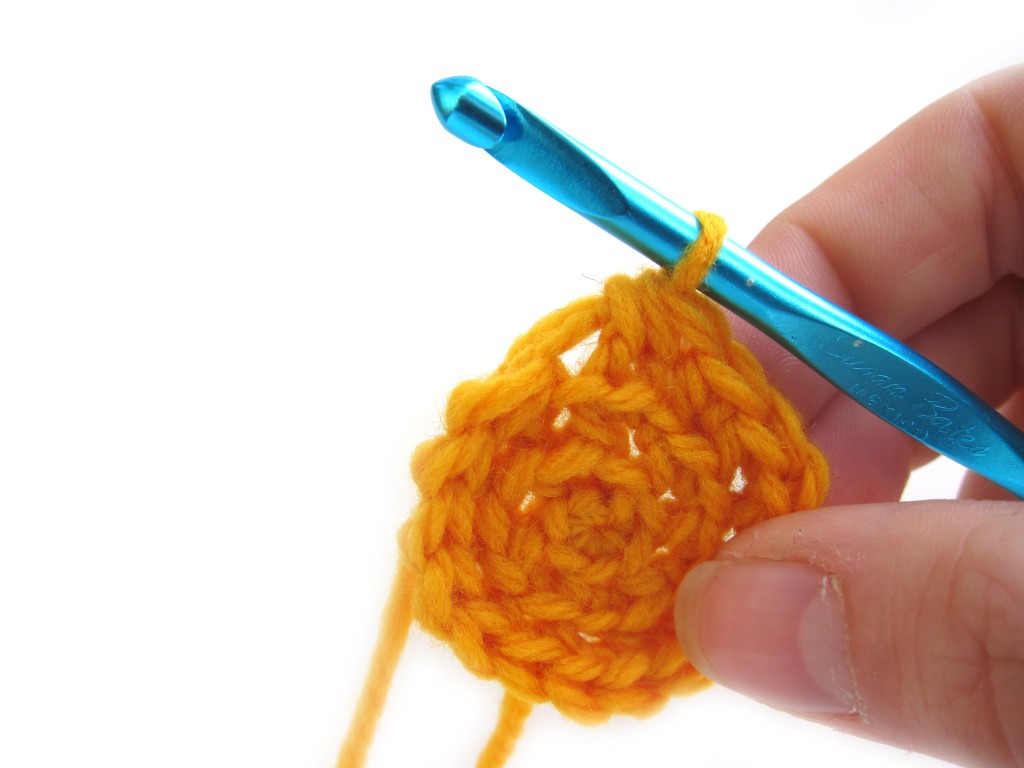
Now it’s your turn. Have a look at this picture and count the Vs:
Keep counting until you’ve finished the round. If a stitch has been ‘stitched into’, that means it’s part of the previous round, so don’t count it!
How many did you get?
Did you find 12?
Hope that helps!
Here are handy links to all the crochet troubleshooting posts. . .
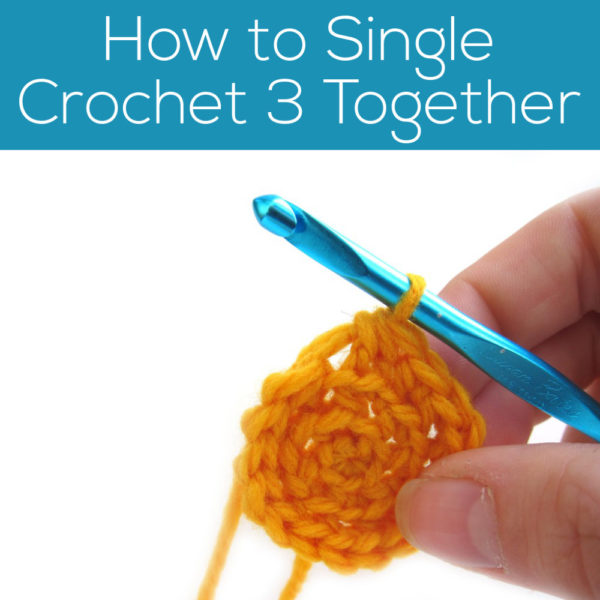
Sc3tog is a decrease over 3 stitches, and it’s one that I find myself using a lot, recently! Today, I’ll show you how to do it, step by step. There’s a video after the photo tutorial, in case that’s your preferred way to learn. 🙂
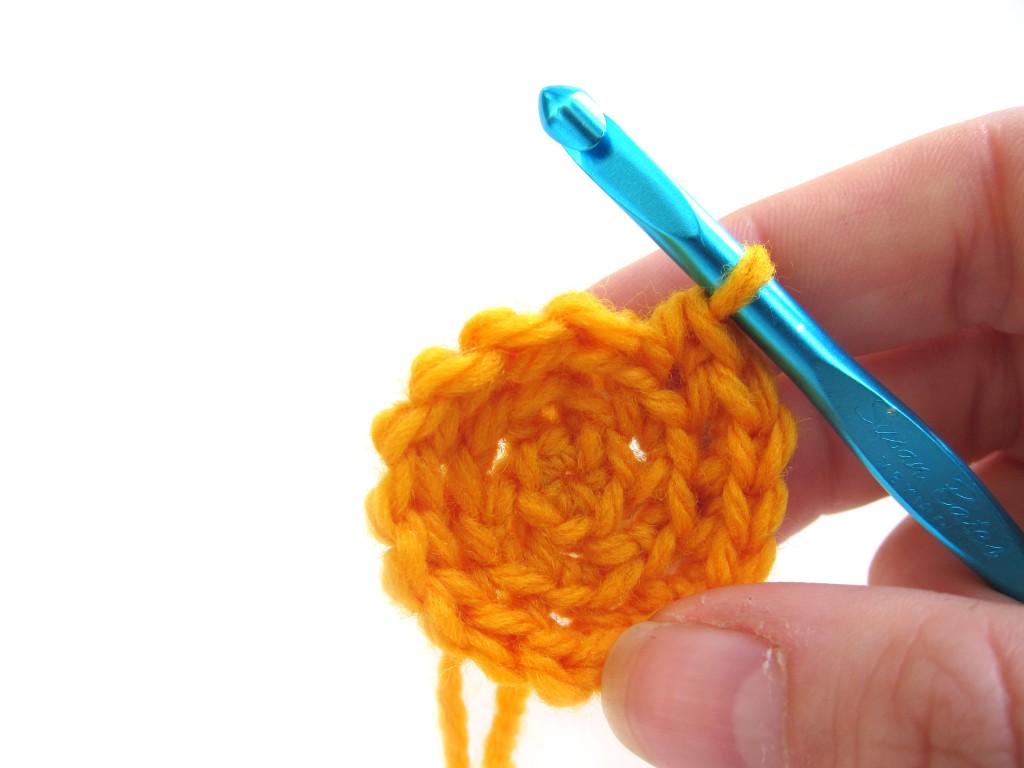
Here is what your piece will look like before you begin… notice there is one loop on the hook:
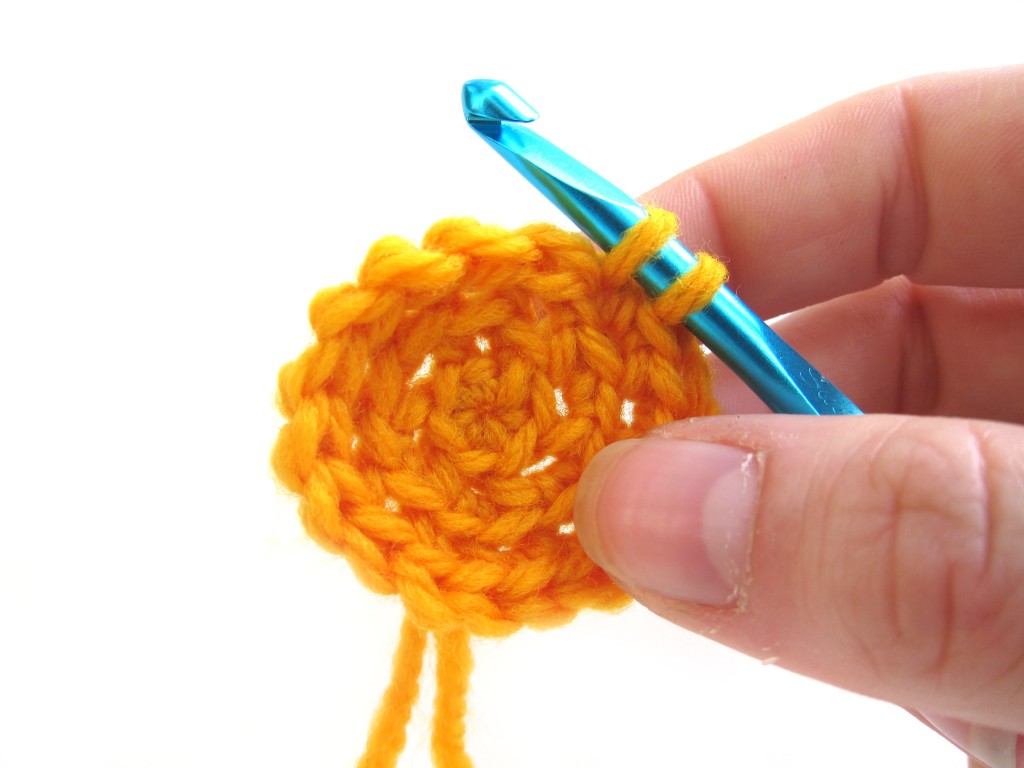
Insert your hook into the next stitch, and wrap the yarn over the hook and pull through. There are now two loops on the hook:
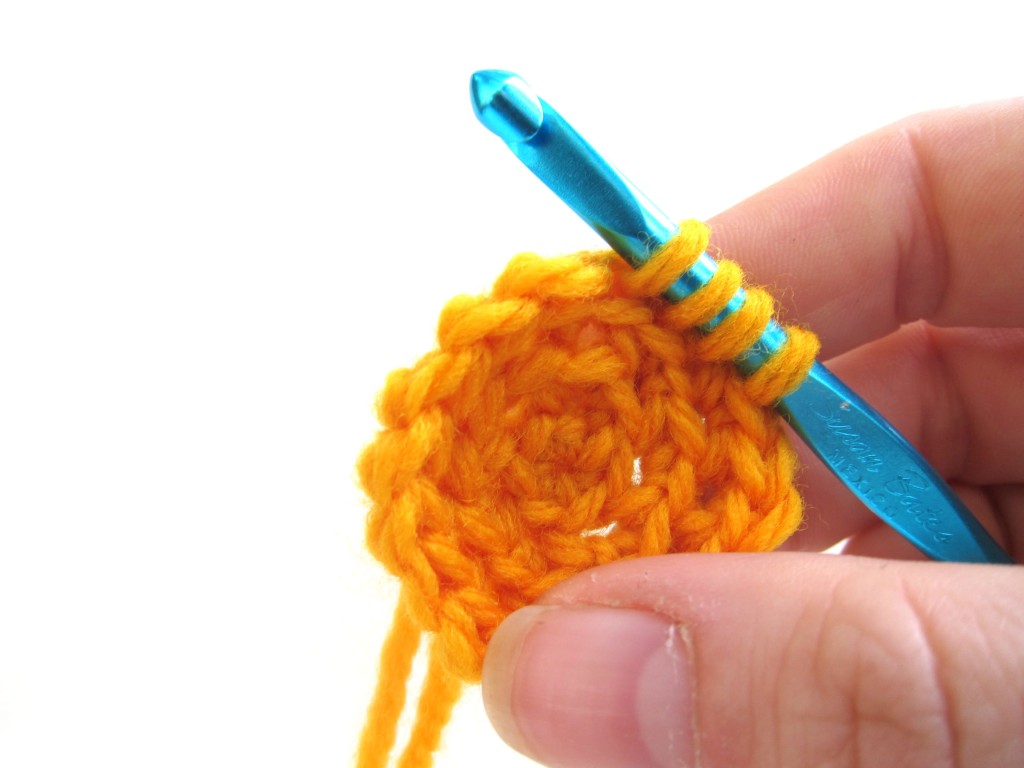
Do the same thing (insert your hook into the next stitch, wrap the yarn over and pull through stitch) two more times. You will have a total of 4 loops on the hook:
Wrap the yarn over the hook, and pull through all 4 loops:
Ta da! You have decreased 3 stitches into one!
Watch the video!
If the photos aren’t what you need, don’t worry… I made a video!
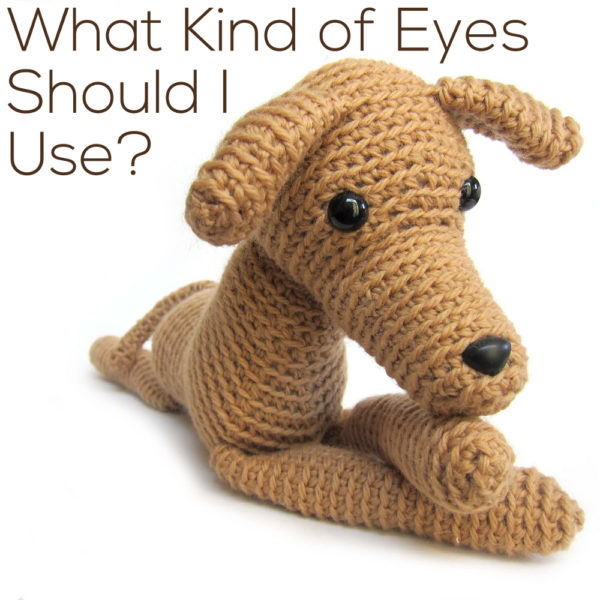
I love crocheting stuffed animals. And do you know my favorite part? Putting the eyes in! It’s when the animal comes to life!
Eyes are what gives the animal an expression… and my heart always fills with joy when it’s time to add them!
There are lots of choices for eyes, so today, I’m going to talk about your options!
This post was originally written about amigurumi eyes – but all the tips and info apply to sewn softies too!
Plastic Craft Eyes
In most of my animals, I use plastic craft eyes. I think they add a ‘professional’ touch to the animal, and they’re really easy to insert!
The downside is that plastic eyes are not recommended for children under the age of three. Although the washer is nearly impossible to take off the back of the eye, the eye could come out of the fabric if the animal is chewed or fabric is torn.
Felt
Felt eyes are a great option! They’re baby-safe and since felt comes in lots of different colors, you have lots of choices! Read this blog post for a tutorial on how to add felt eyes to your cutie!
Buttons
Any button can be sewed on for a great-looking eye! (In the photo above, I used a buttons on top of felt). I’ve seen some great monsters on Pinterest that make use of mis-matching buttons… so cute!
Some people use button eyes as a ‘safe’ alternative to plastic craft eyes, but I don’t feel comfortable making that recommendation. If a button is chewed on, it can become dislodged in the same way as a plastic eye.
Crocheted Eyes
This is my second-favorite technique… it’s quick and easy! I mean, you already have the yarn!
When you crochet amigurumi, accurate gauge isn’t super important. Your softie may end up a little bigger or smaller than the pattern says, but it’ll still work out just fine.
For clothing, accurate gauge is really important. You want the garment to fit!
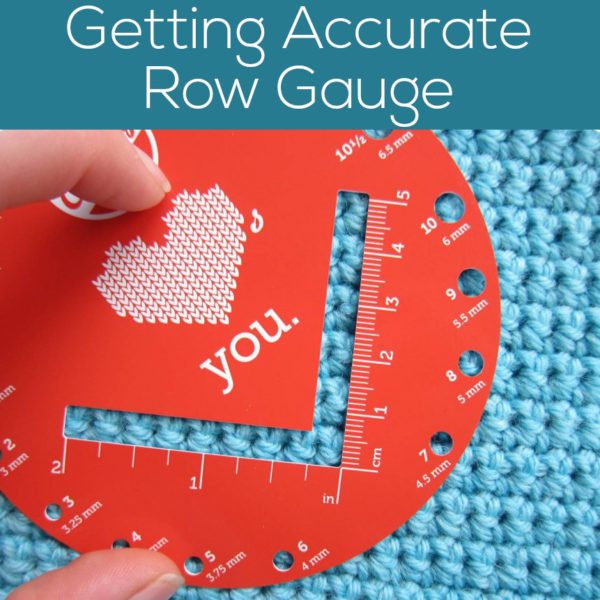
Every knitting and crochet pattern specifies a gauge. Frequently written in terms of a square, it tells you how many stitches and rows you need to have in a certain number of inches.
But all too often, you get the right stitch gauge only to discover your row gauge is off. Or you match the row gauge, but now your stitch gauge is off. Argh!
What are you supposed to do?
Here are some tips that will (hopefully) keep you from pulling your hair out.
1: Be sure to follow the stitch instructions exactly
Are the gauge instructions in single crochet? Through both loops or just one?
Gauge swatches are frequently in single crochet/stockinette stitch, but not always! The designer will have you make a gauge swatch for the most important stitch pattern, so read carefully! You want to be sure to do your swatch in the specified pattern!
2: Is the swatch blocked or unblocked?
Gauge swatches may be blocked (that is, wet/stretched/dried) or straight off the needles. Be sure to do what the instructions say! Otherwise, your swatch may not be in the ideal dimensions.
Why does it make a difference? A particular yarn or stitch pattern may be likely to stretch more vertically than horizontally, for example. Blocking helps get the swatch into its ‘final configuration’ and may provide a more accurate measurement.
3: Change your needles
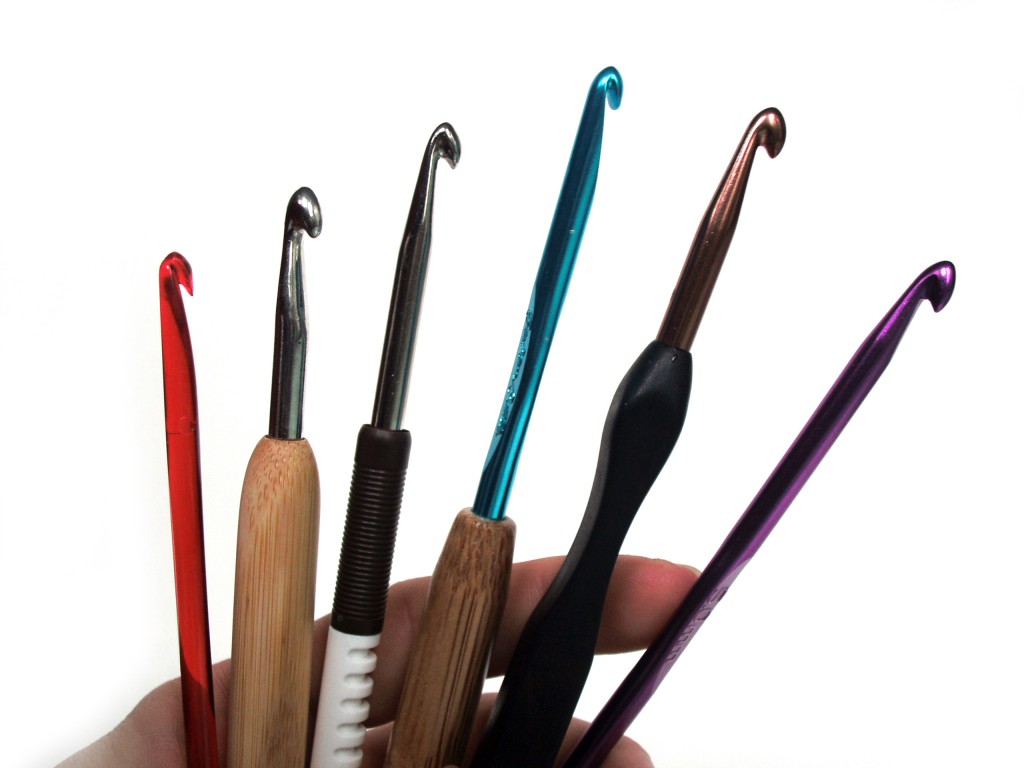
If you’re pretty close to reaching the right row gauge (but not quite!), try a different needle/hook material. The grippy-ness of bamboo or the slippery-ness of metal may be just what you need to get your gauge spot on.
4: Change your yarn
If you’re flexible about the type of yarn you’re using for your project, try a new yarn. The closer the yarn you’re using matches the yarn in the sample (in terms of fiber and ply), the closer gauge you’ll be able to achieve.
5: Accept your fate
Sometimes, it’s just not possible to match a designer’s exact gauge. For garments, aim to match the stitch gauge, and then take note in the difference between your row gauge and the pattern’s. You may be able to compensate by adding/removing a row or two as you work.
Here are handy links to all the crochet troubleshooting posts. . .
You already know I’m a huge fan of dyeing with Kool Aid… but the colors can be a little limiting. So I had to try my hand with the Icing Dyes!
Advantages of Icing Dye
Icing dye, as the name suggests, is actually meant for dyeing. Granted, it’s usually food and not yarn… but it means that there are a wide range of colors that are really quite nice.
The dyes also have the property that you can mix them together with fairly predictable results, which isn’t necessarily true of Kool Aid.
The main disadvantage is that you’ll need to add vinegar to your dye bath to get the color to set. That’s not too big of a downside!
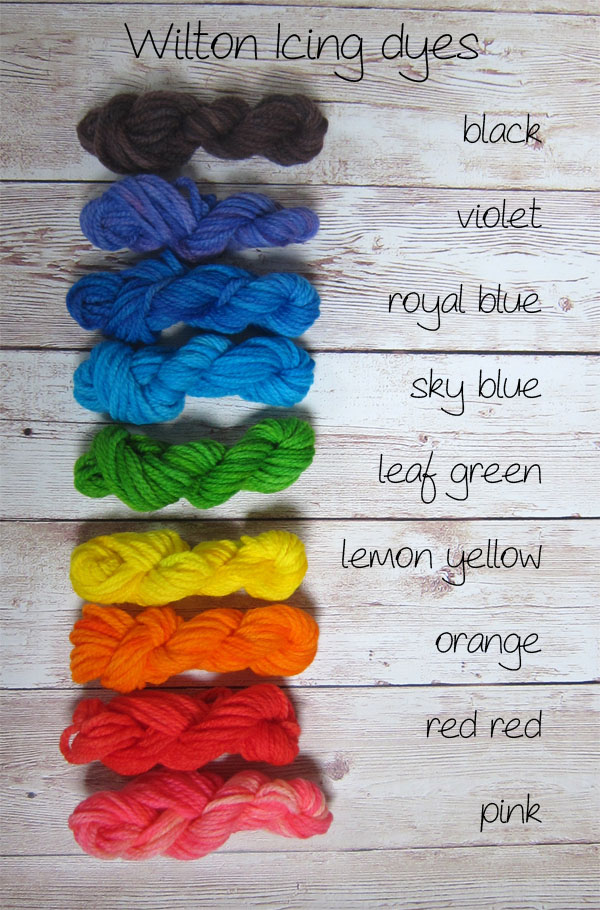
Wilton Icing Dye Color Card
For each color, my recipe was:
8 yards of white worsted weight yarn
1/8 tsp of Wilton Icing Dye
2 T vinegar
1/4 cup boiling water
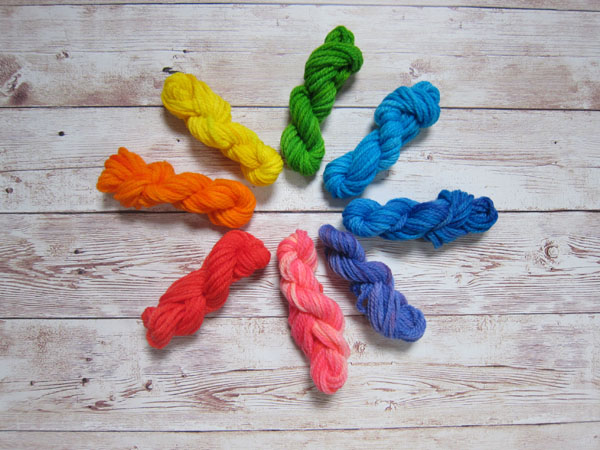
And here’s how the colors look!
I’m so excited about the possibilities! These are the colors straight out of the jar… you can mix the colors to get even closer to what you want.
Notes on Dyeing
These colors were all produced with the same strength of dye. Experiment with adding less dye for more subtle colors.
Purple is notoriously difficult. It’s hard to tell from the photo, but the blue & red tones separated out quite a bit. I love the look, but you’ll want to always test swatches if you want a certain look.
A true black is very hard to achieve. I’ll play around with adding a higher intensity of dye.
Always do a test swatch! These 8 yard skeins were just perfect, you can wind them yourself for playing!
Have fun!
Here are handy links to all the posts about yarn. . .
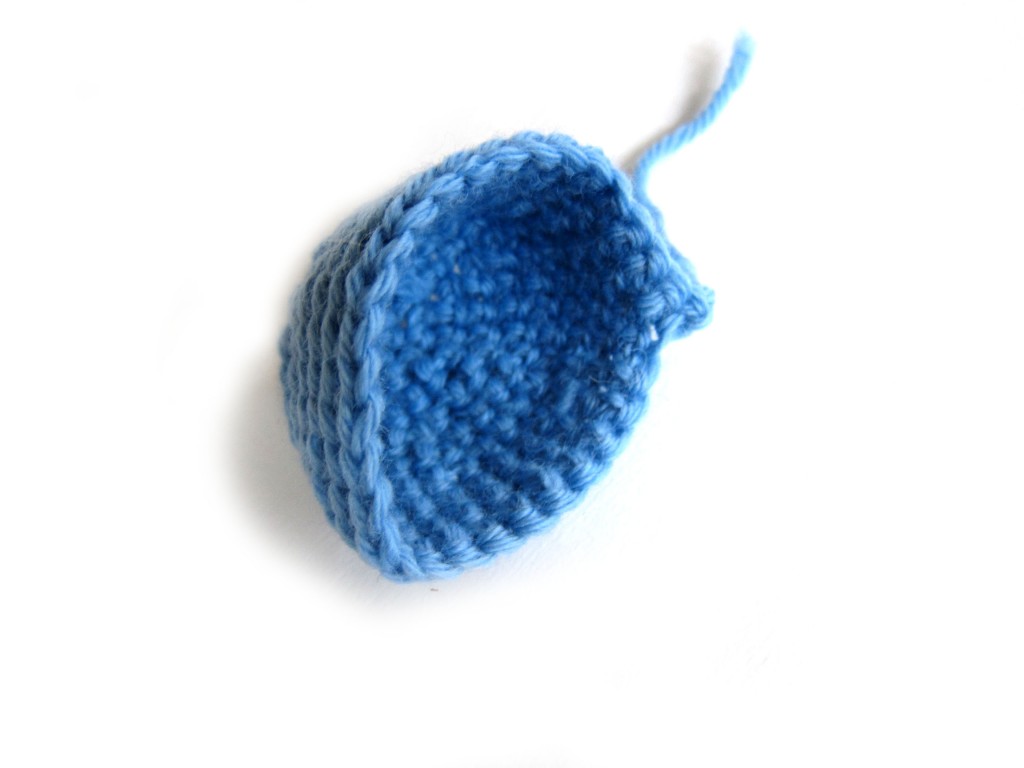
Every once in a while, you’ll come across instructions that tell you to ‘flatten piece, and attach’. But, what does that mean? Today, I’ll show you step-by-step!
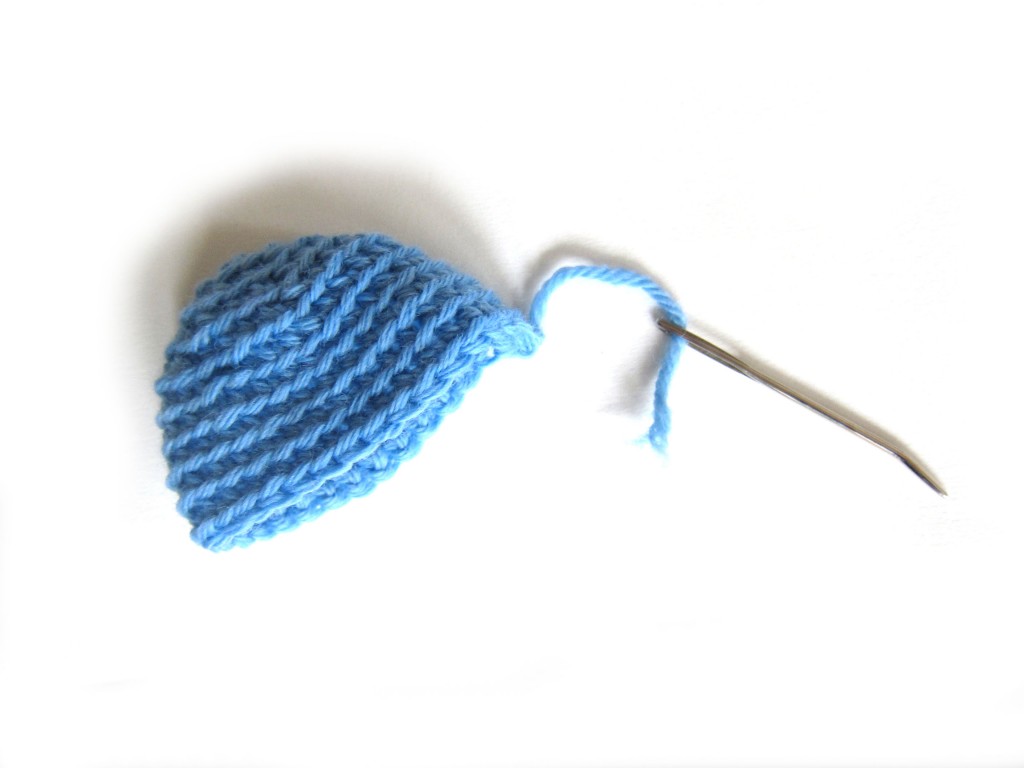
Let’s assume we’ve followed the crochet instructions, and we have a piece (that’s been worked in the round), and we’ve fastened off. The piece will look something like this one:
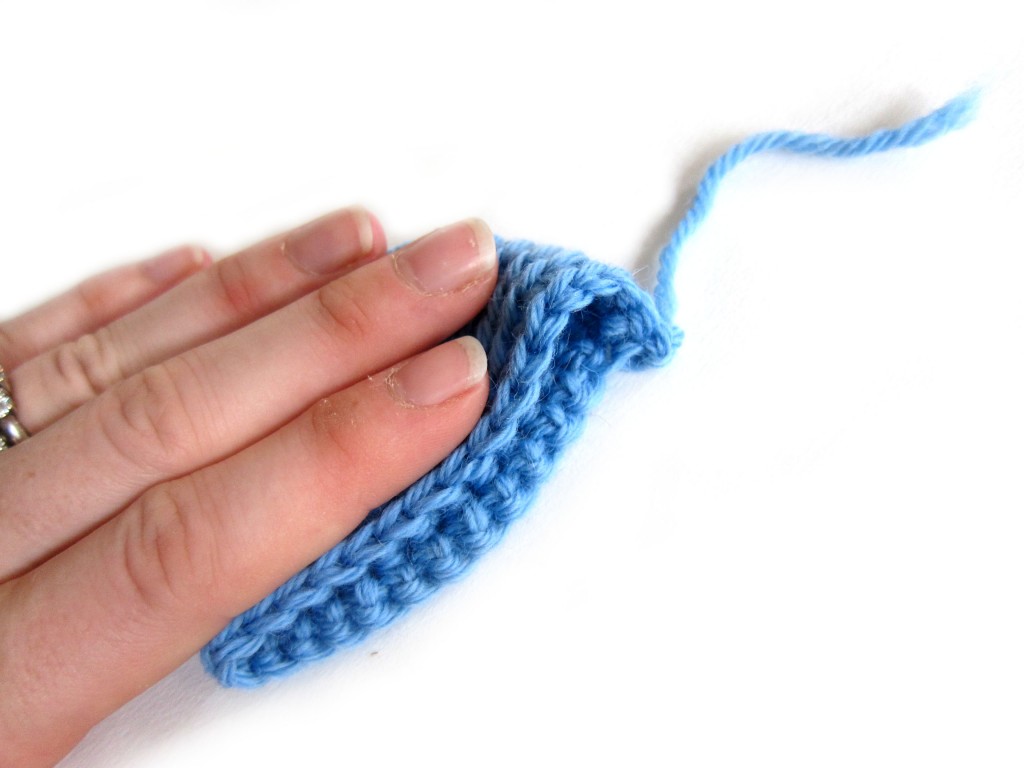
Now, we need to carry out the instruction ‘flatten piece’. It’s easy! Simply squish the piece closed, leaving your long tail on one side.
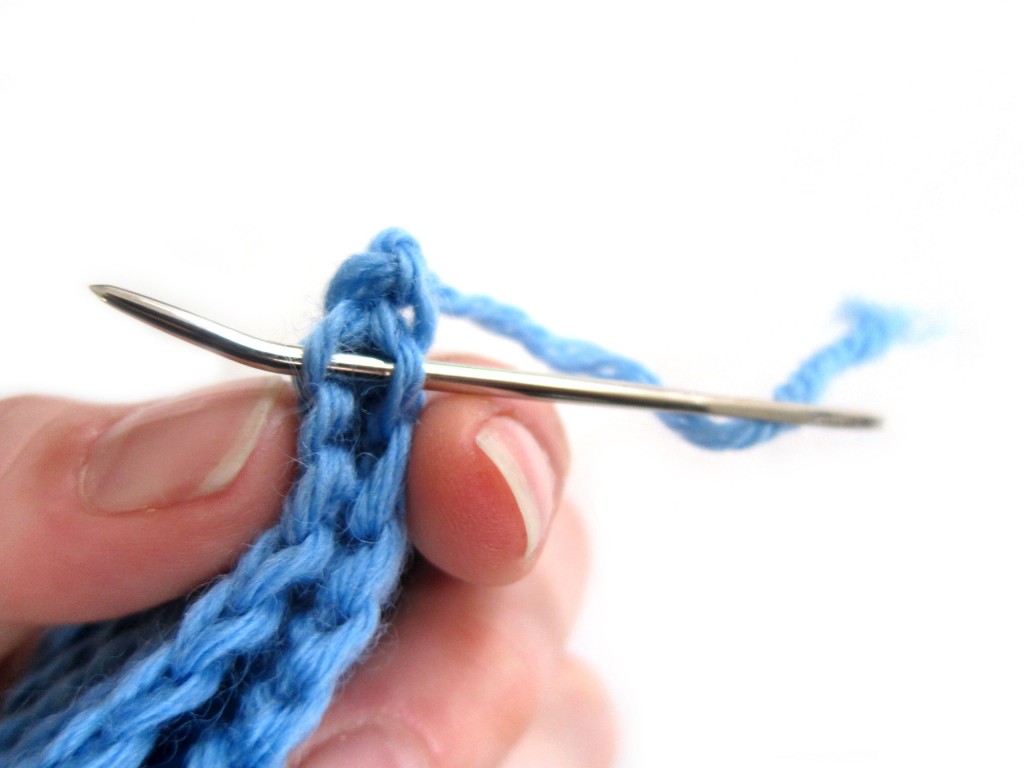
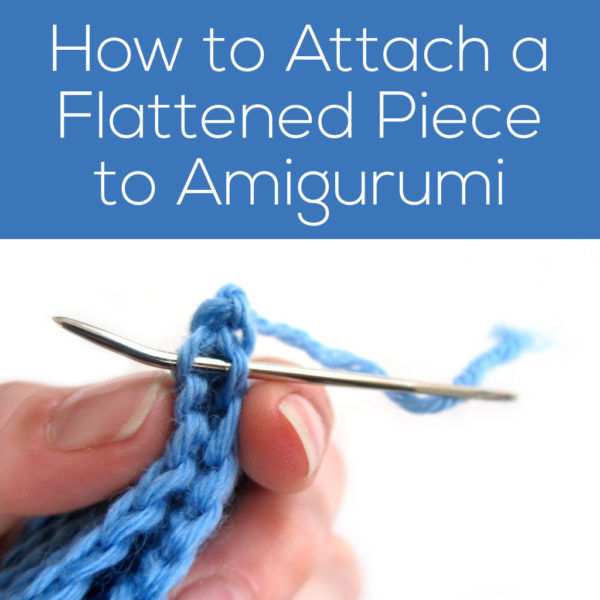
Thread the long tail of your piece onto a tapestry needle (mine is shorter than usual for photo purposes!).
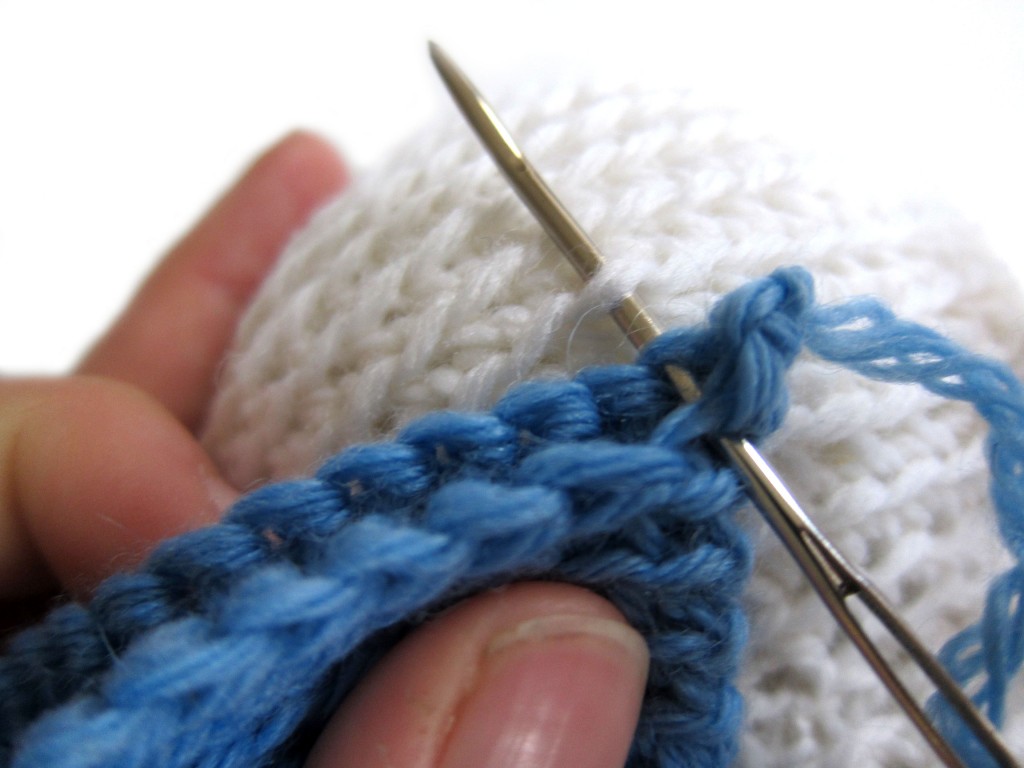
Now, we need to do the ‘attach piece’ part. To attach a flattened piece, the key is that you want to go through both layers of your flattened piece.
Run your tapestry needle through both layers of your piece, then through one stitch on your background work (just like you usually attach):
Now, just repeat this last step, until you’ve attached your entire piece! Yay!
Here are handy links to all the posts about attaching parts. . .
Crocheting with beads can be tricky. Many techniques call for adding the bead to the stitch as you go, which isn’t great for traveling, and the bead doesn’t sit nicely.
Want to see the beading technique I developed?
In this technique, the beads sit nicely on the front loop of the piece, so we’ll be crocheting through the back loop only. Here’s how to do it:
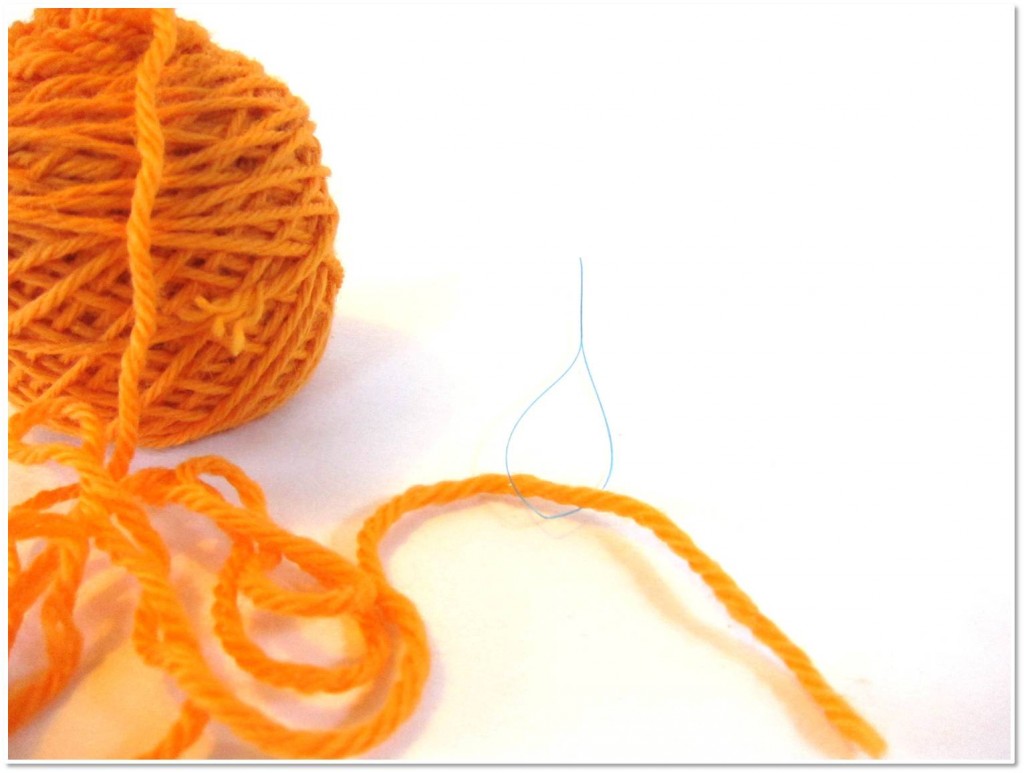
Step 1: String your beads
I’m using size 6 beads on worsted weight yarn. You’ll want to use the size beads that work for your yarn.
You’ll want to thread all of your beads onto your yarn. To do this, you might find a bead threader to be helpful! Stick the tail of your yarn through the big loop of the bead-threader:
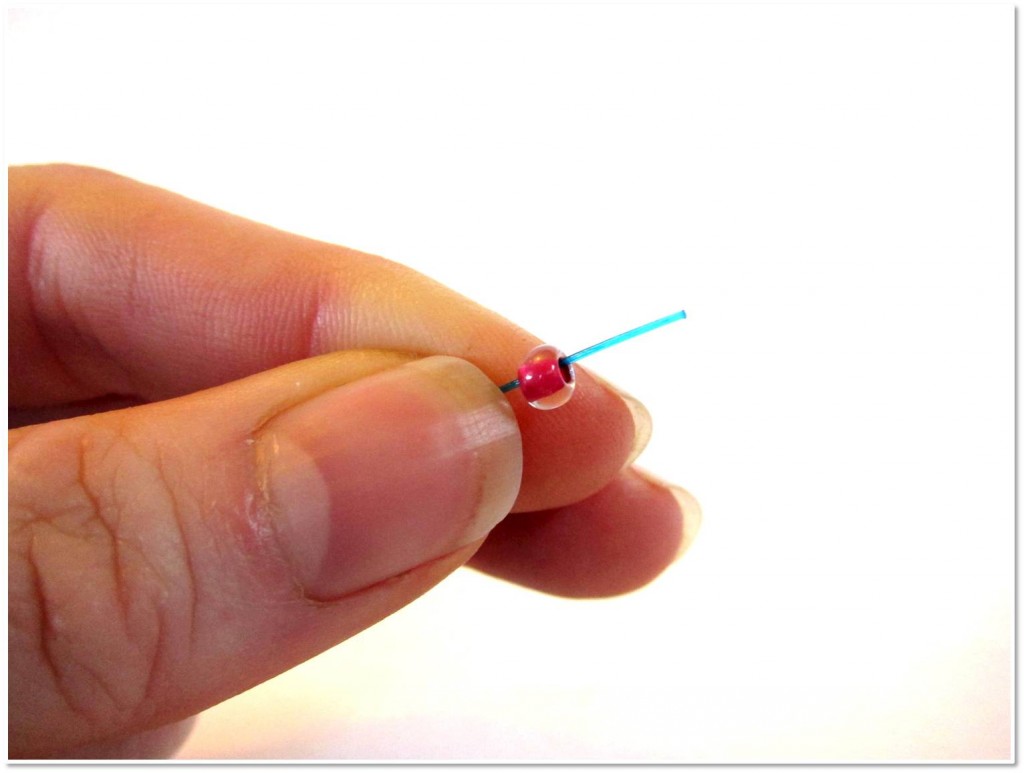
Make sure about an inch or two is through the threader. Now, thread beads on the tip of the threader!
The bead may take a little bit of tugging to pass over the doubled-piece of yarn, but then it’ll slide easily down the yarn.
Thread all of your beads, and then you’re ready to start!
Step 1: Crochet with beads!
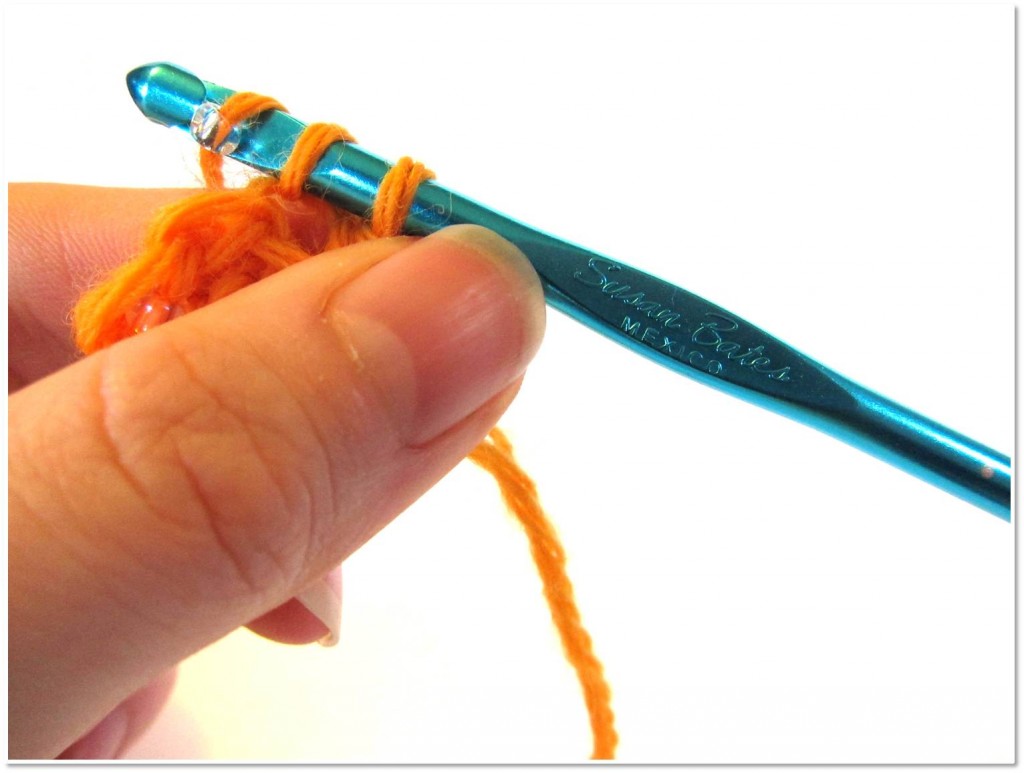
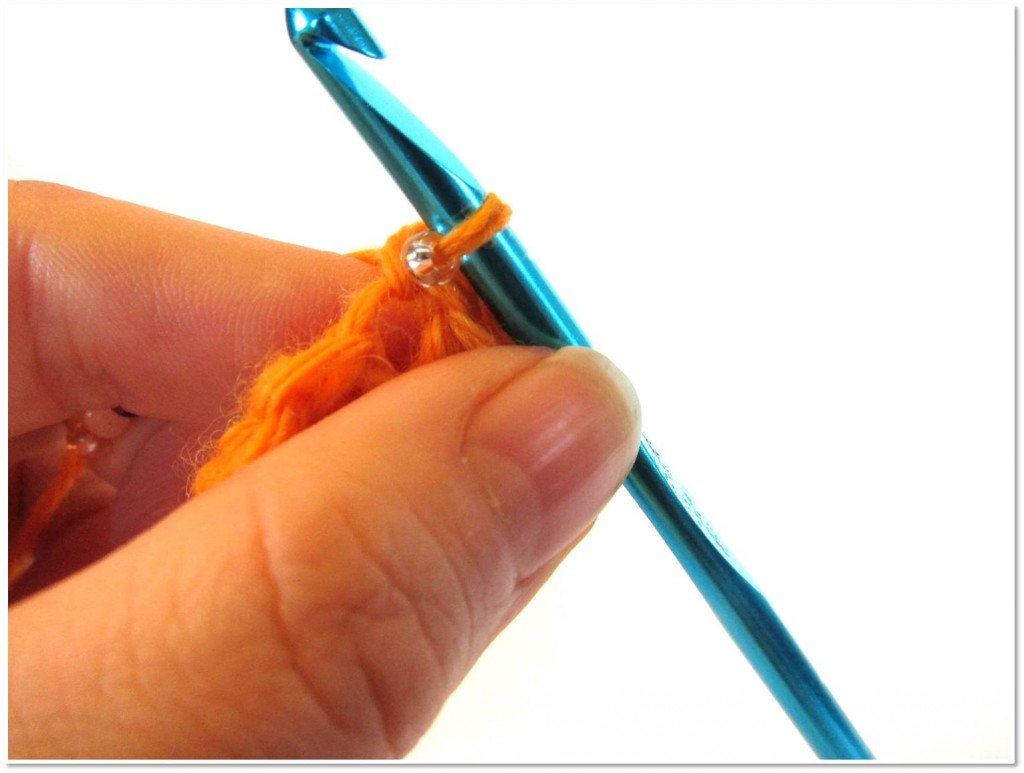
To place a bead, single crochet… and on the stitch before you want to place a bead, pull the bead through the stitch as you do the final ‘pull-through’ of the stitch:
This is the trickiest part. You may have to use your fingers to fidget the bead through, especially if you crochet tightly.
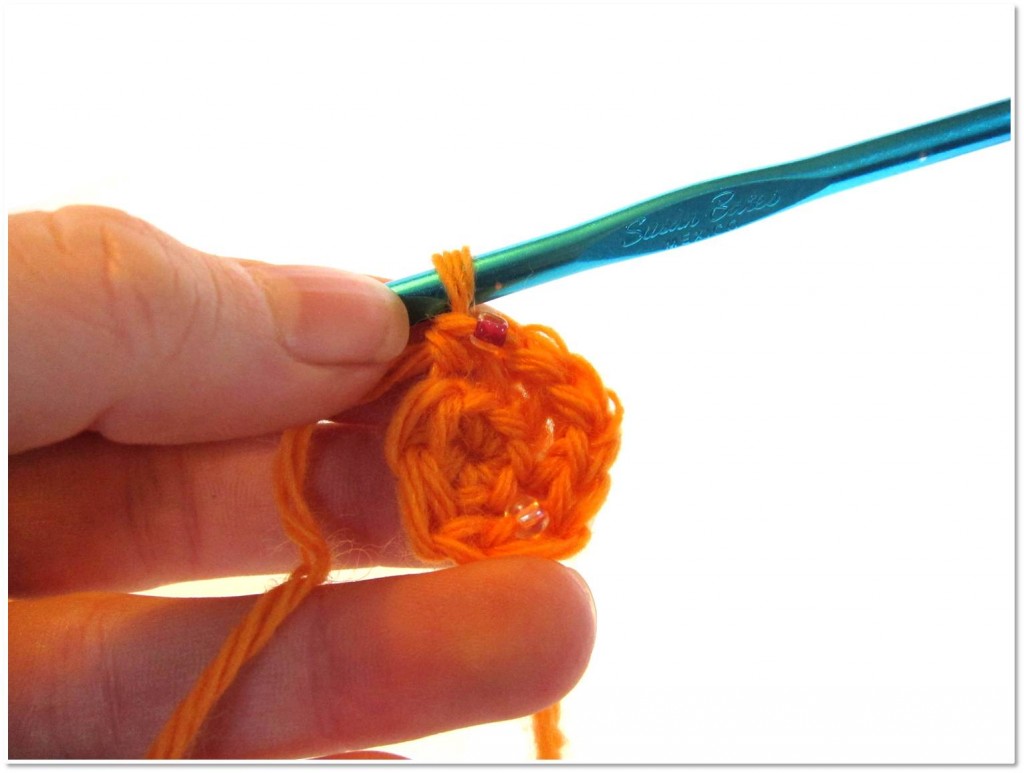
Now, make sure the bead lies on the front half of the stitch (in front of your hook):
Finish the next crochet stitch, and your bead will lay right on that front loop! So much fun!
There’s no magic color-changing trick… I just took this photo on a different stitch!
Let’s see it in action!
I know it can be hard to learn from photos sometimes… so I made you a video!
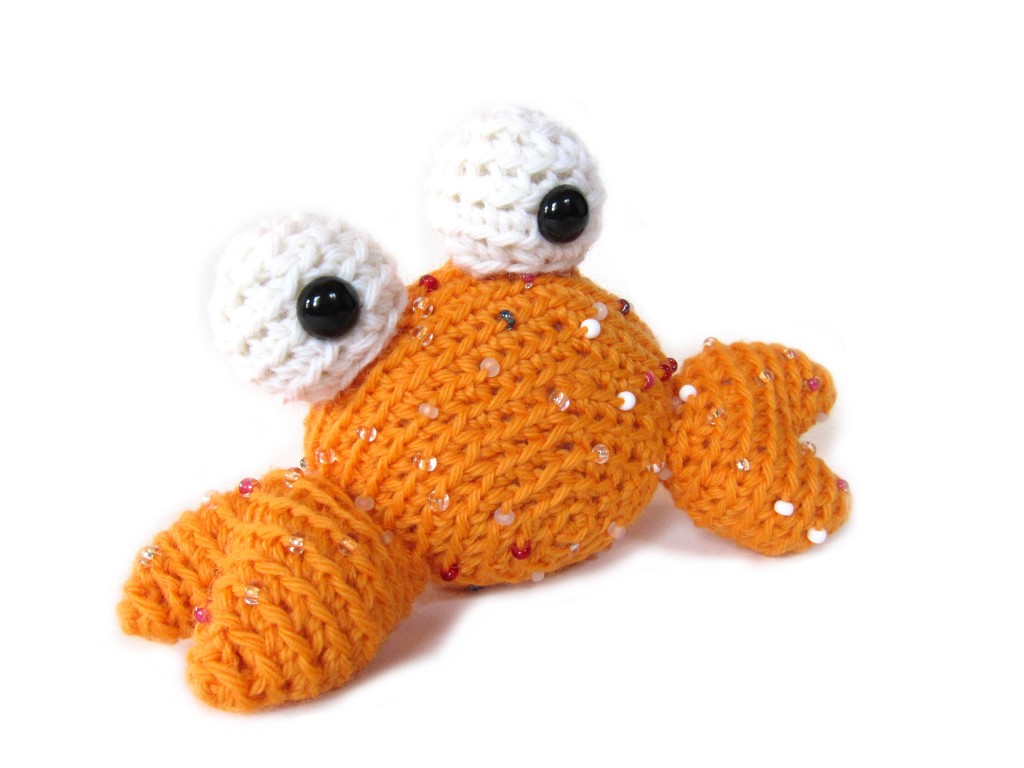
Look how cute!
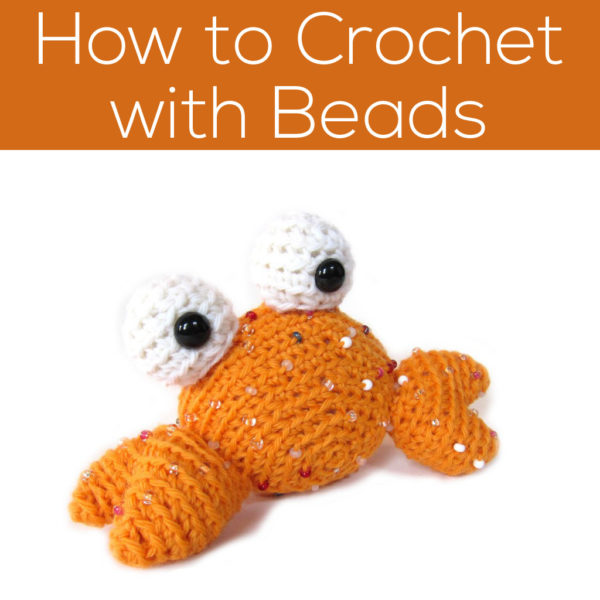
This is Tipper the Tiny Crab. To make him, just string the beads onto the yarn, and crochet the beads using the technique described above! You’ll follow the instructions for Tipper as they are written in the pattern, but you’ll place beads randomly, about every 5-8 stitches.
Here are handy links to all the posts about faces and details. . .
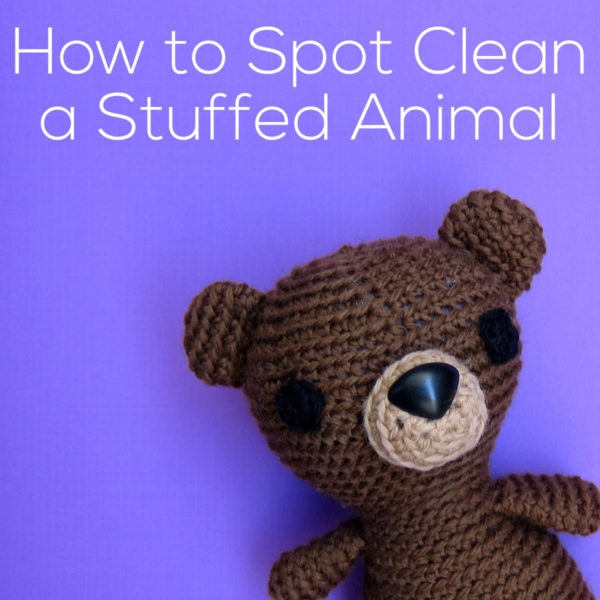
If you crocheted a stuffed animal using a hand wash-only yarn, then you can’t just throw the little guy into the washing machine. You’ll need to spot clean. Here’s how to do it!
How to Spot Clean
Spot cleaning basically means cleaning a particular area of an item without submerging the entire item. It’s a phrase frequently used in the garment industry, but applies to your stuffed animals, too!
Wet a washcloth in water or in water + a wool safe wash (like Eucalan no rinse wash)
Dab at the spot that has become soiled, moistening the stuffed animal’s fabric. Do not scrub! Agitation causes felting.
Allow to air dry.
That’s all!
FAQ
How do I tell if an animal needs to be spot cleaned? The yarn is your guide! Wash the animal like you would wash a garment made with that particular yarn, paying careful attention to the instructions. Keep in mind, though, that it’s incredibly important that the animal (and its stuffing) completely dries. If your yarn can’t stand the dryer, then you won’t be able to dry the animal… meaning you shouldn’t get the stuffing wet! Spot clean, only.
What if it’s still dirty? If you follow the above steps and it’s still dirty, then wash again. You can feel free to dip the tip of a limb in water, avoiding soaking the stuffing, to get a bit more water and detergent into the stain.
My stuffed animal is a complete mess. (like, it fell in a puddle). What can I do? If you think the animal might be headed toward the trash can, you can always try machine washing it. The good news is that the stuffing often prevents some amount of felting, so you could be safe. It’s a last ditch effort, though!