3 Ways to Join Yarn without Tying a Knot

How to Join Yarns with No Knot - Three Ways

Today, I’m going to show you my 3 favorite ways to join a new yarn without tying a knot. These techniques can be used:

  • When you’ve run out of yarn, and want to join a new ball of the same color
  • To change to a new color according to the pattern (although the color change won’t be as clean as with this color change technique)
  • To add new yarns when you’re making a scrappy project- great for leftovers!

Russian Join

The Russian Join allows you to connect all of your yarns before you begin crocheting. You’ll want to check out this tutorial for a full how-to.

how to russian join yarn

This technique is great if you have a lot of small pieces of yarn. You can join them in advance and then just keep crocheting! The result in joining up little pieces is a fabulous magic ball!
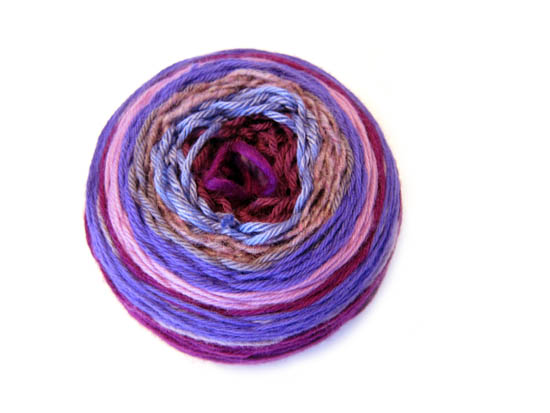
magic ball

‘Double Up’ Join

This is the technique I usually use when crocheting. You basically crochet a stitch or two with both your old and new yarns, then drop the old yarn and continue with just the new yarn. It’s very secure and quick. Visit this blog post for details!
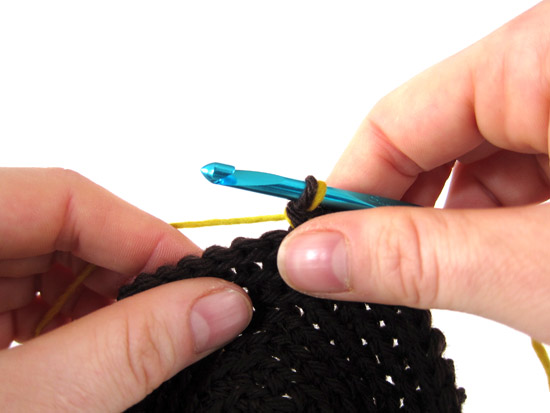
join with no knot

The disadvantage is that those couple of stitches are a little thicker (due to the 2 yarns), but that doesn’t bother me much!

Spit Splice

This technique is the cleanest, but only works for wool yarns. And yes, you use spit! Read the full tutorial here.

This can be done either in advance or while you’re crocheting.

Which is your favorite?

Or do you prefer to tie a knot? It’s okay!

If you’re going to tie a knot, I recommend the following:

  • Tie the knot as you go, not in advance with the yarns
  • Start crocheting with your new yarn, then tie the knot after you’ve done a few stitches

I show how to do that in this tutorial.

Happy stitching!

Here are handy links to all the posts about yarn. . .

Return to the main table of contents for Let’s Learn to Crochet Amigurumi.

Move on to the lessons for the basic crochet stitches.

Happy stitching!

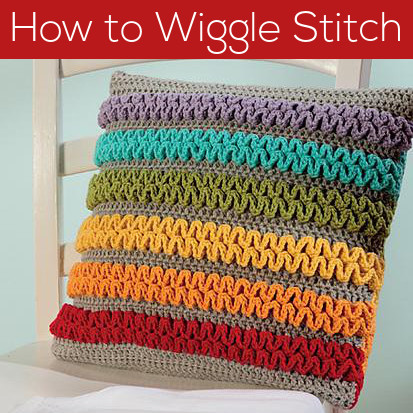
Video: Learn the Wiggle Stitch

How to Wiggle Stitch - video tutorial from FreshStitches and Shiny Happy World

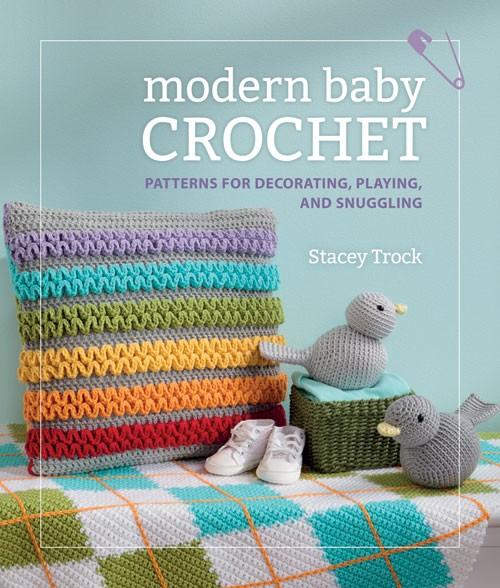
One of my favorite patterns in Modern Baby Crochet is the Colorful Wiggle Pillow… and my publishers must agree, because they decided to put it on the cover!

Modern Baby Crochet by Stacey Trock

It’s a fabulous pillow, and a lot of fun to make! I’ve been getting a couple of requests for a video about how to do the wiggle stitch, and so I’ve made one. Now you can make a wiggle pillow, too!

Have fun with this!

Here are handy links to all the posts teaching more fancy crochet stitches. . .

Return to the main table of contents for Let’s Learn to Crochet Amigurumi.

Move on to the posts about working with crochet patterns.

Happy stitching!

How to single crochet 2 together (sc2tog)…neatly!

Tip Tuesday

A question I get asked very often is: when I sc2tog, that decrease looks all big and loose. How do I fix it?

Today, I’ll show you! If you’re looking for a tutorial on how to sc2tog, then click here for a video.

Aim for even stitches

A very common problem is either having the decrease look loose, or the stitch next to it. No worries! It’s fixable!

Today, I’ll show you how to get a really nice decrease, based on my teardrop technique. Basically, at every step of the stitch, you want to make sure that the loop on the hook looks like a tight teardrop.

Let’s look at the step-by-step photos of me doing a decrease:

single crochet decrease

Do you see how at every step the loop is snug against the hook? Not strangling the hook, but snug.

That’s the trick! A crochet stitch is formed from these loops, so if one of these loops gets big, then your stitch will be big and loose!

Best,
Stacey

How and Why to Crochet through the Back Loop

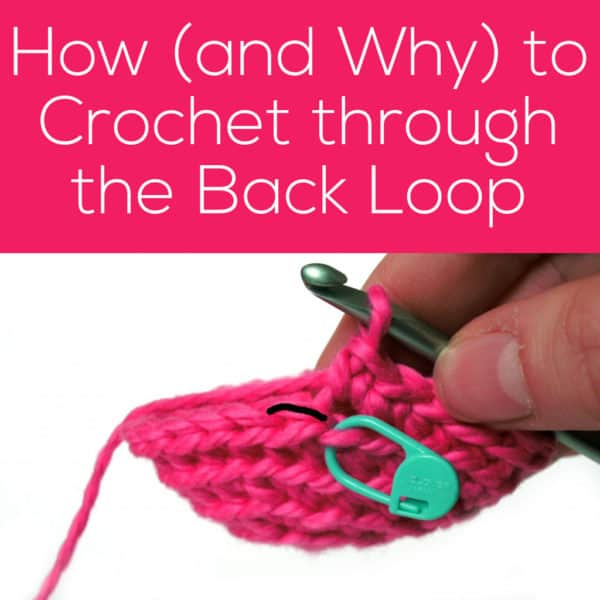
How (and why) to Crochet through the Back Loop - from FreshStitches and Shiny Happy World

I’ve heard it all before. Crocheting makes your wrists hurt. It’s too hard to put your hook into the next stitch. Attaching pieces is a nightmare.

What if I told you that one little trick could totally change all that? And crocheting would become relaxing and easy on your wrists again?

I’ll tell you the one thing you can do! And then I’ll show you why it rocks so much!

Crochet through the Back Loop

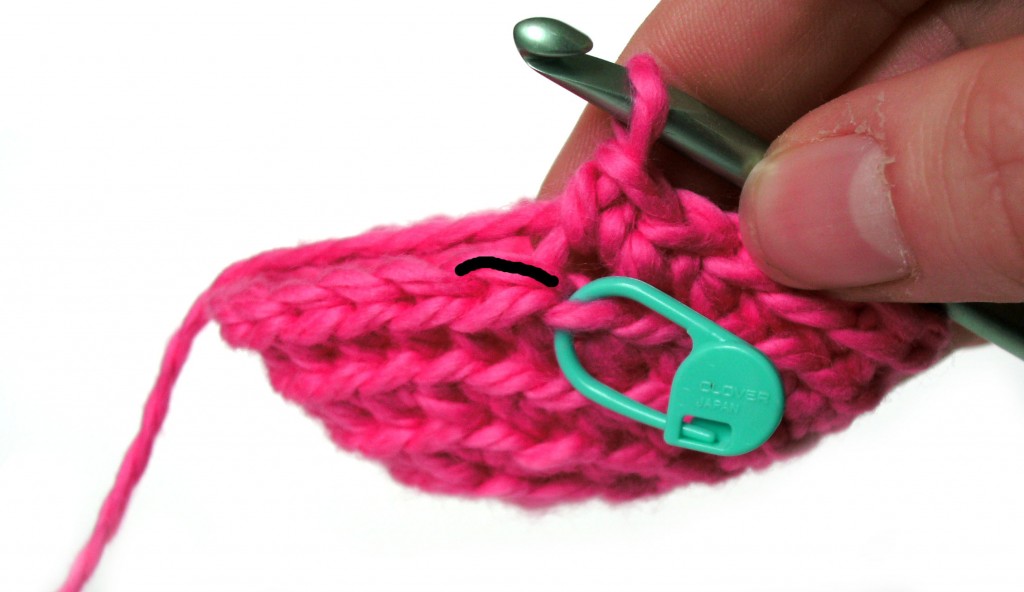
When crocheting, there are two loops: the front and the back (highlighted with a black line in the below photo).

crochet through the back loop

The standard is to insert your hook under both loops when crocheting. But it’s not the easiest way!

Let me tell you all of the amazing reasons you might want to give the back loop a try!

Crocheting through the back loop is easy

See how the back loop is just hanging out at the top? It’s easy to see and easy to stick your hook into.

holding crochet hook like a pencil

The back loop is able to pull a bit of slack from the front loop, so you can pop your hook in even if you’re a tight crocheter or have a hook with a big head!

Use a Hook that’s Comfortable for Your Wrist!

I have bad wrists. Using a small hook and jamming it into tight stitches makes my wrists sore.

When you crochet through the back loop, you can use a slightly larger hook without getting holes in the fabric, because the front loop gives you some coverage.

Crocheted fingers

This is especially important with stuffed animals, where you are going to add stuffing and don’t want it to show through. Many patterns tell you to use a size E hook with worsted weight yarn… that’s crazy! Talk about a recipe for sore wrists!

Make it Easy to Count Rounds

Crocheting through the back loop leaves the front loop behind to make a nice horizontal row.

This row makes it super-easy to count how many rounds you’ve done!

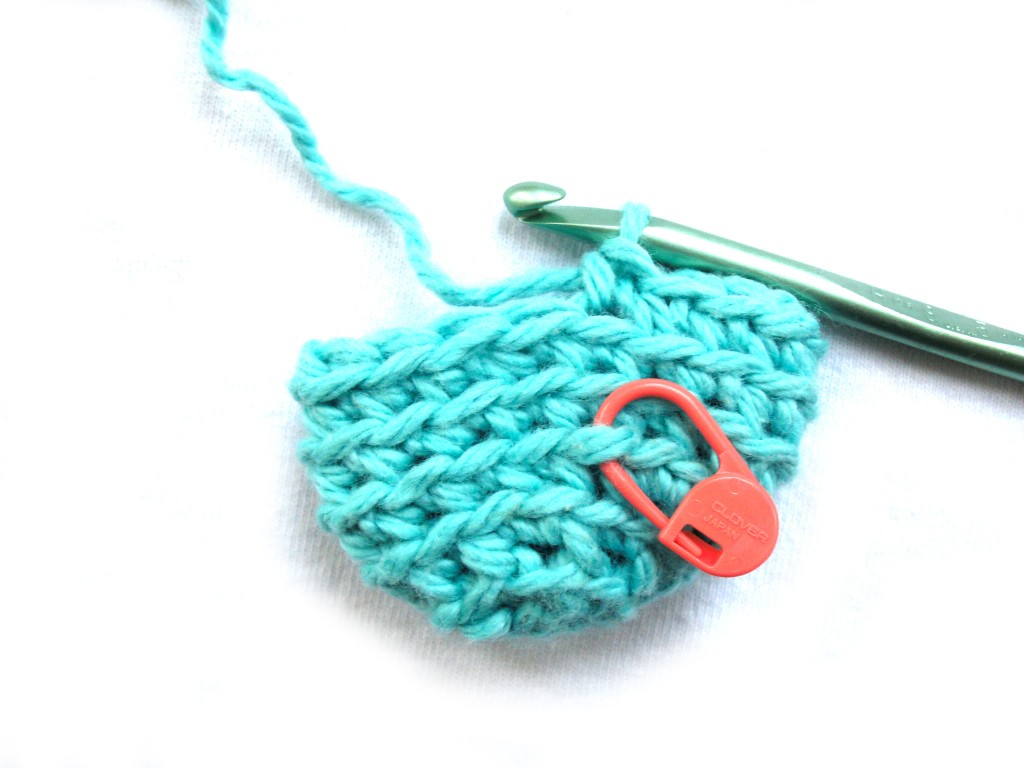
Using a locking stitch marker for counting rounds

I’ve done three rounds since the stitch marker… isn’t that easy to count?

Read this blog post for more details on using locking stitch markers to keep track of your rounds.

Make Attaching Easy!

That lovely row of front loop stitches makes attaching easy, too!

Attaching is usually the worst part of crocheting… but not if you crochet through the back loop and follow these easy tips!

Want to give it a try?

It’ll make your crocheting life oodles easier!

Here are handy links to all the posts about working the first round of your crochet pattern. . .

Return to the main table of contents for Let’s Learn to Crochet Amigurumi.

Move on to the lessons for round two and beyond of your pattern.

Happy stitching!

How to Measure Yarn

Last week, I showed you how to calculate how much yarn you’ll need for a project.

How much yarn do I need crochet

But calculating the yardage is only half of the story. Getting an accurate measurement of your stitches is a crucial, as this is the measurement that you’ll be using for all of your calculations!

Today, I’ll share with you some tips for measuring your yarn.

Crochet your sample

As we talked about last week, you’ll want to measure your yarn for your particular yarn, hook and stitch pattern.

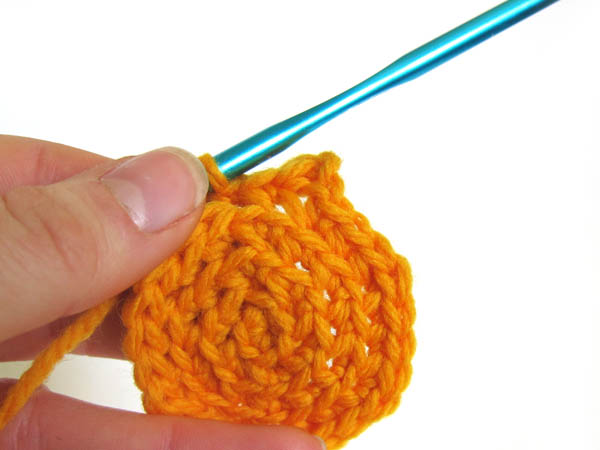
crochet circle

What’s most important is that you crochet several stitches that are not interrupted (for example, by a turning chain). In this example, I’m measuring single crochet, and working in the round is a great way to get an undisturbed run of stitches.

Start and stop at the right place

To measure, you’ll want to unravel some of your stitches and measure the length. It’s important to measure in complete stitches.

I like to hold my thumb immediately next to my work (as pictured), preserving the loop that you removed the hook from:

start of crocheting

Then, count the number of stitches as you unravel. You will want to end your measurement directly next to your work, with the loop still intact.

final crochet piece

How to measure

Now that you know where to start and stop your measurement, it’s important to talk about how to hold the yarn while measuring.

You want to pull the yarn straight, but not stretch the yarn. Most yarn is slightly elastic, and it’s possible to pull it so much that you will get an inaccurate measurement.

How to measure your yarn

See how the bottom measurement contains a full extra inch? That’s a lot of stretching!

Now calculate!

Now that you’ve measured properly, you can do your calculations accurately!

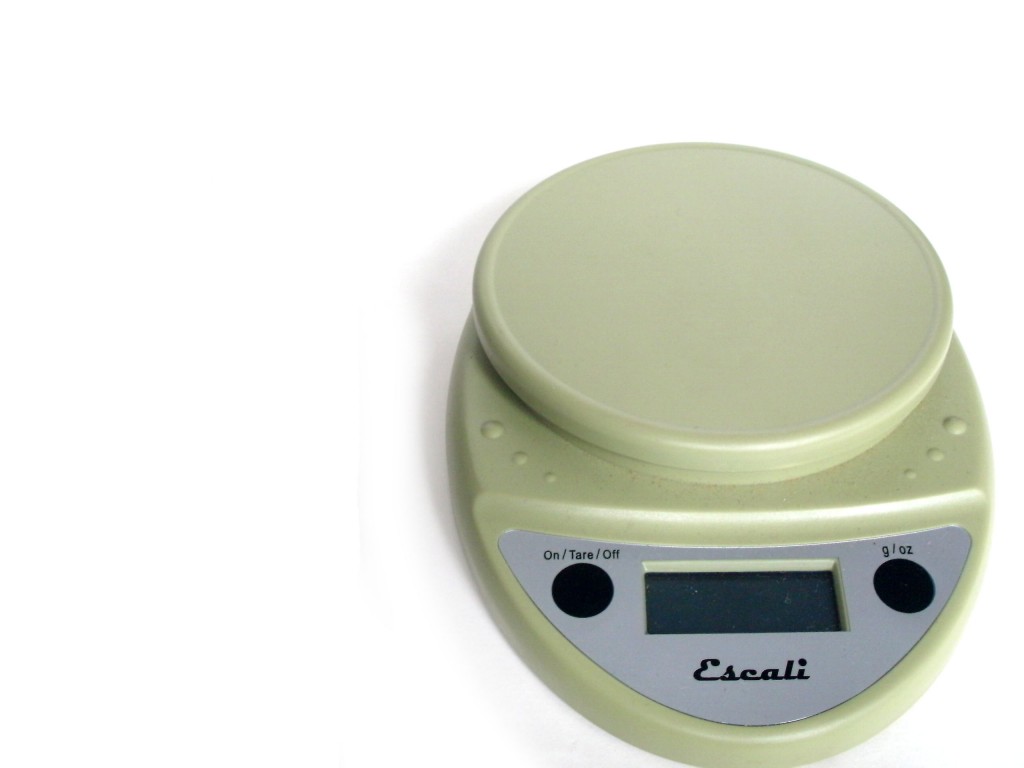
There’s more… you can weigh it, too!

Do you have a bunch of yarn that you need to measure? And a ruler seems too tiring?

digital scale

Well, then, you’ll want to read my post on how to calculate yarn length from weight!

Best,
Stacey

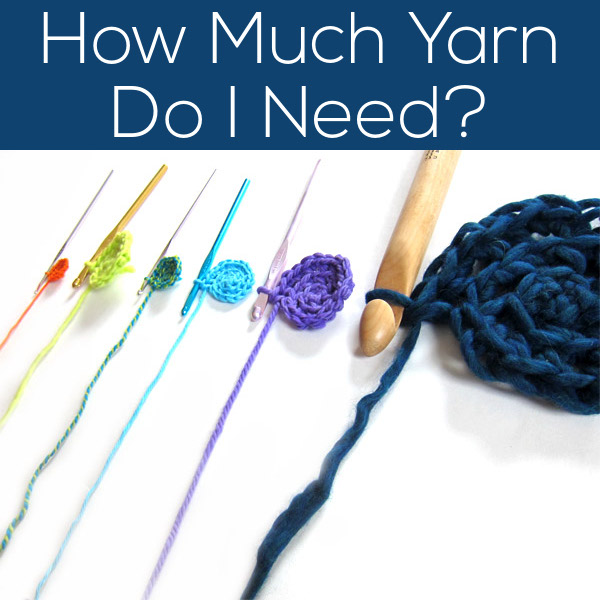
How much yarn do I need?

How Much Yarn Do I Need - how to calculate yarn needed for any crochet pattern

It’s a question every crocheter asks… how much yarn do I need? And what if I change the thickness of yarn?

Today, I’ll show you how to calculate how much yarn your project will need. No more guessing!

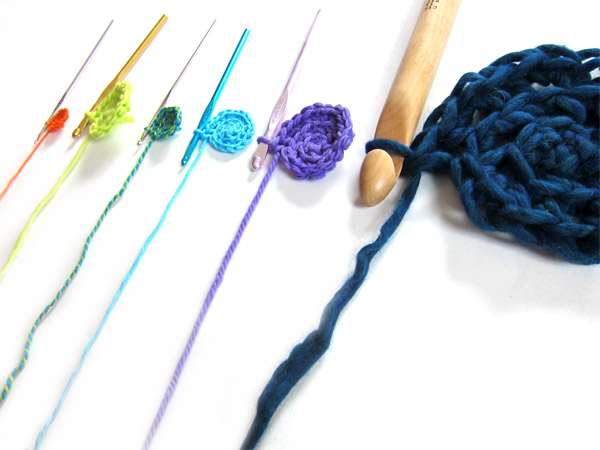
crochet hooks and yarn

Discover your yarn + hook combo

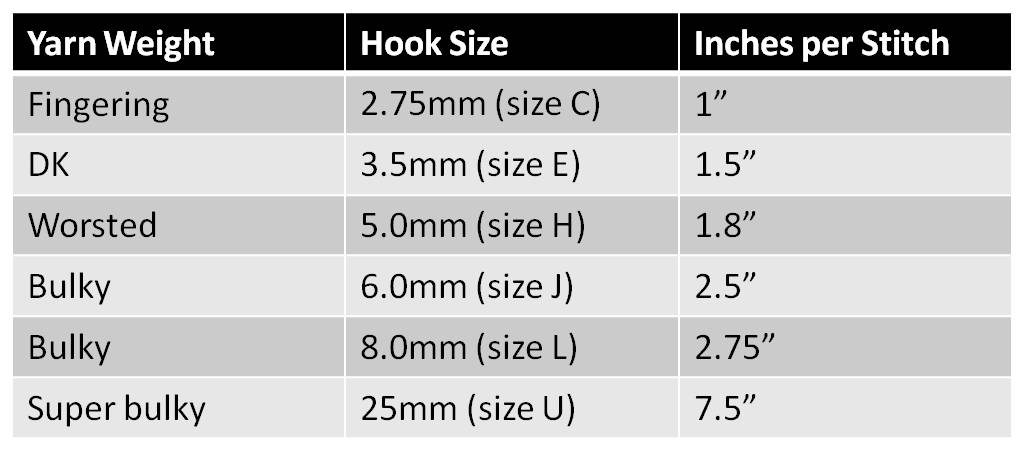
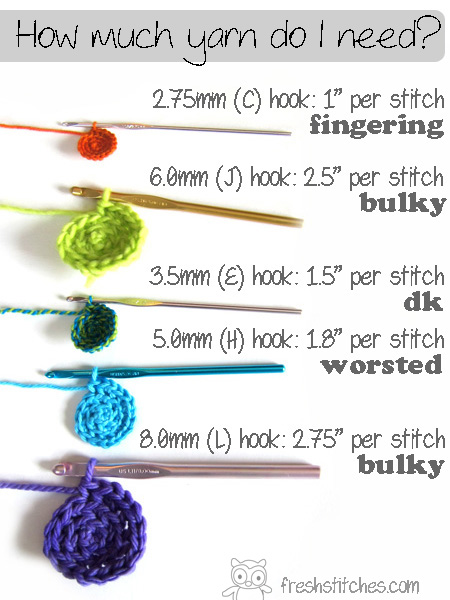
The only way to know for sure is to calculate how much yarn each stitch (using your yarn and hook) takes. Using some yarn and hooks I had on hand, I did few examples:

How much yarn do I need crochet

As you see, the thicker the yarn (and the bigger the hook), the more yarn you’ll need.

How much yarn you need crochet

Your calculations may be different depending on your exact yarn and gauge… but this should give you an idea! This tutorial will show you how to calculate how much yarn you use for each stitch.

How to calculate the total for the pattern

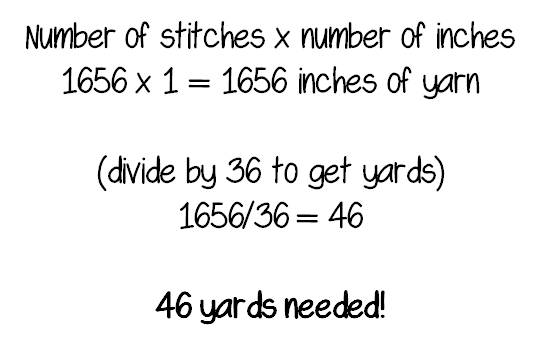
To find out the total amount of yarn you’ll use for your project, multiply the number of stitches in your pattern by the number of inches each stitch uses.

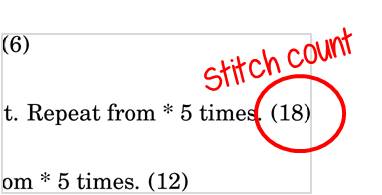
Let’s take Jay the Bird as an example. The pattern contains the stitch count at the end of each line.

stitch count in crochet

Adding those up gives me a total of 1656 stitches.

How much yarn do I need if I want to crochet him in a fingering weight yarn?

how to calculate how much yarn you need

46 yards! That’s less than the 85 called for in the pattern because fingering weight yarn is smaller, and the project needs less!

Calculate away!

Using this method, you can calculate how much yarn a project will require with any weight yarn and hook! No more guessing!

Here are handy links to all the posts about yarn. . .

Return to the main table of contents for Let’s Learn to Crochet Amigurumi.

Move on to the lessons for the basic crochet stitches.

Happy stitching!
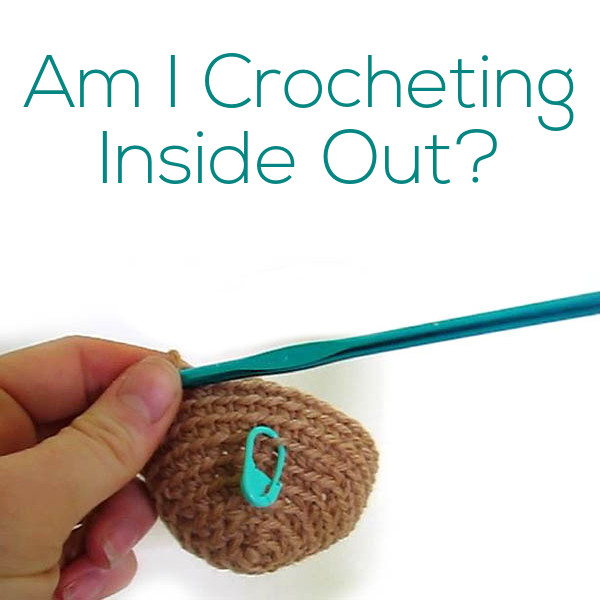
Am I crocheting inside-out?

Am I Crocheting Inside Out? - a video tutorial from Shiny Happy World and FreshStitches

Am I crocheting inside out?

I’ve been getting asked this question a lot recently, and when I get the same question more than once, I know it’s time for a blog post!

right side of crochet work

It’s pretty common for folks on discussion boards to say that you have to crochet with the right side facing out. This makes beginners feel very anxious when they are crocheting with the right side on the inside of the work. They think they’re doing something wrong if they’re crocheting inside out. 🙁

Good news! There’s no right way to crochet, as long as you know which side is the right side and turn your piece appropriately before you are finished.

So today I’ve created a little video for you about crocheting inside out.

I hope the video has shown you the two possibilities, and convinced you that crocheting inside out isn’t a big deal!

Here are handy links to all the crochet troubleshooting posts. . .

Return to the main table of contents for Let’s Learn to Crochet Amigurumi.

Happy stitching!

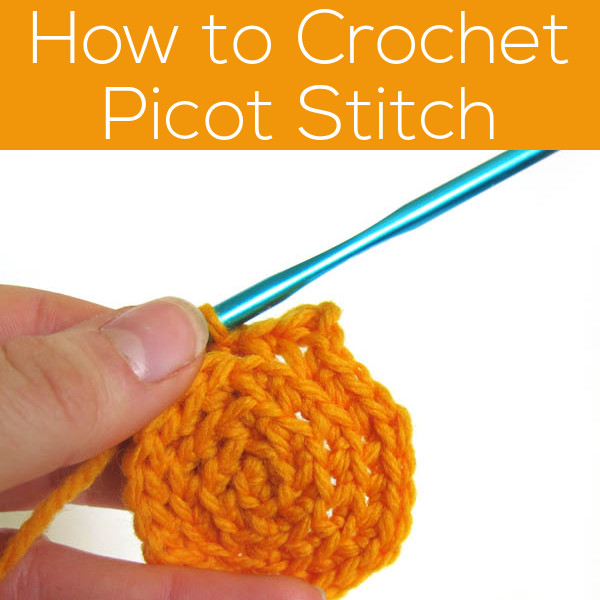
How to Crochet a Picot Stitch

How to Crochet a Picot Stitch - tutorial from Shiny Happy World and FreshStitches

The picot stitch is a great stitch to use as an edging, but it can seem a bit confusing your first time!

The stitch requires chaining away from the piece of work you’re crocheting… but don’t fret! I’ll show you how to do it!

How to crochet the picot stitch

There are lots of picot stitches out there, so I’ll show you each of the steps that will get you through any particular picot you find.

You’ll start with a piece of crochet that you’re adding a picot to:

how to crochet a picot stitch

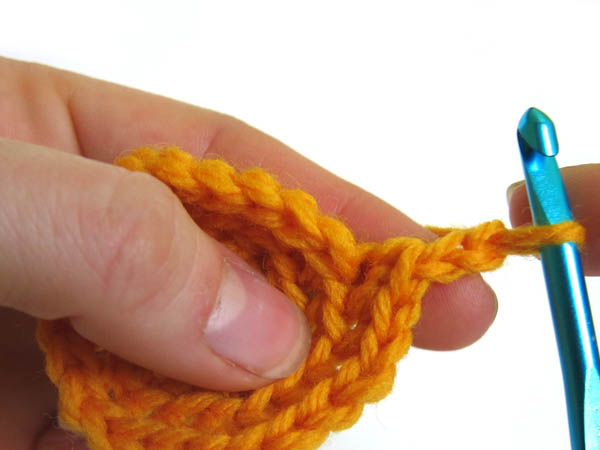
To start your picot, you want to chain a couple of stitches. This is the part that is most confusing… you are making stitches that will dangle off of your work:

how to crochet a picot stitch

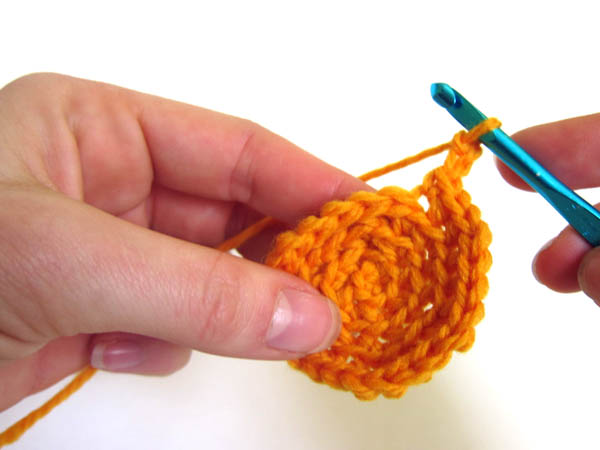
It might be helpful to rotate your piece slightly, so that your hook is on the right and your stitches are horizontal:

How to crochet a picot stitch

Now, single crochet in the 2nd ch from hook (and in each subsequent stitch if you have more chains), then continue single crocheting on the main body of your piece.

how to crochet a picot stitch

It’s a picot!

I use this technique for the star in my otter pattern… so it’s a useful one to know!

Here are handy links to all the posts teaching more fancy crochet stitches. . .

Return to the main table of contents for Let’s Learn to Crochet Amigurumi.

Move on to the posts about working with crochet patterns.

Happy stitching!
Where do you insert your hook for ‘2nd ch from hook’?

How to Find the Second Chain from the Hook - crochet help from Shiny Happy World and FreshStitches

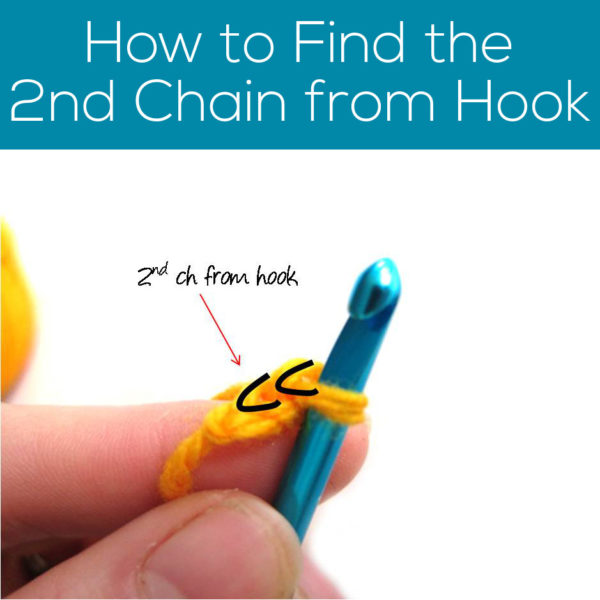
When you crochet amigurumi, most instructions begin, “Ch 2. Sc 6 in 2nd ch from hook”.

Where is the 2nd chain?

2nd chain from hook crochet

Getting this instruction right is particularly important if you’re using the sloppy slip knot technique for starting, since crocheting your 6 stitches in the wrong chain will prevent your hole from closing.

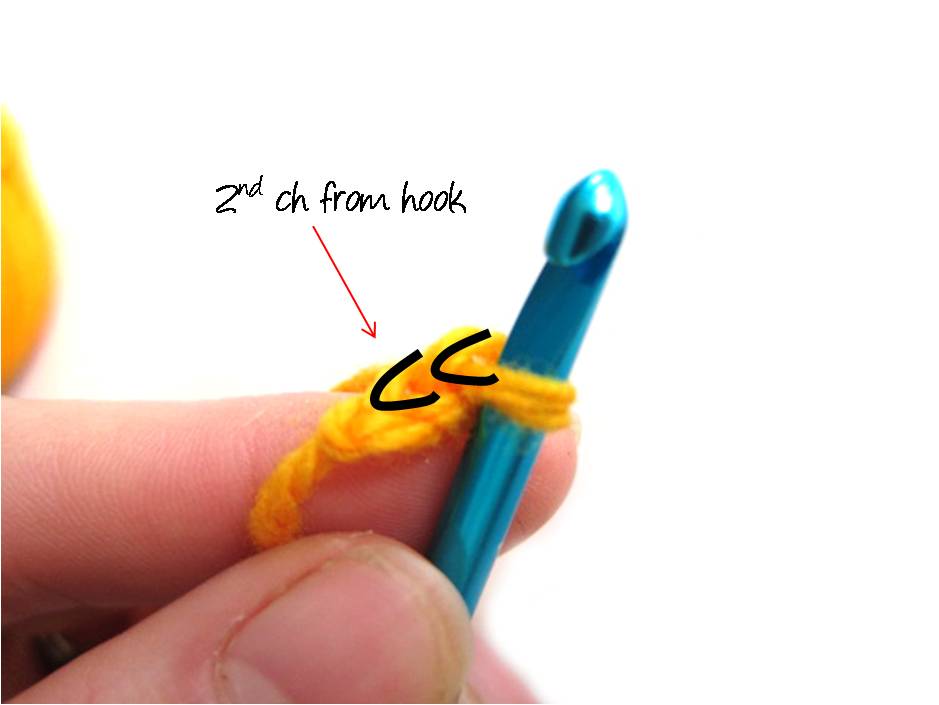
I like to picture stitches as little Vs, laying on their side:

2nd chain from hook crochet

Do you see the 2nd chain now?

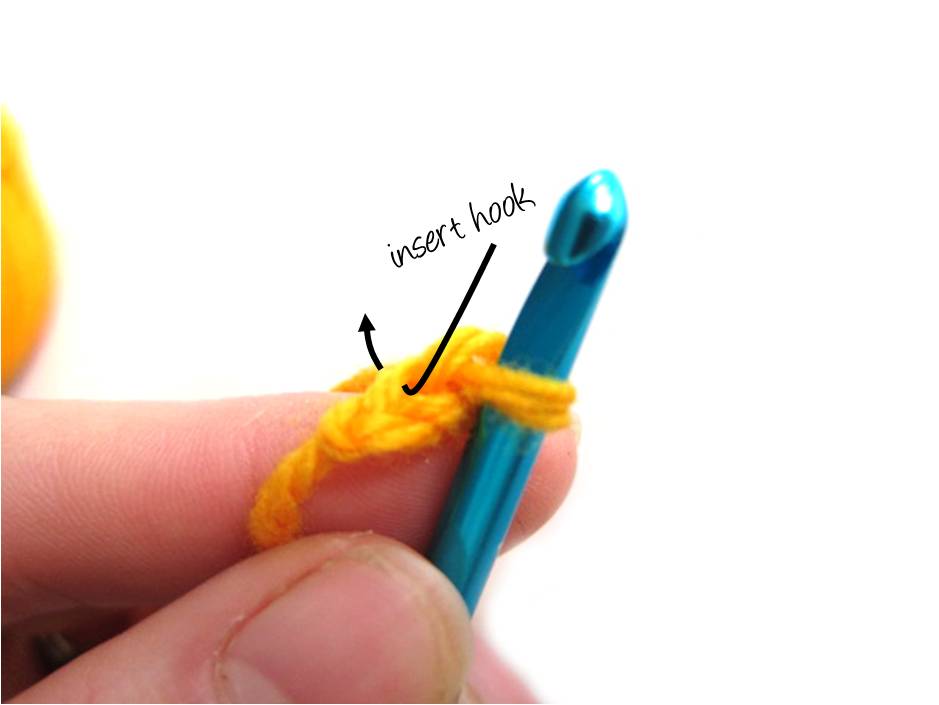
Now, stick your hook in that one!

second ch from hook

Ta da!

Here are handy links to all the posts about working the first round of your crochet pattern. . .

Return to the main table of contents for Let’s Learn to Crochet Amigurumi.

Move on to the lessons for round two and beyond of your pattern.

Happy stitching!
This is how I crochet!
Last week, I got a surge of requests from my Ravelry group to post a video of me crocheting.

Who am I to say no?

So… here it is! (Click on the box in the lower right hand corner of the video to view in full-screen)

Click here to view the video on YouTube.

When do you need to change your technique?

Most of the time, I’ll say: you should crochet however you feel like it. Don’t worry about how I crochet. However, there are a few signs that you should change your crochet technique. If you:

  • experience pain after only a short period of crocheting
  • have difficulty getting even stitches
  • struggle to tension your yarn properly
  • find crocheting difficult or annoying

… then the problem might be your technique! Go ahead and watch how I crochet (and watch some other folks, too!) and see if there are some changes that you can make to your style.

Crocheting should make you happy, not ouchy!