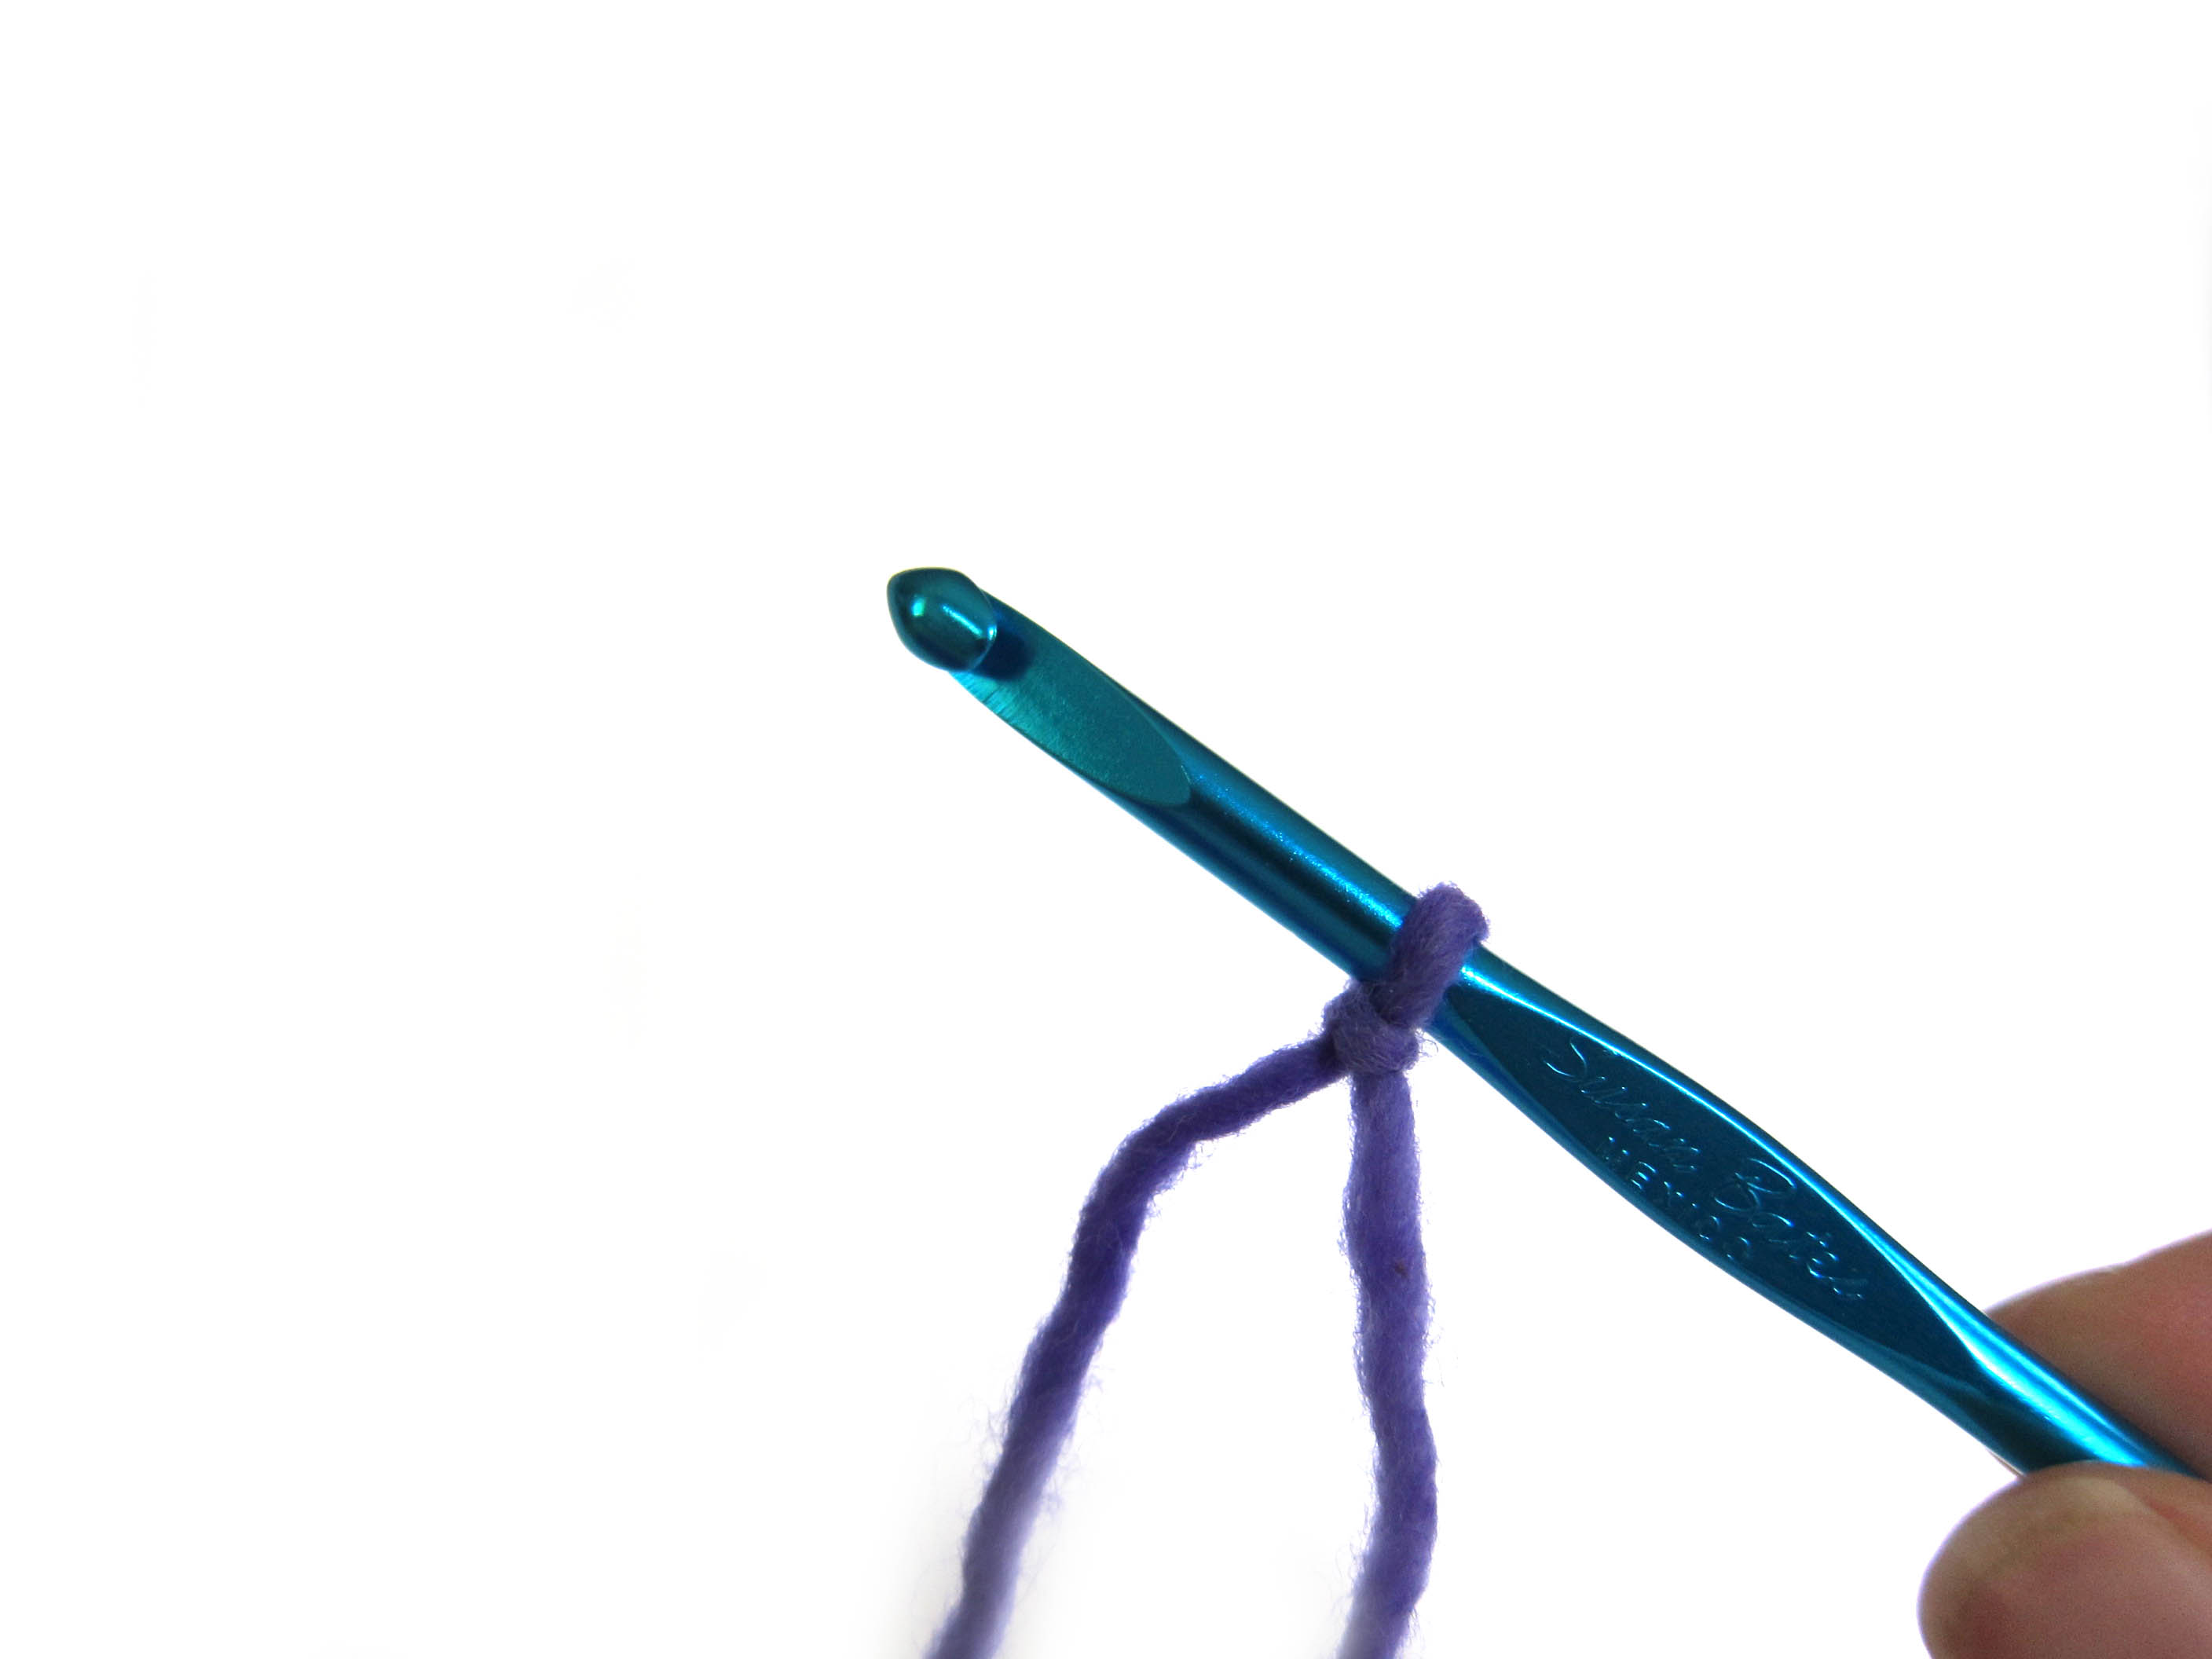
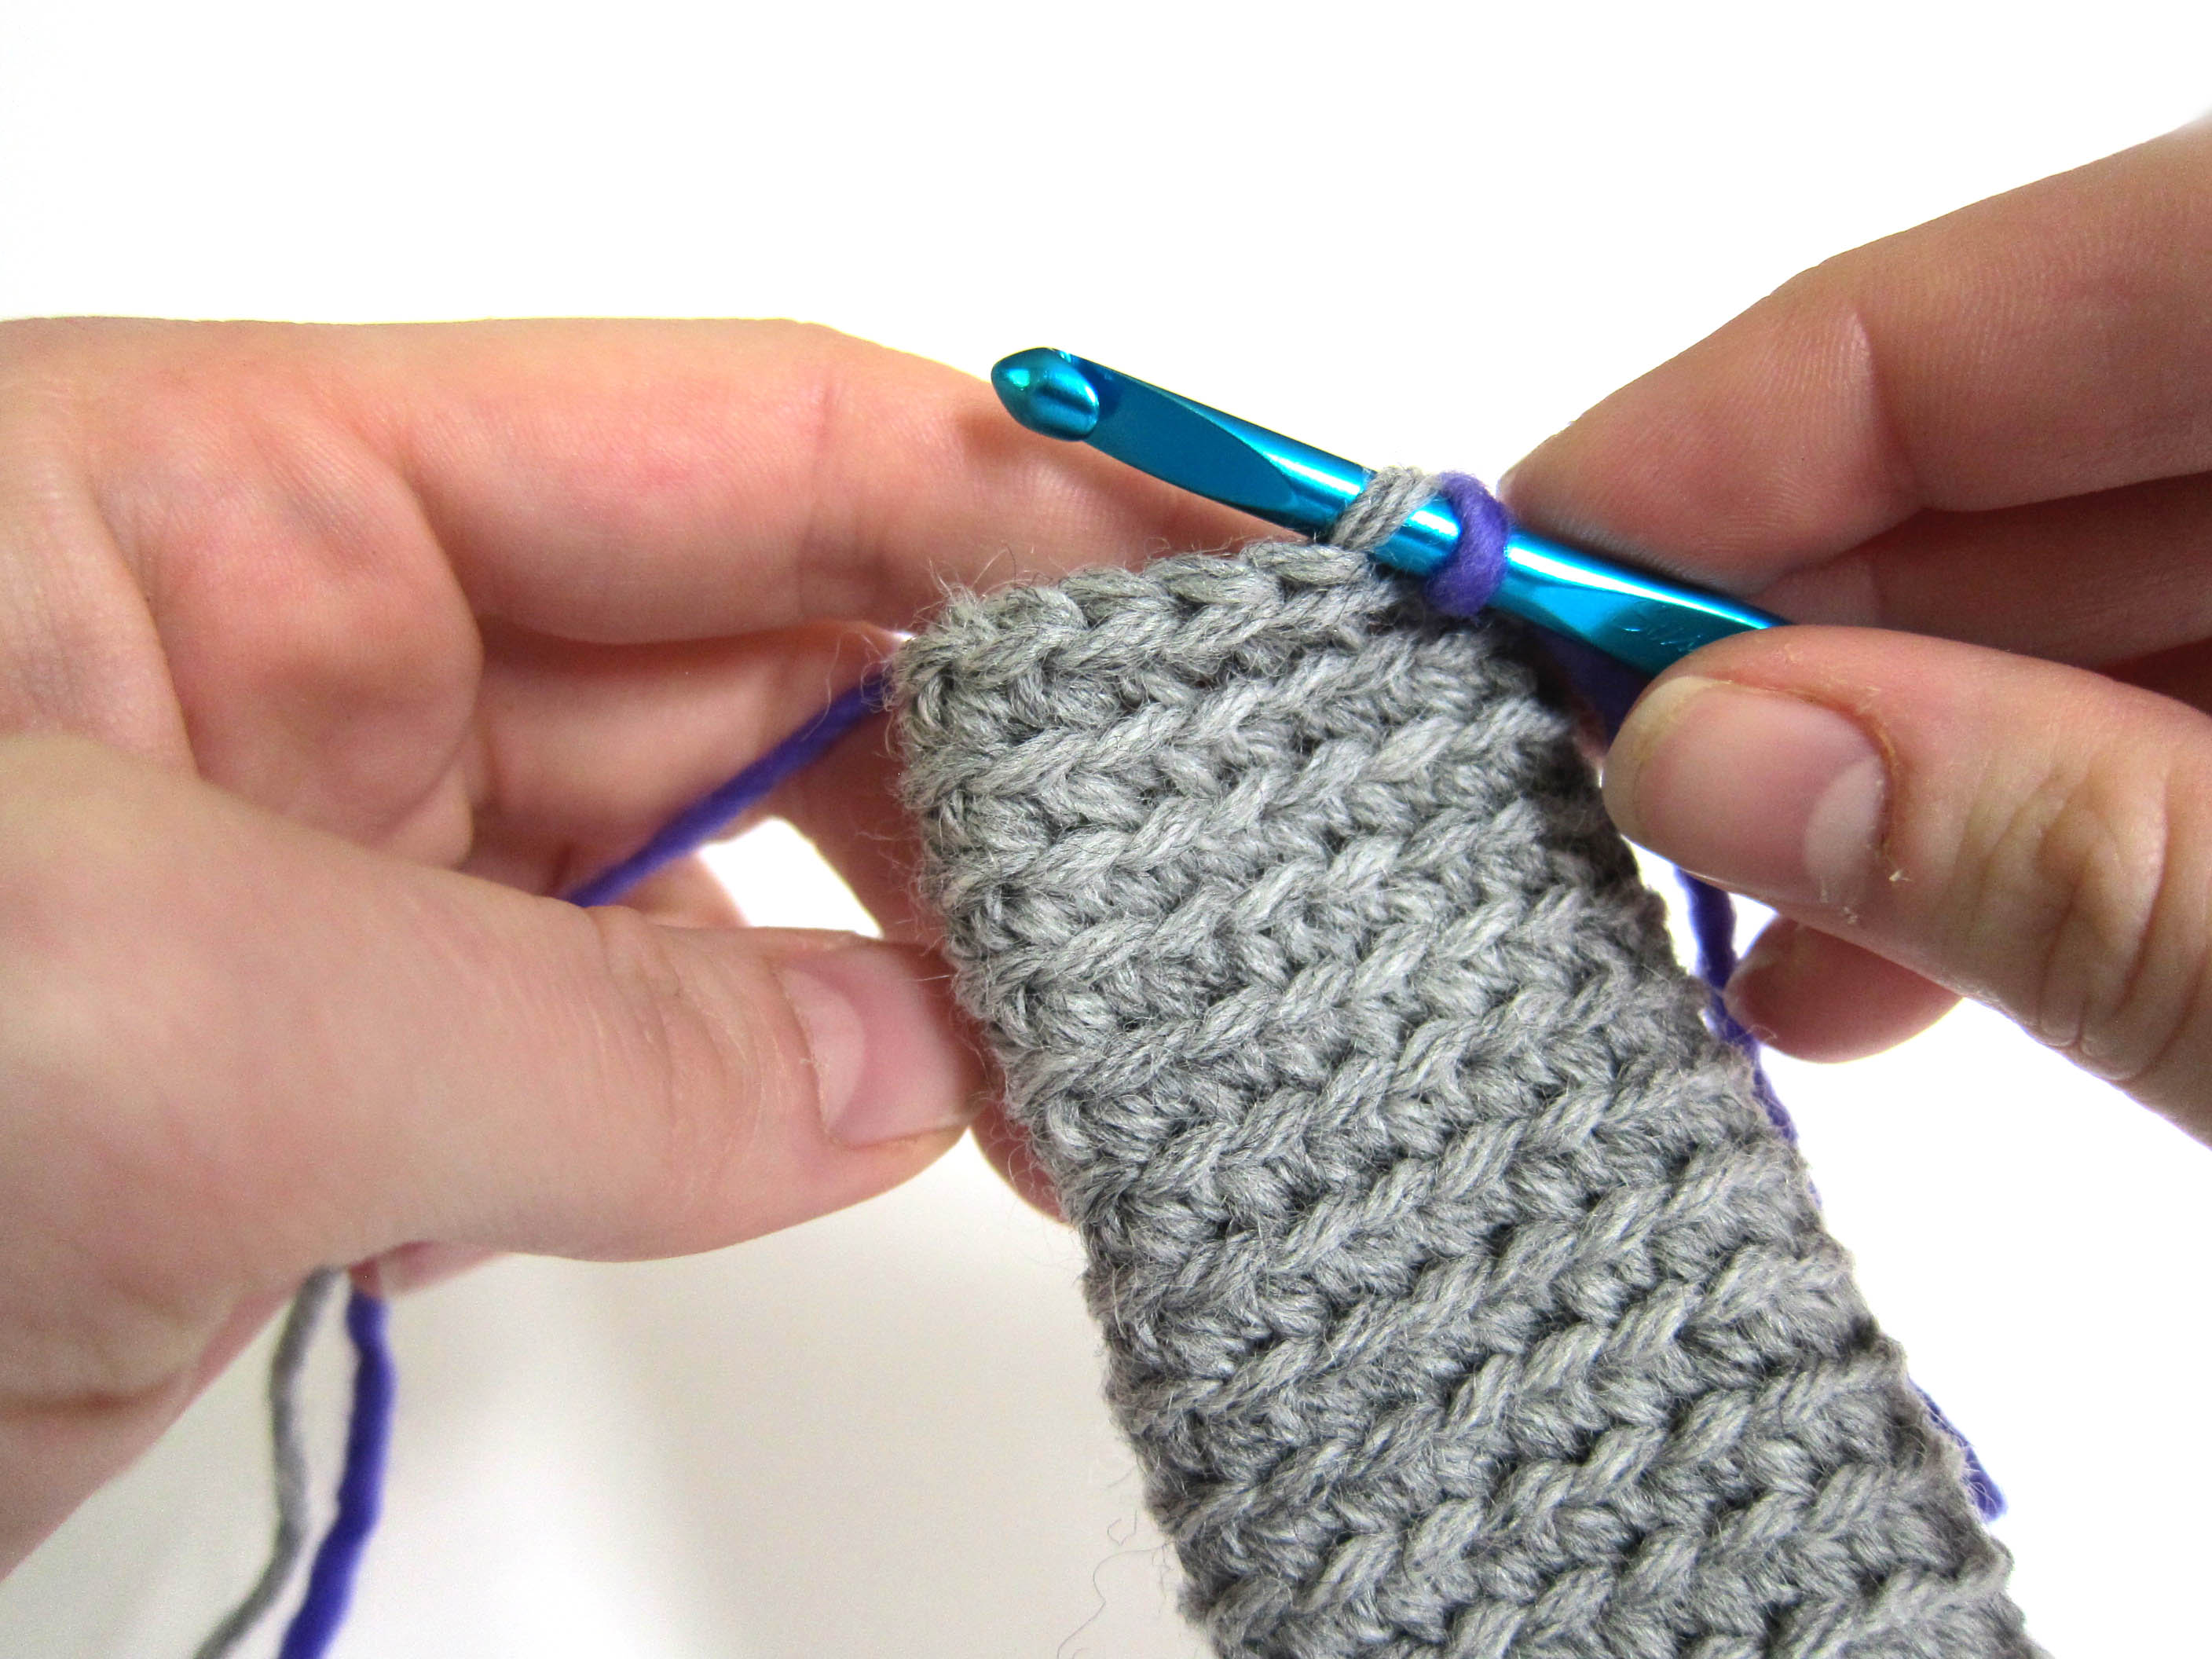
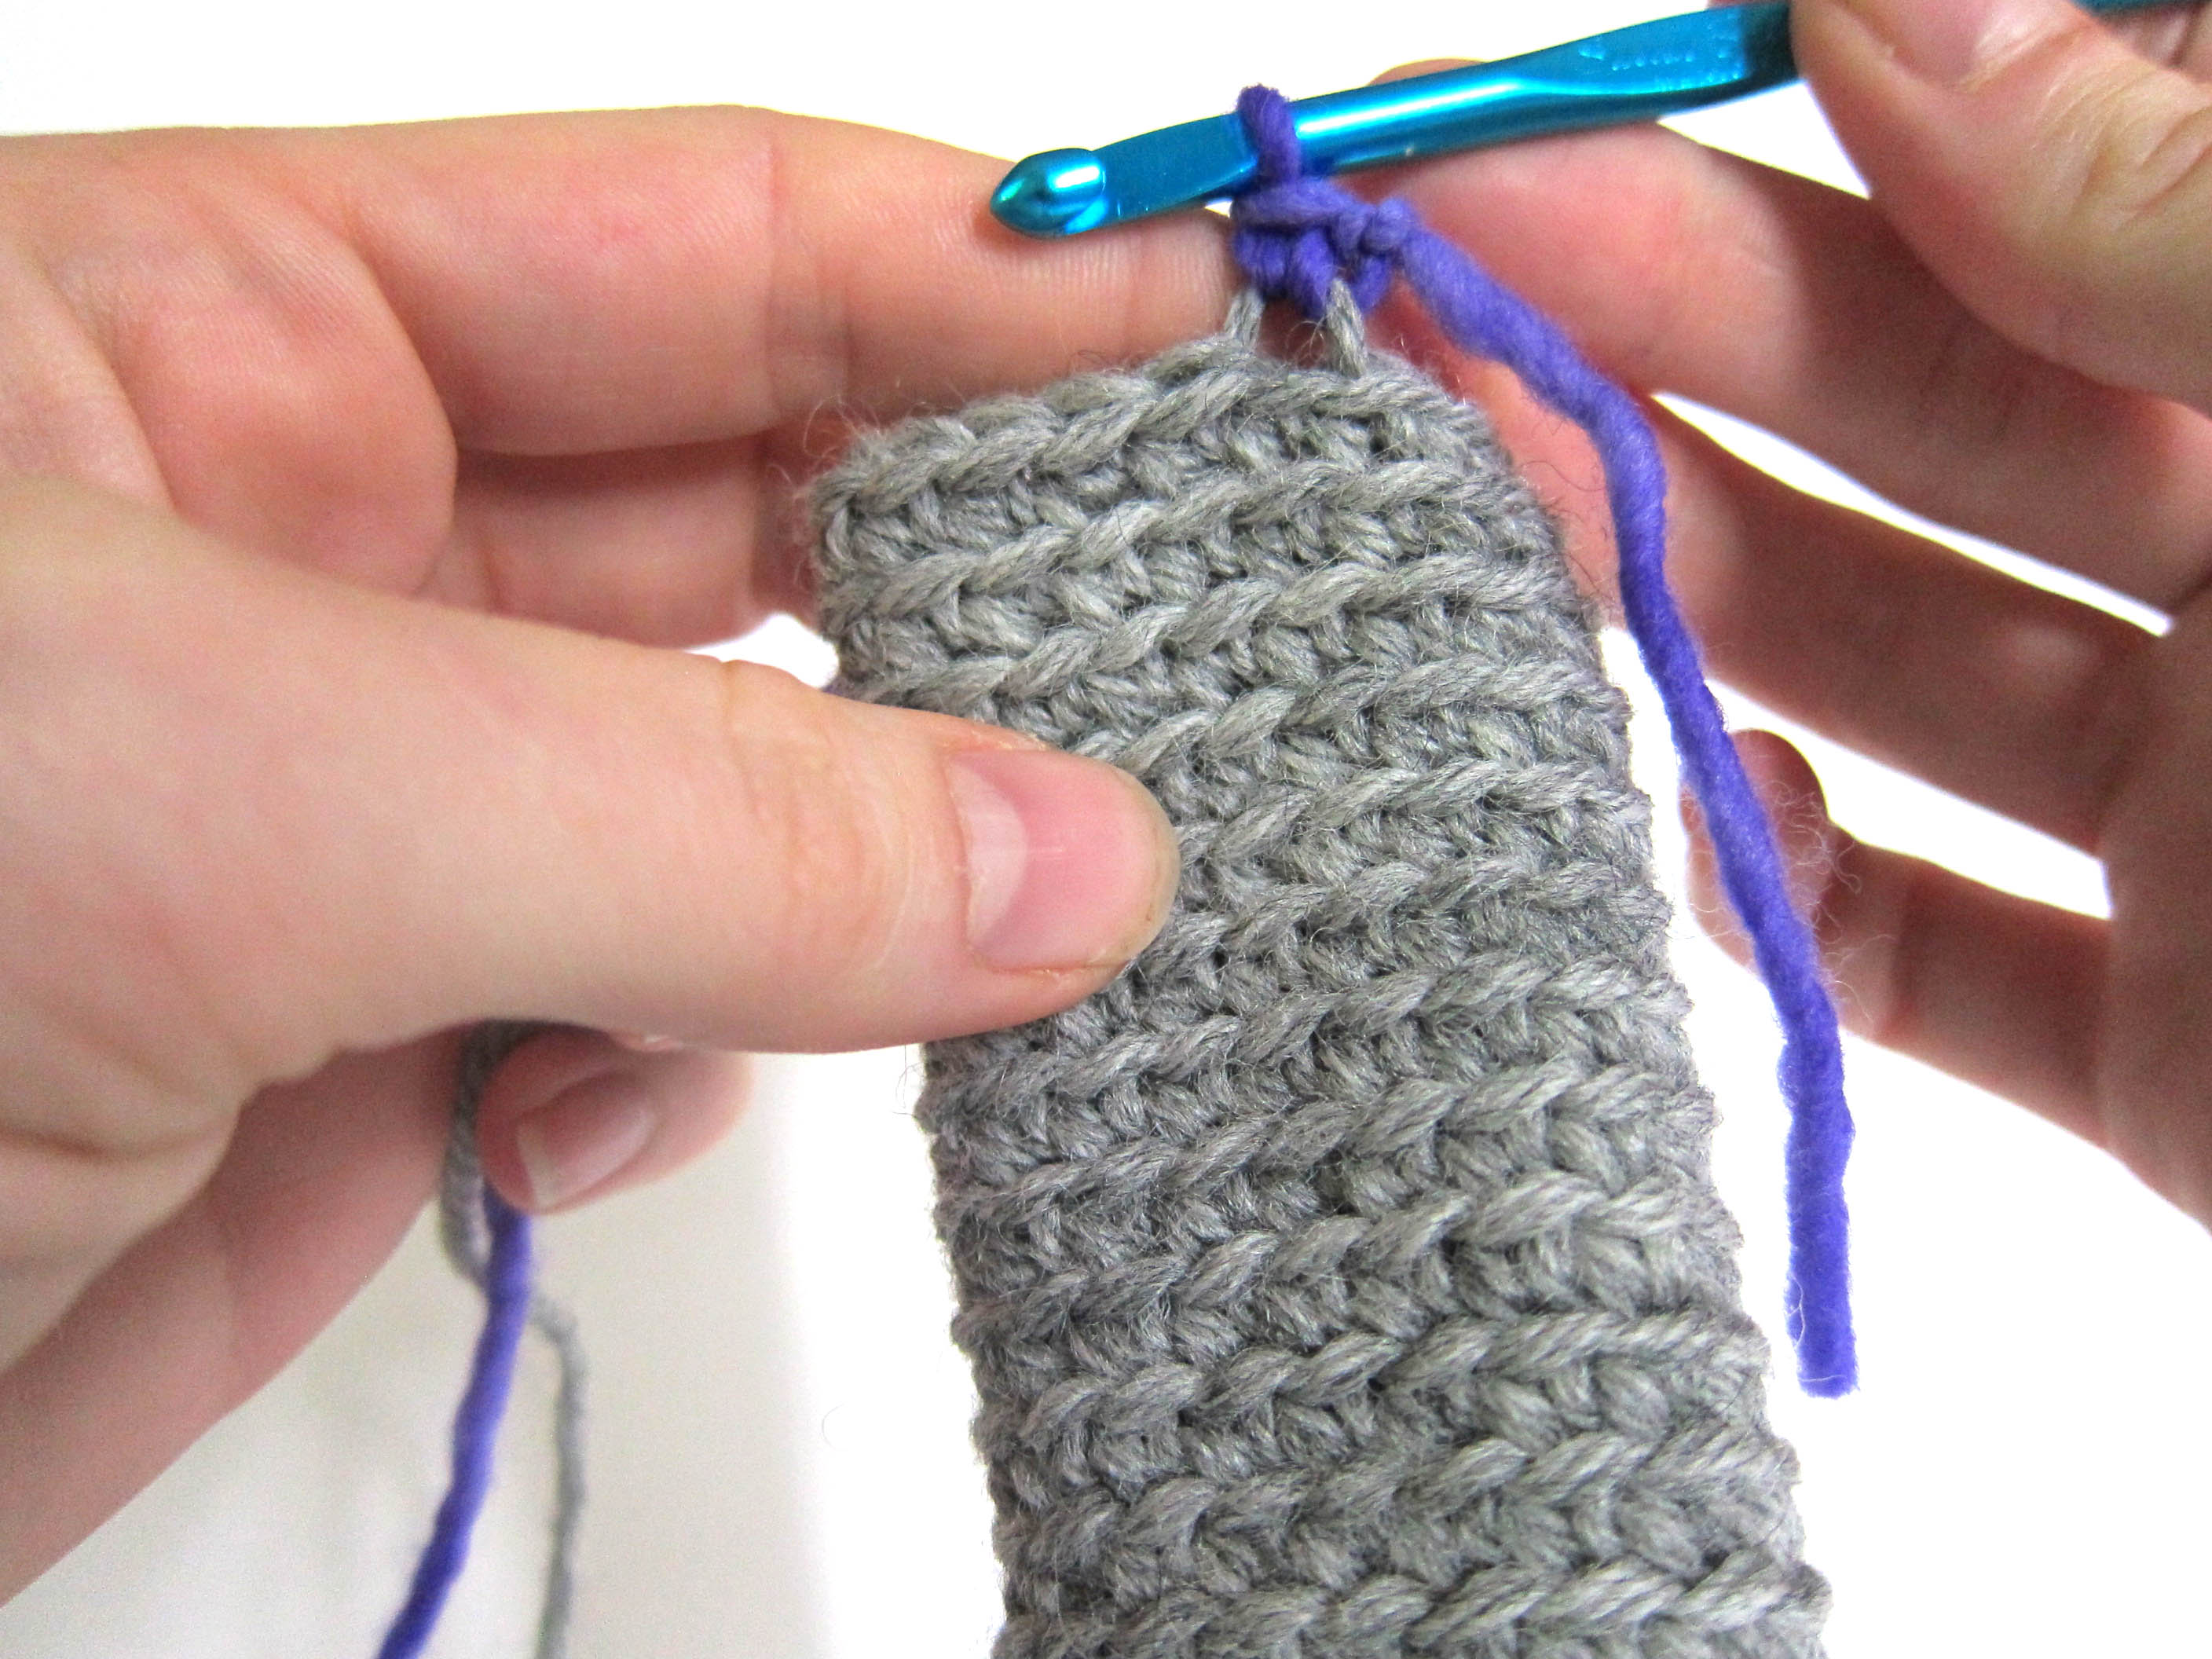
Today, I’m going to show you how I embroider features on my stuffed animals. It’s a little different than regular embroidery… because you stuff the inside of an animal, there’s no need to worry about tying knots!
There’s a video at the end of this post too – for those who want to see every step in action. 🙂
My technique makes a slip-proof knot and creates a double-thickness of yarn, so your embroidery will stand out!
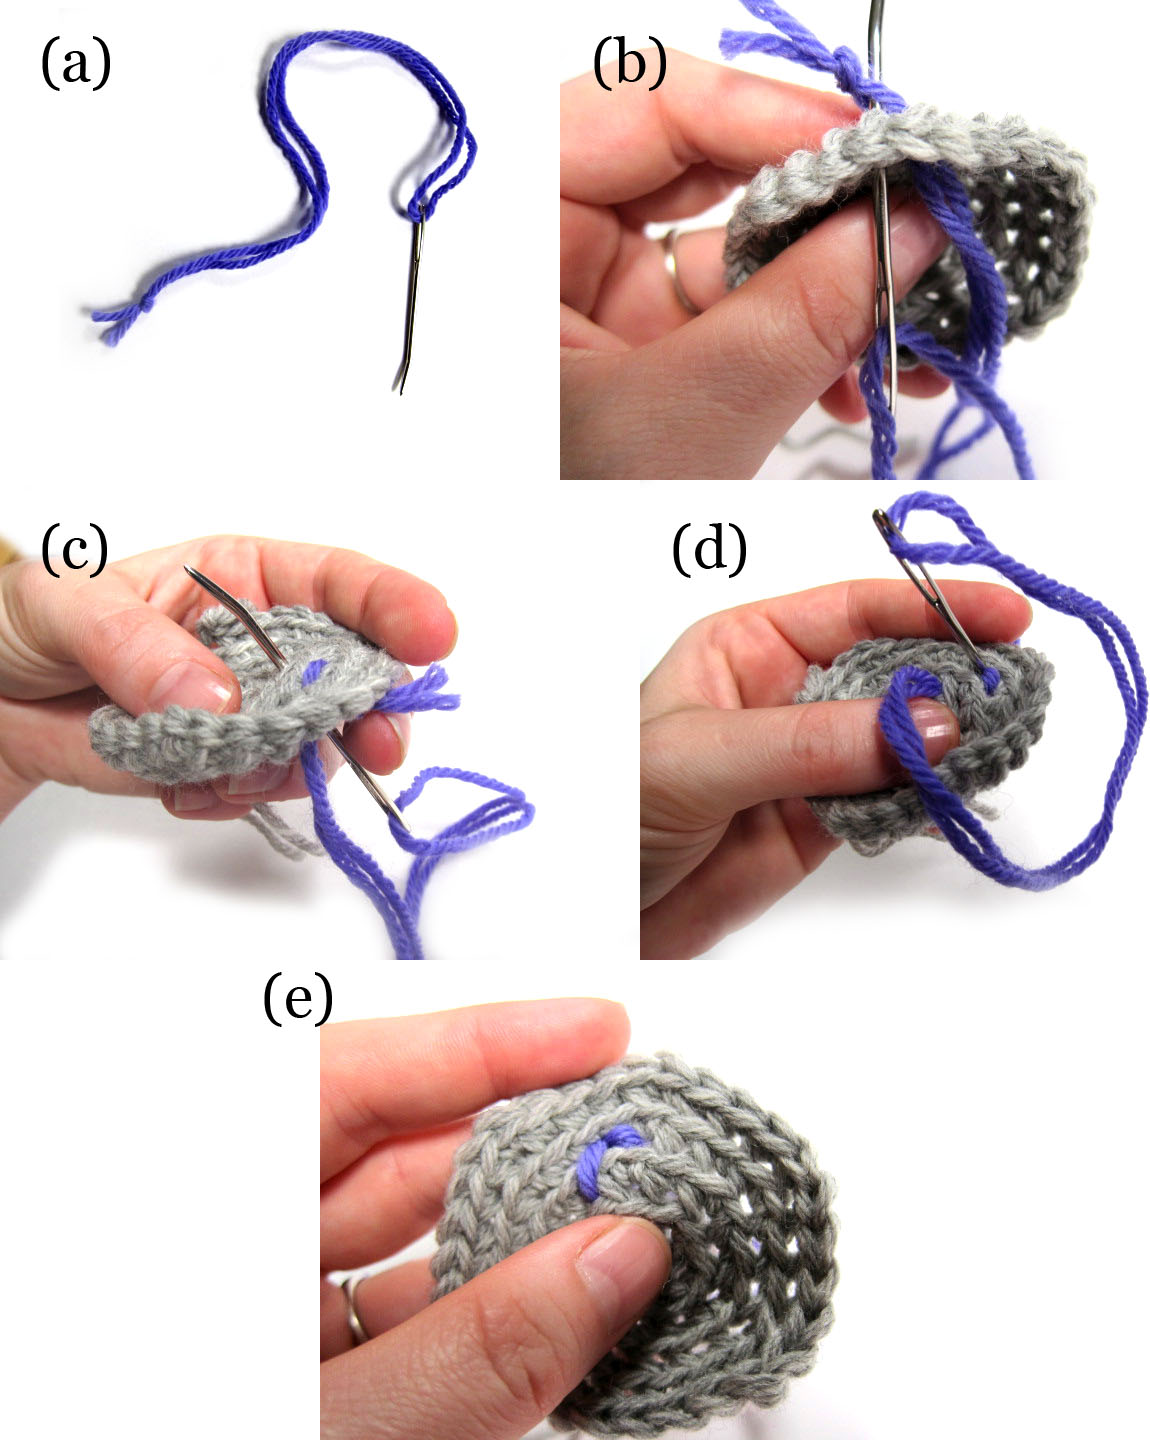
Step 1: thread the tapestry needle with a length of yarn (about a foot or two). Tie the two ends of the yarn together with a knot, as pictured in (a).
Step 2: pull the needle through to the the front of the work, leaving about an inch between the knot and the back of the work, and then poke the needle from front to back, and through the loop created (between the knot and back of work) by the two pieces of yarn, as shown in (b). Tug, and this anchors your work!
Step 3: to do a stitch, put the needle (from back to front) where you’d like the stitch to go (c), about 1/4 inch (5mm) from where your previous stitch (or knot) is anchored.
Step 4: to finish the stitch, push the needle from front to back, connecting the stitch to your previous work (d). Continue stitching (following steps 3 and 4) according to the desired pattern.
Step 5: to finish, cut your yarn-loop in half, and use the two ends of yarn to tie a knot!
Easy, huh?
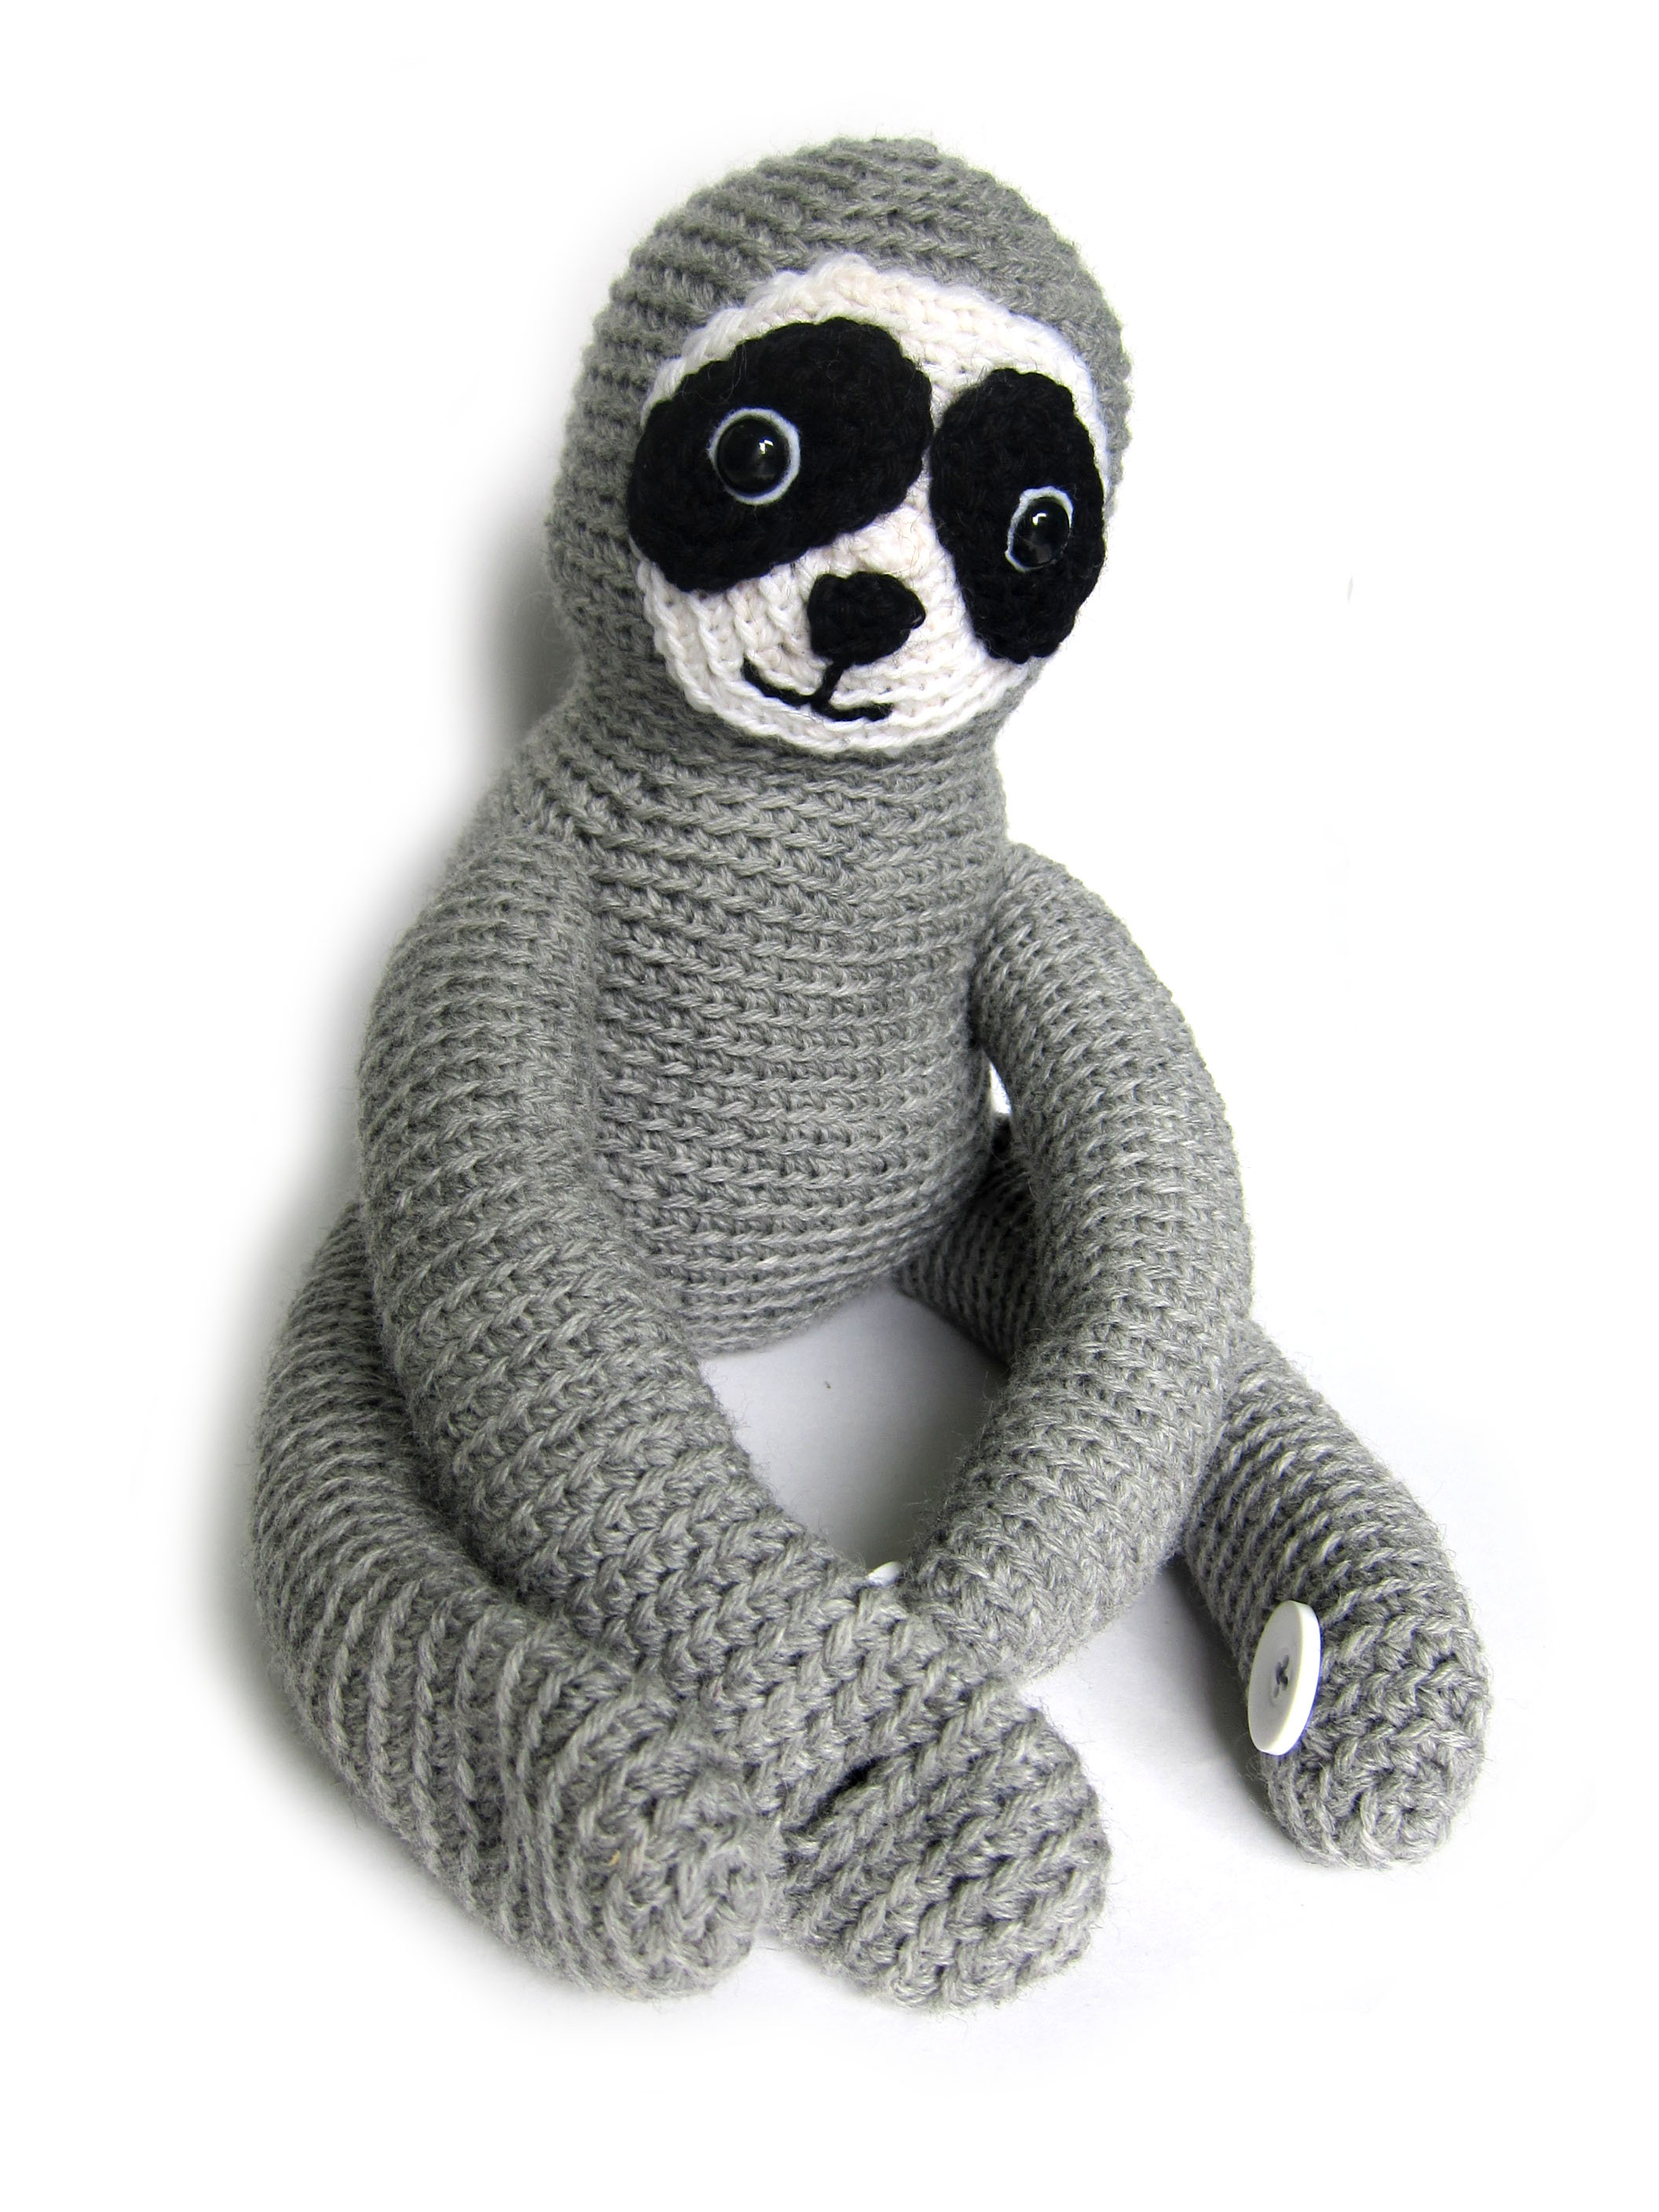
See the embroidery that makes this sloth’s mouth? Cute!
Now here’s the video.
Give it a try!

Here are handy links to all the posts about faces and details. . .
- How to Embroider with Yarn
- How to Embroider a Smile on Amigurumi
- How to Attach Felt Pieces to Your Amigurumi
- How to Add Hair to Amigurumi
- How to Make a Pompom Tail
- How to Crochet with Beads
Return to the main table of contents for Let’s Learn to Crochet Amigurumi.
Move on to the lessons about eyes.
Happy stitching!

