How to position the snout on your dragon

One of the trickiest parts of crocheting this dragon is positioning his snout so that it lines up with the color changes on his tummy… since there’s a temptation to attach the snout before you’ve crocheted the color changes on the body. How do you know where to put it?

I have three possible solutions… and I’ll tell them all to you, since different ones might work for different people.

Option 1: Attach the snout after crocheting the color changes on the body

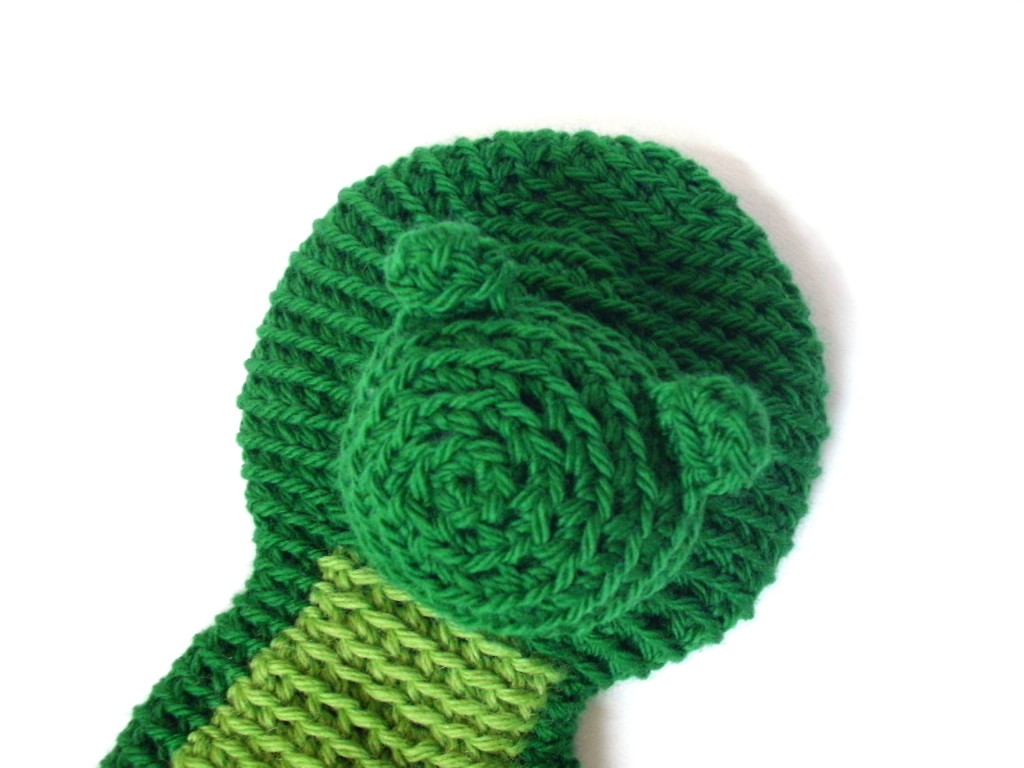
This is my favorite option. If you look closely at the progress photos in the pattern, you might be able to spot that this is what I did when crocheting the original sample:

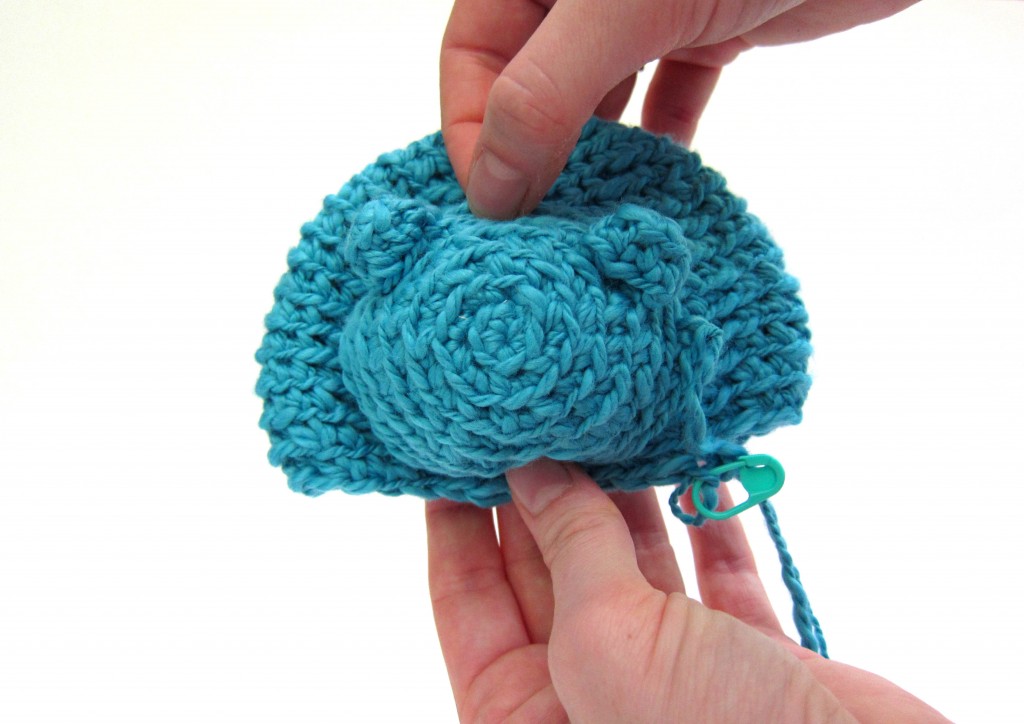
The downside to this technique is that you’ll need to squeeze your hand into the tiny neck. However, you only need to get inside the head for tying the knot to secure the snout… since the rest of the attaching is done from the outside.

The advantage of this method is that you’ll know exactly where to position the snout, since you’ll be able to see the color changes. Also, I find the crocheting of the body easier without lots of heavy head features attached… but that might just be me!

Option 2: Visualize the color changes

I’ll be honest: this blog post was going to be about how to use your locking stitch marker to mark the end of round and visualize where the color changes would be so that you can attach your snout properly.

I took all of the nice step-by-step photos…

And then I realized that I visualized the color changes as being on the wrong side! Gah!

So, here’s the theory: the color changes for the tummy happen on the first 1/3 of the stitches after the end of round marker. If you’re good at spatial orientation, then it’ll be a snap for you to look at the stitch marker and picture where the snout should go.

But if you’re not… well, this option is going to be frustrating. Move onto option 3 (which is what I ended up doing to fix the photo-shoot!)

Option 3: Move the end of round

For the spatially-challenged (like me), this option is by far the easiest!

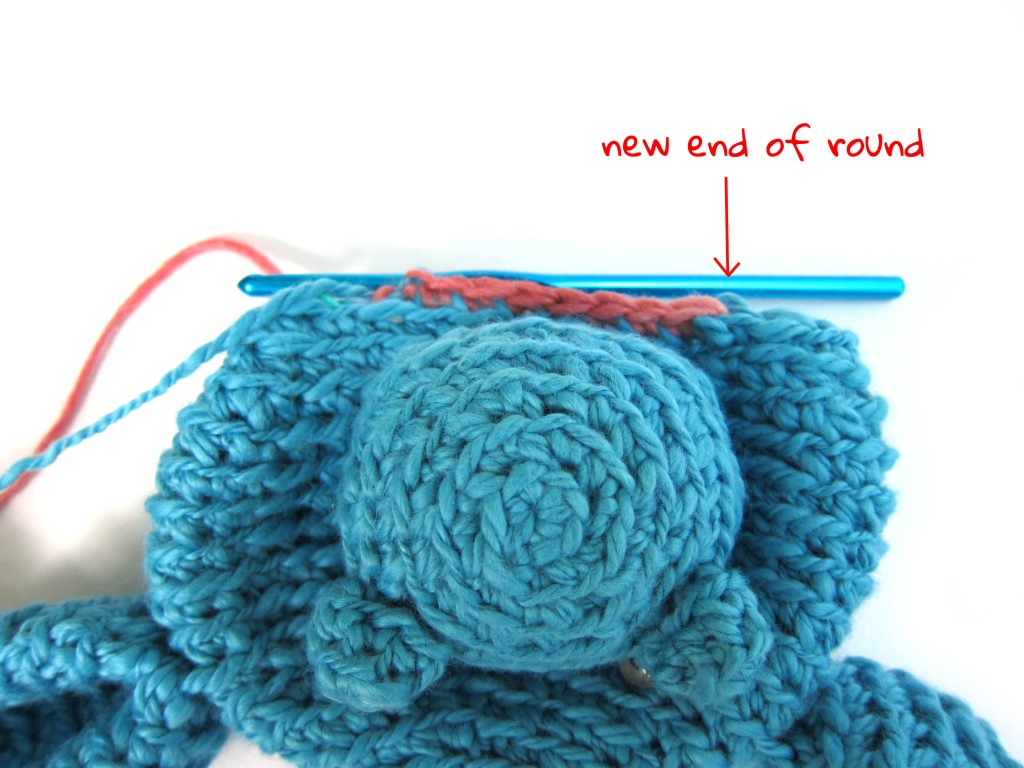
Attach all of the features to the head. Your end of round marker (the point where your round begins/ends) could be anywhere… it doesn’t matter. You’re going to move it!

Once you have the head attached, continue crocheting until you get to the round with the color changes. Instead of changing colors where you are (which may be at the back of his body), keep crocheting with the main color until you’re up to the snout.

Move your marker, and that’s you’re new start of the round! Continue following the pattern like nothing happened. In the grand scheme of things, the extra 10 or so stitches you’ve added won’t matter… and your tummy will be in the right place!

Do what works for you!

One of these options will work for you (sorry, I can’t tell you which one will be your favorite)! Hopefully, attaching the snout in the right place (after reading this post) will be no problem!

Choosing color combinations

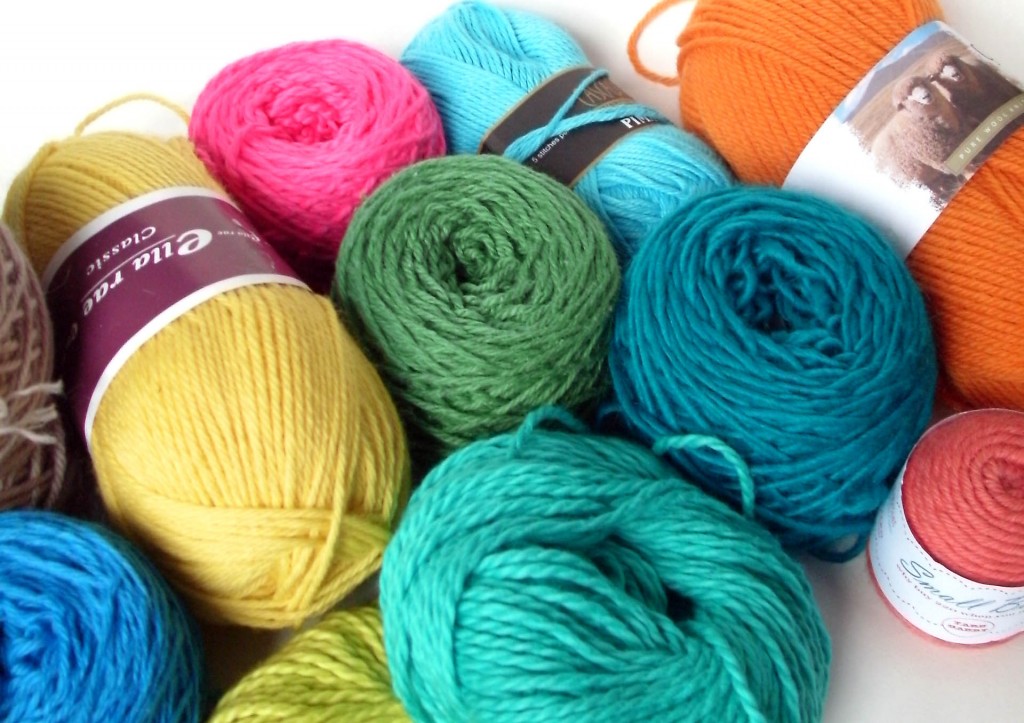
One of the most exciting parts of starting a project is picking out your yarn colors, right? Even though the pattern shows the item made up in a sample color (or maybe even a range of sample colors), you don’t have to follow the pattern!

Today, we’ll pick out some amazing colors for our dragons as we crochet-a-long!

Raid your stash

Selecting yarns for a project is a balancing act… you want to come up with a great color combination, but also use up yarns that you have in your stash, if you can!

If using up yarn that you already have is one of your goals for this project… then you’re going to have to drag your yarn out and look at it! If you’ve cataloged your yarn using Ravelry’s Stash Feature, then you can look at all of your yarn virtually, and not make a big mess on your living room floor.

Pull together any yarns that are the weight/fiber that you want to use. Eliminate any balls of yarn that aren’t enough yardage for the project (read this post on how to determine yardage by weighing the ball) and then you’re down to your options!

Pick a great color combo

Now that you know what you’re working with, you can plan your colors! The Choose Your Own Adventure pattern that we’re using only calls for 2 colors… but you don’t need to follow those rules! Do you want different colored wings? (or, do you want to use up a tiny ball of yarn?) Then go for it!

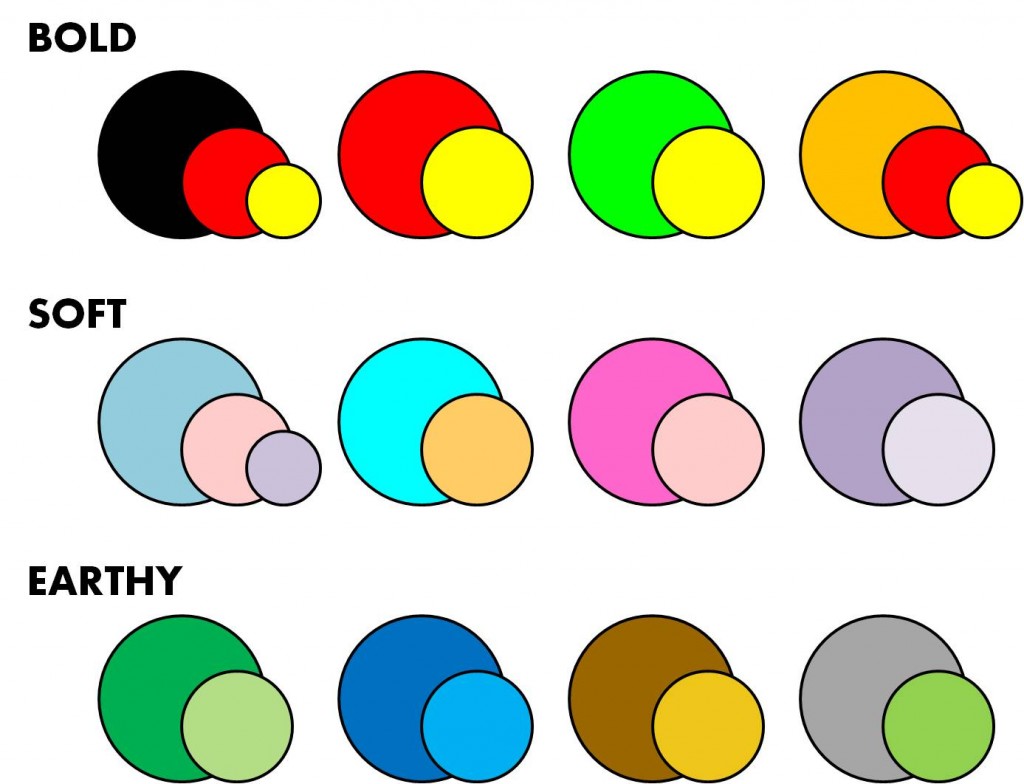
Here are some color palettes that I’ve put together that I think would make fabulous dragons:

Sometimes (when you’re trying to use up stash yarn), you might find that you have a fabulous color palette in mind, but need to buy a skein of yarn to make it all work… and that’s okay! If you’re buying the yarn for your project all at once, you might find it helpful to stick to one line of yarn: colors for a line are often developed so that they coordinate well together!

So, what’s your palette?

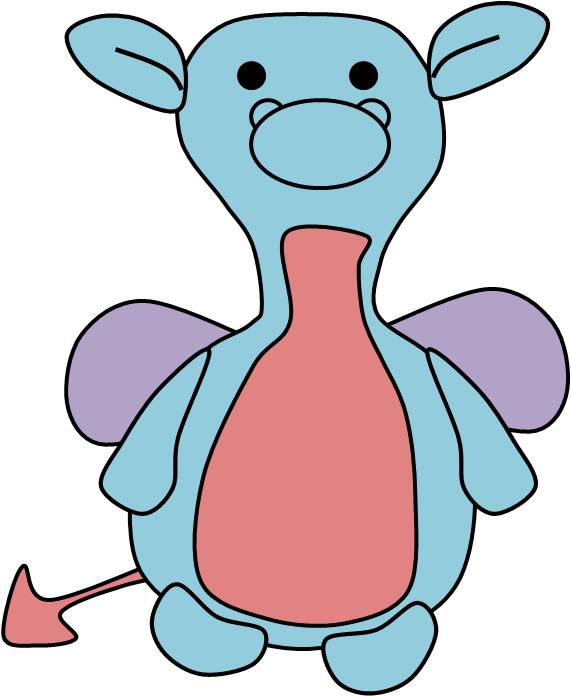
I’ve decided to go with using 3 colors: blue, pink and purple. Here’s my sketch:

What’s your combo?

If you’re not crocheting along with us yet, it’s not too late to start! Click here for details on the crochet-a-long. All month long, I’ll be posting helpful tips on how to crochet your dragon, so if you’re feeling a little nervous about crocheting an animal, this is a great time to get lots of help & support!

Learning Bead Crochet

Goals for Bead Crochet

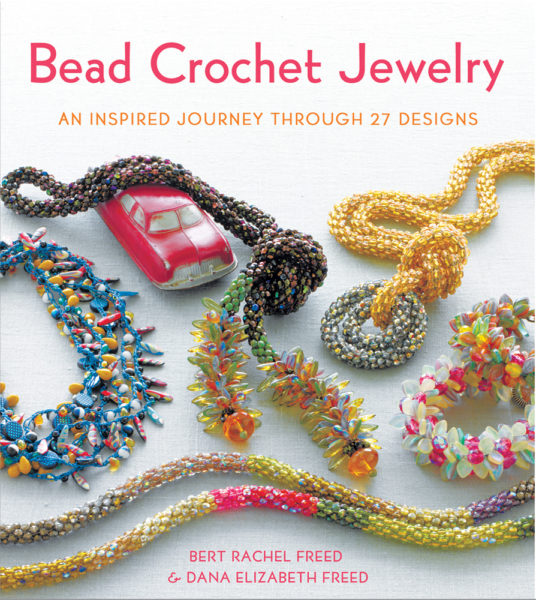
I got a copy of Bead Crochet Jewelry, and the jewelry looks amazing!


Bead crochet is a little different than regular crochet, and gives you a piece with a totally unique look. To bead crochet, you pre-string a lot of beads, and then (basically) slip stitch around a 4 stitch round (or more stitches, if you’d like). While slip stitching, there’s a certain technique for incorporating the bead appropriately into the stitch.

My long-term goal is to make myself a few fabulous necklaces! But, that’s a bit much for one Saturday! So, my goal this week was to:

  • select beads and thread appropriate for a starter project
  • string beads (you need to pre-string a LOT of beads!)… and see whether it would drive me bonkers
  • learn the basic technique for bead crochet
  • fasten off my work

My Resource

Now that I’ve completed my first (albeit, small) bead crochet project, I have to tell you: this book is fabulous! Bead Crochet Jewelry is written by a mother and daughter (who I had the good fortune of meeting at TNNA), and it’s completely obvious throughout the book that this duo has a passion for bead crochet and are skilled teachers!

The book is organized by difficulty level (really helpful for us newbies!), and choc-full of helpful tips and step-by-step photos. I’m not going to fib: bead crochet is pretty different from regular crochet, and I had some trouble manipulating such thin thread early on. But, I persevered because of the great instructions (and dreams of future projects), and I couldn’t be happier!

My Materials

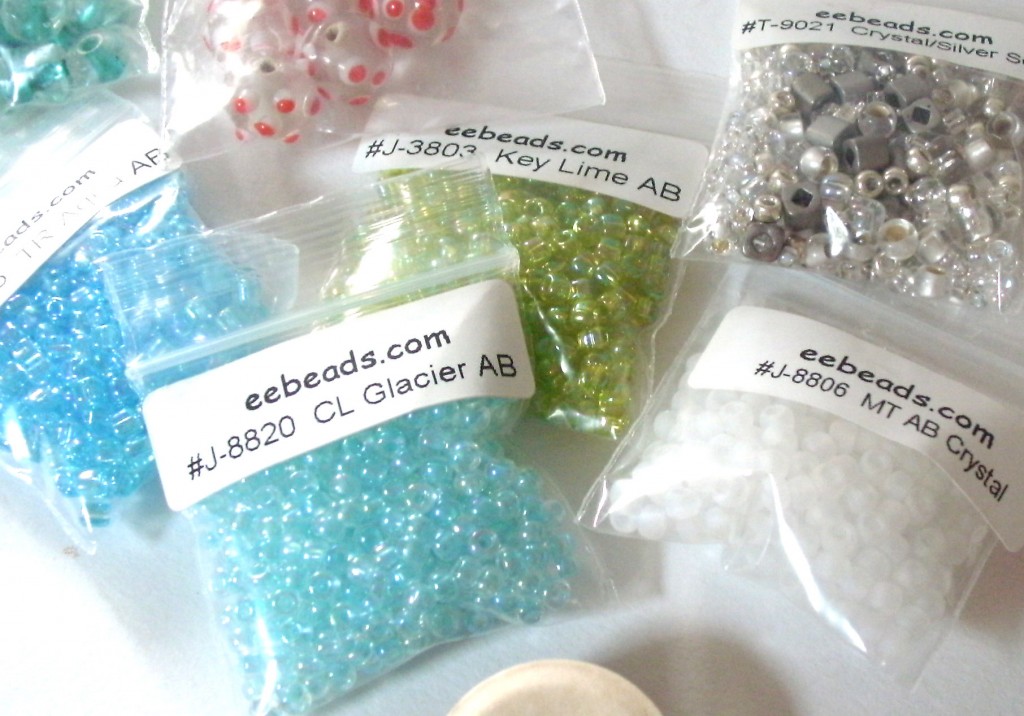
I checked out my local craft stores, and none of them carried the type beading thread that was recommended in the book. So, I ordered my thread (and some beads, while I was at it!) from eebeads.com.

What I Did

I’ll admit: since I’m a pretty proficient crocheter, I thought I could start straight away on one of the projects, and skip over the advised practice. I was wrong.

Bead crochet requires a new way of interacting with the beads and hook… and that’s really hard to do for the first time with bead thread.

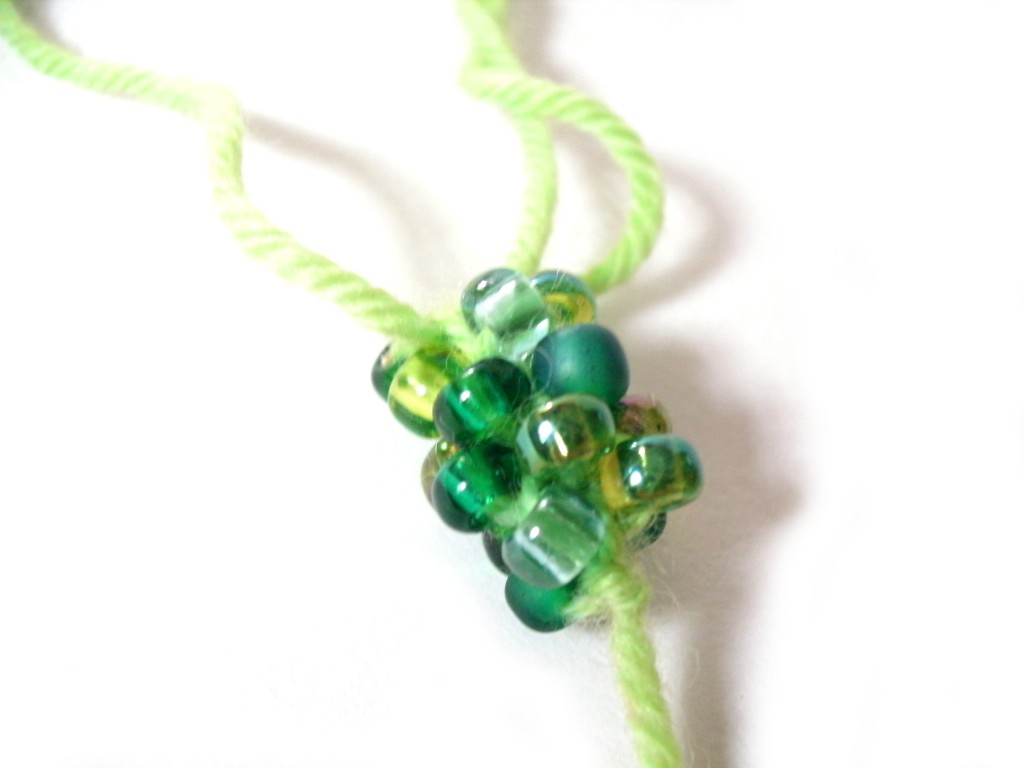
I began by stringing a pretty collection of beads. However, not only was the thread tiny (and I had no idea what I was doing!), the beads were slightly different sizes, making it a tough 1st project! So, after struggling a bit, I took the book’s advice and did a practice piece with yarn and jumbo beads:

I’m so happy that I did! Even though it doesn’t look fabulous, it allowed me to get the basic technique and get my fingers used to what they were supposed to do!

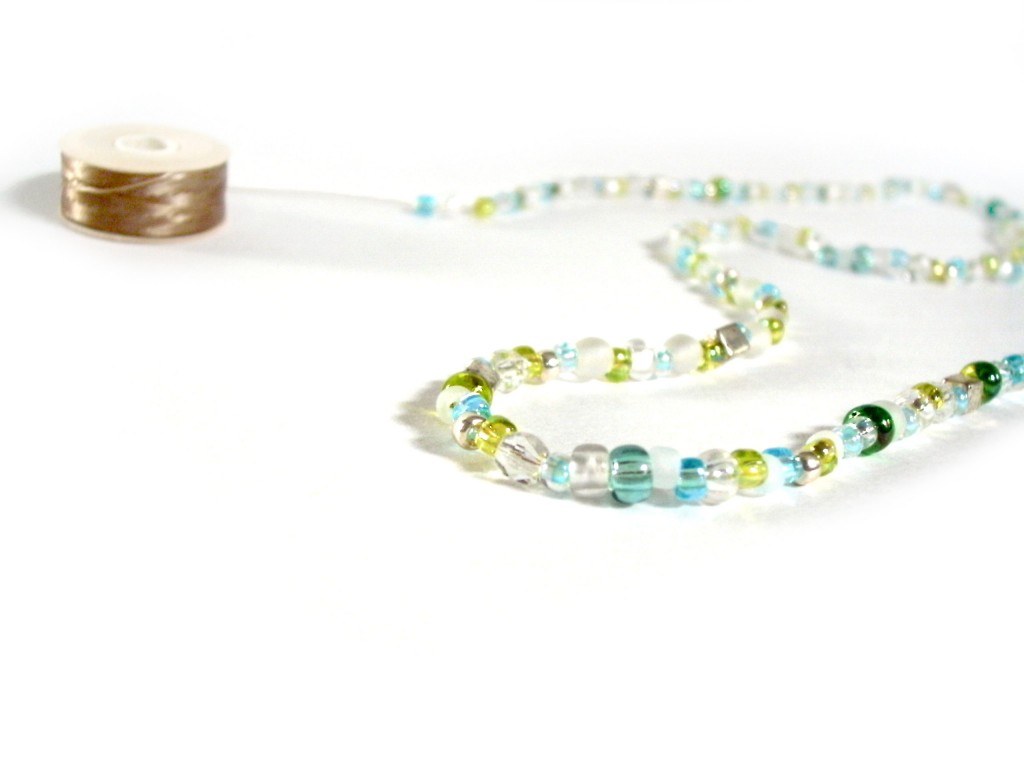
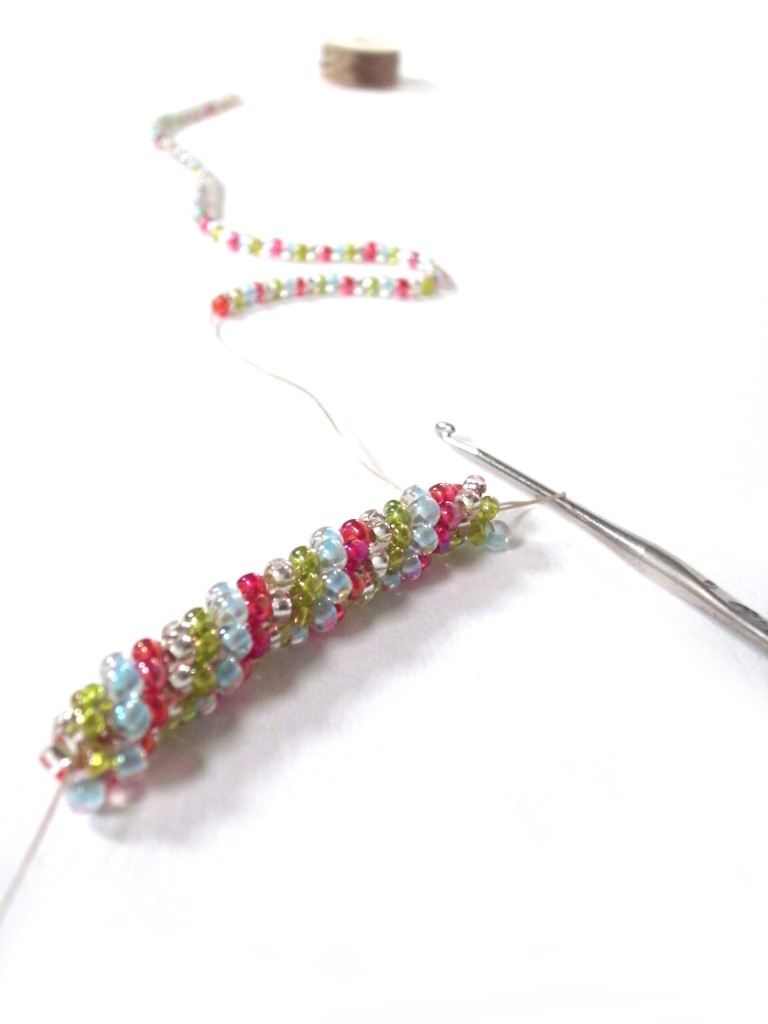
Next, I strung seed beads for my real project! I decided to use all identically-sized seed beads to make it easy on myself. I was delighted to discover that the crocheting was much easier now that I had some practice under my belt.

Isn’t it pretty? Look how nicely the colors are swirling! Yay!

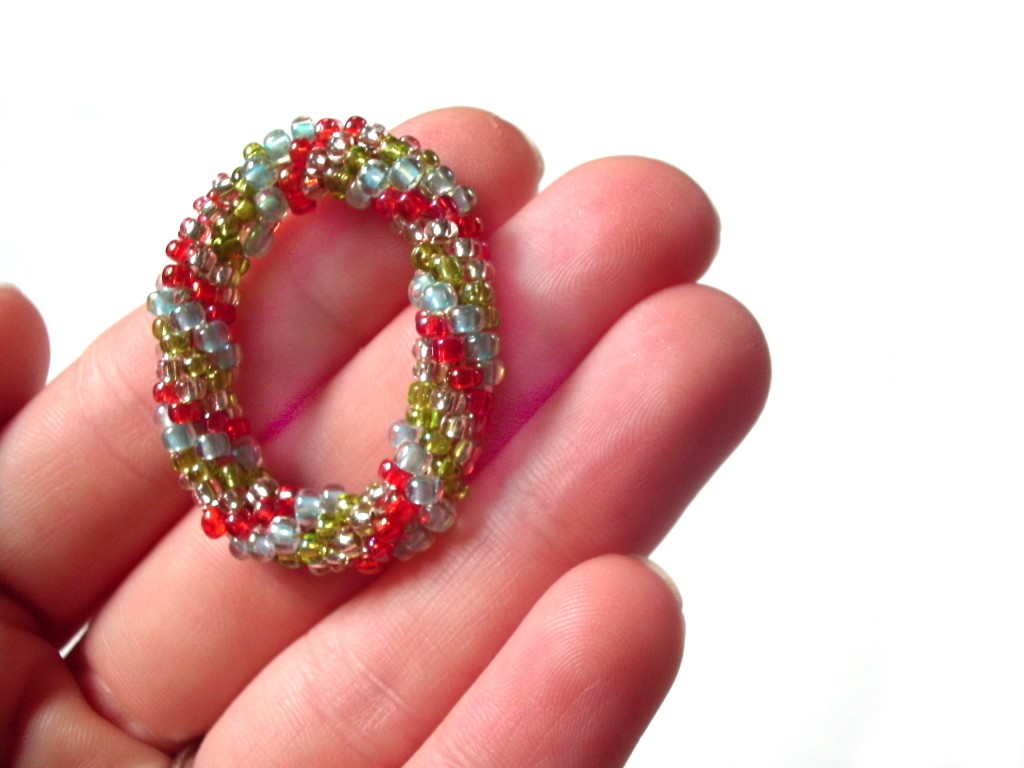
I even finished off my piece in a circle. I have no idea what I’ll use it for (turns out that I strung on too few beads for a bracelet), but I’m so proud!

What I Learned

Most importantly, I learned that I like bead crochet! I was very worried that I would find the pre-stringing and tiny thread size irritating… but I found the stringing relaxing and got used to the small gauge size. Hooray!

I also learned a few pieces of advice for starting. It’s incredibly important to practice with a larger hook/bead size to begin, and also use multi-colored beads. If you do that, you’ll get the hang of what you’re doing to move on!

Finally, I realized that I need reading glasses. I suspected this for a while, but this tiny project brought the need into focus! And trust me, it’s much easier to bead crochet when you can really see what you’re doing!

Future Goals

I love this! I’m going to keep going! Next up for me is a bracelet with some focal beads… so excited!

I totally recommend Bead Crochet Jewelry, it’ll really inspire you to learn!

Best,
Stacey

The colorway I’m freaking out about…

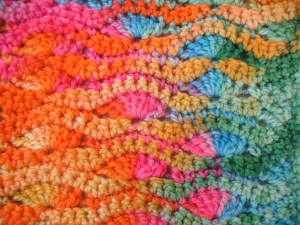
Every once in a while, I spot a yarn that I totally fall in love with. My current obsession is Claudia Handpainted Fingering weight yarn in colorway: Circus Dancer.

Isn’t it beautiful? I’m obsessed with the super-bright blue, orange, pink and green! I couldn’t help but start swatching immediately with it…


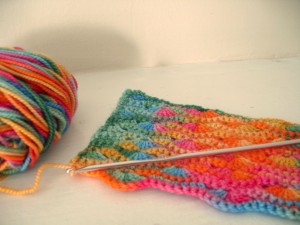
This stitch pattern is called ‘Wavy Shell Stitch I’, and is from Harmony Guides: Basic Crochet Stitches… doesn’t it complement these awesome colors beautifully?


All I can say is ‘yummy’!

Best,
Stacey