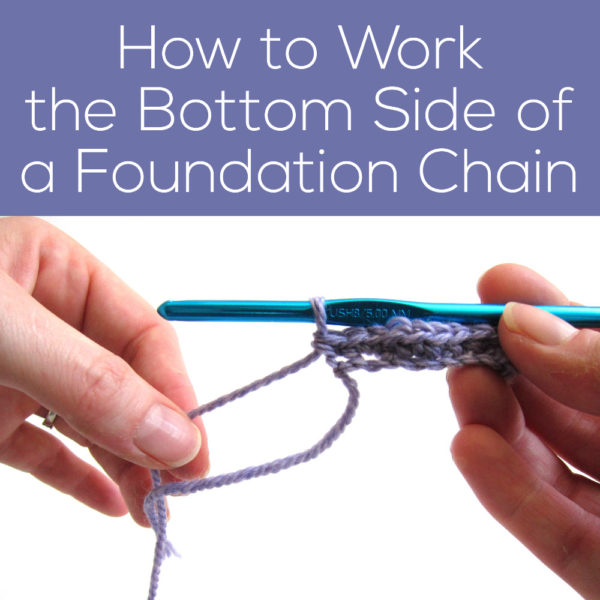
Today, I’m going to talk about an instruction that can be confusing the first time you see it. Rotate your piece to work the bottom of the foundation chain.
What does that mean? I’ll show you both in photos and in video how to do it! It’s a great technique for achieving an oval shape in your crochet work (what I’m showing in this demo) but you’ll find it in lots of other irregular shapes as well.
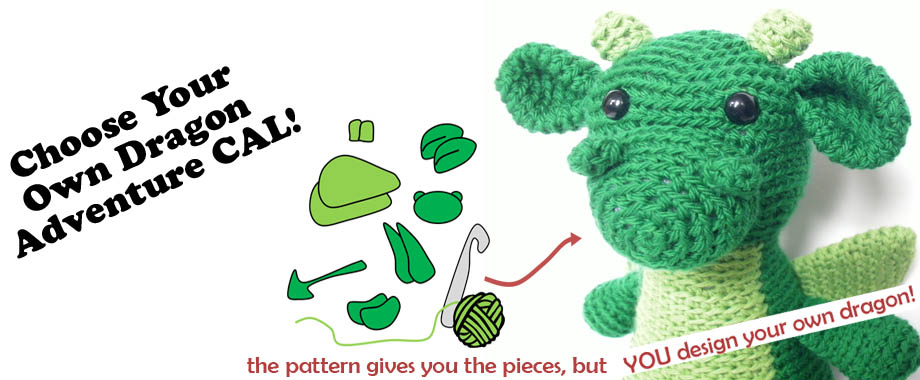
We used it on the wings in this Mix & Match Dragons pattern.
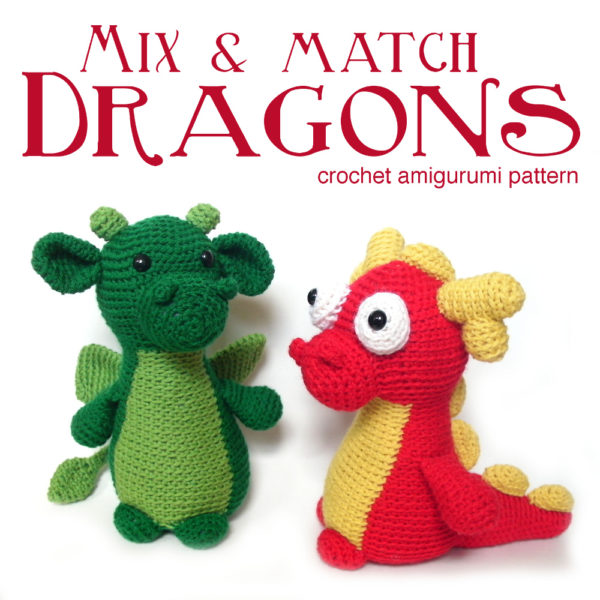
We also used it to get the really odd shapes in the Lovely Leaves pattern. . .
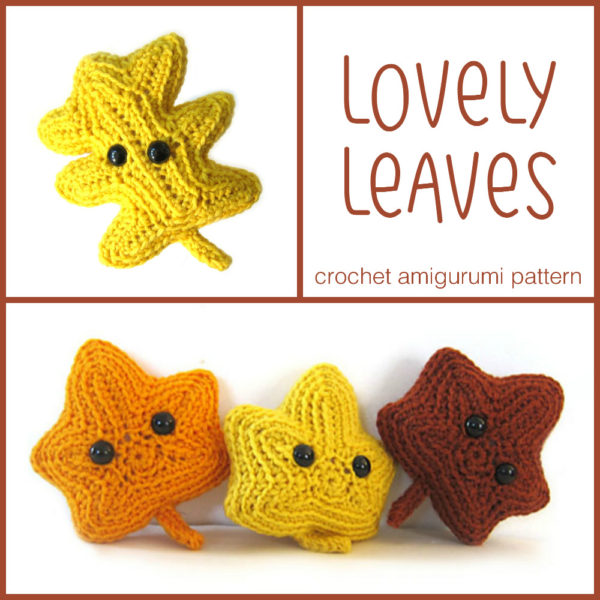
. . . and this totally unique snowflake pattern!
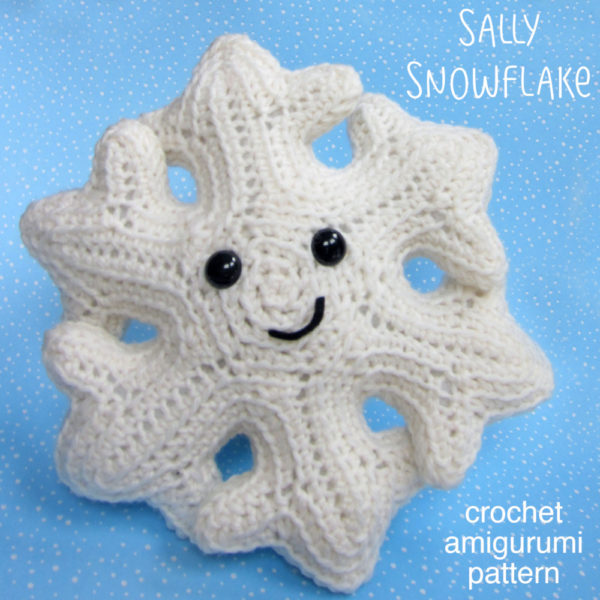
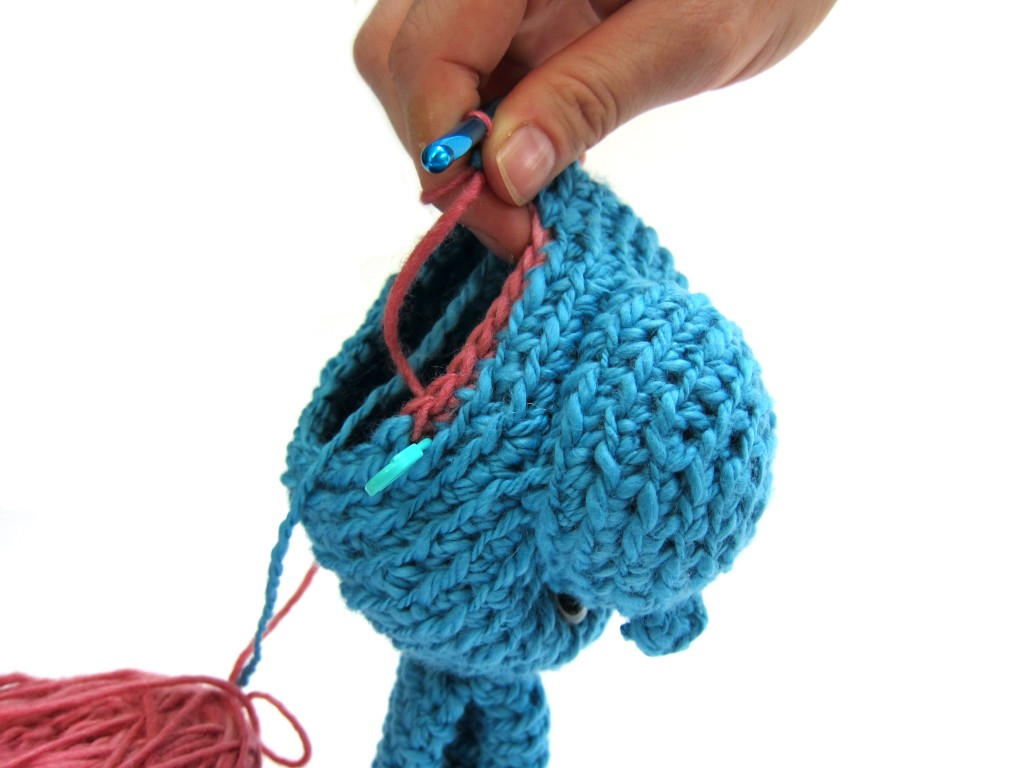
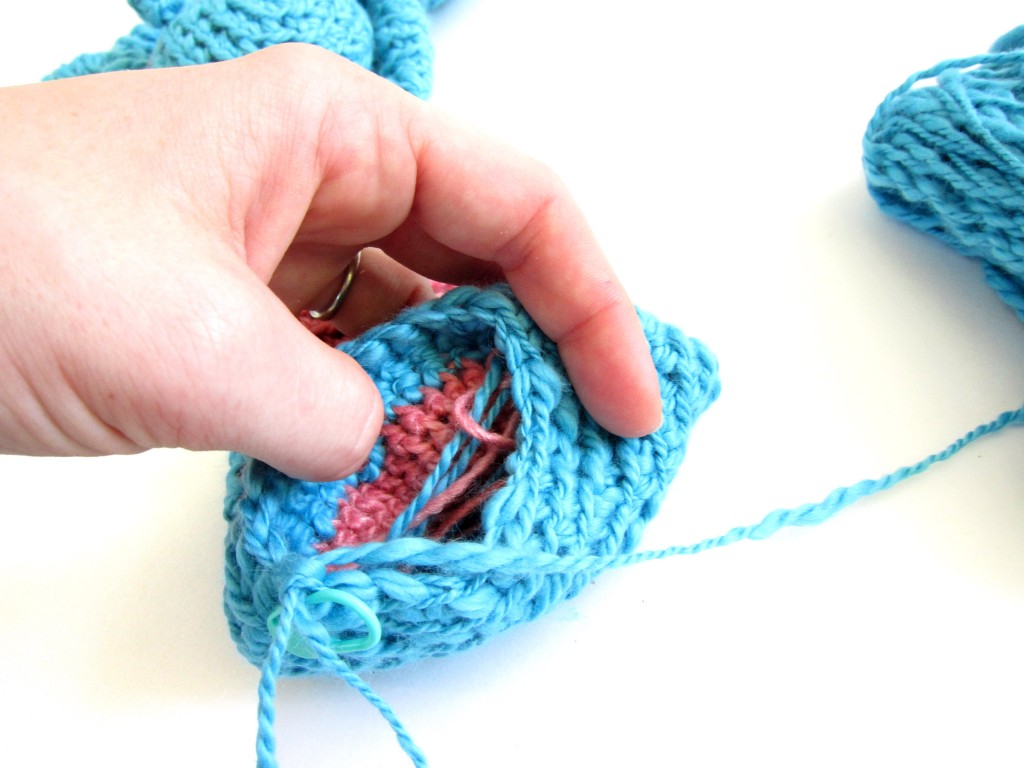
Crocheting into the both sides of a foundation chain lets you create all kinds of shapes!
Photo Tutorial
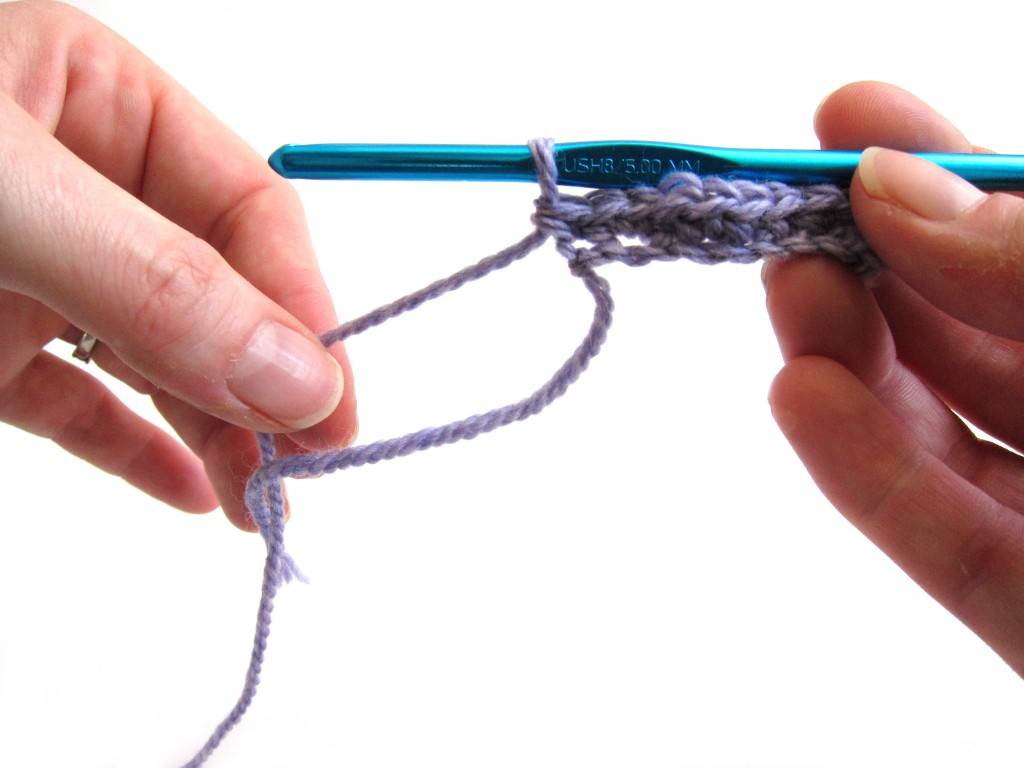
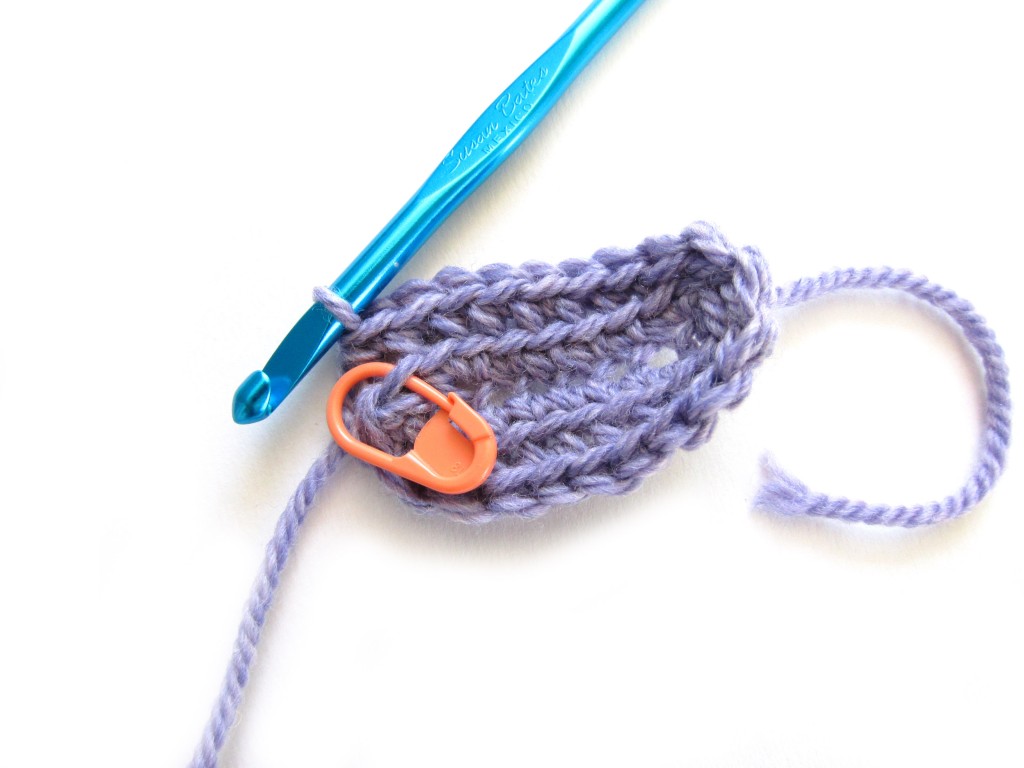
Okay, so you’ve crocheted your first row, and your piece looks like this:
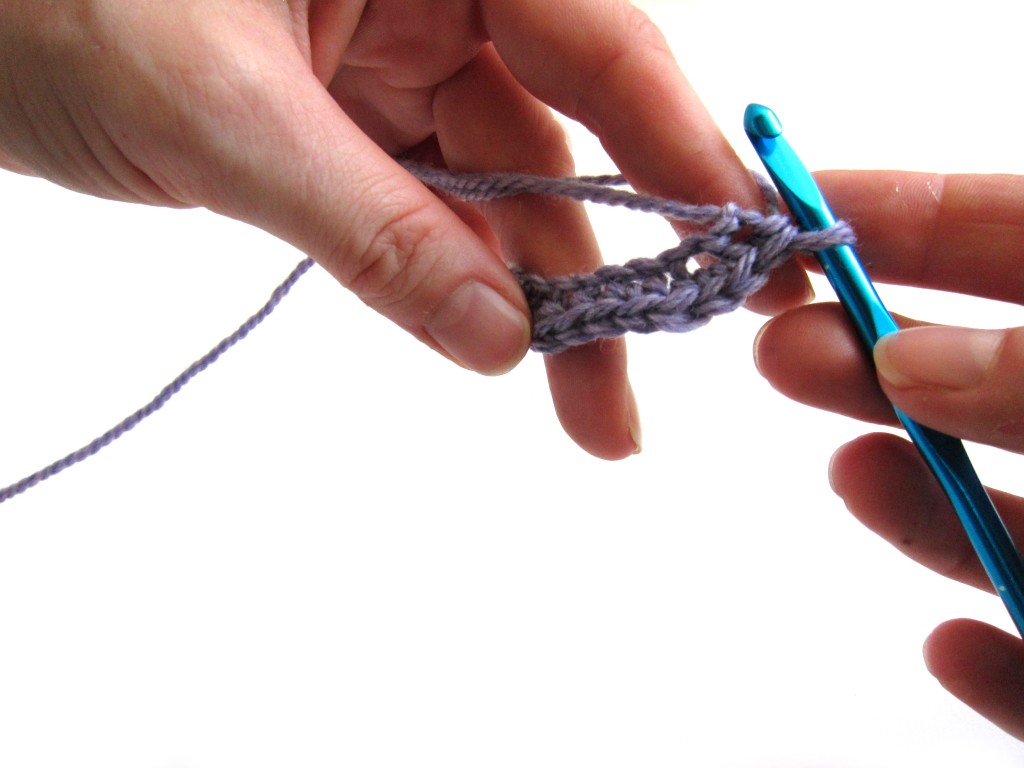
Now, you encounter the instruction to ‘work the bottom of the foundation chain’. What does that mean? First, rotate the piece 180 degrees clockwise so that the row you just crocheted is on the bottom:
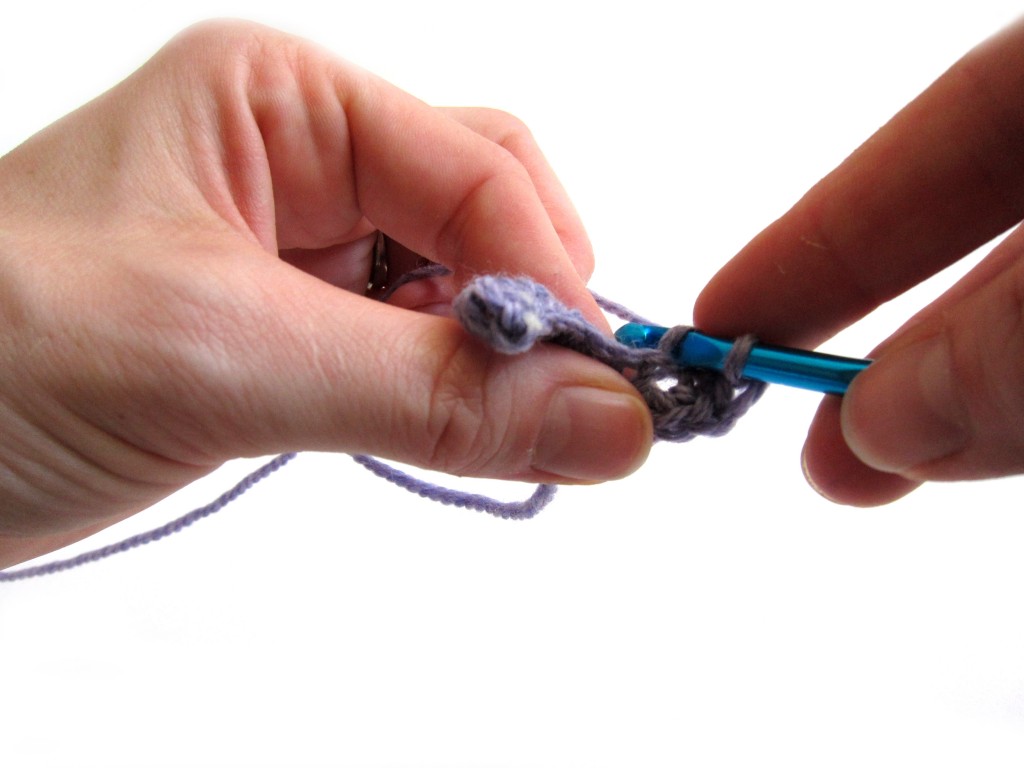
Now, crochet along the bottom loops of the foundation row (working from right to left), just as if you were working a regular row!
Once you’ve finished the row, you’ll have a lovely oval piece!
Video Tutorial
Want to see it in action? Check out this video!
So, think you’re ready to crochet into the bottom of a foundation chain? Give it a try!

Here are handy links to all the posts about crocheting more advanced shapes. . .
- How to Work the Bottom Side of a Foundation Chain
- How to Crochet an Oval
- How to Stitch One Row Below
- How to Crochet an Underbite
- How to Crochet Scallops
- How to Crochet a Pocket Mouth
- How to Crochet Two Rounds Together that Are Separated by a Foundation Chain
- How to Add a Ruffle to Amigurumi
- How to Crochet a Donut Shape
- How to Crochet the Mane on a Lion
Return to the main table of contents for Let’s Learn to Crochet Amigurumi.
Move on to the posts about troubleshooting common problems.
Happy stitching!

