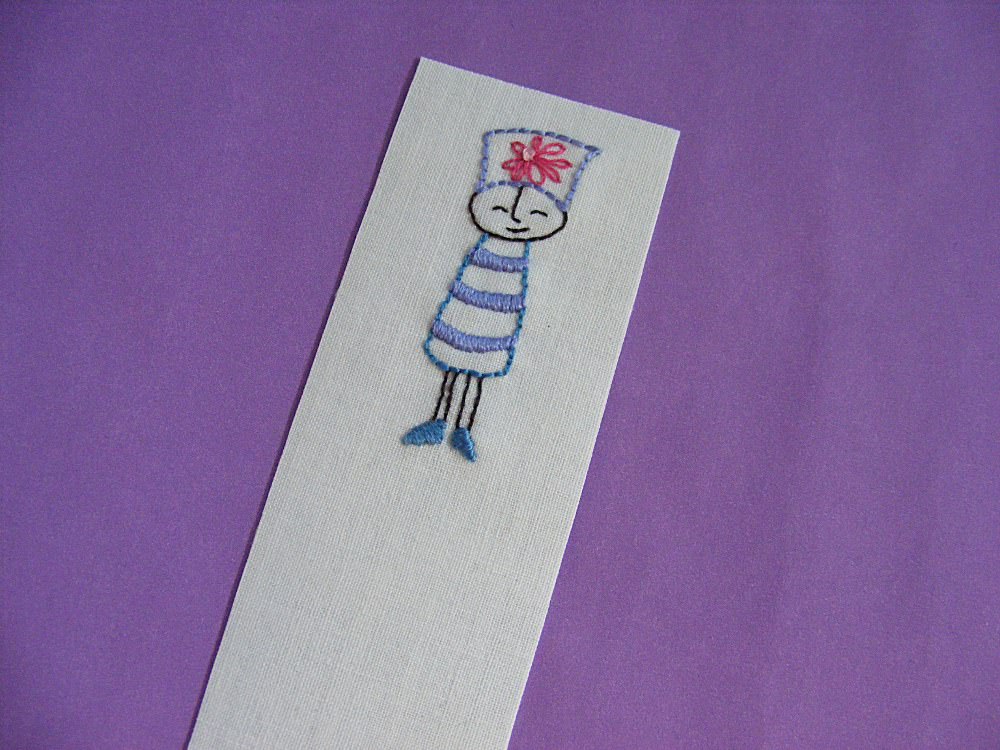
What on earth is that weird-looking thing up there?
That, my friends, is my newest free pattern. I call it a carrying can. It’s a terrific toy (and toy tote) for kids.
It’s a pineapple juice can, completely covered with fabric, with a small, elasticized opening in the top making it easy to reach in and grab toys, but hard for toys to fall out when you’re just carrying it around.
It’s fun to stuff large, squishy toys through the small, stretchy opening, and rocks dropped in the hole make a satisfying clanging sound when they hit the metal can. 🙂 The instructions are for a short carrying handle, but you could easily lengthen it to an over-the-shoulder strap.
(If you’d like to make the snake you see wriggling out of the can you can find the free pattern here.)
This was originally posted on Sew, Mama, Sew where a couple of commenters expressed concern about the sharp edge of the can. I find that most can openers actually leave a pretty clean edge on the can itself. (The lid that you remove is another story.) Check it, of course. But be aware too that the construction of the thing makes it pretty hard to get your hand on the edge of the can once it’s all put together. The fabric wraps around tightly enough that you can’t shift the elastic too far away from the center of the can. If you’re worried about it (or if your can opener does leave a jagged edge) you can substitute any straight-sided cylindrical container with a flat bottom – like an oatmeal container. I give instructions for how to measure for an alternate-sized container. But an oatmeal container won’t be as durable as a tin can – and rocks dropped in won’t make the same cool sound. 🙂
Here’s how to make it. . .
Supplies
- One pineapple juice can (7 inches tall and 13 1/2 inches around)
- One fat quarter of your favorite fabric
- One 6 inch piece of 1/4 inch elastic
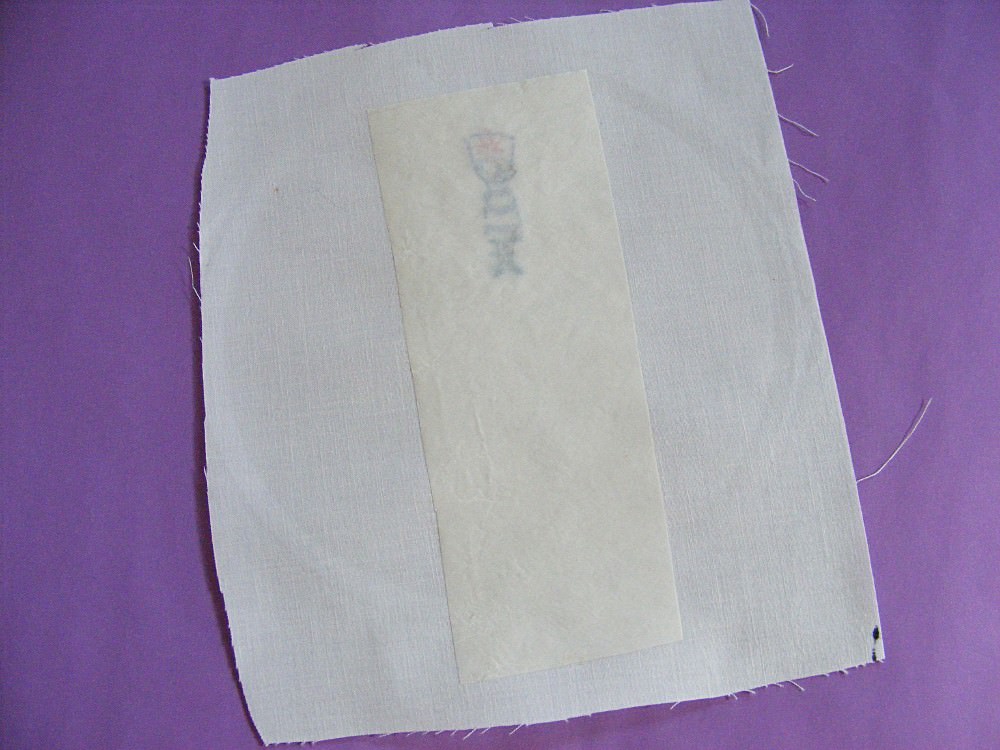
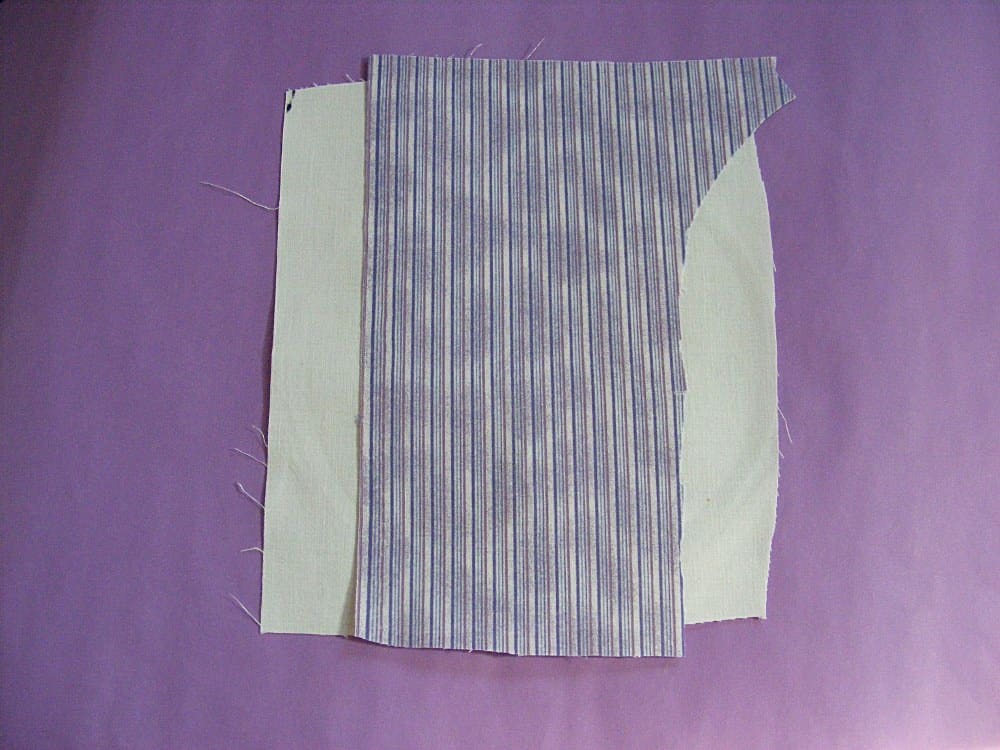
Step 1: Cut fabric.
Cut one rectangle 10 1/2 inches tall x 13 3/4 inches long (or height of can + 3 1/2 inches x circumference of can + 1/2 inch, if you’re using a different sized can).
Cut one strip for the handle 4 inches x 14 inches.
Here’s a tutorial showing how to use rotary cutting tools.
Trace the base of the can onto the same fabric and cut two circles.
Step 2: Prepare the handle.
Fold the short ends of the fabric up 1/4 inch at each end. Press.
Fold the strip in half the long way and press a crease down the middle.
Open the strip back up and fold each long edge in to the center crease. Press.
Refold along the center crease and press again. You should have a nice, sturdy handle with no visible raw edges.
Stitch all the way around the edges of the handle, as close to the edge as possible. Press to set the stitches.

Set the handle aside.
Step 3: Prepare the base circle.
Place the two fabric circles right sides together. Stitch all the way around the edge with a 1/4 inch seam allowance.

Cut a small slit (about 2 inches) in the center of ONE of the circles. Be very careful not to cut through both layers.

Turn the circles right side out through the small slit. Smooth the curves with a chopstick and press. You have a neatly finished circle to sew on the base of your can. Set it aside.

Step 4: Prepare the main can cover.
Turn the top edge of the fabric down 1/4 inch and press. (If you’re using fabric with a right and wrong side up, make sure you’re working with the top edge.) Turn it down another 1/2 inch and press. Stitch along the folded edge, creating a channel for the elastic.

Step 5: Add the handle.
Place one end of the handle so that the bottom of the handle is 3 inches below the top (folded) edge of the can cover, and the edge of the handle is 3 inches from the edge of the can cover.

Repeat with the other end of the handle on the other side of the can. Make sure not to twist the handle between the two sides.

Sew the ends of the handles in place. I like to sew a box roughly 1 inch square, with an X across the middle of it. This makes a nice strong handle.

Step 6: Sew up the can cover.
Thread the elastic through the channel at the top of the cover. Be careful not to pull the ends through.
When the ends of the elastic are flush with the raw edges at ends of the channel, fold the cover right sides together and stitch the side seam using 1/4 inch seam allowance. I like to start with the elastic end so I’m sure that’s lined up perfectly, sew through the elastic, backstitch back over the elastic, then sew through the elastic again and then on down the rest of the seam. This makes it extra strong at the stress point where the elastic is.
Press your seam allowance open.

Step 7: Cover the can.
Slide the sleeve over the can. Center the elastic opening over the open end of the can.

Turn the can over and tape the raw edges of the bottom of the sleeve to the base of the can. The tape will be covered– so don’t worry about how ugly it looks here– but make sure the fabric is gathered neatly around the edge of the can.

Center the prepared circle over the tape and hand stitch it in place. I recommend using ladder stitch; you can find a video tutorial for that here.

Done! Hand it off to a small person and see what they stuff inside!

Happy sewing!