Everyone had a set of jacks – customized in your favorite colors, of course – and if we had five free minutes we plopped down on the floor wherever we were and played a few rounds.
Chinese Jacks was an American eighties version of a very old game called Five Stones (or Knucklebones, or Jackstones, or a kajillion other variations). You can find some “official” rules here, and I like this video for showing it in action.
Part of the fun of Chinese Jacks was making your own set of jacks, in your own favorite color combinations. Five Stones is also a game where you can (and should) make your own set. It’s easy and pretty fast and uses just scraps.
What you’ll need
-
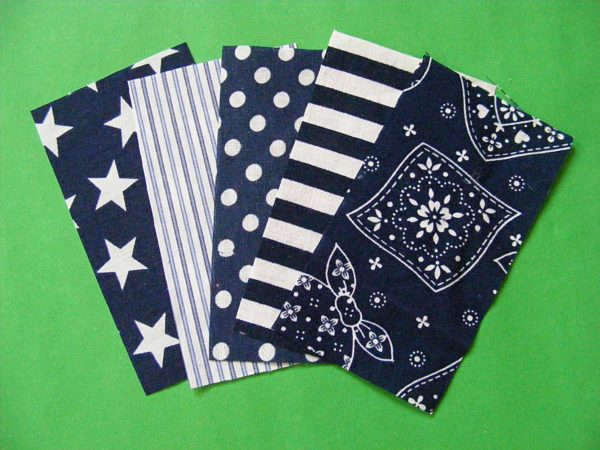
5 scraps of fabric – each at least 2 1/4 x 4 inches
-
small amount of rice, plastic beads, or other small filler
-
sewing machine
-
thread
-
basic sewing tools
- about an hour
Difficulty
Very easy – great for beginners of all ages.
Step 1
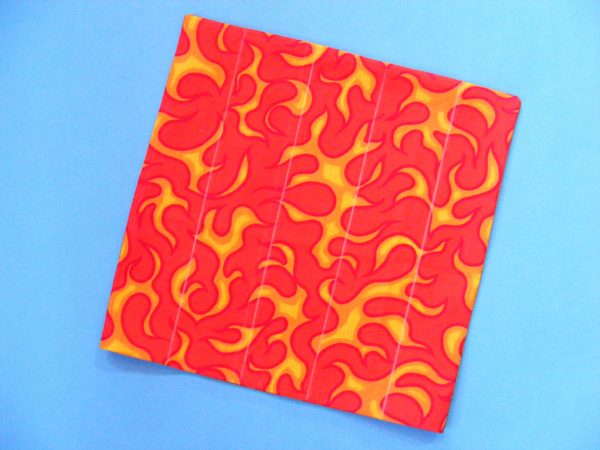
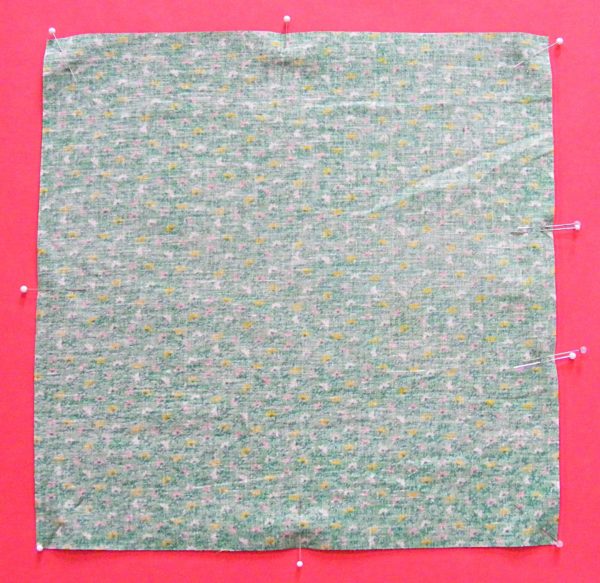
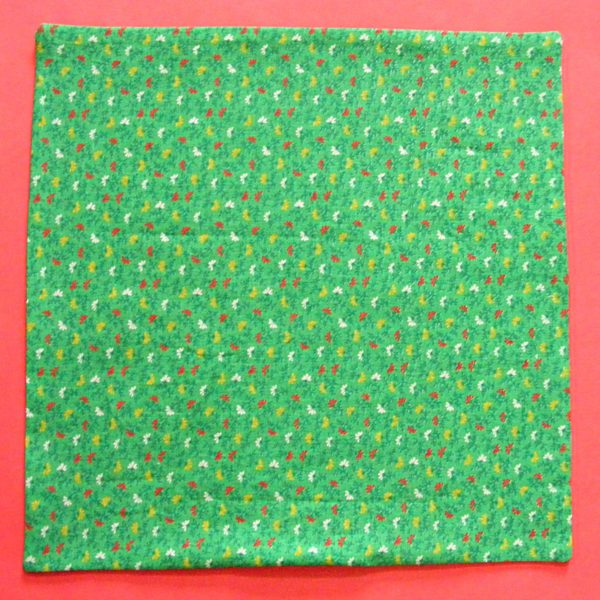
Iron your fabric so it’s nice and smooth. Cut 5 rectangles – each 2 1/4 x 4 inches.
Step 2
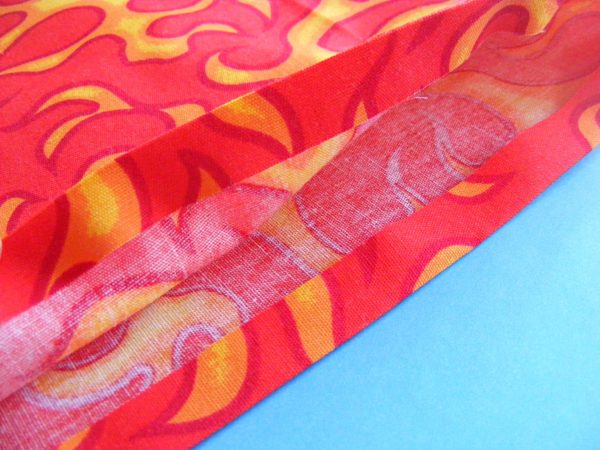
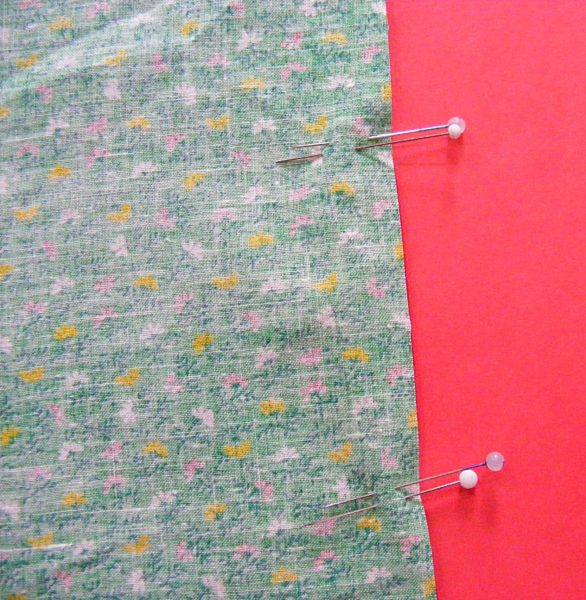
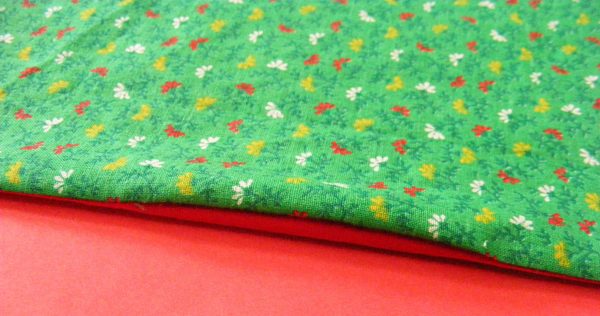
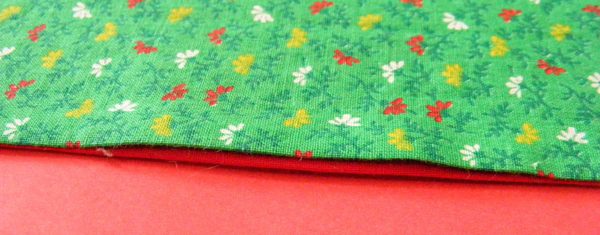
Choose one rectangle to start with. Turn ONE long edge under 1/4 inch.
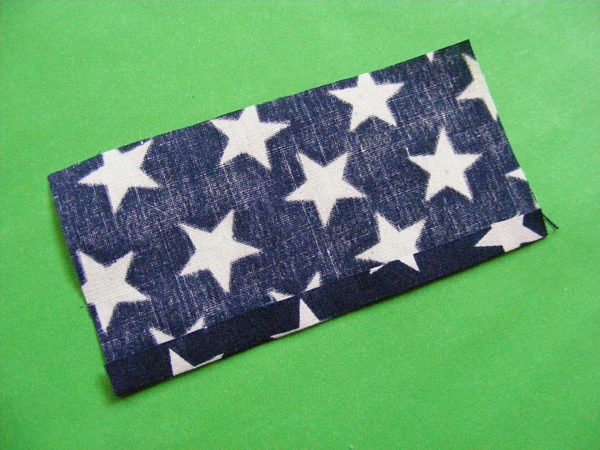
Press to set the fold, then open it back up. You won’t be stitching this down yet, but the piece is so small that it will be almost impossible to measure and press this fold after you sew so we’re doing it now.
Step 3
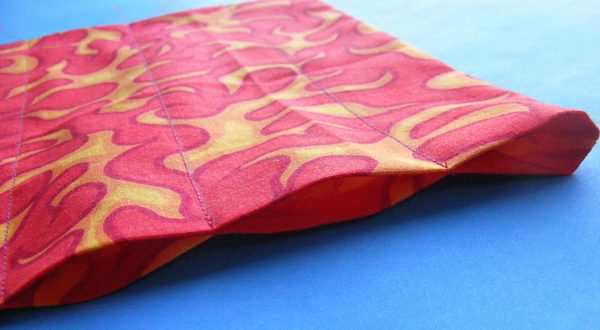
Fold the rectangle in half (with right sides together) so that it’s almost a square.
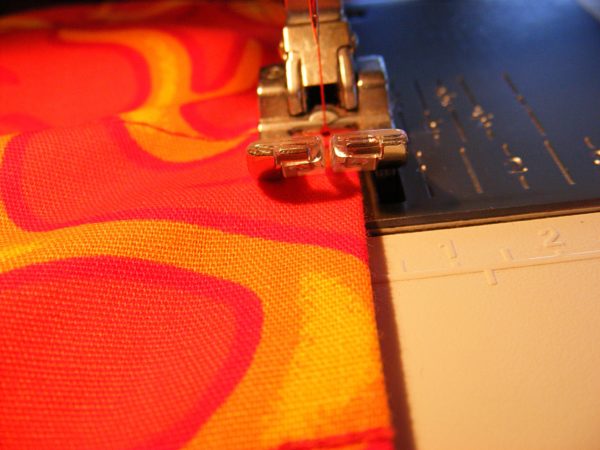
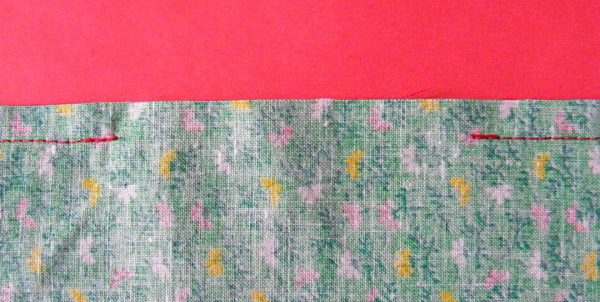
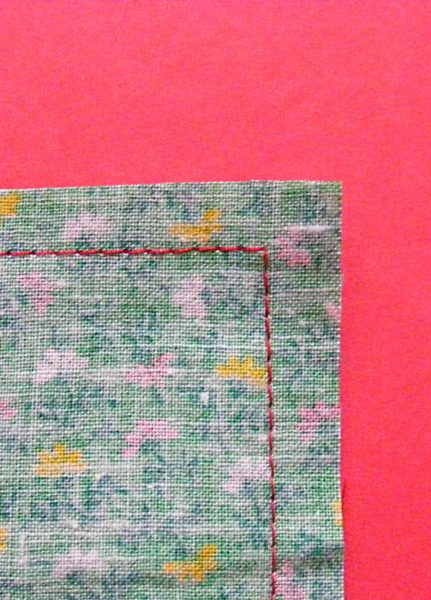
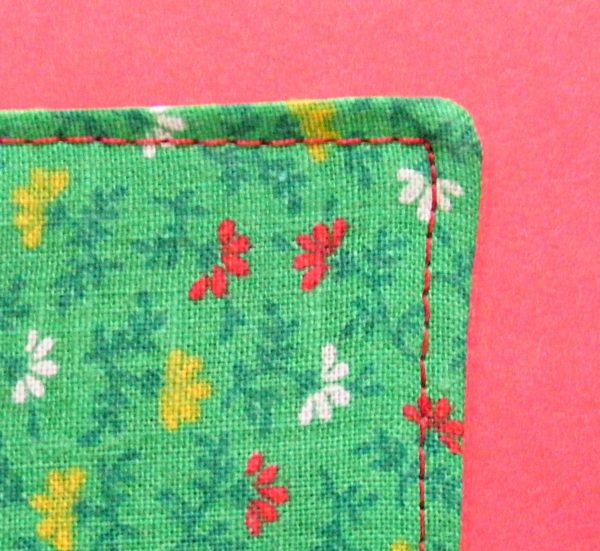
Using 1/4 inch seam allowance, stitch two of the open sides of the square. Remember to backstitch at the beginning and end of your stitching.
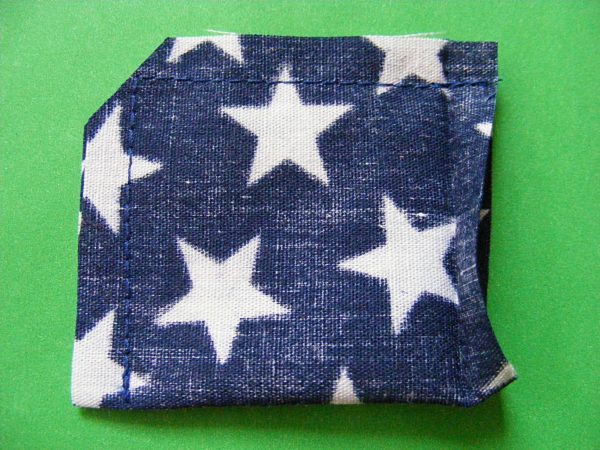
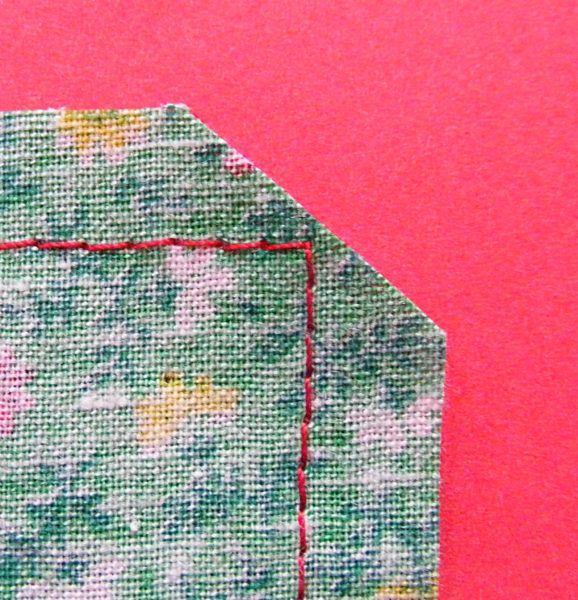
Clip the corner close to – but not into – your stitching.
Step 4
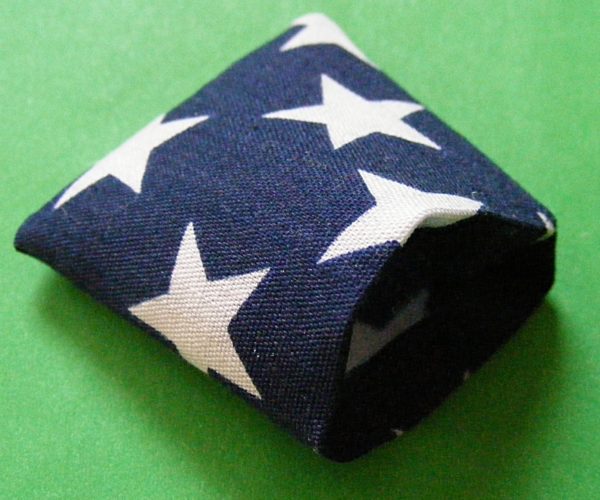
You should have a little pouch. Turn it right side out and turn under the fold that you pressed in place in step 2.
Step 5
Now here’s the trickiest part – and it’s really not tricky at all – just very clever. Refold the opening so that the seam is running up the center instead of along one of the sides. It should reshape the flat pouch into a teeny little pyramid.
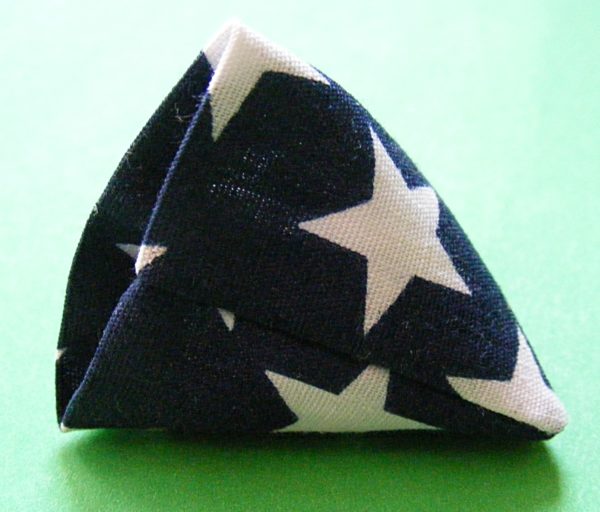
Fill the bag with 2 teaspoons of filler. For this project I used little plastic pellets because I KNOW they’ll get played with (and forgotten) outside. Rice or lentils would be nice, but they will clump and mold if the game gets wet.
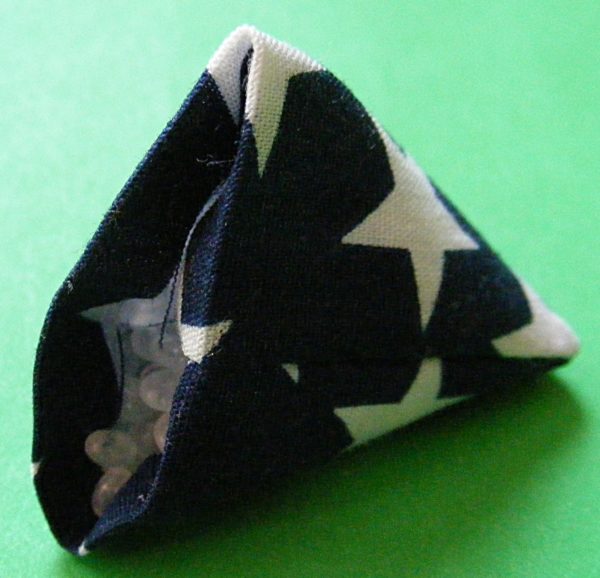
Two teaspoons will fill it loosely – and that’s exactly what you want. Tossing and grabbing is easier when the “stones” have some give to them.
Step 6
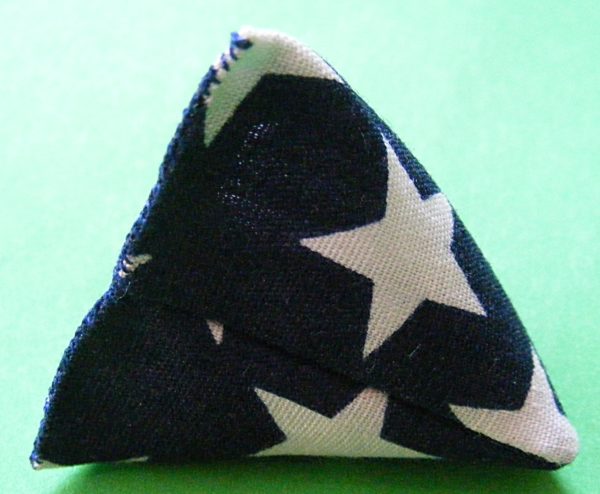
Now stitch up that nice folded edge using a whip stitch or ladder stitch. Use small stitches spaced pretty close together so the filling doesn’t come out through the spaces.
Step 7
Done! Now repeat all the steps with the rest of the rectangles. You should end up with 5 squishy little pyramids. You’re ready to play!
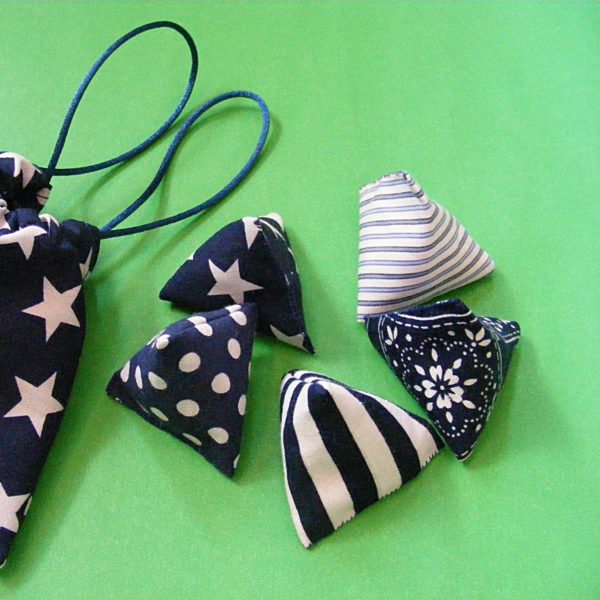
You can find the rules a lot of places online but I like this video. Actually seeing the play makes it easier to understand.
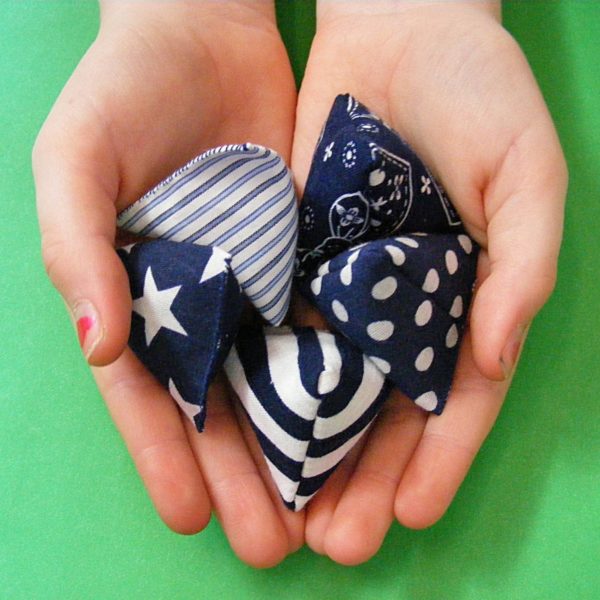
It takes practice to get really good! Have fun!
Best,
Wendi









 You’ll need:
 Best,
Best,
