This post is originally from November 2013. I updated it in July 2017 to add the quilted batik tablet cover I made for my iPad Pro.
The day before I left for Quilt Market I decided that a really efficient use of my time would be to make myself a tablet cover using some of my new patterns. 😛
Here’s the result.

I posted it on Facebook and I got a bunch of requests for a pattern.
How about a free tutorial instead?
First you’ll need to measure your tablet. Of course, they’re all just a little bit different.
Add one inch to each dimension – length and width. This is your cutting size. If your tablet is 8″ x 11″ your cutting size is 9″ x 12″.
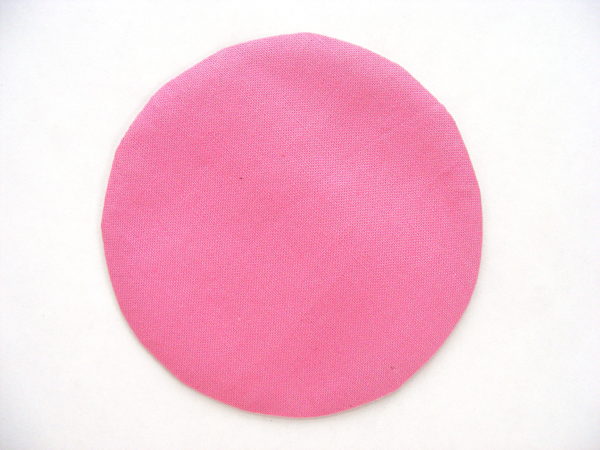
Cut four pieces of fabric to your cutting size. Two are for the outside and two are for the lining.
Oh yes – it’s lined.
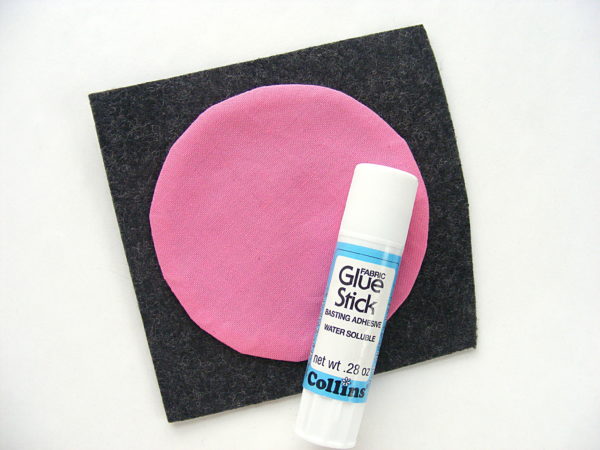
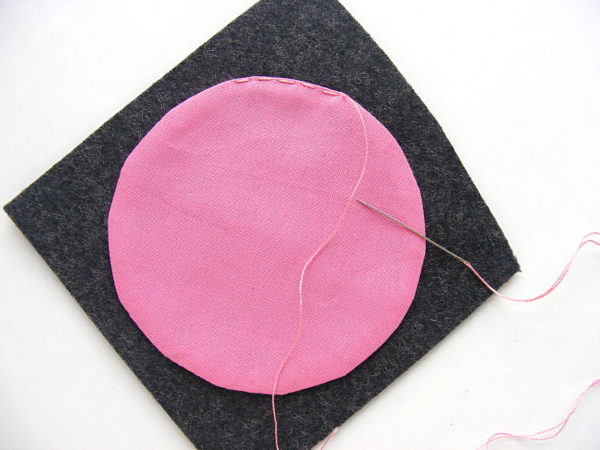
Applique whatever you like to the two outside pieces, using whatever applique method you prefer. Click here for a free workshop teaching Quilt As You Go and applique with fusible adhesive – my favorite method.
The puppy is Harold – one block in the Lovable Mutts quilt pattern.
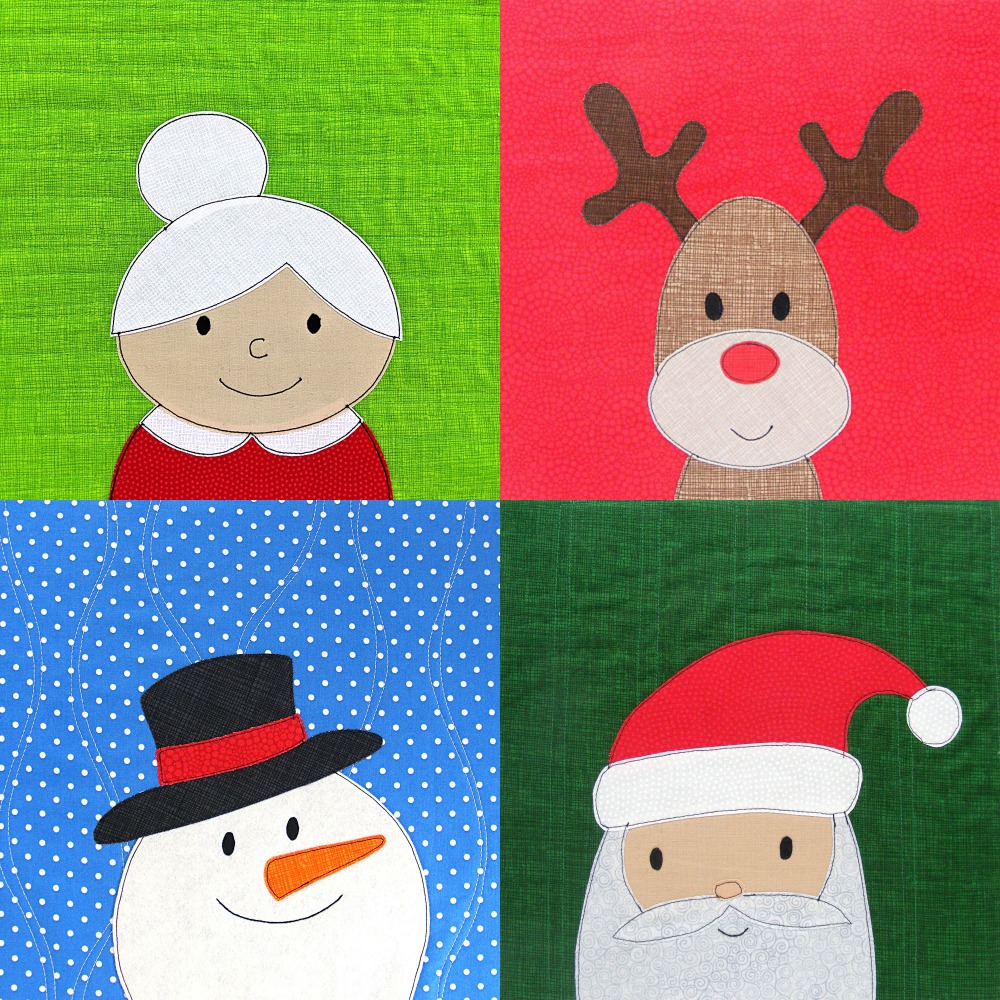
Of course, you can use any applique pattern you like! You can find tons of individual block patterns here.
For those who don’t like applique – how about embellishing it with some stitching? I’ve got a bunch of easy embroidery patterns here.
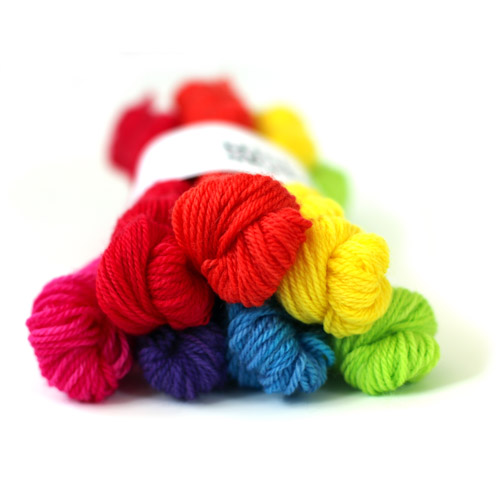
Or just make it out of the most fabulous fabric you can find!
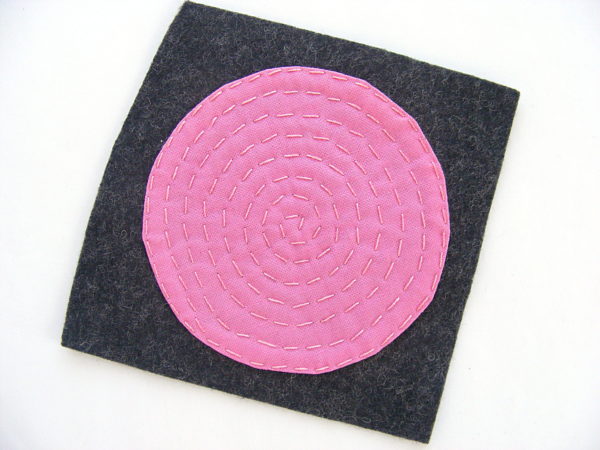
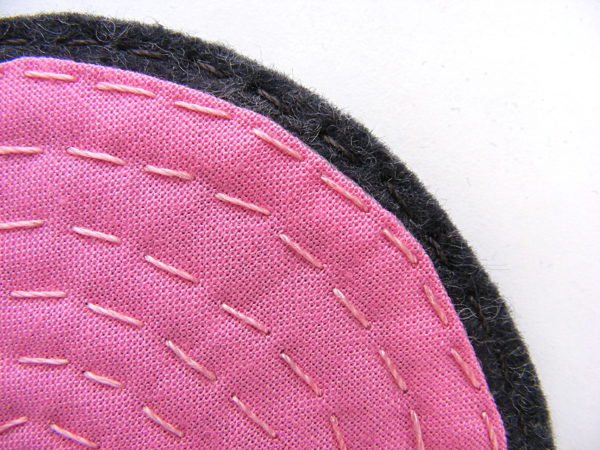
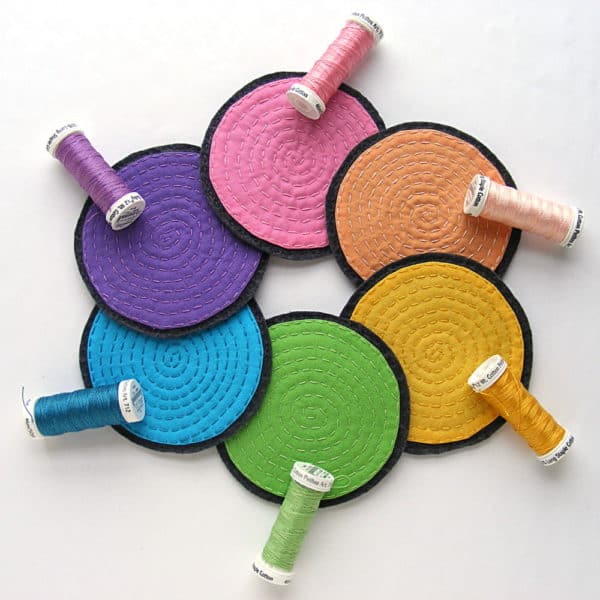
For the new iPad cover, I used a fabulous hand-dyed batik fabric from Malka Dubrawsky of Stitch in Dye and added Big Stitch quilting around all the circles.

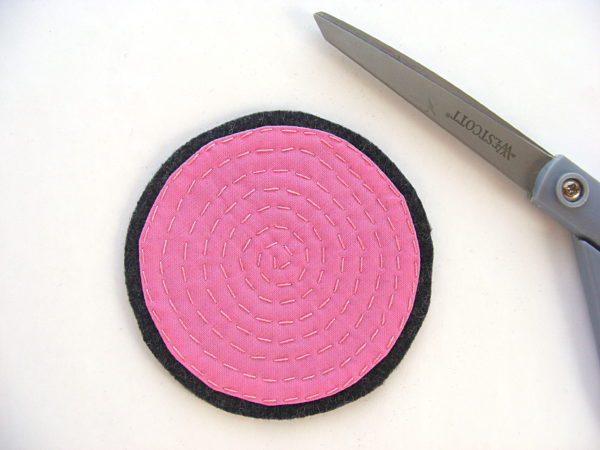
These are the tablet cover front and back, all quilted, trimmed to size, and ready to assemble.
Shop for Malka’s fabulous fabric here.
Learn how to do Big Stitch quilting here.
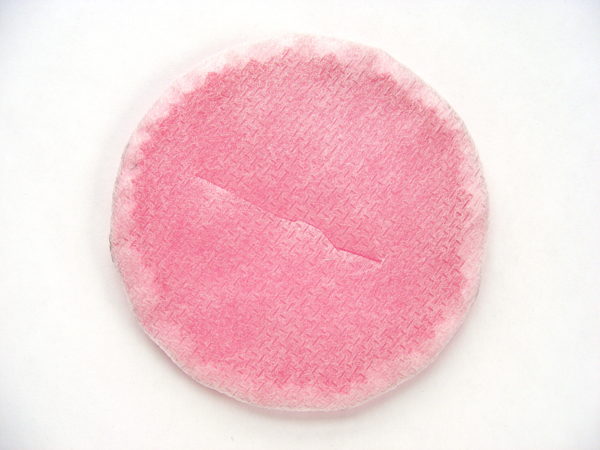
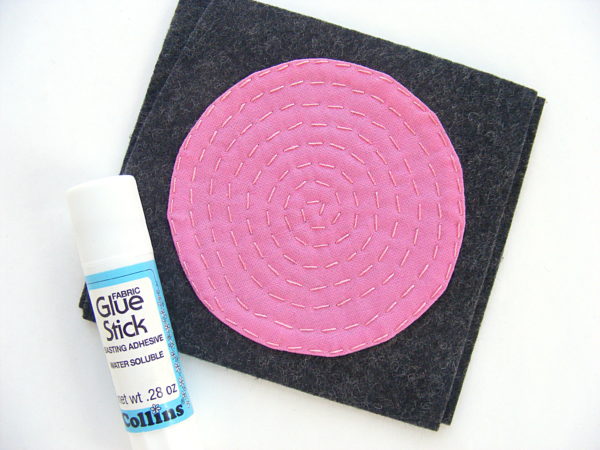
Back the outside layers with some thin cotton batting and hold the layers together with some machine quilting (if you didn’t already quilt it as part of your embellishment). For the cat/dog cover, I just followed the line of the zigzags in the fabric. Easy peasy! Since the tablet is lined you don’t even need to back the batting.
So. You’ve cut your pieces, added any fanciness you like, and quilted in some padding. Time to start sewing it all together. This is super easy.
Sew your front to your back, right sides together, using 1/4″ seam allowance. Sew down one side, across the bottom, and up the other side. Don’t forget to backstitch at the beginning and end of your stitching.
Do the same thing with your two lining pieces except leave a 3-4 inch opening in the bottom for turning the whole thing right side out later.
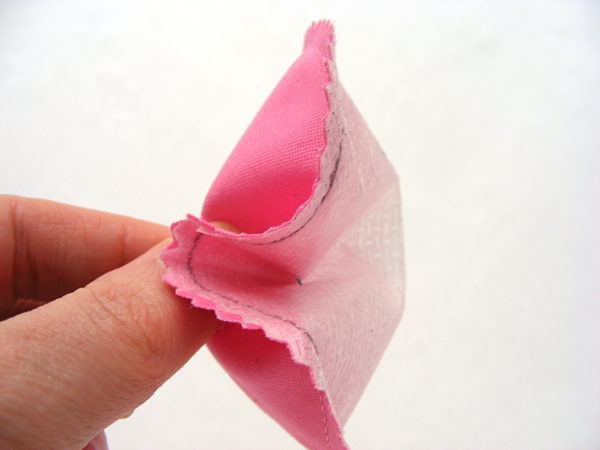
Turn both the outside and the lining right side out and press.

I’ve got my turning stick poked through the opening I left in the lining. See how I pressed that too? That’ll make it a cinch to sew up when you’re done.
Now turn the outside inside out again. Leave the lining right side out.
Measure a strip of elastic 3 inches long. I used soft fold-over elastic in a pretty color but you can really use any elastic in any size or color.
Fold the elastic in half and pin it to the center of the front of your cover. (Fold the cover in half to quickly find the center.)

I like to leave a little extra hanging over the raw edge.
Slip the lining (right side out) inside the cover (inside out). Line up the side seams and pin or clip the layers together around the top. The elastic loop should be sandwiched between the two layers.

You can really see my quilting lines here on the batting.
Sew the outside to the lining all the way around the top using 1/4″ seam allowance.

I go back and forth over the elastic a couple of extra times. It’s a stress spot and I like to reinforce it.
Now comes the fun part.
Pull the lining out of the bag. Then pull the whole thing through the opening in the bottom of the lining. Sew up the opening in the lining using either whipstitch or ladder stitch and tuck the lining down into the bag.
Flip down the elastic loop to see where you need to position your button and sew the button in place.
Done!

Here’s the back of my cover. Of course I had to decorate the back too!
And here’s a full view of the batik cover.

It’s the same font and back. 🙂

Here are several free patterns that work with my basic 10-inch applique squares – no resizing needed!
- Make a Wall Hanging with a Wonky Churn Dash Frame
- Trick or Treat Bag (medium tote bag)
- Quilted Tablet Cover
- How to Turn Any Quilt Block into a Pillow
- Fast and Easy Placemats
- Fancy Felt Frame
- Receiving Blanket
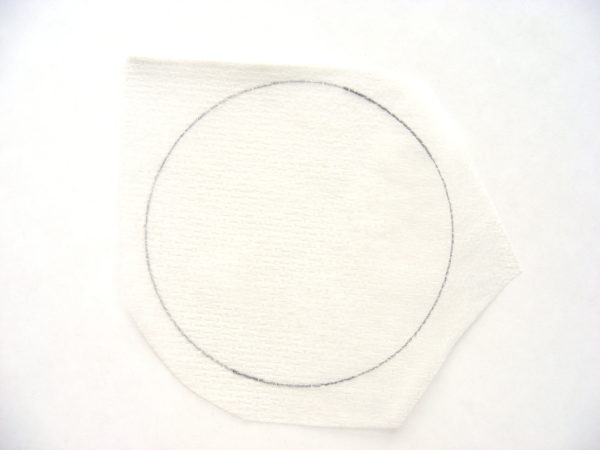
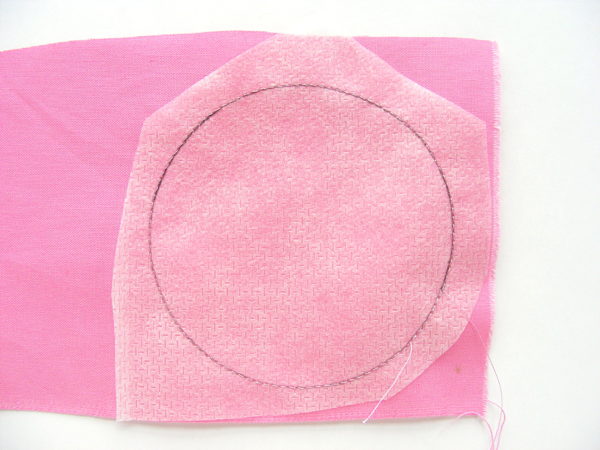
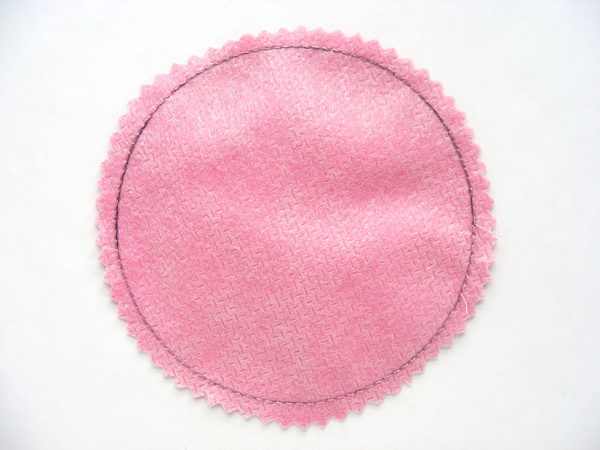
Here are several free patterns that work with just some simple resizing. This post about making coasters has info about resizing an applique pattern that can be applied to any of these projects.
- Free Bib Pattern
- Simple Christmas Stocking
- Mini Bunny Tote Bag
- Turn Any Quilt Block Patterns into Cute Coasters
- Cozy Bear Coasters
- The Big Bag (applique on the pocket)
- Cloth Book for Babies
Return to the main Let’s Make a Quilt Table of Contents.
Happy sewing!