Controlled Chaos Quilt Block #4

Controlled Chaos quilt block #4 - a scrappy quilt-along with Shiny Happy World

Block #4 is finished for the Controlled Chaos quilt!

I realized all my blocks so far included blue – so this time I grabbed some purple and orange. I’m loving how they look together!

So far. . .

Speaking of how they look together, here’s a quick mock-up of the first four blocks. . .

Controlled Chaos Scrappy Quilt-Along - the first four blocks from Shiny Happy World

Love!

I’m so happy with how this is coming together!

Ready to make block #4?

What You’ll Need

  • 70  two-inch squares in color A (shown in purple)
  • 30 two-inch squares in color B (shown in orange)

Instructions

Use 1/4″ seam allowances for all sewing.

Arrange your squares according to the diagram below and sew them together into rows.

Press all the seams. I’m pressing mine open for this quilt. I think it will make things simpler in the end.

Sew the rows together to make the finished block.

Here’s the exploded view. . .

Controlled Chaos block #4 exploded

A Word About Randomness

It’s really HARD to be random when you’re sewing blocks together. The inclination is always to put two fabrics together that look good together, but if you do that you’ll have two things happen. . .

  1. It will take longer to make your quilt because you’re making decisions with every single square.
  2. You’ll tend to put the same fabrics together over and over again and a pattern will emerge. It’ll be a subtle pattern, but your scrappy quilt will look just a little less scrappy.

Some people throw all their blocks in a paper bag and draw them out without looking. I like the idea of that, but it makes my squares wrinkly and that bugs me.

Instead, I lay out one stack of squares for each fabric. I just stack them up near my sewing machine as I cut them, and I don’t go for any kind of order. Then when I sew, I just take them in order, regardless of what comes up together.

Did you see the video yet about chain piecing? Even if you already know what chain piecing is, take a look. I show my randomness method at the beginning of the video.

Block #5 coming next week! I don’t have any yellow or green yet, so I’ll definitely be using one of those colors.

Click here for all the Controlled Chaos posts.

If you’re stitching along – please send photos of any finished blocks! I’ll include them in future posts. You can email them to me at blockhead[at]wendigratz[dot]com.

Happy piecing!

Best,
Wendi
That's me!

Controlled Chaos: Scrappy Quilt-Along #2

Controlled Chaos - a scrappy quilt-along at Shiny Happy World

I’m so glad that some of you will be joining me in this scrappy quilt-along!

Here’s block #2. This time I used orange and mostly turquoise-ish blues.

Controlled Chaos Block #2

I really like how it turned out!

And here’s a quick mock-up of what it will look like if it ends up next to block #1 in the final quilt.

Controlled Chaos Scrappy Quilt-Along

I like the way the horizontal blue stripes of the first block kind of feed into the blue border of the new block.

What You’ll Need

  • 40  two-inch squares in color A (shown in blue)
  • 60 two-inch squares in color B (shown in orange)

Instructions

Use 1/4″ seam allowances for all sewing.

Arrange your squares according to the diagram below and sew them together into rows.

Press all the seams. I’m pressing mine open for this quilt. I think it will make things simpler in the end.

Sew the rows together to make the finished block.

Here’s the exploded view. . .

Controlled Chaos Block #2 - exploded

I’m really happy with the contrast in this one. 🙂

I’ve had a couple of questions about my process on this. . .

  • What’s the best way to cut squares from scraps?
  • Is there a tricky way to sew all the blocks together?
  • Is there a special way to make the seams line up just right?

I’m working on a short series of videos to answer these questions and hope to have the first one ready to post next week. Keep any questions coming and I’ll do my best to answer them as we go. 🙂

Block #3 coming next week! Click here for all the Controlled Chaos posts.

If you’re stitching along – please post photos of any finished blocks. We love to see!

Happy piecing!

Best,
Wendi
That's me!

Controlled Chaos Scrap Quilt Along #1

Controlled Chaos - a scrappy quilt-along at Shiny Happy WorldRaise your hand if you’d like to empty your scrap bins and make a pretty spectacular quilt along the way!

*hand raised and waving around madly*

I’m making a scrap quilt and I’d love for you to join me!

I had originally thought about just cutting all my tiniest scraps into two inch blocks and then sewing them together completely at random. That would be fun – in a way – but the call of pattern is too hard for me to resist.

Plus I know that that is one HUGE project and it will feel like a smaller project if I can have lots of “finished” bits along the way.

So then I decided to do a bunch of 10 x 10 square blocks, each one using only two colors.

I’m calling it Controlled Chaos. 🙂

This is going to be a regular series (that will help me actually finish it) with a goal of one block a week. We can make one block a week, right?

I’d love for any of you with overflowing scrap bins to join in!

Here’s Block #1. Simple. Classic. Stripes made out of itty bitty scrappy squares.

Controlled Chaos Block #1

What you’ll need

  • 50 two-inch squares of color A
  • 50 two-inch squares of color B

Instructions

Use 1/4 inch seam allowance for all sewing.

Choose one color and sew 10 blocks together into a strip. Repeat until you have 5 strips of each color.

Press all the seams. I’m pressing mine open for this quilt. I think it will make things simpler in the end.

Sew the strips together, alternating colors.

Here’s the exploded view.

Controlled Chaos Block #1 - exploded

I think this block would have been more successful if I had tightened up the colors a bit more. I think the reds are good – they’re all red or very dark pink. But there’s a bit too much variety in the blues. I wish I had made them all dark blue or all light blue. It’s ok here because there is so much contrast between the red and the blue that it still clearly reads as stripes (and no way am I taking them apart) but it’s something I’ll keep in mind going forward.

Block #2 coming next week! Click here for all the Controlled Chaos posts.

Happy piecing!

Best,
Wendi
That's me!


Buzz – a Free Bird Applique Pattern

Free Buzz the Bird applique pattern from Shiny Happy World - blue bird with zigzag stripes on a green background

Here’s a free bird applique pattern for you to play with!

The Chirp Quilt pattern has thirteen different applique birds in it.

I usually do twelve, but this time I added one more because I wanted to balance out right, left and forward facing birds.

So I decided to make one of the blocks available as a free bird applique pattern – and I let you all choose which one would be free!

Thanks so much to everyone who voted!

The winner was Buzz, this cardinal-ish, blue jay-ish bird. 🙂

Here’s how to make him. (This video shows all the steps for working with fusible adhesive – if you’ve never done it before you’ll find it helpful.)

Step 1

Download the template pieces here.

Step 2

Trace or print the pattern onto the paper side of the fusible adhesive.

Free Buzz the Bird applique pattern from Shiny Happy World

I use this printable fusible adhesive so I just printed out the page. No tracing!

The image has already been reversed, so just trace or print. If you’re tracing, be sure to trace the eye too. You’ll need that there for Step 6.

Free Buzz the Bird applique pattern from Shiny Happy World

Step 3

Rough cut around each shape.

Leave a little bit extra all the way around ­- a little extra extra (at least 1/4 inch) where there’s a dotted line ­- the base of the tail and the edge of the beak.

Step 4

Free Buzz the Bird applique pattern from Shiny Happy World

Fuse each pattern piece to the wrong side of the fabric.

Step 5

Cut around each piece. Cut directly on the solid lines.

Free Buzz the Bird applique pattern from Shiny Happy World

Leave a little seam allowance on the dotted lines ­- the base of the tail and the beak will tuck under the main body piece.

Step 6

Remember when I told you to make sure you traced the eye in Step 2? Now you’re going to use that. Hold the face up to a window so the light shines through it. You’ll be able to see the eye, and the adhesive will stabilize the fabric so you can trace on it without it crinkling up.

Free Buzz the Bird applique pattern from Shiny Happy World

I traced just inside the eye.

This eye is pretty small. You can absolutely do it with applique, but if you prefer, you can use fabric paint or markers. This post has more info.

Step 7

If you’re doing Quilt As You Go (I did) then you can quilt your block before adding the applique. So easy!

Free Buzz the Bird applique pattern from Shiny Happy World

Cut your background fabric and a piece of 100% cotton batting 11 inches square.

Layer the block with a piece of 100% cotton batting. Quilt any pattern you like!

Find all the Quilt As You Go tutorials here.

If you’ll do the quilting later, simply skip this step.

Step 8

Peel off the paper backing and arrange the pieces on a background block. Tuck the tail and beak behind the body.

Remember -­ all the dotted lines indicate where pieces tuck behind other pieces.

Free Buzz the Bird applique pattern from Shiny Happy World

Fuse the pieces in place.

Step 9

Stitch around all the pieces.

Free Buzz the Bird applique pattern from Shiny Happy World

I just did simple straight line stitching in black thread. I love the cartoony effect. This video has some tips for outlining those tight curves.

Done!

One bird applique pattern – complete!

If you’re making a one-block project, go ahead and finish it up.

If you’re making a bunch of Buzz blocks to join into a quilt -­ have fun!

What can you do with just one block pattern? Tons of things! Check out this page I’ve been slowly building – 100 Things to Do with an Applique Pattern. 🙂

Have fun! And share a photo of what you make! You can share it in the Shiny Happy People group or tag it with #shinyhappyworld on Instagram.

If you like this free pattern, sign up for the Shiny Happy News! Subscribers get a weekly newsletter full of sewing tips and tricks, free patterns, special discounts, and other things to make you smile. 🙂

Happy sewing!

Getting My Quilting Mojo Back

Getting My Quilting Mojo Back

I used to be a quilter – with a capital Q. I entered my quilts into shows and sold them in galleries. I liked making the quilts, but I hated everything else about the process. I hated writing Very Serious Artist Statements. I hated entering quilt shows. I hated worrying about how much time I was spending on a quilt, knowing that that was pushing up the price. I didn’t like thinking about my designs in that way.

So I stopped. And I started Shiny Happy World and I didn’t make a single quilt for a few years.

Buttonholes Quilt PatternI started making cute toys instead of expensive quilts. And then I started designing patterns for those cute toys so other people could make them too. And that was awesome!

But then I made a quilt. I made the Buttonholes quilt and it was really fun to design a quilt pattern especially for beginners – with no places where the seams needed to match up and no stress whatsoever.

And then I made the Scary Squares quilt and had the Most Fun Ever. And then there were a few more quilts – including the Puppies quilt which I love, love love. Scary Squares quilt pattern from Shiny Happy World

And all of a sudden I realize I have my quilting mojo back. And you know why? Because I’m making quilts that I LOVE. These quilts will never appear in any gallery. They’ll never win a prize in a show. But they make people smile and they keep people warm and they’re really fun to make. I’m not stressing about points or matching seams – I’m playing with color and shape and cuddly monsters and cute puppies. And I love it!

Why did this come as a revelation?

12_puppy_applique_patternsI reviewed Quilting Happiness here, and in responding to some people’s comments about the book and the review, it really made me think about my own quilting journey. I feel like I fell into this trap of always pushing my skills – always making more and more complicated quilts – until I didn’t enjoy what I was doing. I was designing for the galleries and the judges and my own weird internal measuring stick.

It’s like I had to give myself permission to make quilts that were “below” my skill level. Where does that come from? I have the technical skills to make a mariner’s compass quilt. Or a Baltimore Album quilt. That doesn’t mean I HAVE to make one! Making one (for me) will be stressful and sweaty and I’ll probably say a lot of bad words. I can do it – but it won’t be fun. And I want my quilting to be fun, dang it!

I’m writing this because I know a lot of you have struggled with the same thing. I read it in a lot of private emails after I posted my Quilting Happiness review. You don’t need my permission – but I’m giving it here just in case hearing it from another source helps.

You do not need to challenge yourself with every project you make. If you want to learn a new skill – awesome! But don’t feel like you have to. It’s ok to just make things for the joy of it. You can make beautiful, stunning, gorgeous quilts for the rest of your life without ever worrying about chopping off points or matching seams.

There. I’m off my soapbox now. 🙂

Starry Night quilt in progress - 10 starsAnd now that I have my mojo back, I’m planning a LOT of new quilt patterns for next year. Most of them will be of the easy peasy Buttonholes variety – with no fussy points and no seams to match. A few of them will be skill stretchers, like the Starry Night quilt. (Update – I’ve pulled the Starry Night pattern temporarily while I reformat it to be released as a regular pattern. Sign up for the newsletter to make sure you know when it’s in the shop.) I hope all of them will be fun – and that all of you will make things you love, whether those things are simple rag dolls or complicated quilts. Think about what makes you happy when you sew and follow that path!

Have a wonderful day!

Happy sewing! Or quilting! or stitching! Or whatever you love to do!

Best,
Wendi
Wendi_Gratz_Shiny_Happy_World

How to Make Quarter Square Triangles – video and cheat sheet

How to Make Quarter Square Triangles - video tutorial

The first triangle blocks I taught you were half square triangles. Those are my favorites and you can make quilts for the rest of your life and never move beyond that. Seriously. They’re that versatile.

But quarter square triangles are also a great skill to have. They’re not much harder, and they allow you to make a whole bunch of additional star blocks.

If you don’t already know half square triangles, go get that lesson here. Quarter square triangles start with half square triangles so you need to know them first.

Then watch the quarter square triangle video.

See how easy they are?

Download the handy dandy cheat sheet here so you can keep it by your side while you work – all the key info in one neat and tidy page. 🙂

Orange Supernova block for the Starry Night Quilt from Shiny Happy World 1000 px

Starry Night quilt in progress - 10 starsHappy quilting!

Best,
Wendi
Wendi_Gratz_Shiny_Happy_World


Book Review – Quilting Happiness

Quilting_HappinessWhen I read a book to review it, I read it with a notepad next to me so I can capture my thoughts as I go along. My notes for Quilting Happiness – a terrific new book by Diane Gilleland and Christina Lane ended up being a long list of things I loved.

So let me tell you what I love about Quilting Happiness. . .

I love the title. My business is called Shiny Happy World. How can I not immediately pick up a book called Quilting Happiness?

I love the quote mentioned in the dedication. “You’ll never notice it on a galloping horse.” That – in a nutshell – sums up my quilting spirit. It’s something I often tell my students when they fixate on a tiny “mistake” in a big, beautiful quilt.

I love the list 5 Things About Quilting That Makes Us Happy.

Quilting_Happiness_listI really connected immediately with both authors of the book – but especially with Diane’s last point. “Give me some hand quilting to do, a cup of coffee, and a Doctor Who marathon, and I’m one happy woman.” That’s exactly how I feel about all hand work – quilting, embroidery, finish work, etc. Although I’d also add in Sherlock, Downton Abbey, the Phryne Fisher Mysteries and lots of other favorite TV shows. 🙂

I love the many quizzes sprinkled throughout the book. They can help you articulate what kind of quilter you are – something I sometimes find difficult to do. And I love how the results of the quizzes point you to specific quilts in the book. It’s a fun “Choose Your Own Adventure” way to work your way through the projects.

I love that every single project has very specific suggestions for quilting each quilt.

Quilting_Happiness_Ideas_QuiltingSo many books just say “quilt as desired.” That’s not helpful at all! And not only does the book have specific suggestions – it has multiple suggestions for every project! And they range from simple line stitching to more complicated free motion stitching and even some hand quilting and tying suggestions. That is fantastic – and very unusual!

I love that the instructions for each quilt are super clear – with excellent diagrams.

I love that there are detailed instructions for cutting the fabric. A lot of books will tell how many of each shape and size to cut, but leave it up to you to figure out the most efficient way to do that. This book breaks it down step by step. It tells you how many strips to cut of each size, then exactly what pieces to cut from those strips. Very nice!

Crazy_Strips_Quilting_Happiness 
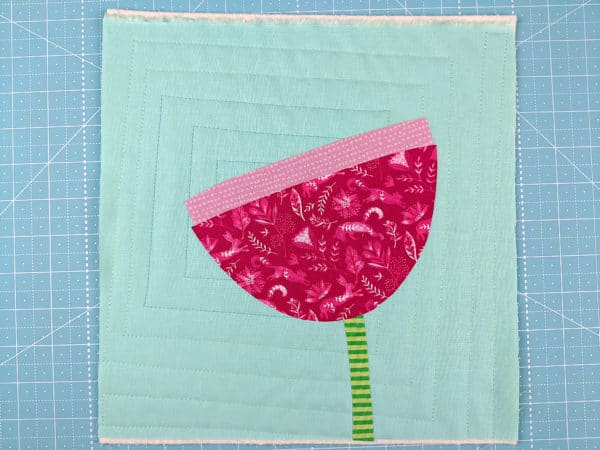
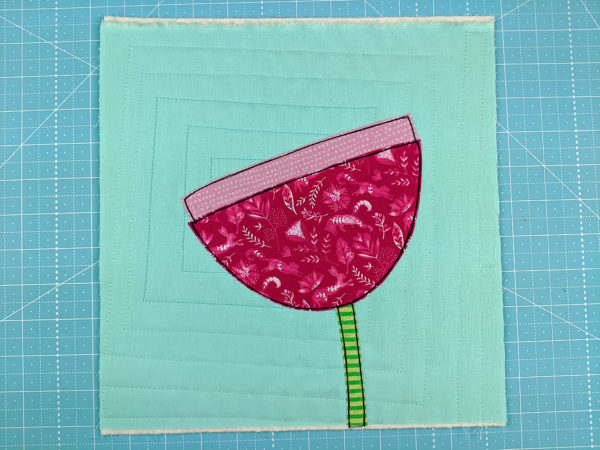
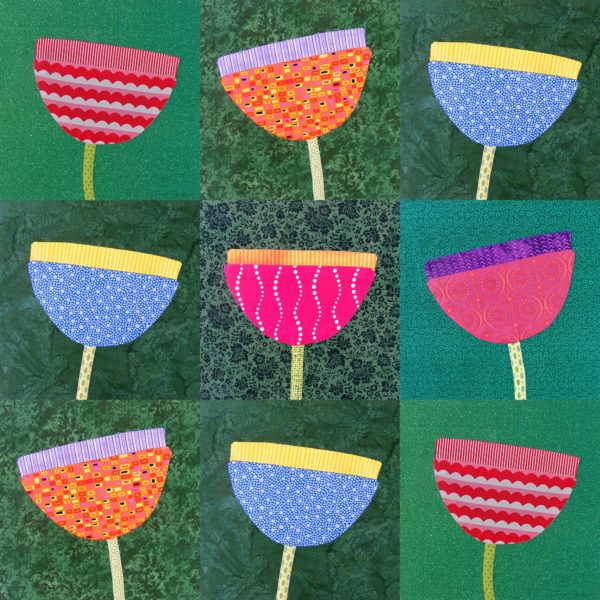
I love this Crazy Strips quilt. I think it’s my favorite in the whole book. It’s pieced improvisationally, but within a structure. That helps keep things balanced and can be less overwhelming to someone just getting started with that kind of loose approach.

I love the range and variety of projects. There are bold, dramatic, modern quilts. There are traditional quilts made with vintage-style fabrics. There are quilts for beginners and quilts for more advanced stitchers. There are small projects like pillows and tote bags, and there are large bed quilts. This is an especially great book for beginners who know they want to try quilting, but maybe aren’t sure what kind of quilts they want to make. They can take some of the quizzes to get pointed in one direction, then stretch their skills as they learn.

I love the “Happiness Practice” exercise about Finding Inspiration Guides. It’s a great guide to studying a quilter you admire – breaking down just what it is about their quilts that really works for you so you can apply that to your own work without copying them directly. What a terrific exercise!

I love the general instructions at the end of the book. They’re very clear and cover all the basics – how (and why) to square up your fabric, piecing curves, basting and binding your quilt and more. It’s a great reference.

Haphazard_Chevron_Pillow_Quilting_Happiness
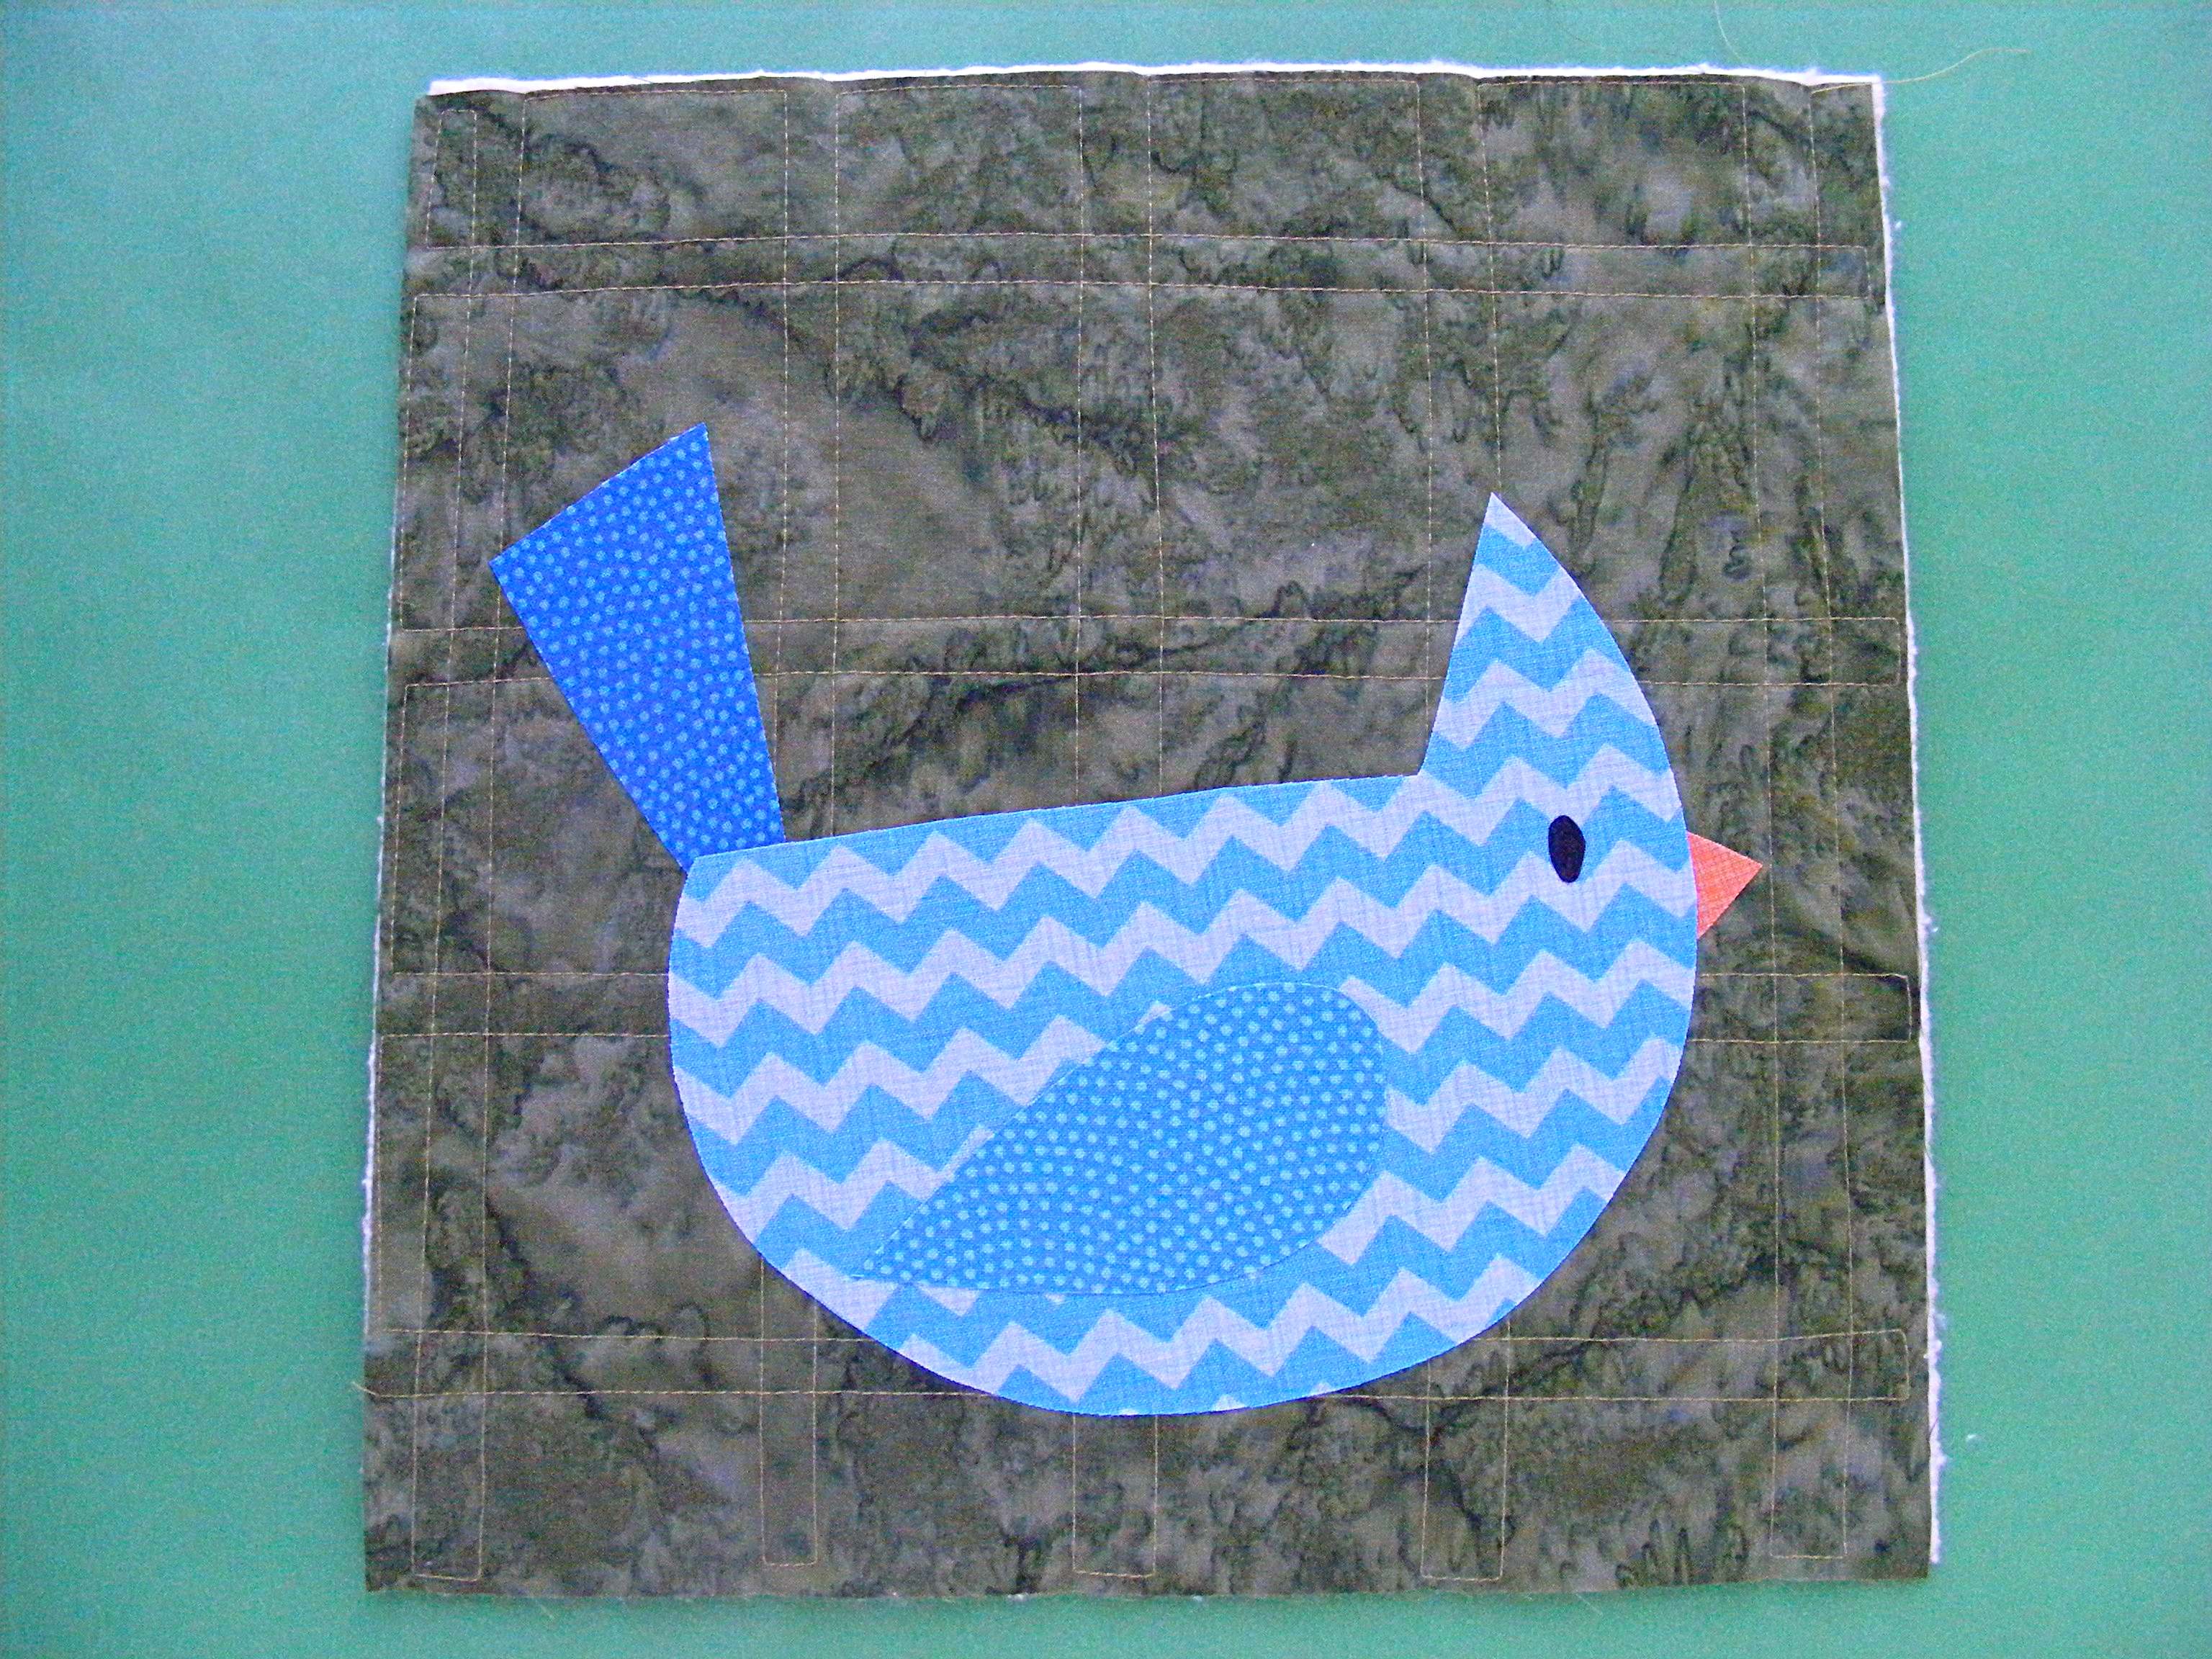
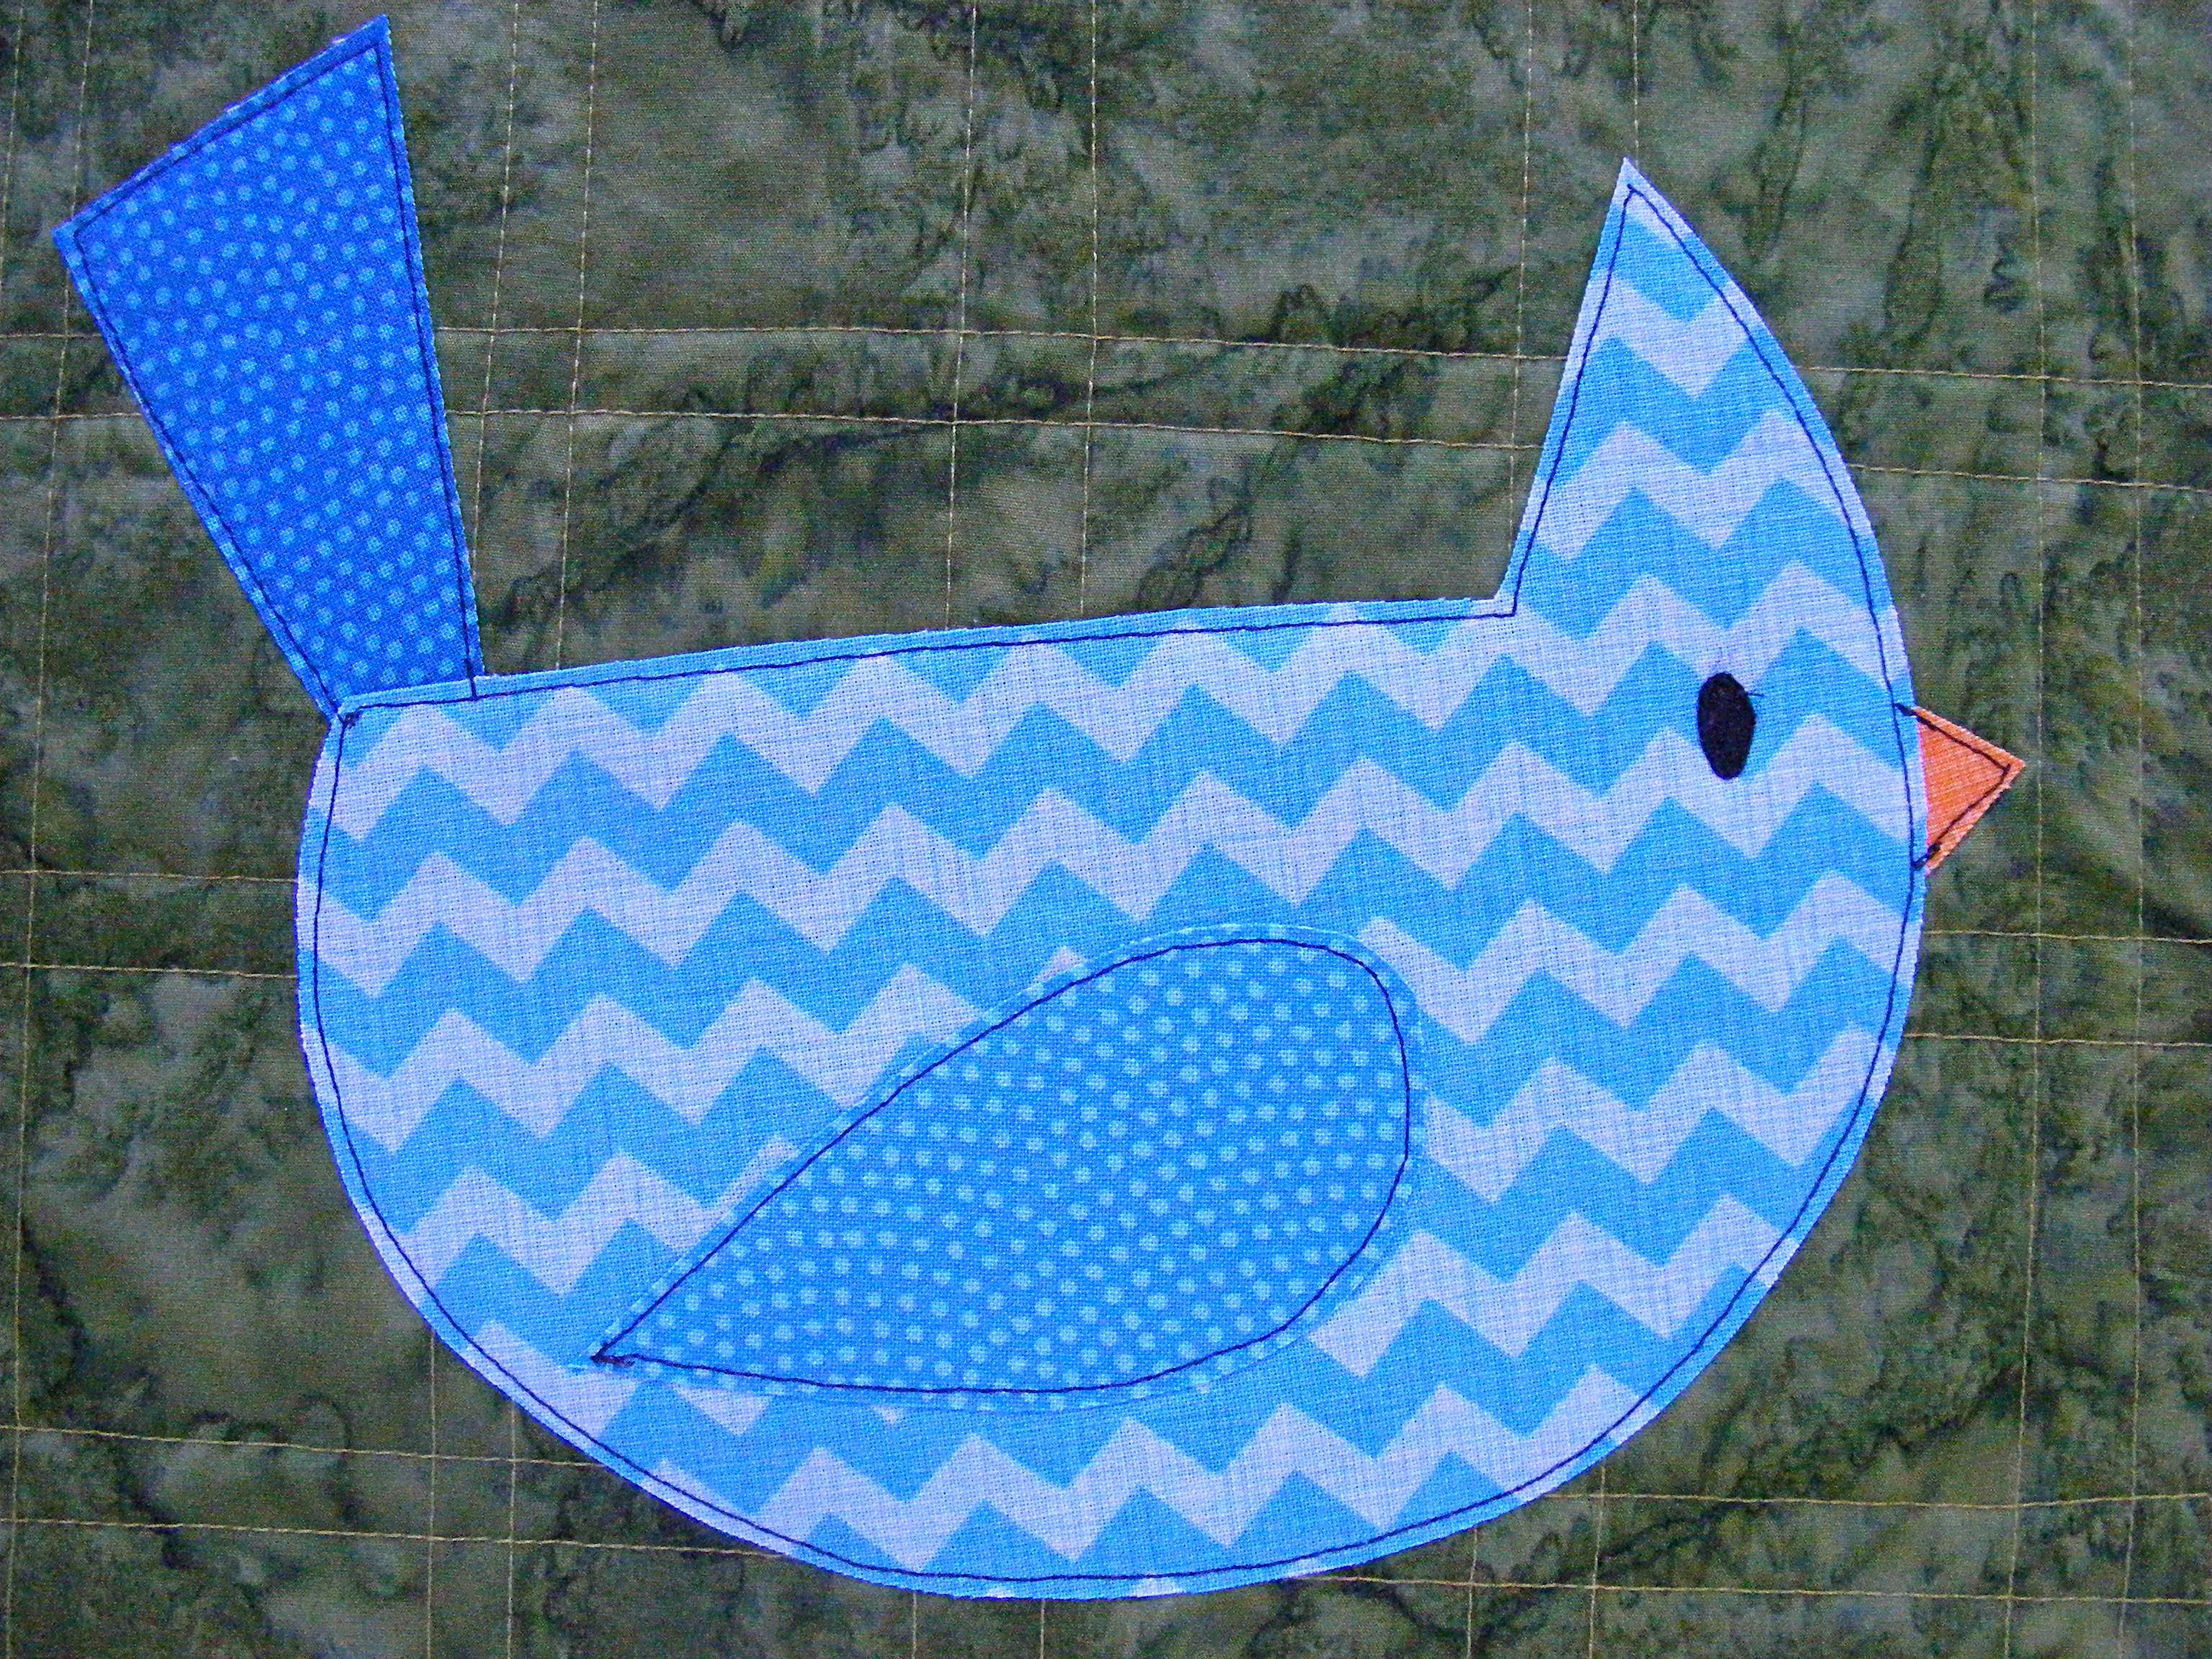
I love this Haphazard Chevron Pillow. It’s similar in many ways to the Crazy Strips quilt I mentioned above – in that it’s irregular piecing within a structure. But it’s a smaller project and one I could realistically tackle right now.  So I decided to make one for myself!

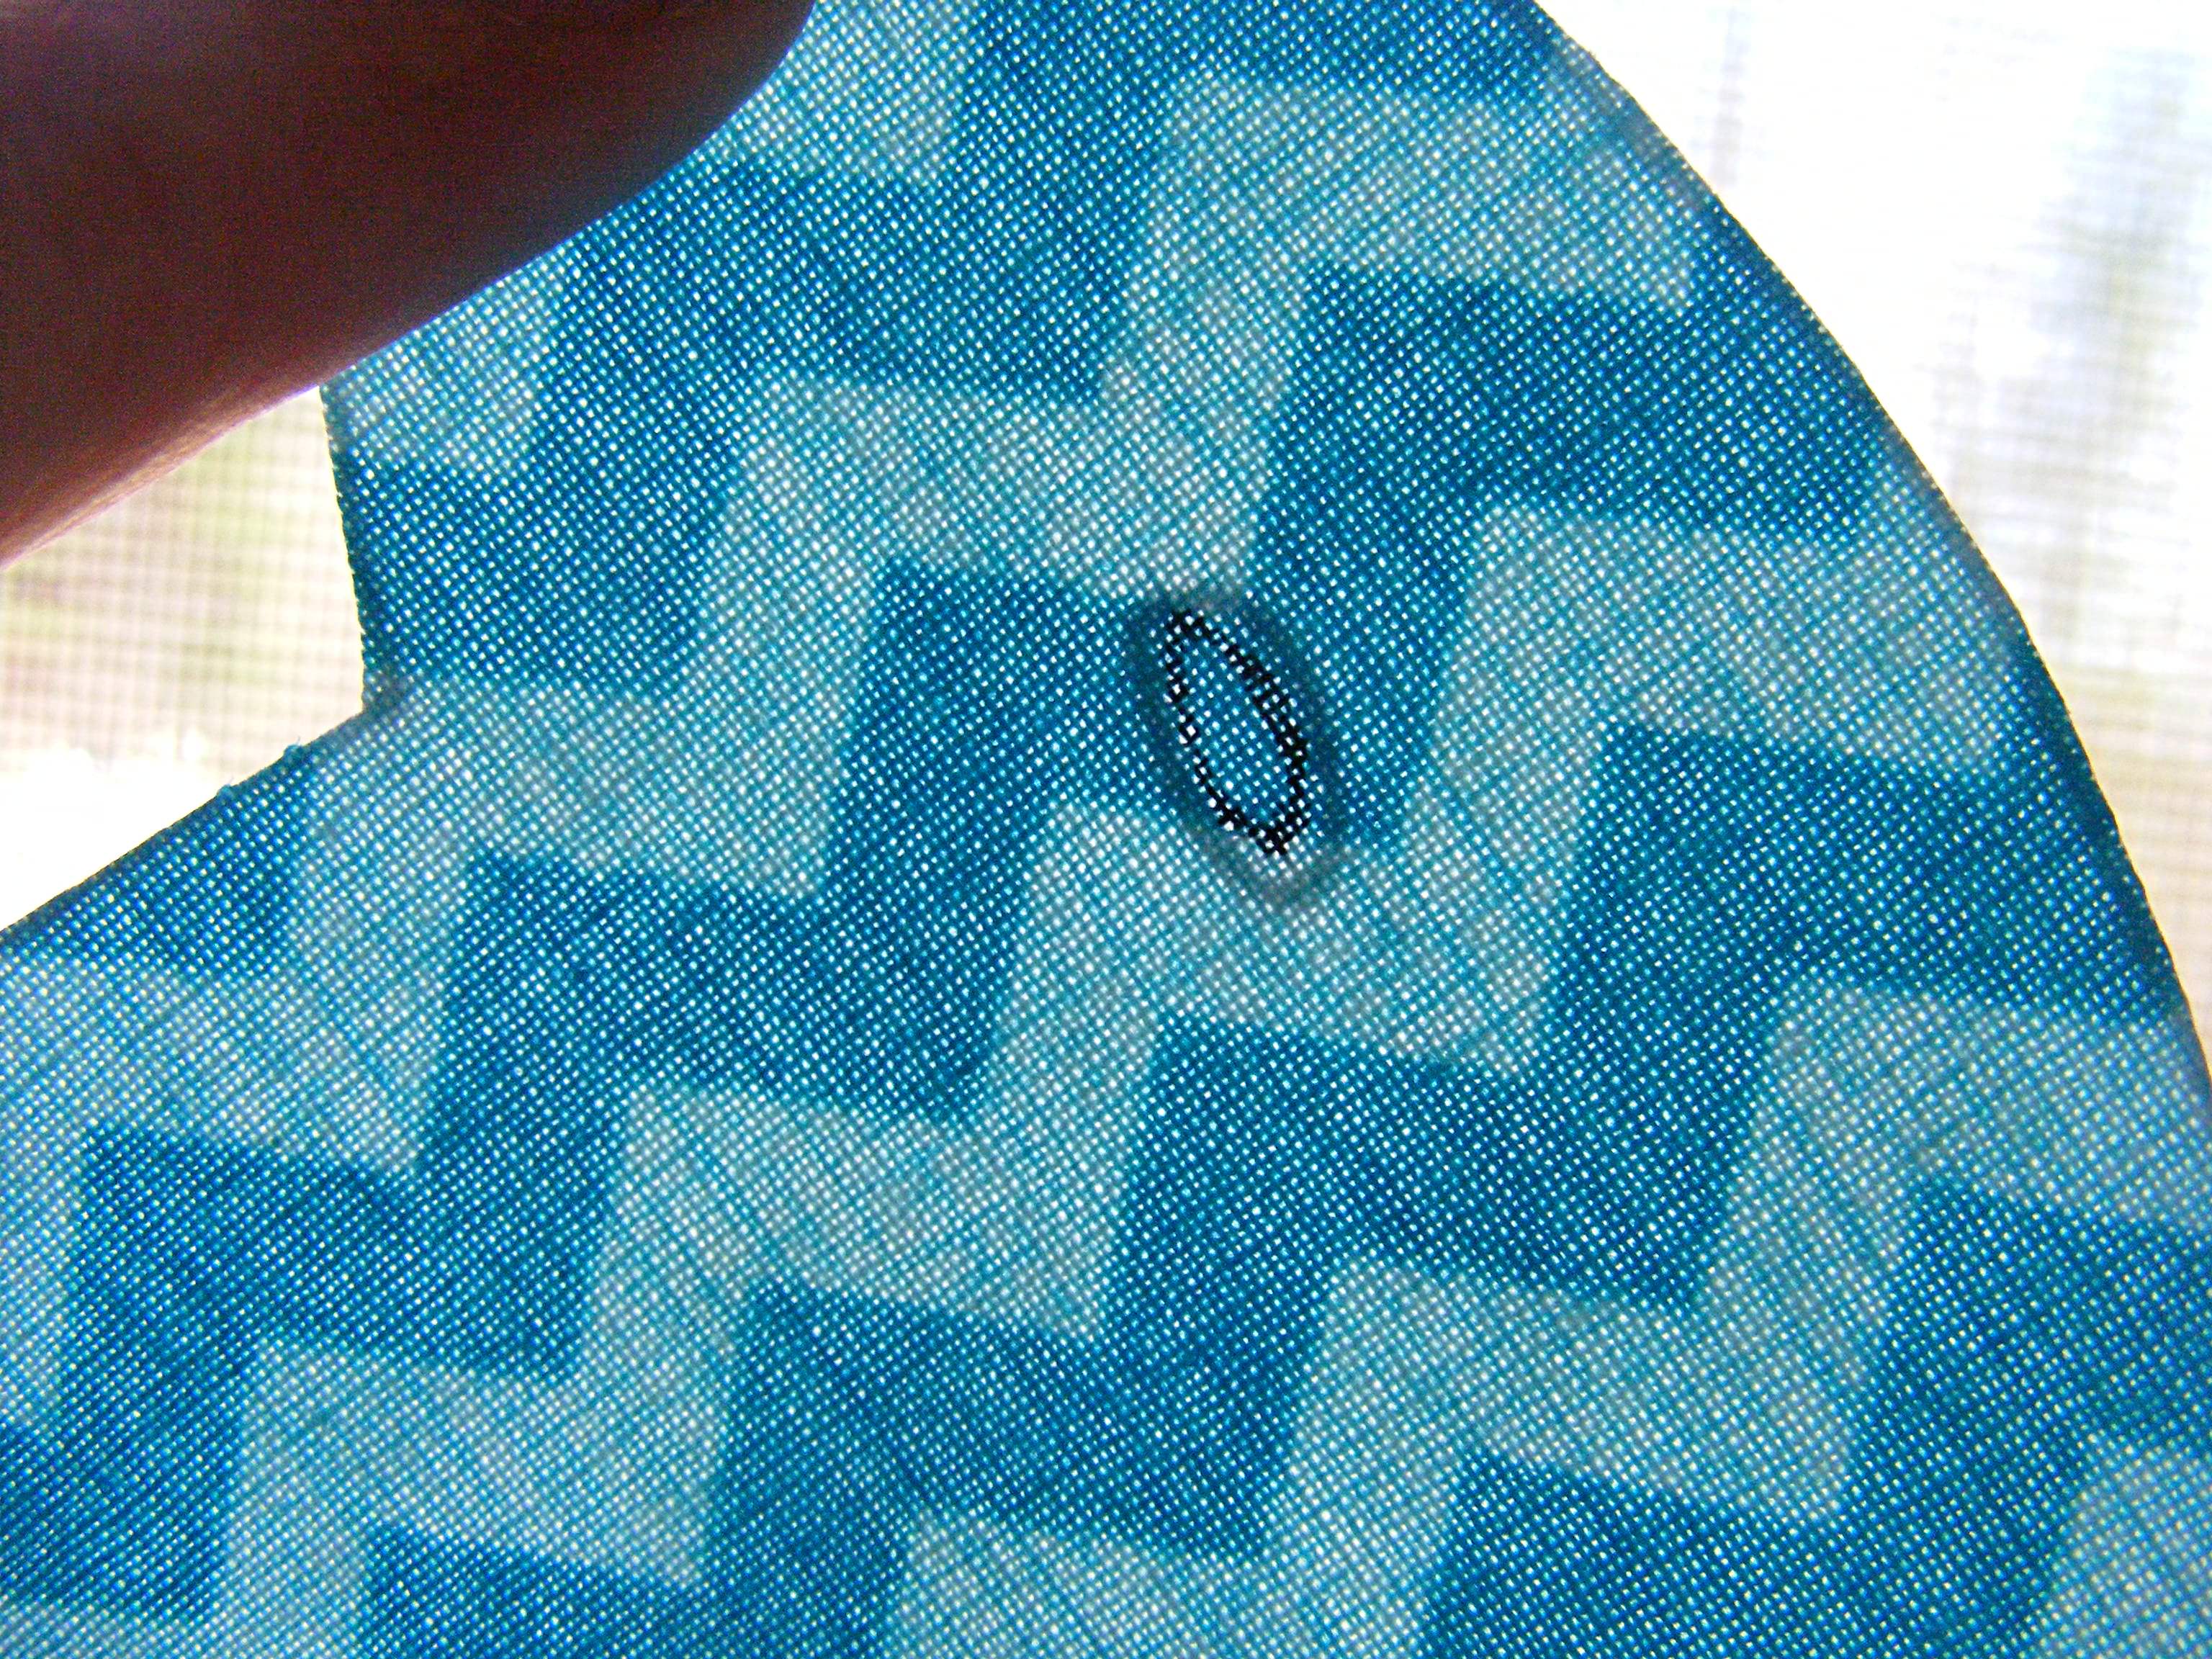
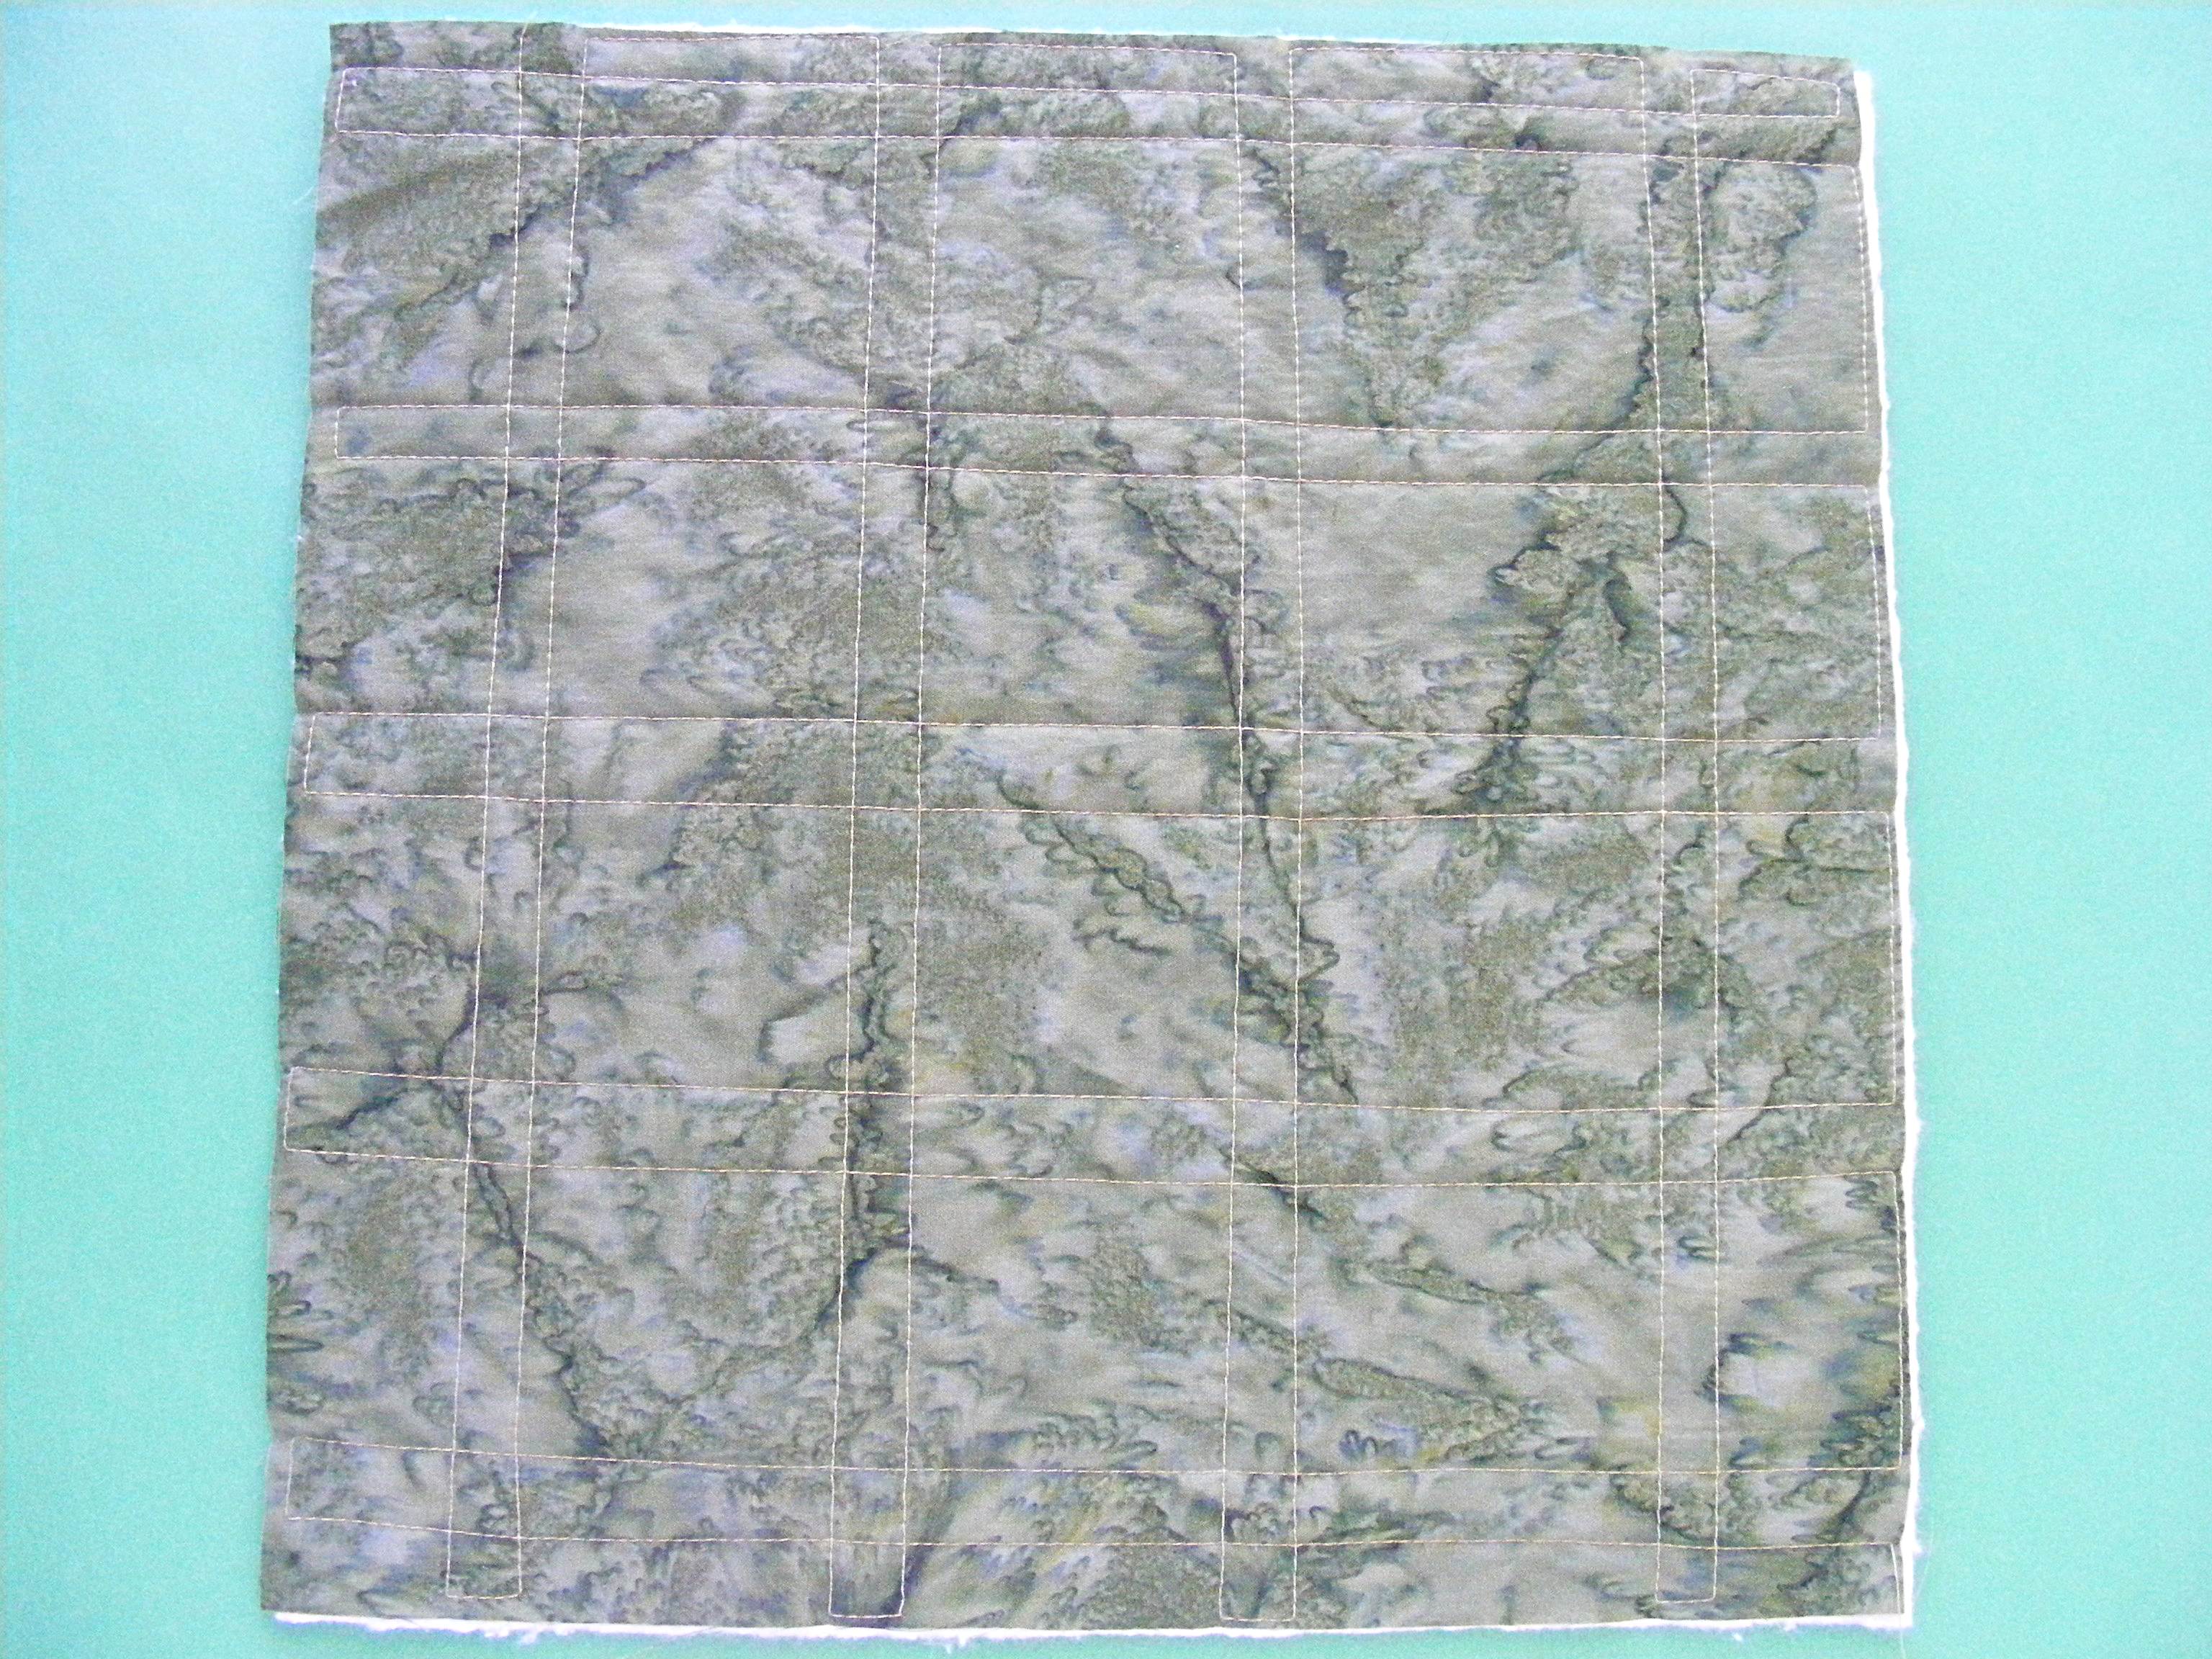
I strayed a bit from the instructions (of course) – not because they were unclear – they’re terrific! But I have overflowing scrap bins, I knew my daughter would really like a rainbow pillow, and I wanted to try a quilt-as-you-go technique I’ve been toying with. So here’s my Scrappy Rainbow Chevron Pillow. 🙂

Scrappy_Rainbow_Chevron_Pillow_quilt

My pillow form was a bit larger than the one in the book, but I used the same suggested range of widths for the strips I cut so it would have a similar effect.

I love it! Thanks so much for the inspiration!

Are you ready for some Quilting Happiness of your own? Get the book here.

Happy quilting!

Best,
Wendi
That's me!

Starry Night Block #5 – Red Giant

finished-red-giant-1000-px-600x600

The newest Starry Night Quilt Block of the Month Block is here – a Red Giant!

What is it about pink and red together that makes my heart sing? It’s one of my favorite color combinations.

And here’s a quick look at all the blocks so far. They’re starting to get wonderfully complex – but still very easy to make!

Starry Night Quilt - collage #5

Update – I’ve pulled the Starry Night pattern temporarily while I reformat it to be released as a regular pattern. Sign up for the newsletter to make sure you know when it’s in the shop.

Happy sewing everyone!

Best,
Wendi
applique wendi

Free Pretty Posy Applique Pattern

cover image of a large pink flower for the free Pretty Posy applique pattern from Shiny Happy World

This flower is super simple to make – just three easy pieces. And it mixes in perfectly with the other flowers in the Wild Flowers pattern.

Download the pattern here.

Cut your background fabric 11 inches square. Cut your batting 11 inches square. Layer the background fabric and the batting and quilt them together. You can find my favorite straight line quilting designs here. You can find my favorite wavy line quilting designs here.

Print or trace the pattern onto the paper side of paper-backed fusible adhesive. I like to use Heat & Bond Lite.

printed pattern page for the free Pretty Posy applique pattern

Roughly cut out all the pieces and fuse them to the wrong side of the fabric.

Pretty Posy applique pattern pieces cut out and fused to fabric

Cut out all the pieces neatly. Cut directly on all the solid lines. Leave a little extra seam allowance wherever there’s a dotted line.

Flower pieces cut out, for the Pretty Posy free applique pattern

Peel off the paper backing and fuse the pieces onto your block. Tuck the seam allowance at all the dotted lines behind the adjoining pieces.

Pretty Posy applique pattern instructions - flower pieces fused in place

Outline all the pieces. I like to use black thread and a simple straight stitch for a fun cartoony look.

finished flower applique using the Pretty Posy free applique pattern from Shiny Happy World

Finished!

A lot of the fun of this pattern is in the fabrics you choose. You can also play around with the angle of the stem, and the flower at the top of the stem.

nine flowers made with the Pretty Posy free applique pattern - each using different fabrics

Want more flowers? You need the Wild Flowers applique quilt pattern. 🙂

Have fun with it!