Now that Quilt Market is over I can finally share details about some of those BIG embroidery projects I was working on back in April. 🙂
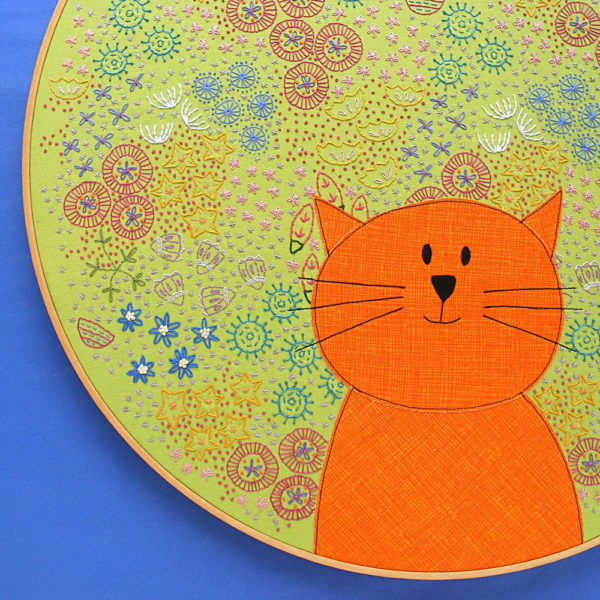
This post is all about how I made this cat surrounded by lots and lots of embroidered flowers. It’s in an 18-inch hoop!
I started out by enlarging my favorite cat (Maurice) from my Cats Quilt pattern and appliquéing it on a big square of fabric. I enlarged him just a bit (printed the pattern page as big as I could and still get it to fit on a single page) and used my normal fusible adhesive method.

I stitched down all the edges, but I did NOT stitch the whiskers yet. They’re just drawn in for now with a fine-tip Sharpie.
Then it was time to add the flowers. It doesn’t matter that the full piece is bigger than a single sheet of paper because the Continuous Stitching pattern is a seamless repeating pattern. See how you can overlap the edges for a continuous pattern? That means you can make BIG embroidery. As big as you want!

It took me several sheets of Sulky Stick & Stitch (the new – and much better – name for Sulky Sticky Fabri-solvy) to cover the whole hooped area.
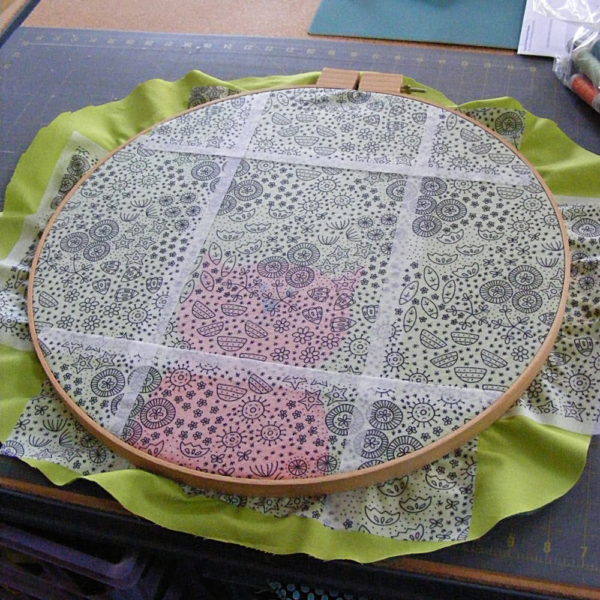
I just stuck the sheets right over the cat. So many flowers!
I don’t normally have problems with the Sulky Stick & Stitch pulling loose, but I don’t usually stitch this large, so I started stitching in all the overlapping areas first, just to keep things secure.

I used one or two strands of Sulky Petites 12 wt. thread for all the stitching.

So many pretty colors!
Here are some details of the different kids of flowers. . .

One of the things I love about working with Sulky Stick & Stitch is that I can change my mind about things partway through stitching. All the markings will wash away, so I don’t really have to stick with my original drawing. Take these tulips. . .

Those little purple dashes were supposed to be dots, but when I got to them I changed them to dashes. No big deal.
All the stitching is finally finished! I just skipped right over that applique cat – it was easy to see him through the stabilizer.

Here it is having its soak.

Yep – that’s the messy back. Here are some more shots of the back of the piece.

I do NOT believe that that back of your work should be as pretty as the front. 🙂 I’m a thread-carrier and it would drive me batty to tie off my thread after each individual flower!
But – recognizing that I’m a thread carrier means I do something a little different with pieces like this. See how dark green that fabric is? That’s not the same lime green you see on the front of the piece! That’s because I backed the piece with a second layer of darker fabric behind the main fabric. It keeps my thread carries from showing through to the front! Tricky. 🙂
I soaked the piece for about an hour in cold water, sprayed off the bits of mushy stabilizer, gave it another quick swish in clean water, then ironed it dry. One more step before finishing. . .

Remember how I didn’t stitch those whiskers when I appliquéd the cat? Time to do it now. I waited because I wanted the black whisker lines to go over the embroidered flowers. This part was totally nerve-wracking, but it did just fine. 🙂

I hooped the finished piece in a quilting hoop using this method. No way was I letting glue anywhere near a piece that took this long to stitch!
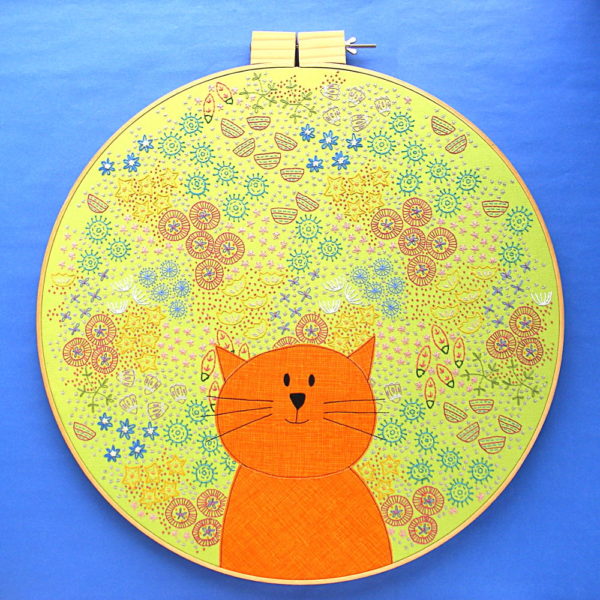
Finished!
That is one BIG embroidery piece!
I’m super happy with this piece! Sulky had it hanging in their booth for Quilt Market and they’ll be exhibiting it at a few more shows, but Jo has already claimed it for her room when it comes home. 🙂
Here are the other BIG embroidery pieces I stitched for the same project.
Primavera – an Embroidered Springtime Girl
Embroidered Mandala Sun
April Showers
Happy stitching!
