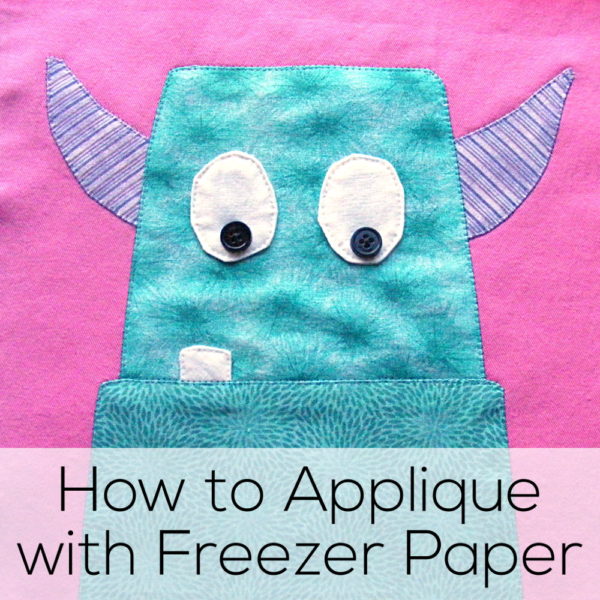
Want to learn how to machine applique with freezer paper?
This is the post for you.
You can see all my applique videos here, including needle turn applique, how to applique with fusible adhesive, and how to applique with (and on) fake fur.
My preferred method is Quilt As You Go and fusible adhesive, but some people don’t like the raw edges on fusible applique. But they also don’t like the amount of time and handwork involved in needle turn applique. For those folks, freezer paper applique is the best option.
This post rounds up all the lessons on freezer paper applique – all in one place.
If you’re getting ready to start your very first applique project, grab a cup of tea and sit back and watch these lessons first. It’s like a mini online workshop – for free.
Lesson #1
How to Machine Applique Convex Curves – Basic introduction to the technique, why I love it, and how to applique the easiest curves.
Lesson #2
How to Machine Applique Inside Points – Super easy once you know the trick.
Lesson #3
How to Machine Applique Concave Curves – A logical extension of lesson #2.
Lesson #4
How to Machine Applique Points – The trickiest shape to handle.
There’s one more post guaranteed to come in handy if you use this method. . .
The Joy of Starch – If you’re having any trouble getting nice sharp folds on your applique pieces – or having them come uncreased before you have a chance to sew them down – try starch. Read this post to see photos of the difference it makes and learn two ways to use it.
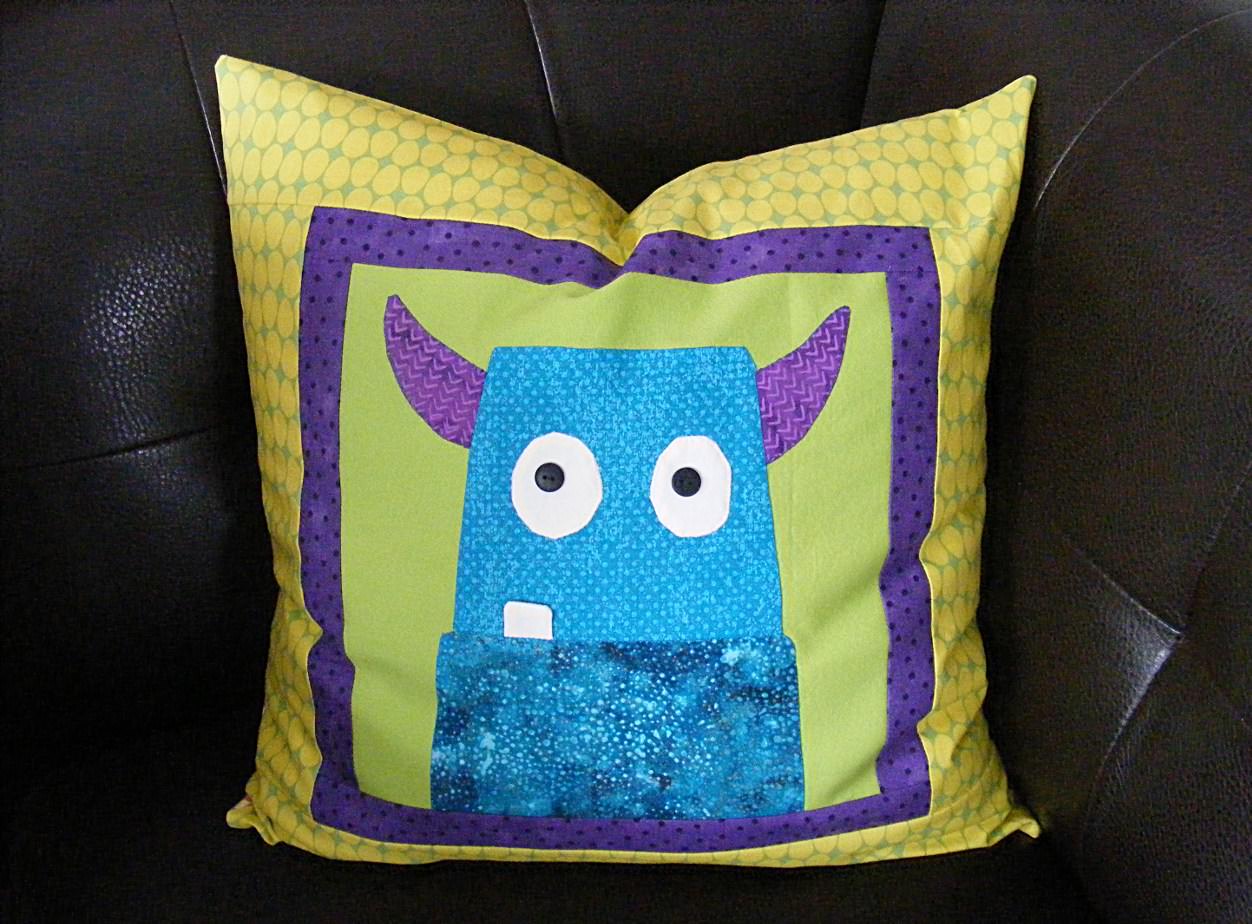
You can use this method with just about any applique quilt pattern. 🙂
You can find all of my Applique Quilt Patterns in the shop!

Here are links to all the posts showing how to applique with fusible adhesive – my favorite method. It’s fast and easy and (with the right materials) it holds up beautifully to rough use and repeated washing.
- How to Applique with Fusible Adhesive – a very basic intro
- How Durable is Applique with Fusible Adhesive?
- Fusible Applique the Easy Way – the way I currently work – use with any of my patterns that include SVG files
- How to Use a Light Box to Layer Your Applique – perfect placement every time
- How to Applique with Fusible Adhesive – photo tutorial – use with any of my patterns that do not include SVG files
- How to Applique with Fusible Adhesive – video tutorial – use with any of my patterns that do not include SVG files
Here are links to special posts about eyes.
- Easy Eye Options for Applique
- Using Fabric Markers and Paints for Small Eyes
- Free Embroidery Machine Files for Machine-Stitched Eyes
- How to Machine Stitch Eyes without an Embroidery Machine
- How to Minimize Show-Through on White Eyes
- How to Applique Dark Eyes on Dark Faces
- How to Add Catchlights to Eyes
- How to Change the Eyes on Your Applique Patterns (adding lashes or changing to sleepy or smiling eyes)
Here are links to some extra fun things you can do with your applique.
- How to Add a Baby Animal to Any Block
- How to Squish Two Animals into One Block
- How to Add Playful 3D Bits to Your Applique
- How to Add Soft 3D Pieces to your Quilt Block
- How to Add a Door (that Opens!) to Your Quilt Block
- How to Give Your Monster an Underbite
- Fake Trapunto (Stuffed) Applique
- Broderie Perse Applique
Other Applique Methods
Finished with this topic?
Return to the Let’s Make a Quilt main Table of Contents.
Move on to the lessons about outline stitching.
Happy stitching!