Most of my quilts don’t use landscape blocks.
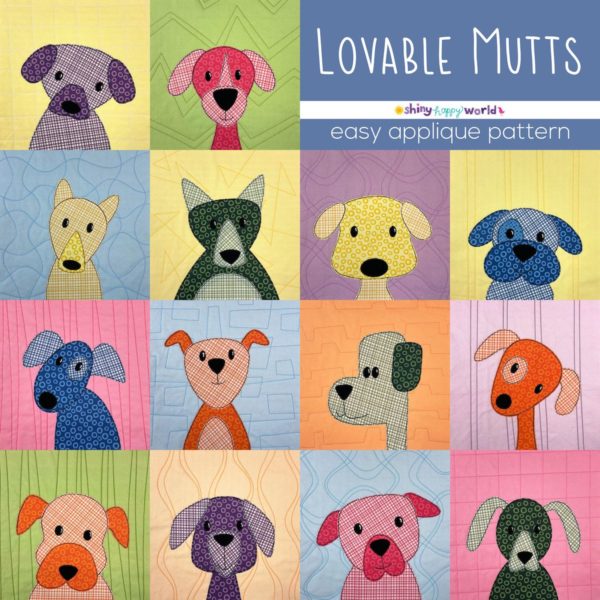
I usually zoom right in on the animals’ faces. 🙂
I like to make it look like they’re looking (and smiling) at YOU.
I frame them in the block so they look like little portraits.

But that wasn’t going to work for the dinosaur quilt pattern. For dinosaurs I really needed to show the whole body.
That works just fine with my usual solid-color blocks as backgrounds.

You could totally make the dinosaur quilt using all solid blocks like this and it would look great!
But as I was drawing them, I kept envisioning my dinosaurs in an actual landscape. I wanted the pterodactyls to be flying in the sky, above dinosaurs stomping across the earth. And I kept envisioning volcanoes and clouds and palmy prehistoric plants – and those needed to be rooted in the ground and stretching up to the sky.
I wanted landscape blocks.
So I did a lot of thinking about how to make these landscape blocks. I wanted a young, jagged, volcanic panorama – and I wanted it to be easy.

I didn’t want all the blocks to be the same, and it seemed kind of silly to provide pages and pages of patterns for what are essentially squares with slashes across them. 🙂
So I came up with an easy method to make these blocks.
- no measuring
- no fussy templates
- an even mix of uphill and downhill blocks
- an even mix of earth and sky
Here’s how to do it.
See how easy that is?
My fabrics here are very bright and vibrant batiks but you could achieve the same landscape effect with a totally different feel by using a selection of pastel green and blue solids.

See? Wouldn’t that make a sweet baby quilt?
You could also use blenders. I especially like to pair the blueberry blenders with the avocado blenders.
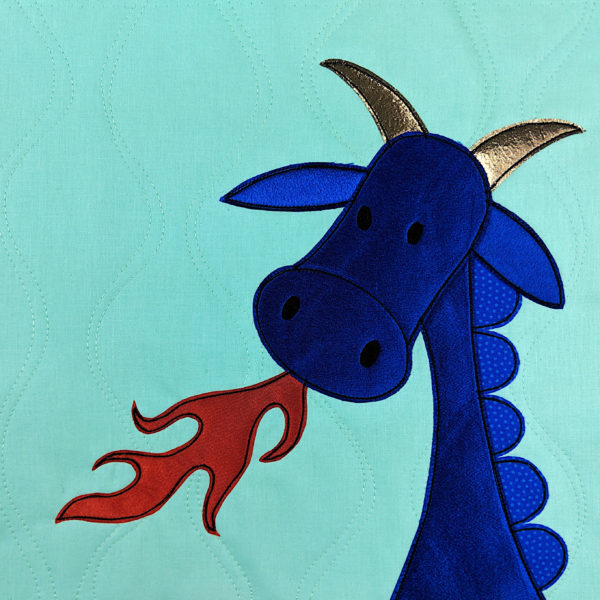
Those dinosaur eyes are pretty tiny. Too tiny to applique easily – so when I was designing the dinosaur quilt pattern I tested out a bunch of fabric markers and paints to see which ones worked the best on quilts. You can read about the results – and get my recommendations – here.

Here are links to all the posts about cutting your blocks.
- How to Use Rotary Cutting Tools
- Do You Need to Pre-Wash Your Fabric?
- Basic Quilt Block Cutting and Quilting Instructions
- How to Make Easy Landscape Blocks
- Quilt Block Sizes for Alternate Grid Layouts
Here are links to all the posts about quilting your blocks.
- Stripes and Grids
- Wavy Stripes and Grids
- A Gallery of Additional Quilt As You Go Designs
- Fabric with the Quilting Lines Already Printed on It
Finished with this topic?
Return to the Let’s Make a Quilt main Table of Contents.
Move on to the lessons about how to applique.
Happy quilting!