WIP: Star Afghan begins!

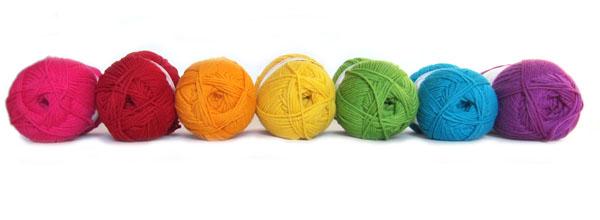
Remember last week when I asked you to vote on my next afghan using these great rainbow colors?

Rainbow yarns

I was floored by all of the responses! And while the winner wasn’t clear-cut… the star pattern got oodles of votes!

The Pattern

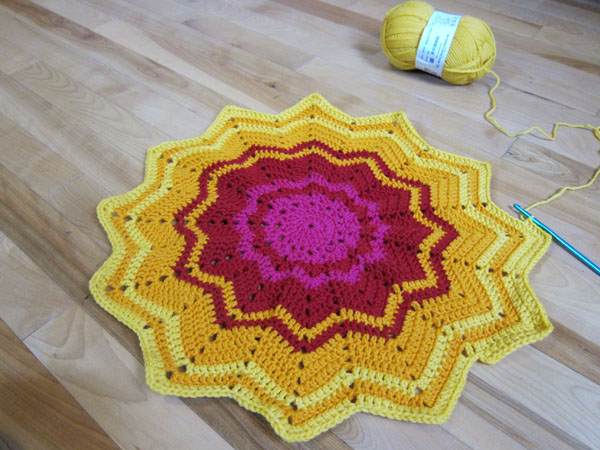
After looking at lots of star patterns, I was really inspired by stablewoman’s version of the Lyn’s Round Ripple Afghan pattern.

I’ve gotten started:

crochet rainbow star afghan by FreshStitches

What do you think?

It’s a 12 point star, and even though the pattern isn’t terribly well-written, I’ve gotten the hang of it and I’m really enjoying it!

And some bead crochet…

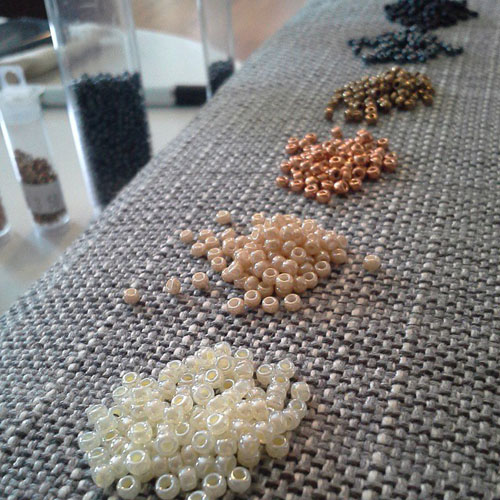
I’ve also been into doing some bead crochet… here’s a little progress photo:

bead crochet

I’m hoping to show you some finished items, soon!

That’s what I’ve been up to this week… how about you? I hope you have an awesome Wednesday, and get some great knitting/crocheting done this week!

If you want to check out more Work-In-Progress posts, please check out Tami’s Ami’s Blog, who’s been organizing a great WIP Wednesday blog theme! And, don’t forget to come back for FO (Finished Object) Friday!

Self-Striping Sock Yarn

If you watched my most recent Coffee with Stacey, you’ll know that I absolutely love knitting socks from self-striping yarn.

Rainbow striped socks knit by FreshStitches

My go-to sock yarn, Knit Picks Felici (shown above), has been discontinued. Self-striping yarn is hard to find… it’s difficult to dye and some beautiful ones are stunning but not suitable for socks.

So I thought it would be fun to post a list of delicious self-striping sock yarn!

Can you tell I’m shopping?


Have you tried any of these?

Or have a favorite to recommend? I want to hear it!

If you love beautiful rainbow-y socks, you’ll probably also want to follow Susan B. Anderson’s blog… she does lots of lovely knitting!

Zoom Loom Review

I knit. I crochet. I spin. I’ve tatted. I’ve tried almost every needlecraft I’ve ever heard of… except for weaving.

Why the gap in my fiber experience? I’ve always thought weaving was a little bit scary. There’s a warp, a weft and a lot of technique. It all seemed really complicated. And looms are usually big and non-portable.

That’s why I was super excited when I got a chance to try the Zoom Loom.

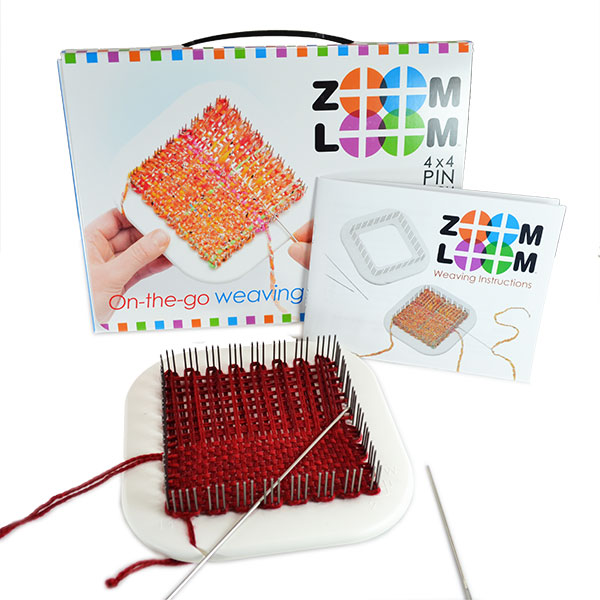
Schacht Zoom loom

The Zoom Loom is a portable weaving loom. It’s fitted with pins that (along with the instruction manual) tell you exactly how to wind your yarn and where to do the weaving.

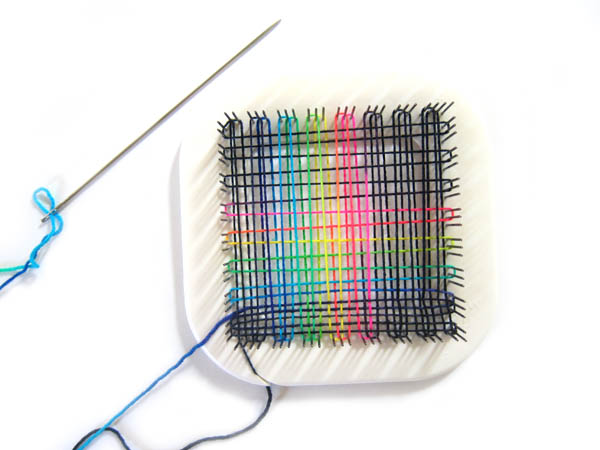
Zoom loom progress

Look at me, I’m weaving!

Why I love the Zoom Loom

The instruction booklet that comes with the Zoom Loom is easy to follow, and I was super excited to weave an adorable little square on my first try!

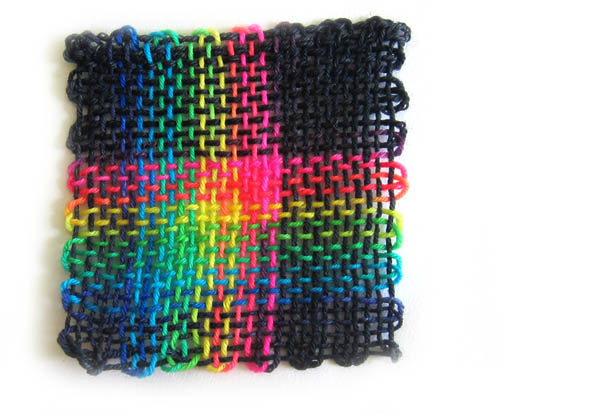
zoom loom finished weaving

Isn’t it pretty?

The great features about the loom are:

  • it is small
  • the pins on the loom show you exactly where/how to do the weaving
  • each square requires a precise amount of yarn, meaning you can wind small balls in advance
  • the instructions are very easy to follow!

But… it’s not a complete substitute for a full loom

I enjoyed making my small square, and The Woolery’s webpage has suggestions for turning these squares into bigger projects.

However, the Zoom Loom isn’t a substitute for a full loom. Some things I noticed:

  • because the pins are fixed, each ‘weave’ is a fixed space apart. My piece made with sock-weight yarn feels a little flimsy, and I suspect a bulky would not fit.
  • if you’re looking for a project to throw into your purse, you might be disappointed. Although more portable than a regular loom, you cannot simply stop in the middle of winding the warp and head out.
  • you are limited to 4″x4″ squares. Although there are project suggestions, every project is composed of small squares.

Get yours!

Sound fun?

Go forth and start weaving!


disclaimer

What a difference stuffing makes!

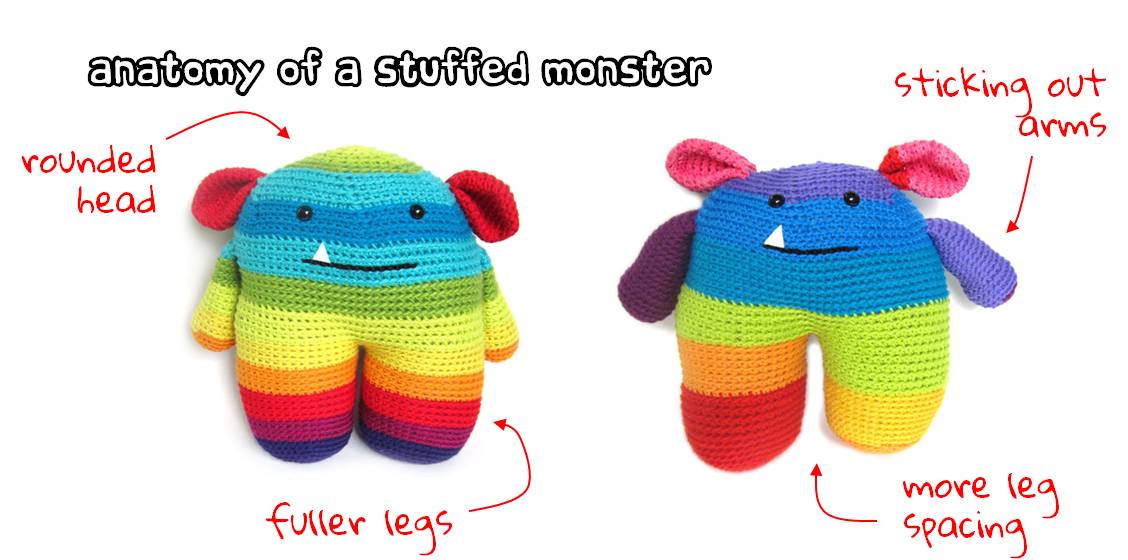
I’ve crocheted two monsters using the same pattern (Roy the Rainbow Monster) and similar yarn… but they look a little bit different. Do you know why?

stuffing a stuffed animal

It’s the stuffing!

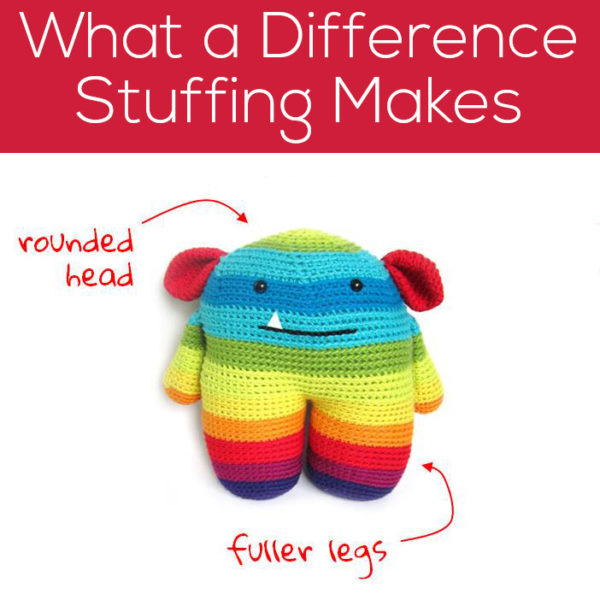
Notice that the monster on the left has a fuller body, and less stuffed arms. This results in almost no space between the legs, a round head and arms that lay flat.

The monster on the right has a less stuffed body, and plump arms. In contrast to the other monster, this guy has a gap between his legs, a flatter head and arms that stick out from the body.

There’s no right way! The only thing that matters is how you want your animal to look!

So, don’t think of stuffing as that last pesky thing to do before finishing your animal… think of it as the final step that gives your animal its shape! And shape your animal with stuffing!

Here are handy links to all the posts about stuffing amigurumi. . .

Return to the main table of contents for Let’s Learn to Crochet Amigurumi.

Move on to the lessons for closing up the opening.

Happy stitching!

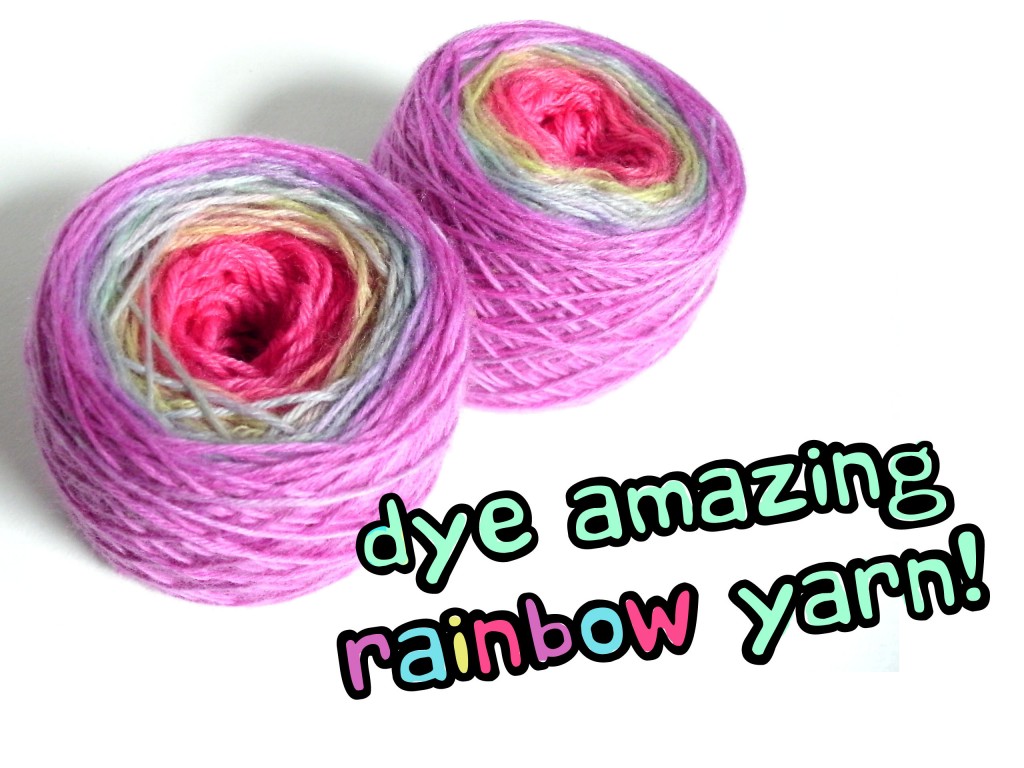
Tutorial: Tie-dye amazing rainbow yarn!

You remember tie-dye, right? The dye that you used to make funky-colored t-shirts when you were a kid? Would you believe that you can use tie-dye to create amazing yarn? It’s true! In this post, I’ll show you how to use Tulip Tie-Dye to create a uniquely-dyed rainbow yarn!
Materials You’ll Need

You only need a few things to get started: a tie-dye kit and a sock blank… let me fill you in on the details!

Tie-Dye Kit

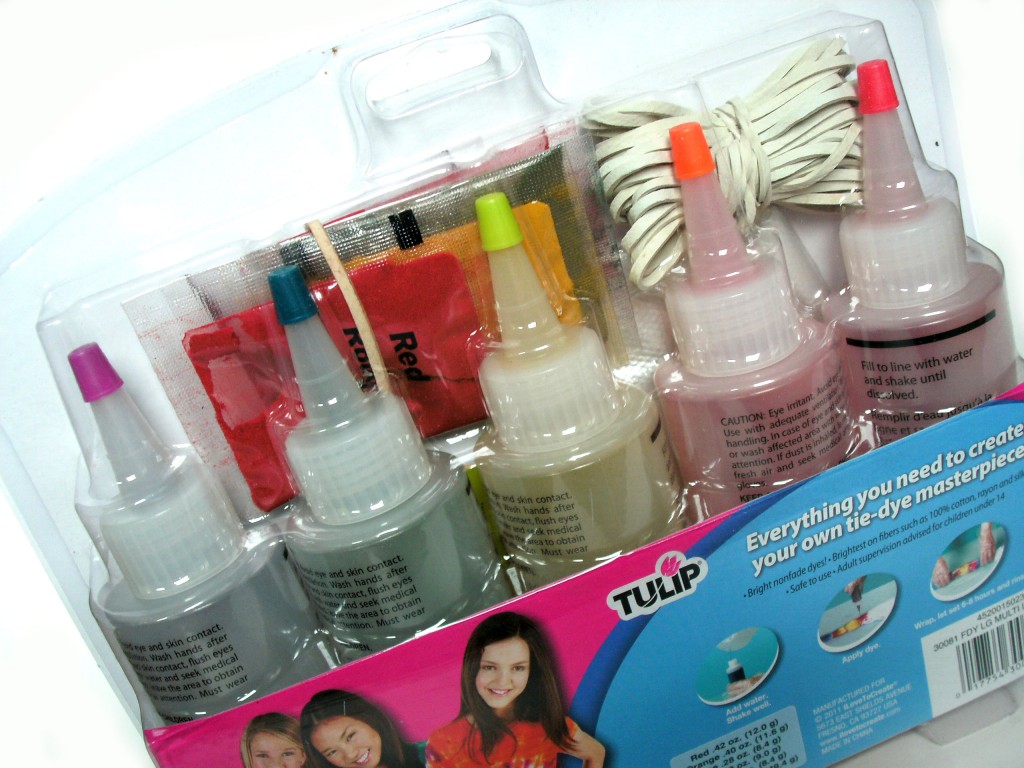
Since you want a variety of colors, getting a kit (which contains a set of dyes) is the easiest way to tie-dye. I used the Luau Tie-Dye kit (made by Tulip)… but they have a range of kits available (bright colors, rainbow, neon…), so you should be able to find the combo for you!
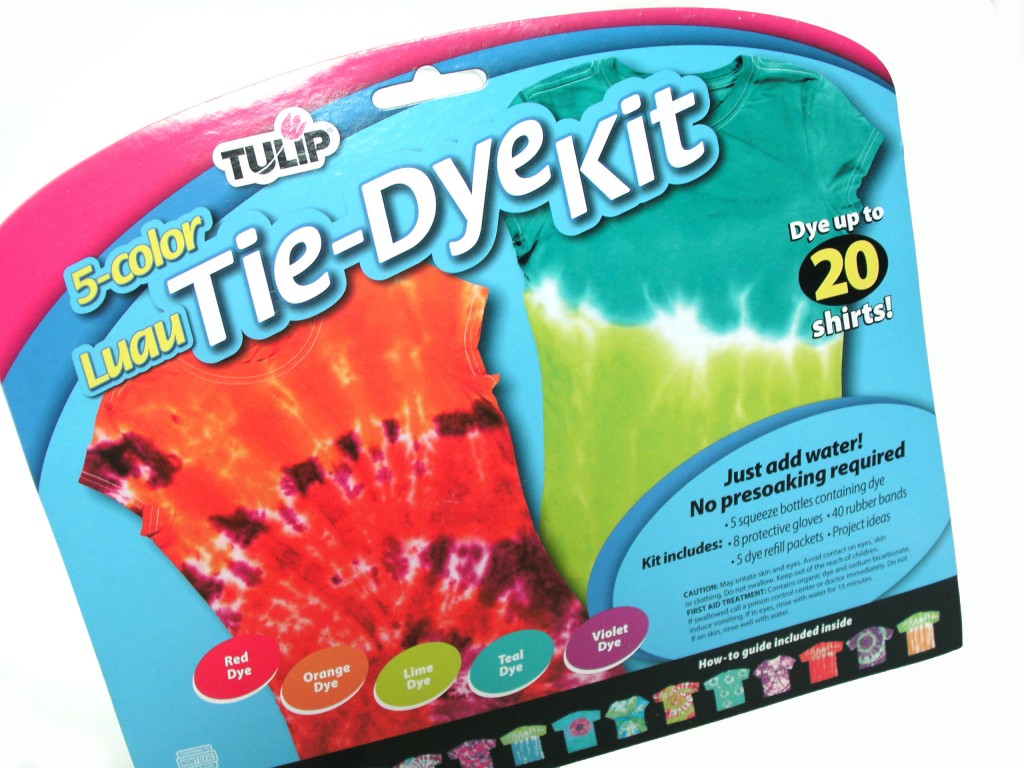
The kit contains:

  • 5 color-coded applicator bottles (filled with dye, in colors: red, orange, lime, teal and violet)
  • 5 packets of extra dye
  • gloves (so you don’t also dye your hands)
  • rubber bands
  • a project idea booklet

Sock Yarn Dye Blank

Have you heard of a ‘yarn blank’ before? It’s a pre-knit rectangle of yarn specifically made for dyeing… that you can unravel and wind into fabulous yarn.

I got my sock blank from Knit Picks… not just because they’re one of the only companies to offer blanks, but because I happen to think theirs are pretty awesome! Their Sock Yarn blank is actually a double strand, so when you unravel it, you’ll wind up with two identically-dyed balls of yarn. How cool is that?

How to Dye Rainbow Yarn

Have your materials? Let’s get started! (of course, you should read over the dyeing instructions in the kit, first… but you knew that, right?)

Step 1: Prepare your dye

Preparing the dyes is pretty easy… since the applicators are already pre-filled with dye powder, just add water to the bottles and shake!

Step 2: Prepare your blank

I wanted soft, gently-flowing color changes (instead of crisp lines), so I began with a dampened blank. This allows the colors to bleed more freely.

I covered my table with a plastic sheet, and laid out my blank:
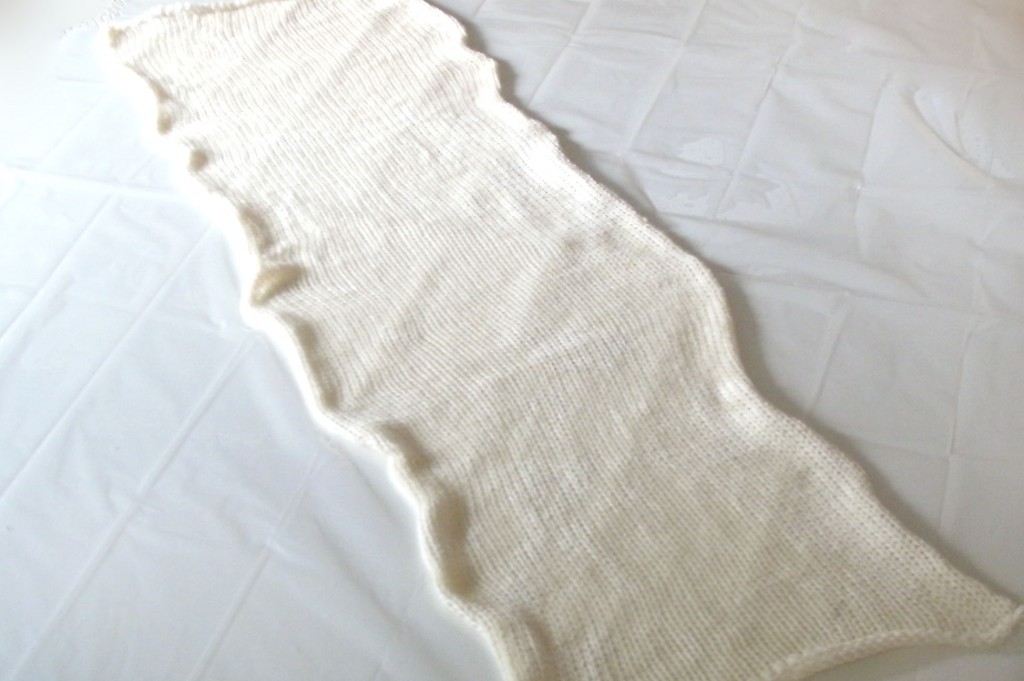
Of course, you could get started dyeing right away (and skip to step 3)! However, I wanted the stripes in my rainbow to be approximately even, so I did an extra step of preparation by marking 5 even segments. To do this, I measured the length of the blank:
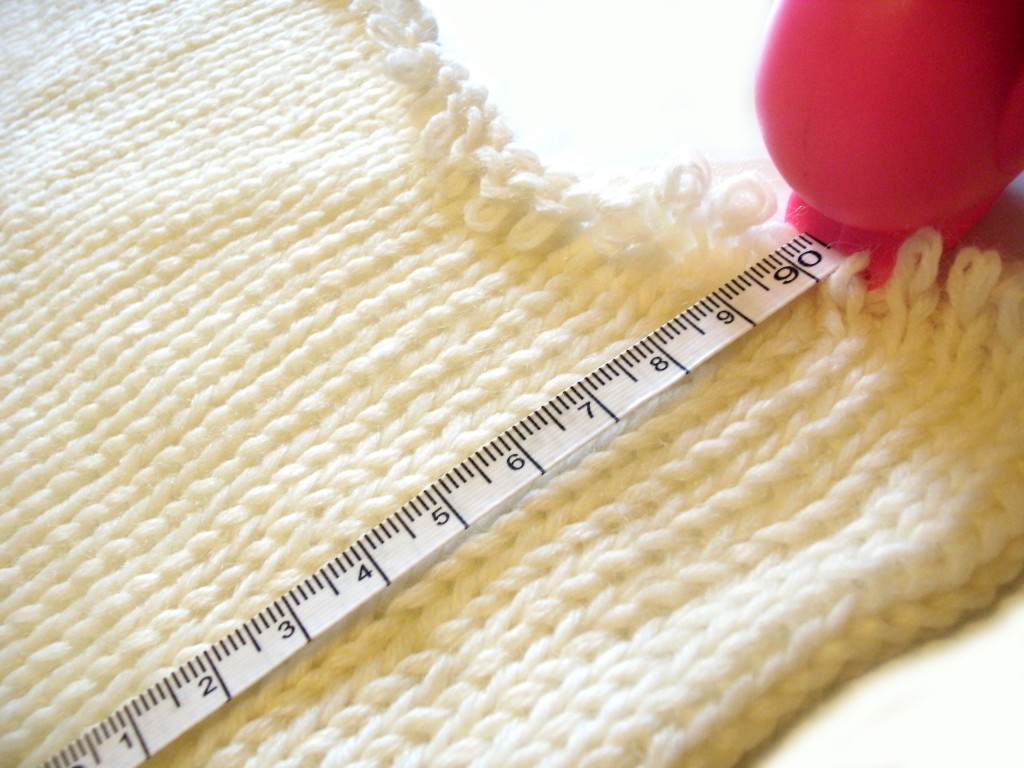
Then I placed locking stitch markers (which don’t mind being dyed) at equal intervals:
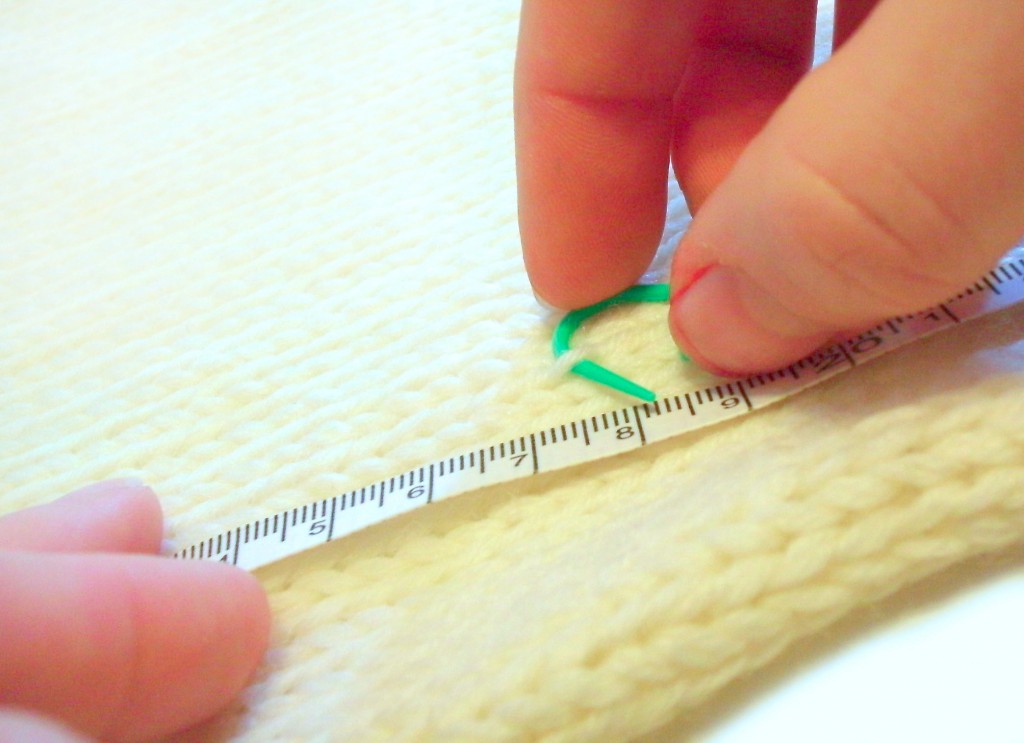
This way, I knew where to dye to get equal stripes of color!

Step 3: Dye!

Now’s the fun part! Just squirt the color where you want it:
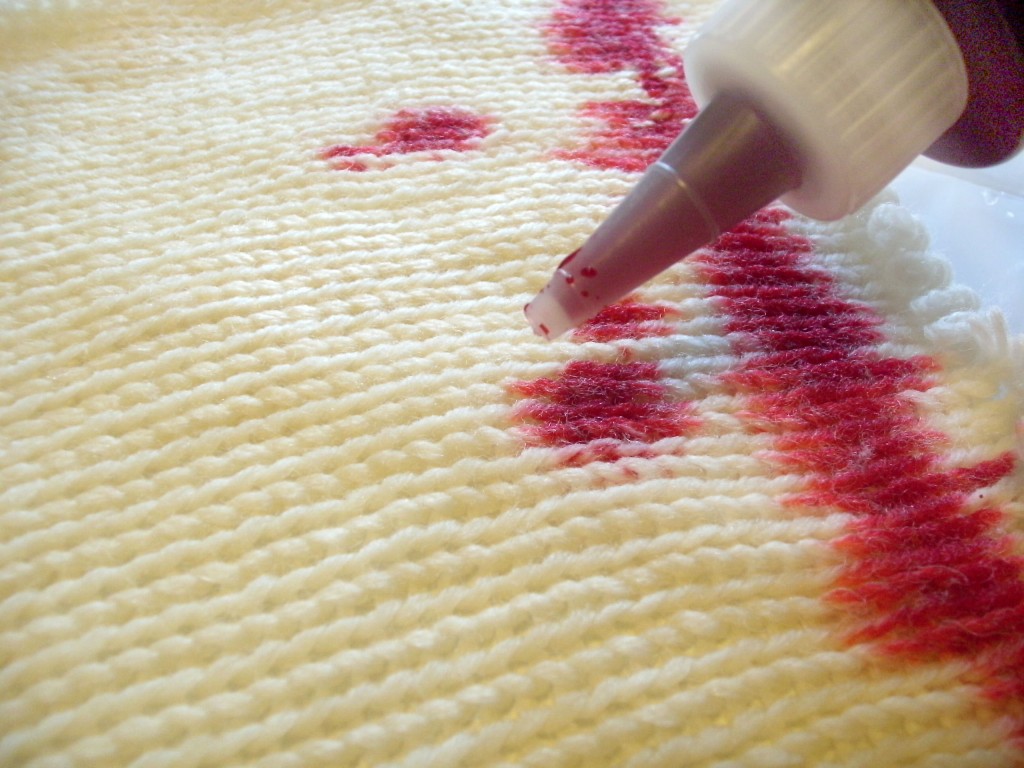
I applied the dye pretty evenly (fully saturating the yarn), but you can do whatever you’d like… including making fun designs with the dye!

Step 4: Let it set

The dye needs time to soak in, and the longer you let it set, the deeper the color will be.
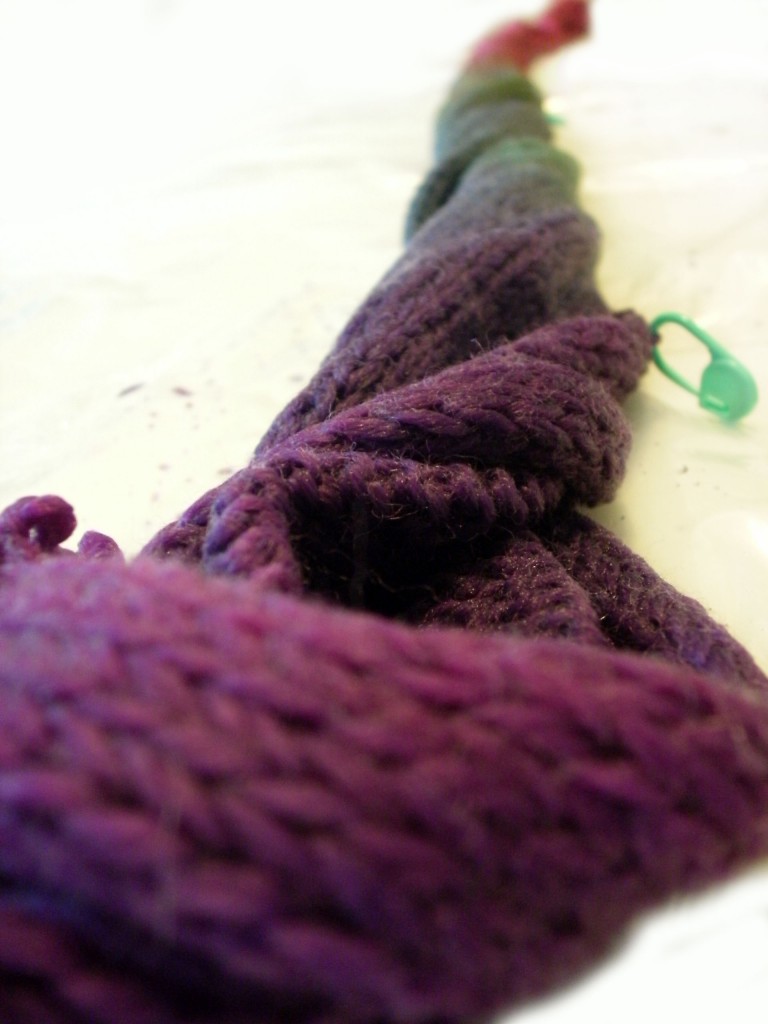
The dye instructions tell you to let your piece rest for 8 hours (and cover it with plastic so it keeps moist)… but I was aiming for a less-intense color, so I moved to Step 5 after only about a half-hour. It’s up to you!

Step 5: Rinse

Once you’ve let the dye set for as long as you’d like, it’s time to rinse your (no-longer) blank. Even if your yarn is machine washable, you don’t want to put your blank in the washing machine! It can unravel and make a big mess! So, it’s best to hand-wash:
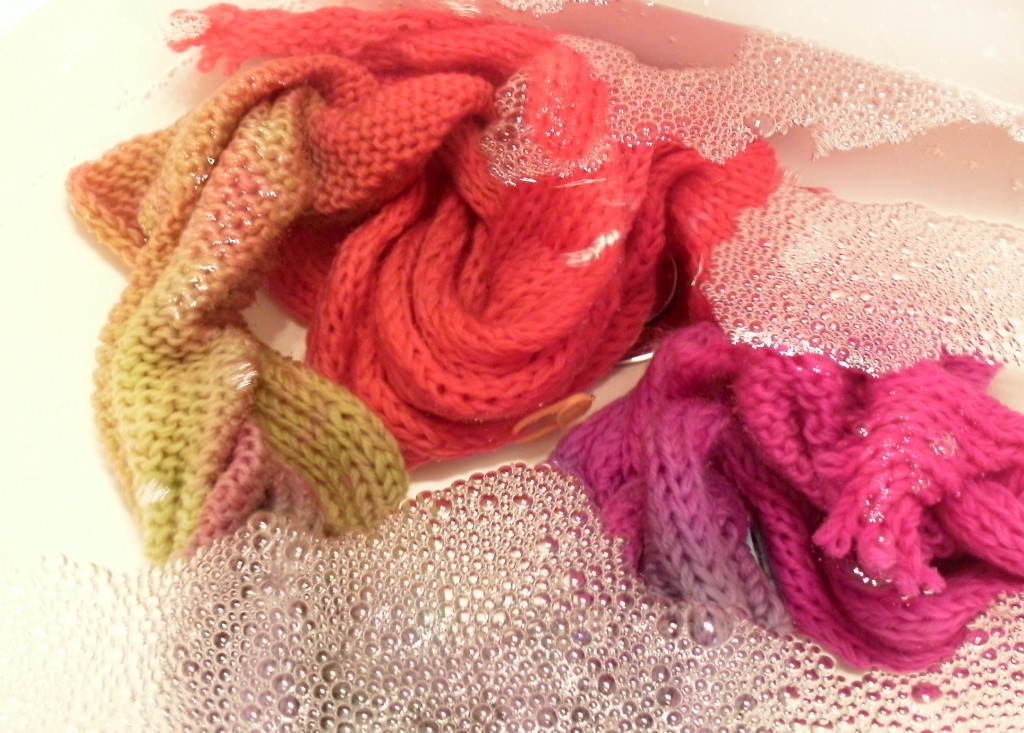
Once the excess dye has been washed from your yarn, squeeze out any excess water, and lay flat to dry.

Step 6: Unravel

I’ll admit it… this part is a wee bit annoying, but a crucial part of getting your yarn! You’ll have to unravel the sock blank.

Since the blank is made of two yarns held together, you’ll need to simultaneously wind two balls. Hands down, the easiest way to do this is to recruit a friend to help!

At the end, you’ll be rewarded with two balls of beautiful and identical yarn!
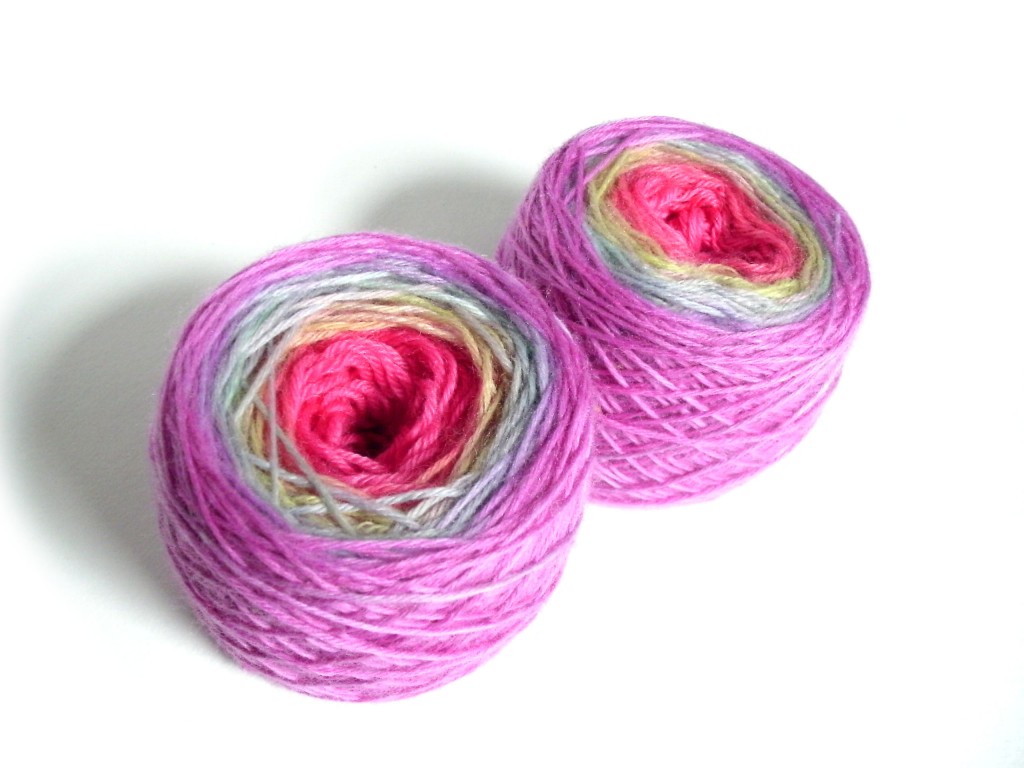
Enjoy Your Fabulous Yarn!

I’m in love with mine… and I’ve already started knitting a pair of socks:
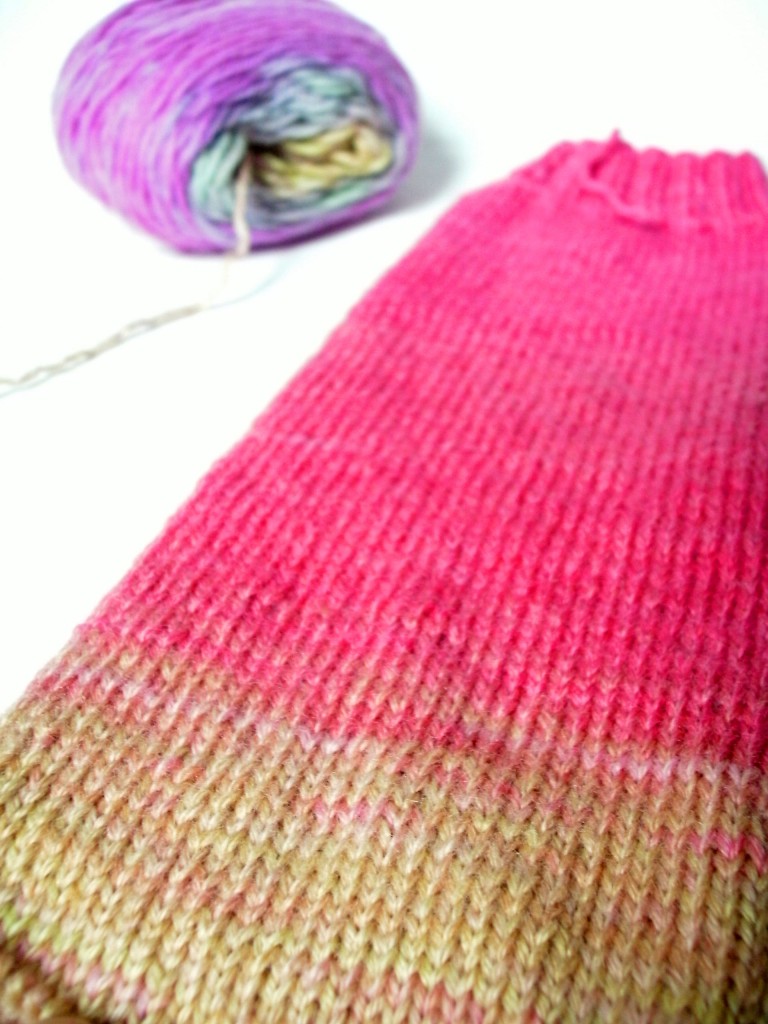
Isn’t it lovely?

What will you make?

I’m obsessed with rainbows… so I couldn’t help but make a rainbow-colored creation! But you could create any fabulous pattern that you can dream of!

What pattern would you create on your yarn?

I hope you enjoyed this post, and that it inspires you to create some fabulous yarns!

Grab your own kit!

Tulip Tie Dye Kits are available at Walmart, Walmart Canada, Michaels, JoAnn, A.C. Moore, Hobby Lobby, Hancock Fabrics, Meijer. Tie dye kit contents and colors may vary by store.

I wrote this post as part of a paid campaign with iLoveToCreate.com and Blueprint Social. The opinions in this post are my own.

Best,
Stacey