Goody Bags – Free Sewing Pattern

Goody Bags - free sewing pattern from Shiny Happy World

A couple of years ago I started building up a stash of reusable fabric gift bags – and working down my stash of gift wrap.

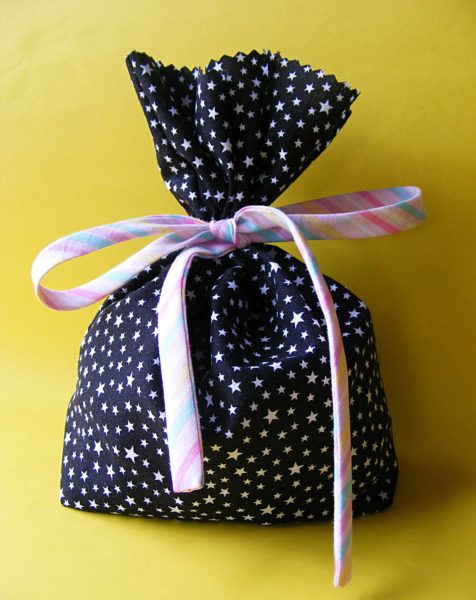
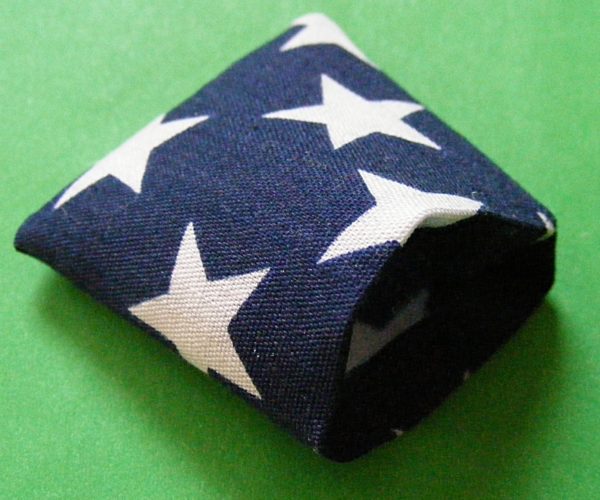
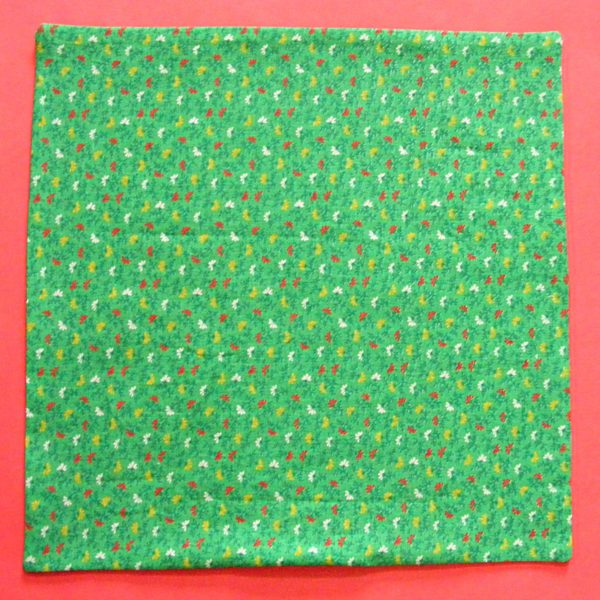
This little bag is one of my favorite sizes – roughly 4 inches wide x 7 inches tall x 2 inches deep.

It’s perfect for small gifts – and it goes together quickly and easily enough to make up a big batch and use them as party favor bags.

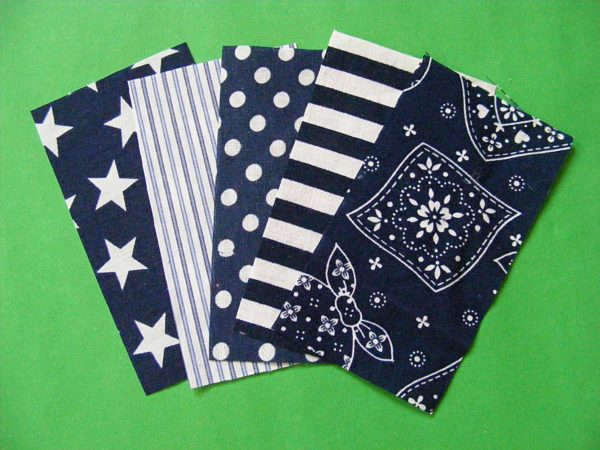
This batch is kind of girly looking, but a simple change of fabric will completely change the look. Try making some up in a favorite team’s colors!

Once you get the hang of making them, it’s really easy to adjust the pattern to be any size you want.

Have fun with them!

What you’ll need

  • two 7 x 9 inch rectangles for the bag
  • two 1 1/2 x 12 inch strips for the ties (or use 1/2 inch ribbon)
  • sewing machine, thread, etc.
  • less than an hour

Difficulty

Very easy – this is all straight line sewing. It’s a great first sewing project.

Step 1

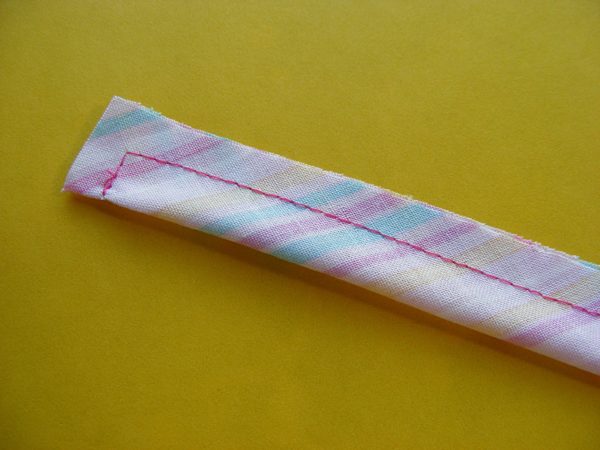
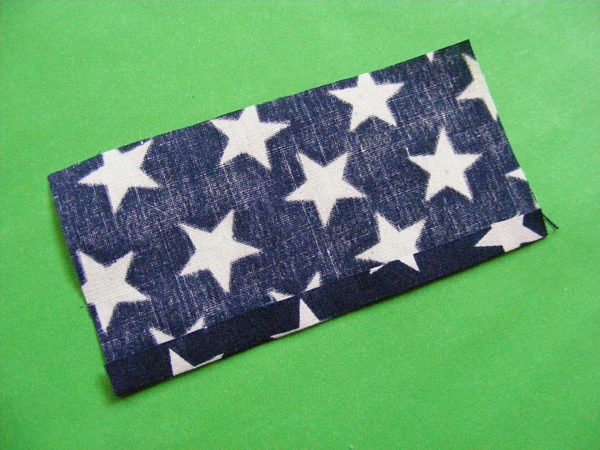
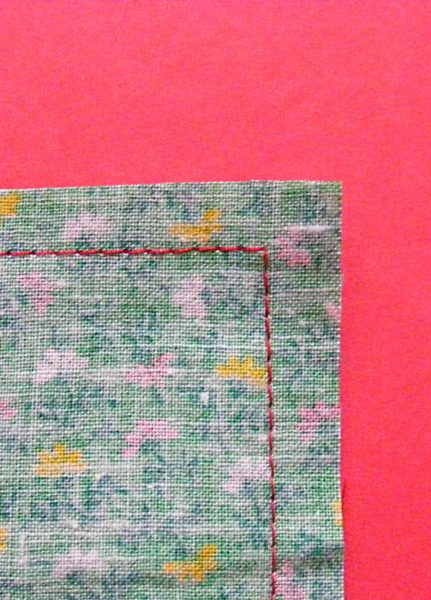
We’ll start with the ties. Fold one of the fabric strips in half the long way, right sides together. Using 1/4 inch seam allowance, sew along one short side and down the long open side, leaving the other short end open.

Free Goody Bag pattern from Shiny Happy World

Remember to backstitch at the beginning and end of your stitching.

If you’re a beginning sewer, this video will help you with sewing straight lines and turning corners.

Step 2

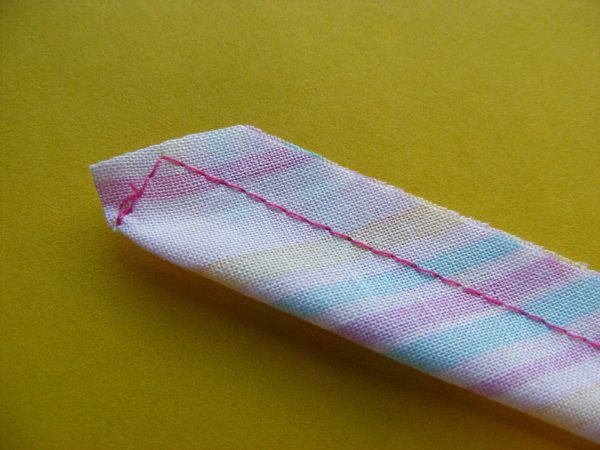
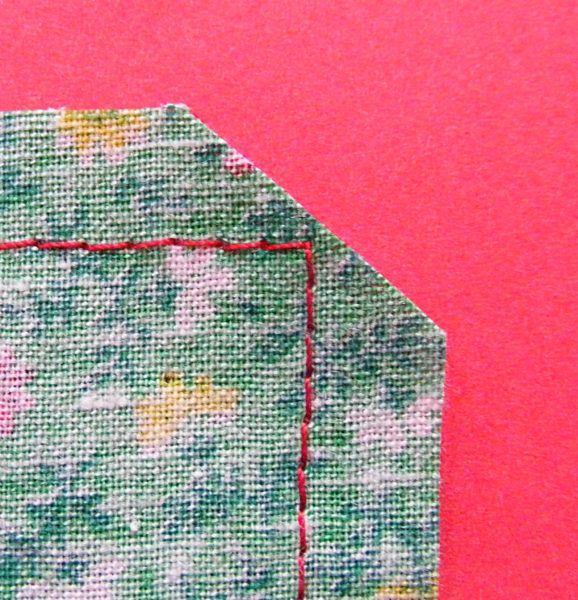
Trim away the excess fabric at the corners of the stitched end.

Free Goody Bag pattern from Shiny Happy World

Be careful! Cut close to – but not into – the stitching.

Step 3

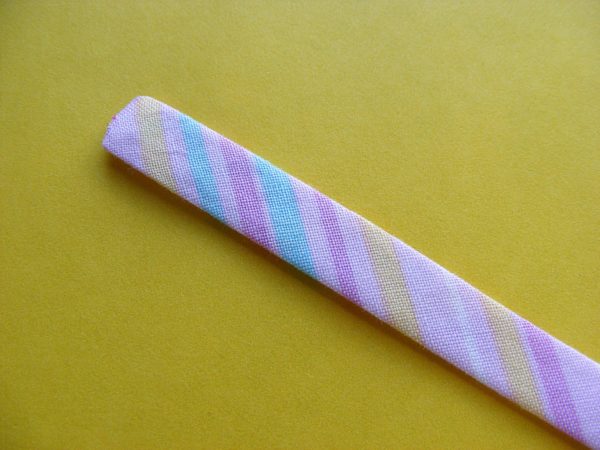
Turn the tube of fabric right side out. Press flat.

Free Goody Bag pattern from Shiny Happy World

Repeat for the second tie.

This video shows my favorite way to turn tubes of fabric right side out.

Step 4

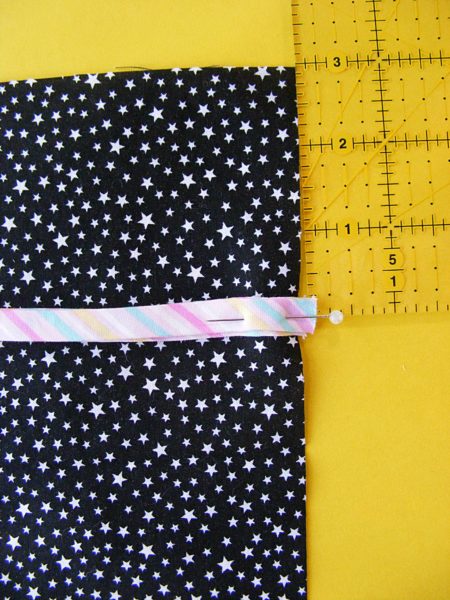
Lay one of the bag pieces so that it’s a tall rectangle.

Free Goody Bag pattern from Shiny Happy World

Pin the raw ends of your two ties to the edge of the bag, 3 inches down from the top edge.

Step 5

Layer the second bag piece face down over the first, with the ties sandwiched between them. Pin in place.

Free Goody Bag pattern from Shiny Happy World

Make sure to tuck the ties into the center of the bag so they only are stitched into the seam where you pinned them.

This video has more info about how to embed ties (and other things) in a seam.

Step 6

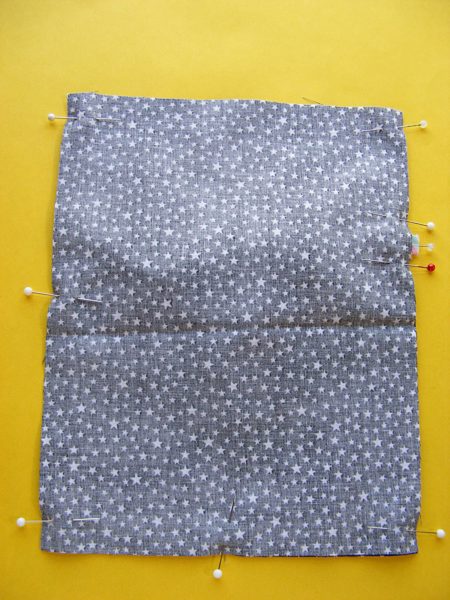
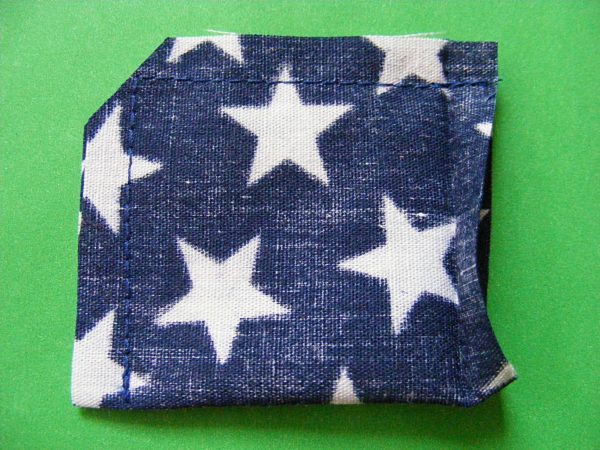
Using 1/4 inch seam allowance, sew together both sides and the bottom of the bag, catching the ties in the stitching where they’re pinned. Don’t forget the backstitch at the beginning and end of your stitching.

Step 7

Now we’re going to box in the corners of your bag so it has some depth.

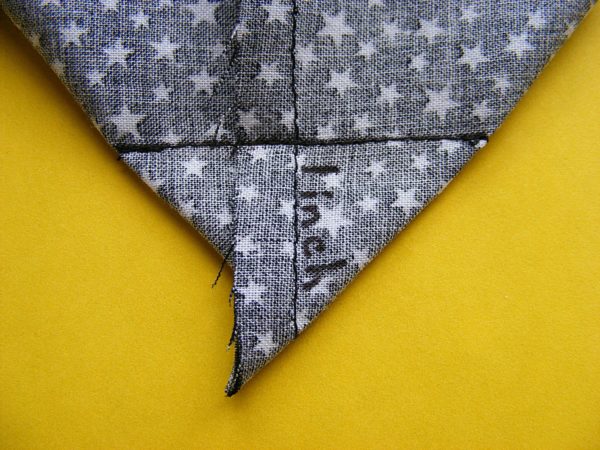
Flatten and fold one corner of your bag so that the side seam is lined up with the bottom seam. It should come to a point at the bottom.

Measure up one inch from the tip of the stitching line (not the point of the fabric) and mark a line perpendicular to the stitching line. Stitch on that line from edge to edge, backstitching when you start and stop.

Free Goody Bag pattern from Shiny Happy World

Repeat for the other corner.

Step 8

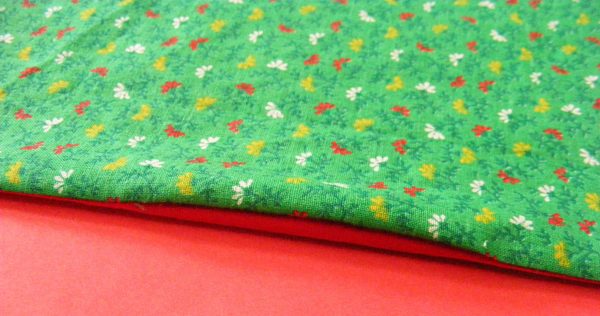
Turn the bag right side out. Finish the top edge however you like. I like to just trim the edge with pinking shears, but you could hem it if you prefer.

Free Goody Bag pattern from Shiny Happy World

This is a great size for small gifts or party favors, but you can easily make the bag bigger for larger gifts. Have fun with it!

Happy sewing!
 

Carrot Full o’ Candy – Free Pattern

Carrot Full of Candy - free pattern

I was inspired by Chez Beeper Bebe’s remake of the classic paratrooper dimestore toy (You haven’t seen it? Well go check it out, for goodness’s sake! It’s fabulous!) and I decided to remake those carrot-shaped cellophane bags you find filled with candy at Easter.

My version is made from fabric – thus hiding what kind of candy is inside. Is it M&Ms? Is it jellybeans? Oooh – the suspense! Plus it’s reusable and feels so much nicer than the plastic bags. And – it’s oh so easy.

What you need

  • scraps of orange fabric
  • scraps of green fabric
  • sewing machine
  • thread
  • candy
  • less than an hour

Carrot Full of Candy - an easy and fun (and free!) fabric carrot pattern from Shiny Happy World

Step 1

Download the pattern templates here.

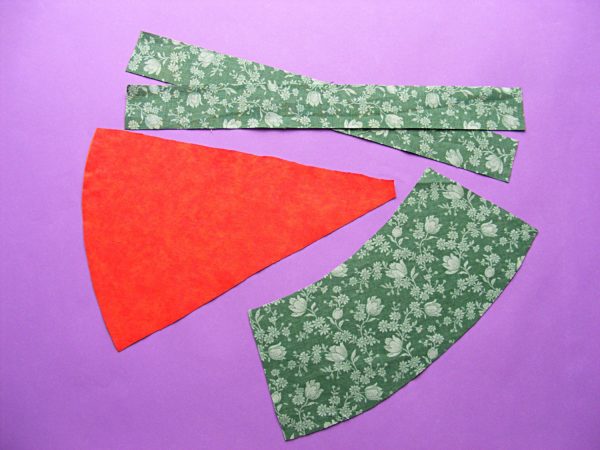
Press your fabric and cut out all your pieces as shown on the pattern page. You should have one orange wedge, one green piece, and two strips for ties.

Carrot Full of Candy - an easy and fun (and free!) fabric carrot pattern from Shiny Happy World

Step 2

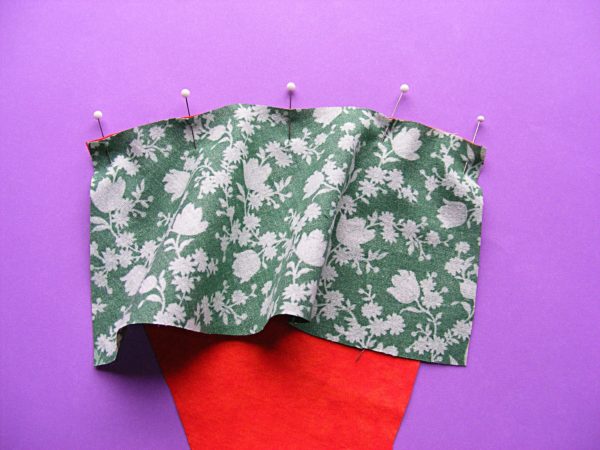
Pin the carrot to the green, right sides together. You’ll be pinning a convex curve to a concave curve, so the green part will be floppy at the bottom. Sew using 1/4 inch seam allowance.

Carrot Full of Candy - an easy and fun (and free!) fabric carrot pattern from Shiny Happy World

Step 3

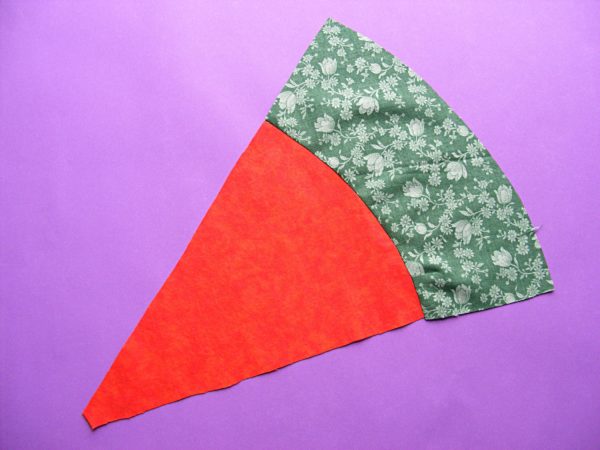
Open the carrot up and press the seam allowance toward the green.

Step 4

Fold one strip in half the long way and stitch along the long edge and one short edge. Turn the tube right side out and press flat. Repeat with the second strip.

Carrot Full of Candy - an easy and fun (and free!) fabric carrot pattern from Shiny Happy World

Step 5

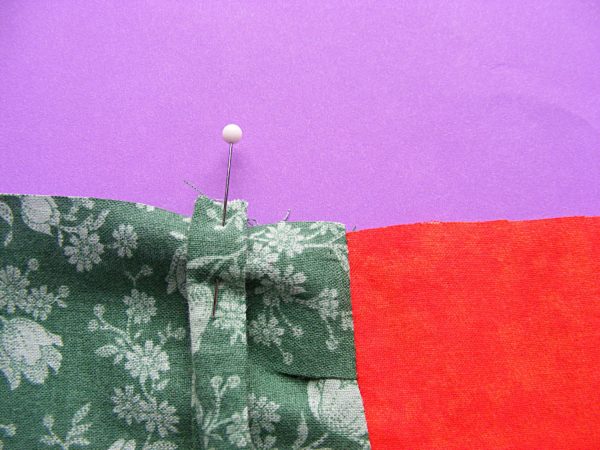
Pin both strips to the green, 1 inch from the seam between orange and green, with the raw edges of the strips lined up with the raw edges of the green.

Fold the carrot wedge in half the long way, right sides together, with the strips sandwiched between the layers.

Stitch up the long seam using 1/4 inch seam allowance.

Step 6

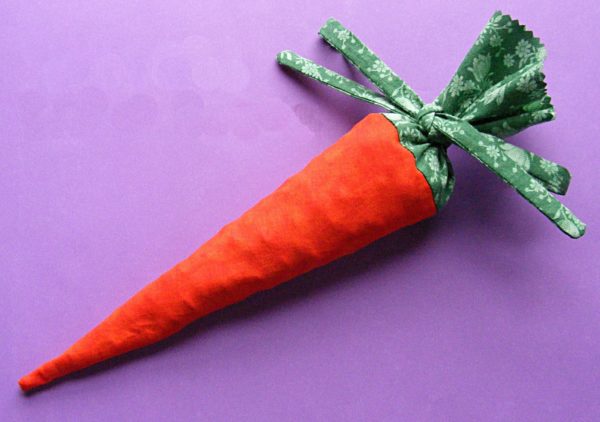
Trim away any excess seam allowance from the tip of the carrot and turn it right side out. Press the seam flat. Trim the raw edge of the green with pinking shears, fill the carrot with candy, and tie it closed.

Carrot Full of Candy - an easy and fun (and free!) fabric carrot pattern from Shiny Happy World

Finished!

Happy stitching!
Best,
Wendi

Free Pattern – Five Stones Game

Five Stones Game - a free pattern
Way back in the early eighties we played a game called Chinese Jacks.

Everyone had a set of jacks – customized in your favorite colors, of course – and if we had five free minutes we plopped down on the floor wherever we were and played a few rounds.

Chinese Jacks was an American eighties version of a very old game called Five Stones (or Knucklebones, or Jackstones, or a kajillion other variations). You can find some “official” rules here, and I like this video for showing it in action.

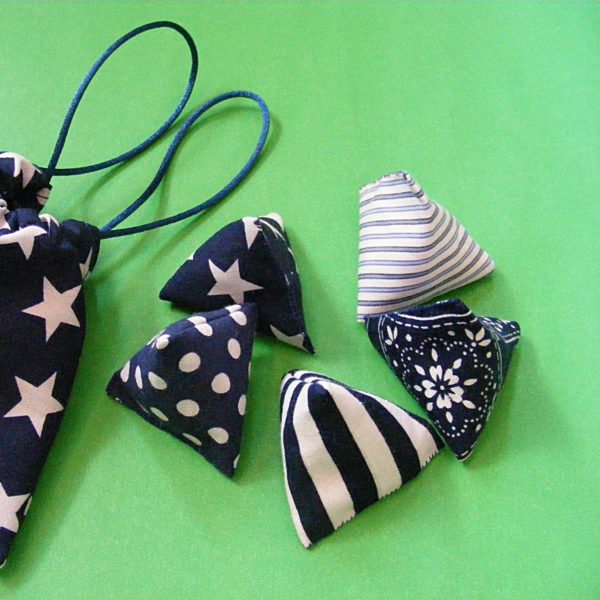
Part of the fun of Chinese Jacks was making your own set of jacks, in your own favorite color combinations. Five Stones is also a game where you can (and should) make your own set. It’s easy and pretty fast and uses just scraps.

What you’ll need

  • 5 scraps of fabric – each at least 2 1/4 x 4 inches
  • small amount of rice, plastic beads, or other small filler
  • sewing machine
  • thread
  • basic sewing tools
  • about an hour

Difficulty

Very easy – great for beginners of all ages.

Step 1

Iron your fabric so it’s nice and smooth. Cut 5 rectangles – each 2 1/4 x 4 inches.

Step 2

Choose one rectangle to start with. Turn ONE long edge under 1/4 inch.

Press to set the fold, then open it back up. You won’t be stitching this down yet, but the piece is so small that it will be almost impossible to measure and press this fold after you sew so we’re doing it now.

Step 3

Fold the rectangle in half (with right sides together) so that it’s almost a square.

Using 1/4 inch seam allowance, stitch two of the open sides of the square. Remember to backstitch at the beginning and end of your stitching.

Clip the corner close to – but not into – your stitching.

Step 4

You should have a little pouch. Turn it right side out and turn under the fold that you pressed in place in step 2.

Step 5

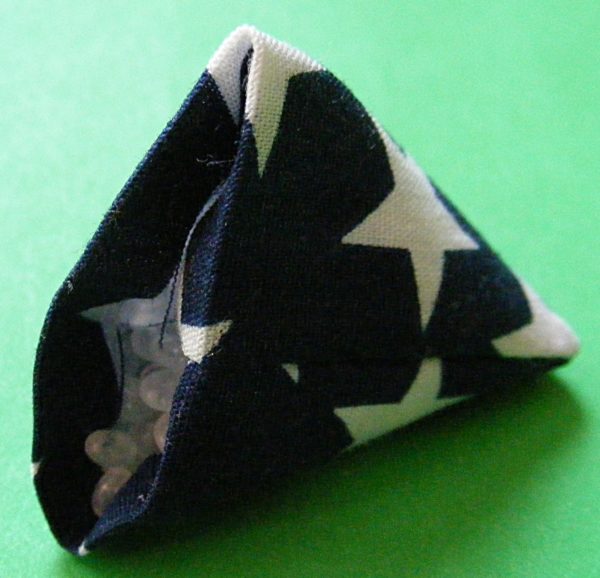
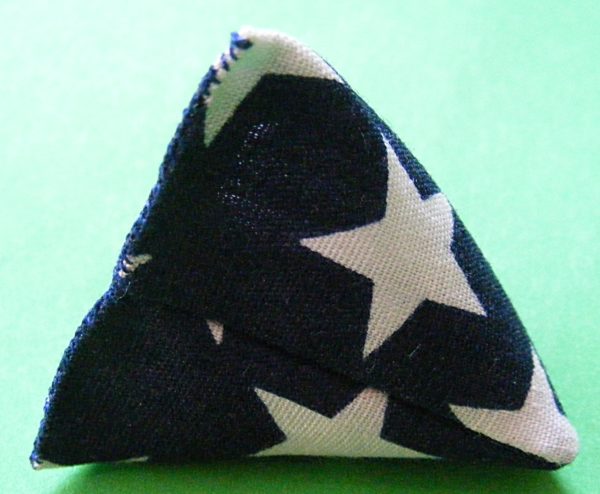
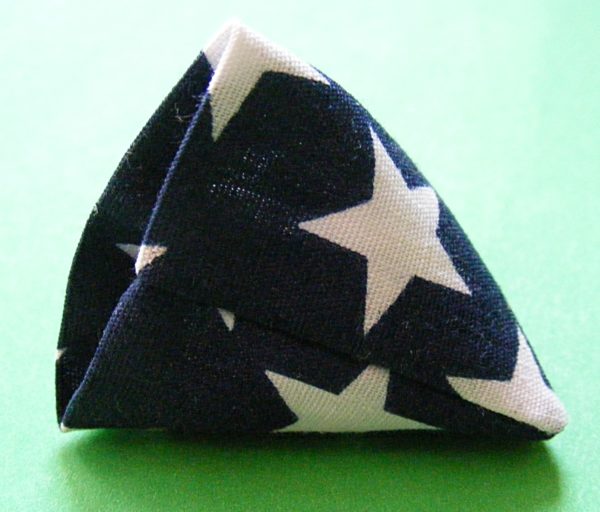
Now here’s the trickiest part – and it’s really not tricky at all – just very clever. Refold the opening so that the seam is running up the center instead of along one of the sides. It should reshape the flat pouch into a teeny little pyramid.

Fill the bag with 2 teaspoons of filler. For this project I used little plastic pellets because I KNOW they’ll get played with (and forgotten) outside. Rice or lentils would be nice, but they will clump and mold if the game gets wet.

Two teaspoons will fill it loosely – and that’s exactly what you want. Tossing and grabbing is easier when the “stones” have some give to them.

Step 6

Now stitch up that nice folded edge using a whip stitch or ladder stitch. Use small stitches spaced pretty close together so the filling doesn’t come out through the spaces.

Step 7

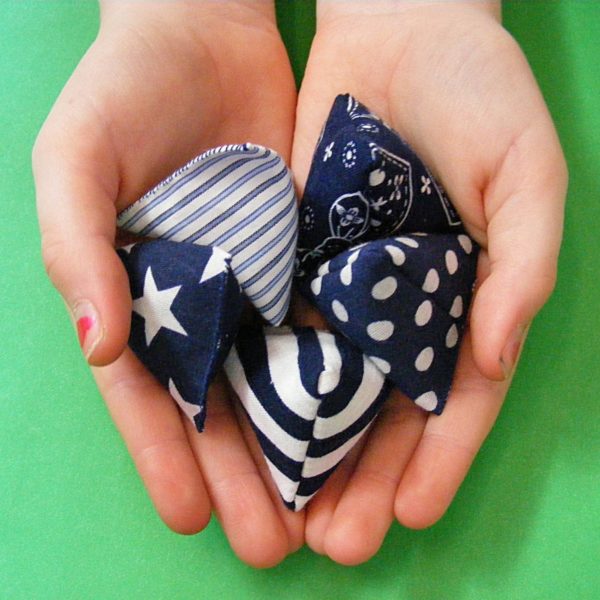
Done! Now repeat all the steps with the rest of the rectangles. You should end up with 5 squishy little pyramids. You’re ready to play!

You can find the rules a lot of places online but I like this video. Actually seeing the play makes it easier to understand.

It takes practice to get really good! Have fun!

Best,
Wendi

Applique Wendi (with fabulous hat)

A Rice Bag to Keep You Toasty Warm

Free Rice Bag Pattern from Shiny Happy World

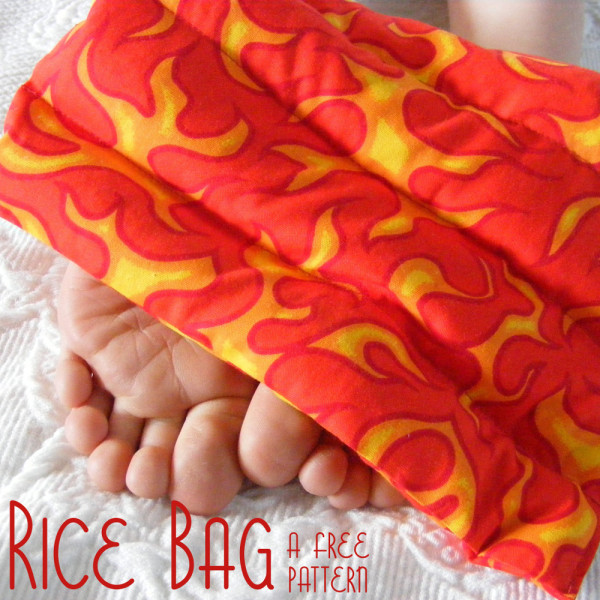
Stitch up this easy rice bag and pop it in the microwave whenever you need a little warmth. Heat it for one minute (or a little more) in the microwave. Use it as a foot warmer when you go to bed at night. Or lay it on your chest when you have a cold. Drape it around your neck if you’ve spent too long at the sewing machine. 🙂

Don’t save this project for next winter! In the summertime my daughter likes to keep hers in the freezer to pull out whenever she needs a quick cool-off. Drape the cold bag around your neck on a hot day for instant bliss.

Make one for yourself – and lots more for gifts.

Update! I posted instructions to turn this into a Vicks VapoRub scented rice bag here. Use that version to help soothe a cough and clear a stuffy nose. And be sure to download the free monster rice bag cover pattern too! The link is in the same post. 🙂

What you’ll need

  • 2 squares of fabric – each 10 1/2″ x 10 1/2″
  • 2 1/2 cups rice or other filler
  • scented mix-ins – optional
  • sewing machine
  • thread
  • basic sewing tools
  • an hour or less

Difficulty

Super easy! Just a few straight lines and all machine work! Plus the pattern has links to videos teaching you all the skills you’ll need.

Step 1

Iron your fabric so it’s nice and smooth.

Lay your fabric squares right sides together. Using 1/4 inch seam allowance, sew around three sides. If you’re a new sewist, watch this video showing you how to sew straight lines and turn corners.

Step 2

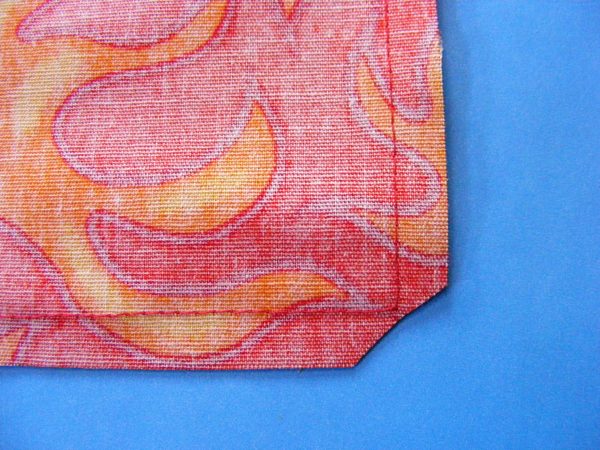
Clip the corners close to -­ but not into -­ the stitching.

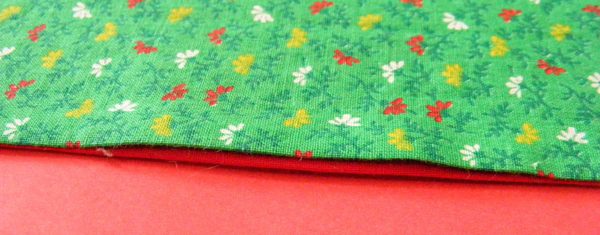
It should look like the photo.

Step 3

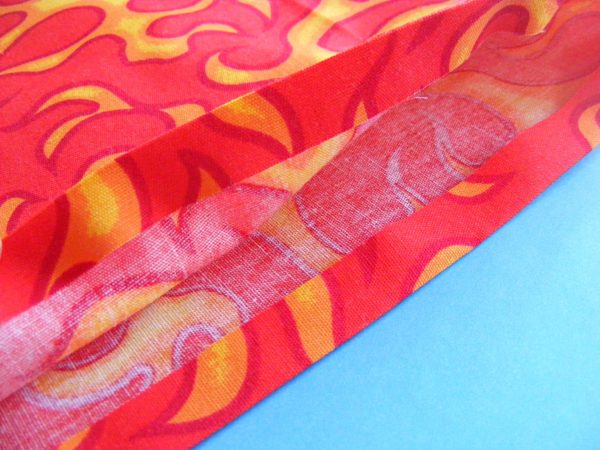
Turn the bag right side out. Turn the raw edge under 1/2 inch and press.

The entire top edge (all the way around) should be folded under so you have a clean edge.

Step 4

Using a piece of chalk or other erasable marking tool, mark lines every two inches along the length of your rice bag.

This will make channels that help keep the rice spread evenly throughout the bag so it doesn’t all shift into one corner.

Step 5

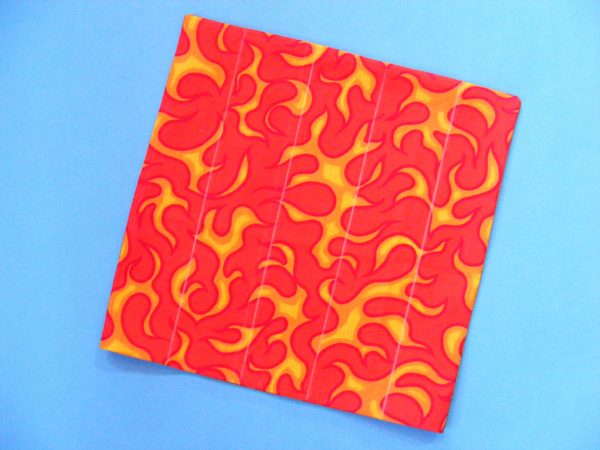
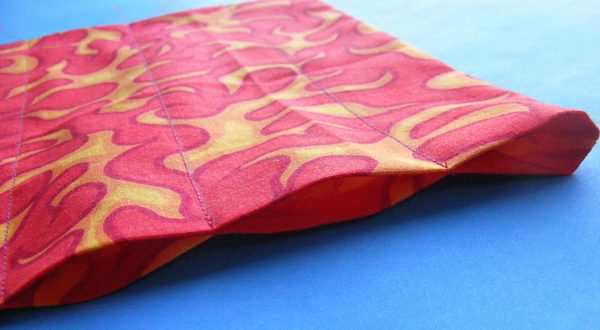
Stitch along the marked lines -­ right up to the open edge of the bag. Don’t forget to backstitch at the beginning and end of your stitching!
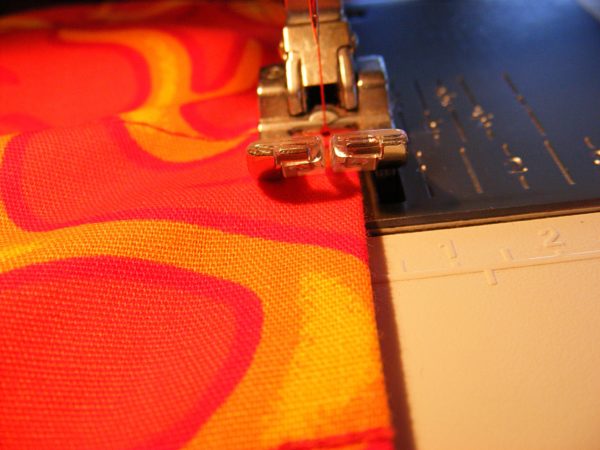
It should look like this.

Using a funnel, fill each channel with about 1/2 cup of rice. There should still be room to spare. Careful! If you fill your bag too full, it will be stiff and won’t mold to your body.

If you want your bag to be scented, now is the time to mix in some additions. I added a few cloves and some broken cinnamon stick pieces to each channel. You can add a few drops of essential oil to the rice before filling the bag. Lavender or rosemary is also a nice addition. Use your imagination!

There’s a tutorial here showing how to make your rice bag into a Vicks Vapo-­rub scented rice bag – perfect for soothing a cough and stuffy head without the icky sticky feeling of the Vicks.

Step 7

Sew the opening closed. Sew as close to the folded edge as possible.

Don’t forget to backstitch at the beginning and end.

Finished!

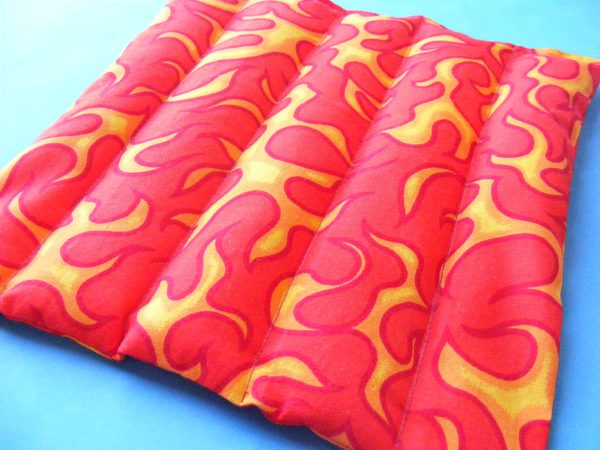
Finished rice bag made with flame fabric and the free Rice Bag pattern from Shiny Happy World

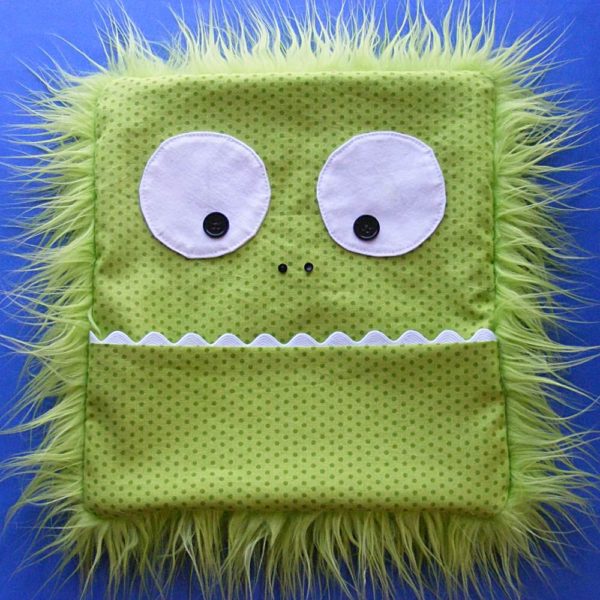
Want to get extra fancy? You can sew up a fun monster cover for your rice bag.

There’s a link to a free tutorial here.

Green monster rice bag cover

Happy stitching!
Free Puppet Theater Pattern!
Free pattern - easy doorway puppet theater

Can you sew a hem?

Yes?

Then you can make this easy doorway puppet theater.

No?

Then you’re about to learn – the pattern has links to videos teaching you all the skills you’ll need so you can make it.

It hangs in any doorway so there’s plenty of room “back stage.” And when you’re not using it it’s easy to just fold up and put away. Plus – it’s FREE!

What you’ll need

  • 1 yard solid-colored fabric for the backdrop
  • 1 1/3 yard patterned fabric for the bottom curtain
  • 2 spring tension rods long enough to fit in the doorway you’ll be using
  • Thread
  • Sewing machine
  • Basic sewing tools
  • less than an hour

Difficulty

Crazy easy. Seriously.

sewing 1

There’s also a free template for two ships included! Just print, color, paste them to some cardboard, cut them out, add sticks for handles and you’re ready for the show!

Happy stitching!

Best,
Wendi
Applique Wendi (with fabulous hat)

How to Make Fancy Schmancy Cloth Napkins

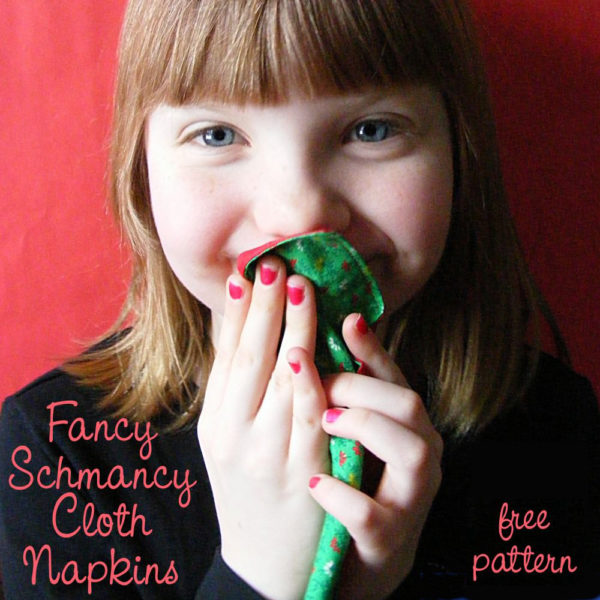
Photo of a young girl holding a cloth napkin to her mouth.

How to Make Fancy Schmancy Cloth napkins - a free tutorial.

Make some fancy schmancy cloth napkins!

It’s the perfect project is to practice straight-line sewing on the machine!

You get to practice sewing around the edge with a nice, straight, 1/4 inch seam allowance, and then you get to go around the edge again with a topstitch.

Easy peasy!

So here’s a free pattern for you.

What You’ll Need for Each Cloth Napkin

  • Two squares of fabric. I use 12-inch squares but you could go a little larger or smaller if you like. The two fabrics can match, can coordinate, or can be  completely random – it’s all up to you. I usually use a print and a solid that I think looks good with it.
  • Matching thread
  • Sewing machine
  • Iron
  • Pins

You read the part about this being good for practicing sewing straight lines, right? This is definitely for beginners.

If you want to get really fancy you can embroider on one of the squares of fabric before you sew them together. Maybe an initial? Or a flower? Or a small beetle?

There are a bunch of embroidery patterns here, and this book has over 500 motifs, including really unusual ones like chainsaws, lumberjacks, succulents, toys, and kitchen equipment.

Step 1

Iron your fabric so it’s nice and smooth.

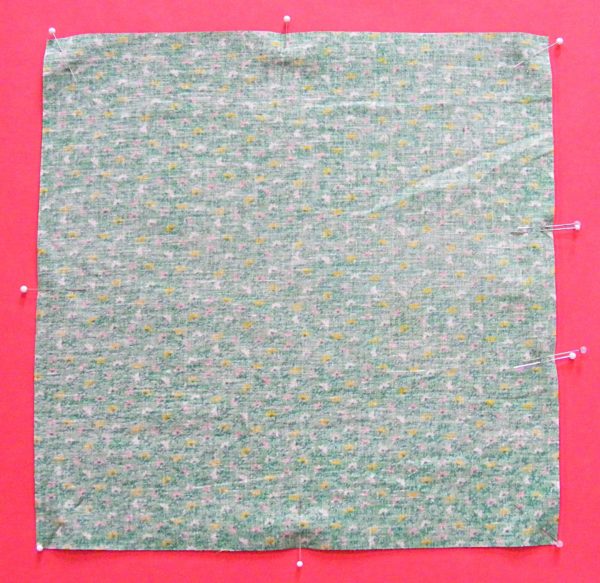
Stack the two squares of fabric with their right sides together and their edges lined up. The napkin should be “inside-out.”

Pin the two layers together around the edges.

Step 2

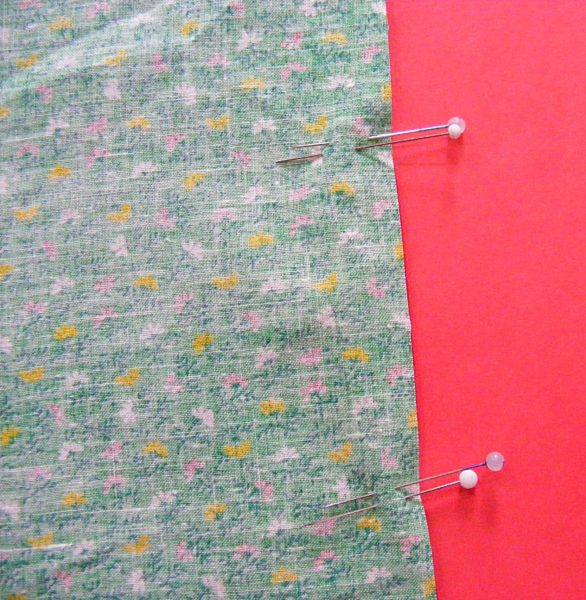
Leave an opening of at least 3 inches so you can turn the napkin right-side-out after stitching.

I like to mark the beginning and end of my opening with double pins so I remember not to sew it closed.

Step 3

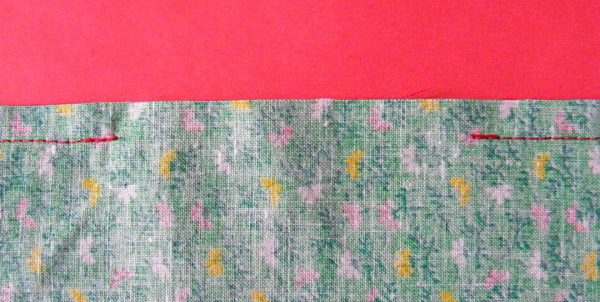
Using 1/4 inch seam allowance, stitch all around the edge of the napkin – except for the part you’re leaving open.

Remember to backstitch a few stitches at the beginning and end of your stitching.

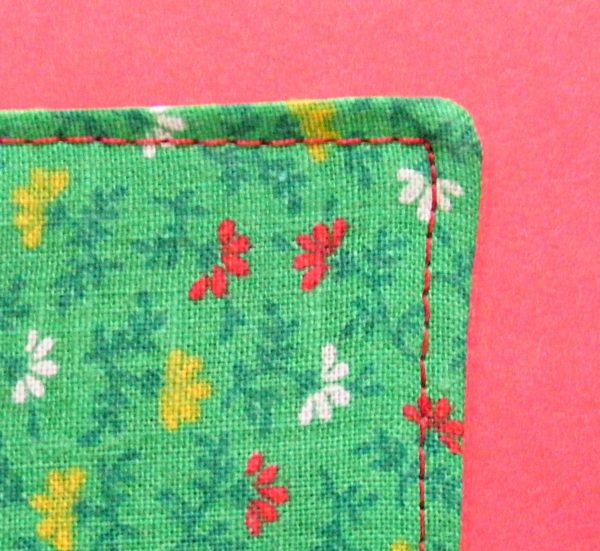
The opening should look like this.

And the corners should look like this.

If you need help with your seam allowance or turning corners, watch this video.

Step 4

Trim away excess fabric at each corner. This will help make your corners nice and flat when you turn the napkin right-side-out.

Be careful not to cut through your stitches – your cut should be just a little bit out from the corner of your stitching.

Step 5

Turn your napkin right side out. Use a chopstick (or some other pointy, but not too pointy tool) to help pop the corners all the way out.

Smooth everything out and carefully press all the seams. Take your time and make the sides as square as possible.

Step 6

The unstitched edges of your opening should fold in pretty perfectly all by themselves, but give them some help if you need to. They should look like this before pressing. . .

And like this after pressing. . .

Step 7

Now you have two options. You can use ladder stitch to sew up the opening. It’s invisible, but some people don’t like hand stitching.

If you want to do the whole thing by machine, just stitch all the way around the edge, very close to the edge of the napkin. This is called topstitching and there’s a video here showing how to do it.

Every corner should be nice and square and this stitching will seal up the opening you used for turning. Easy peasy!

Trim your threads and press your napkin one more time. That last pressing will help the threads of your topstitching sink down into the fabric and look nice and finished.

Now – have a snack!

We have a big stack of colorful napkins in our house and everyone has their own favorites. This is a great way to use up random bits of favorite fabrics.

Happy stitching!