How to Build a Quilt Design Wall (Flannel Board, Bulletin Board, etc.)

How to Build a Quilt Design Wall (or Flannel Board or Bulletin Board) - a tutorial from Shiny Happy World

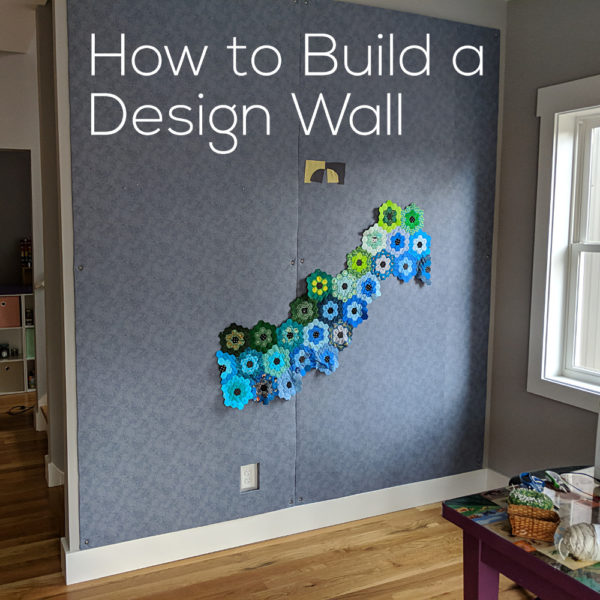
I finally have a quilt design wall in my new house and I’m so excited! There really is nothing like being able to step back and see an entire quilt like this!

And I’m going to show you (in excruciating detail) how I built mine – including the specific materials I used. I’ll also show you a bulletin board I made for my husband using the same method. I’ll even show you how to do that little cutout around the electrical outlet.

Ready?

Here we go!

To start with – I like to use foam insulation board. Styrofoam sheets are less expensive – but pinning into styrofoam gives me the willies. It’s a real nails-on-the-chalboard reaction so I don’t do it. Look for the 4 ft x 8 ft sheets of foam insulation board at your home improvement store. I like the ones that have a metallic foil material on one side.

I covered my board with flannel because I want to have both options – being able to pin into it but also being able to just smooth blocks up there and let them cling to the flannel.

Click through so you can see the flannel print close up. It’s a nice tone on tone print that looks interesting when there’s nothing on the board, but is subtle enough not to distract me from any design I’m working on up there. Later I’ll show you a different kind of option.

For my last quilt design wall I glued the fabric to the board – but that meant I couldn’t wash it, or easily change it if it got faded. This time I did the whole thing with pins.

Start out by piecing together enough fabric to completely cover your board, and wrap around each side with a couple of inches to spare. Press everything nice and smooth.

Lay your insulation board foil side up and cover it with the fabric – getting the fabric as centered as possible.

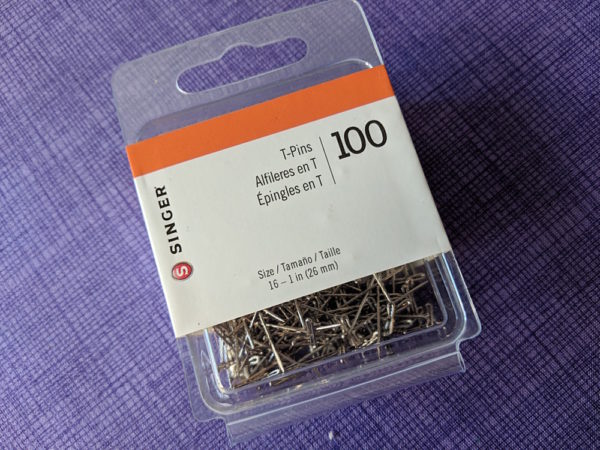
Start pinning your fabric into the sides of the insulation board. I used these 1-inch T-pins.

package of 100 T-Pins from Singer

Basically – I used the exact same method I use to prepare fabric for framing – just on a larger scale. You can watch that video here.

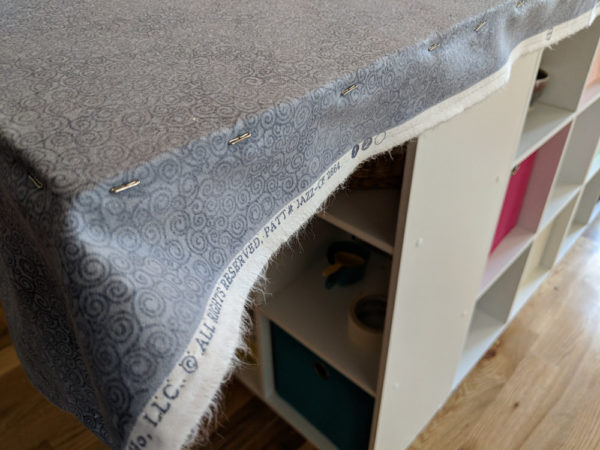
Keep adding pins, pulling the fabric smooth but not stretching it, until you have pins all the way around your board every 1-2 inches.

side view of a quilt design wall being made - showing T-pins holding the grey fabric in place

Flip your board over so you’re working from the back.

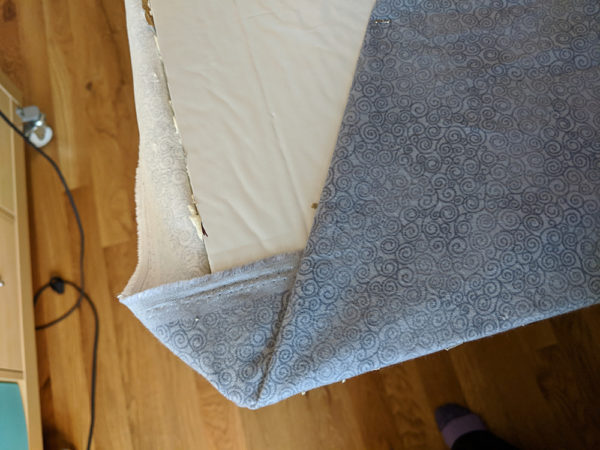
Smoothing the excess fabric on the back of the foam insulation board

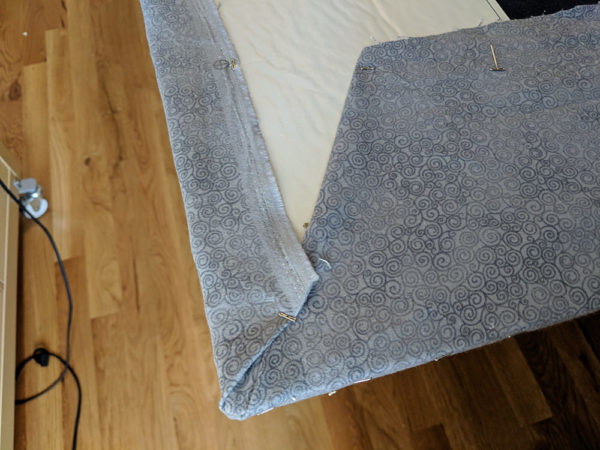
Fold in one corner, then fold in one side. Insert some of the T-pins at an angle so they hold the fabric flaps in place, but don’t poke through the front.

How to Build a Design Wall (or Flannel Board or Bulletin Board) - a tutorial from Shiny Happy World

Fold in the other side. Now your corner is nice and neat!

(See how pretty that tone-on-tone Jazz print is?)

Continue around the back of the board, securing the excess fabric with T-pins inserted at a slant. Remember – the side pins are the ones really holding the fabric in place on the front of the board. These are only holding the excess fabric in place, so you only need a pin every 8-12 inches or so.

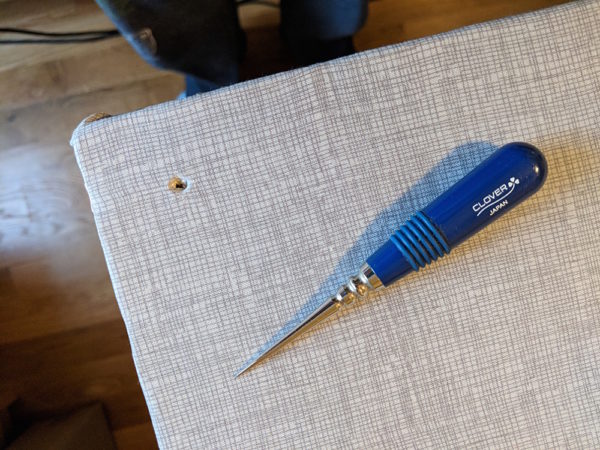
Using an awl to poke a hole in one corner of my new quilt design wall

Use an awl or other sharp tool to poke a hole in each corner of the board (mine is 1 inch in from each edge) and one more in the middle of the longest edge.

This step is important! Don’t think you can just screw right through the fabric. The bit or the screw will catch the fabric and yank it into an awful twist, ruining all that work you did getting everything nice and smooth.

Hold the board just where you want it on the wall and mark through each of those holes with a pencil. Take the board away and insert a wall anchor at each of those spots.

Now screw the board into those wall anchors!

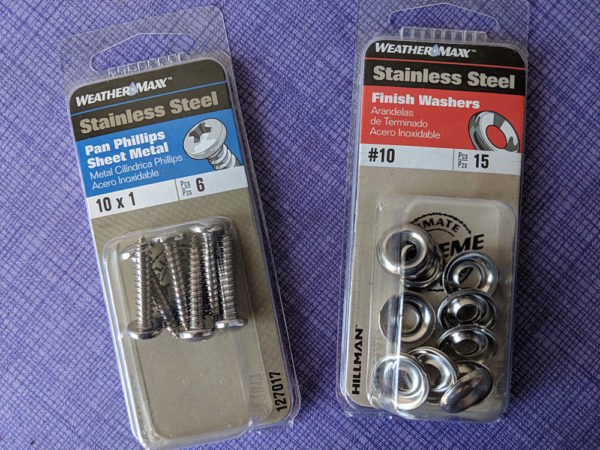
I used these nice stainless steel screws and washers.

stainless steel screws and washers

You definitely need to use some kind of washer so that over time the head of the screw doesn’t just pull through the soft foam. See how nice these look?

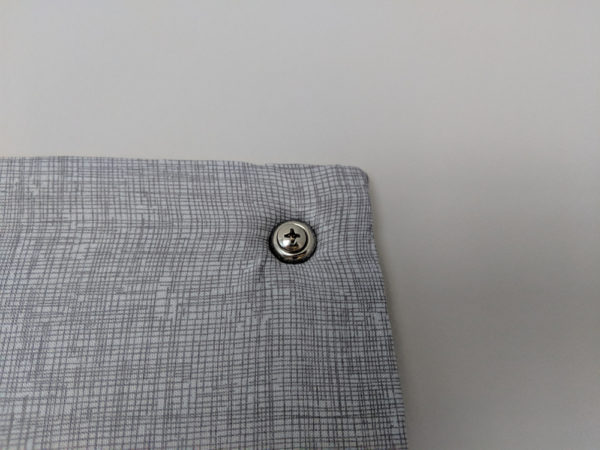
corner of my new quilt design wall, screwed into the wall using a stainless steel screw and washer

I like to screw it in tight enough that it kind of dimples into the surface of the foam. That way I can skim quilt blocks right over the screws if I want to.

What About Electrical Outlets?

So my first board of my quilt design wall was easy – but the second one was going to go right over an electrical outlet. I wanted to be able to continue to use that outlet, so I needed to cut a hole in the board and finish those edges.

Don’t worry – it’s not hard!

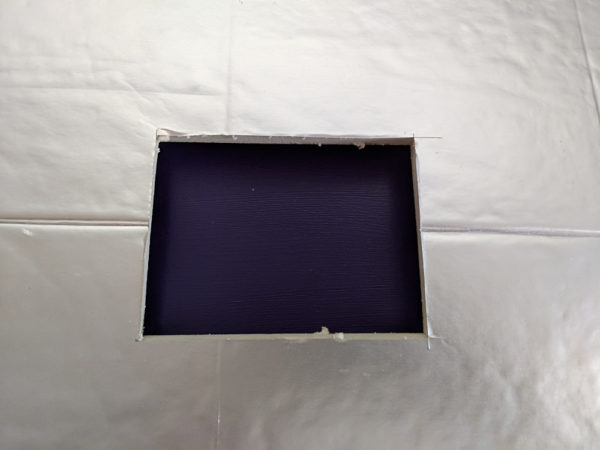
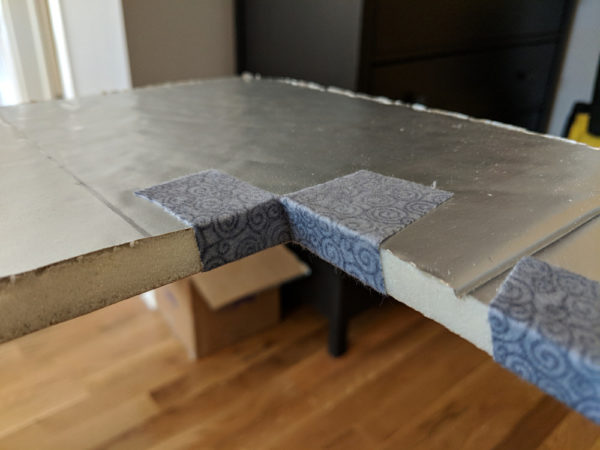
Measure your space and cut a hole in your board just a little bit bigger than your outlet cover.

rectangle cut in foam insulation board

This stuff is easy to cut with a simple X-acto blade.

Now cut four squares of fabric roughly 2-3 inches square. It doesn’t not have to be exact – or even especially neat, as you can see with mine.

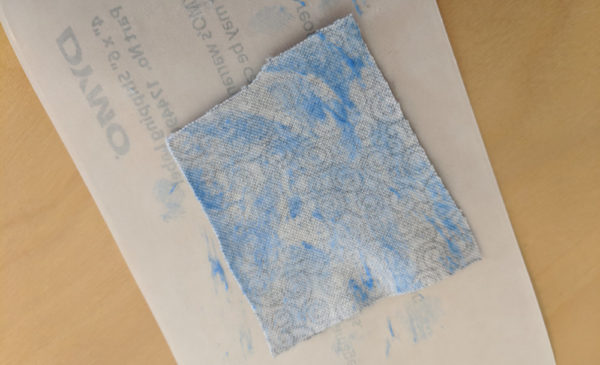
Cover the back of one square of fabric with glue.

fabric smeared with blue glue

I used a Uhu glue stick – not my fabric glue stick. I wanted a permanent hold here.

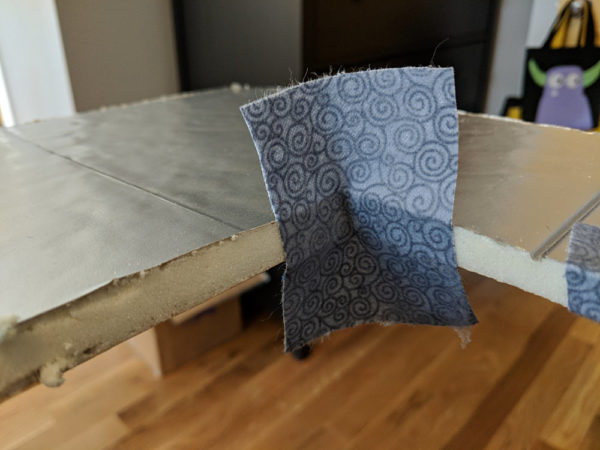
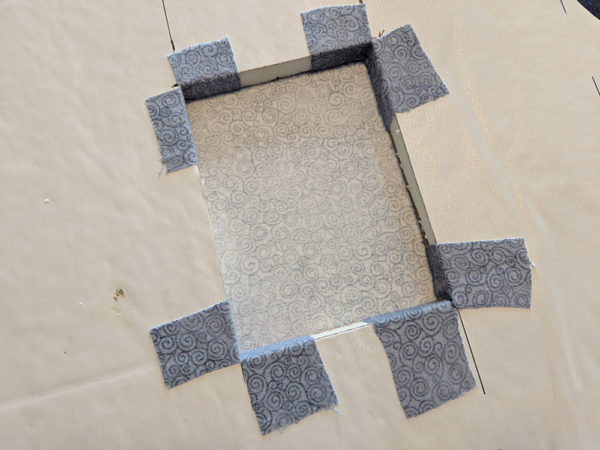
Stick the square right into one corner of your cutout and press it in place, as shown.

covering one corner of the outlet hole in my quilt design wall with a scrap of fabric

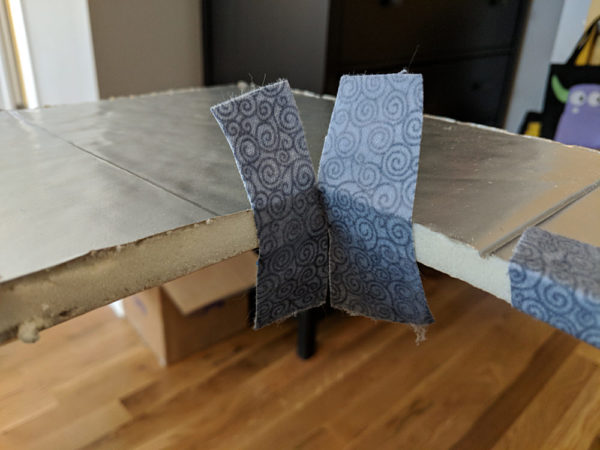
Now use a sharp pair of scissors to snip down from the top and up from the bottom – right on the fold created.

covering the corners with a scrap of fabric

You want to cut very close to the surface of the board – with just a few threads to spare.

Now folds those flaps down and smooth them onto the front and back of the board.

covering the corners with a scrap of fabric

Repeat for the other three corners.

Now just cover your board like a showed in the first part of the tutorial. Pretend that hole isn’t even there.

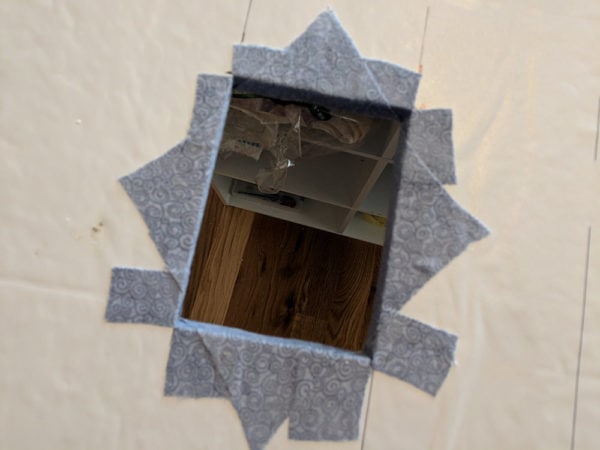
outlet hole with corners covered with grey fabric

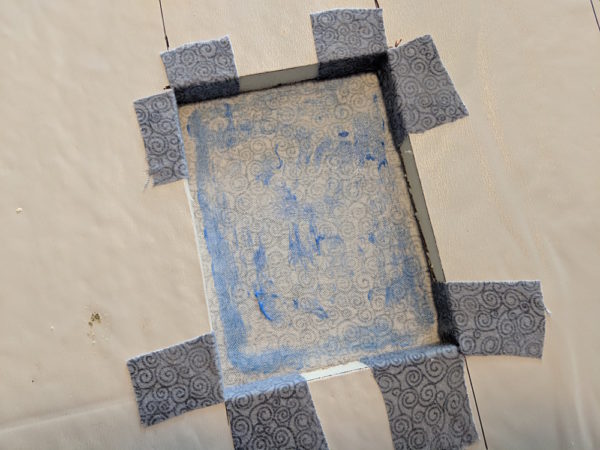
When you flip your board over, you’ll see the back of that fabric through the hole.

Make sure the board is on a flat surface (so you have something to press against) and coat all the fabric inside the cutout with glue.

outlet hole with corners covered with grey fabric

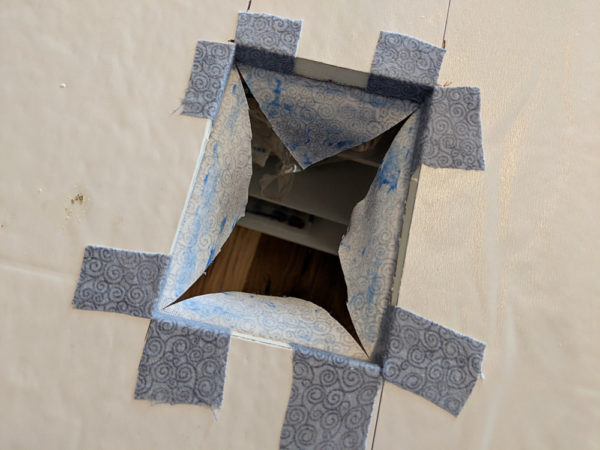
Now use a pair of sharp scissors to cut an X in that fabric from corner to corner.

outlet hole with corners covered with grey fabric

Pull those triangle flaps to the back side of the board and smooth them in place.

outlet hole with corners covered with grey fabric

Sorry – I was using my camera’s autofocus and it focused on what it could see through the hole, instead of the fabric treatment around the hole. But I think you can still see what I did, blurry as it is. 😛

That’s it! This board is ready to hang,  just like the first one.

How to Build a Design Wall (or Flannel Board or Bulletin Board) - a tutorial from Shiny Happy World

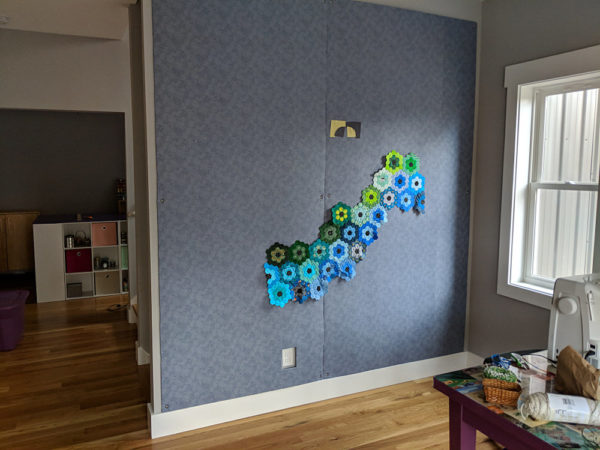
Ta da! I have a quilt design wall!

Pieced Bulletin Board

I needed my board to be pretty simple so it wouldn’t distract from whatever I’m designing on it.

But my husband wanted a similar board to outline his next book on – and he wanted it to have a bit of design. Nothing too fancy – but just a little extra pizzazz.

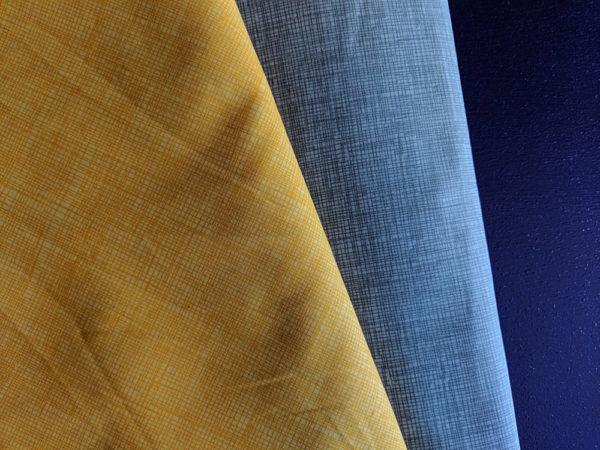
Here are the fabrics he chose.

How to Build a Design Wall (or Flannel Board or Bulletin Board) - a tutorial from Shiny Happy World

He doesn’t need fabric to cling to his board, so I just used regular quilting cotton instead of flannel.

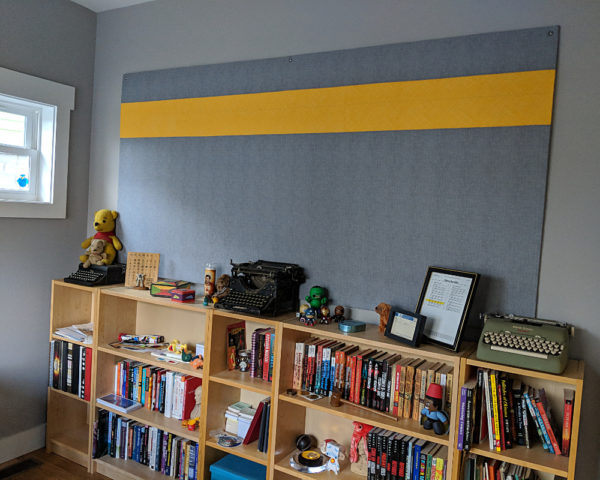
And here’s his finished bulletin board.

How to Build a Design Wall (or Flannel Board or Bulletin Board) - a tutorial from Shiny Happy World

It’s all ready for him to start hatching his next novel!

I love having a quilt design wall again! It makes it so much easier to really SEE the layout of a quilt in progress.

Here are handy links to all the posts about quilting tools and supplies.

Sewing Machine

Iron

Rotary Cutting Tools

Scissors

Other General Sewing Room Supplies

One More Hugely Popular Post that Seems to Fit Here Better than Anywhere Else

Return to the Let’s Make a Quilt main Table of Contents.

Move on to the posts about choosing your quilt pattern.

Happy stitching!

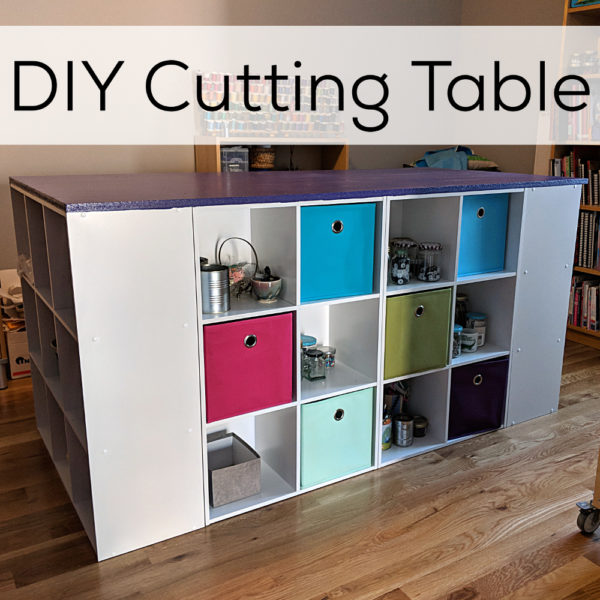
How to Make a DIY Cutting Table

tall table with cube storage underneath

I love my new cutting table!

I cut a lot of fabric for bundles, so I really needed a large table at the right height for working while standing. Standing for hours at a dining table height surface will kill your back!

I used to have some good storage shelves that worked, but the bottoms of the legs got mangled in the move. The exact shelves weren’t made anymore (and the new version was much flimsier) so I needed to find something totally new.

I posted in the Shiny Happy People group to see what solutions other people had come up with and I got So Much Good Information! Click here to hop right to that post and all the amazing comments.

I liked the look of an Ikea Kallax hack, but the height wasn’t right for me standing. I was going to go for kitchen base cabinets with a laminate top – but that was way (WAY) out of my price range. So I was walking around Lowe’s to see if there was anything that might work, and I stumbled across Cubicals from ClosetMaid.

They’re similar in look to the Kallax pieces from Ikea (though admittedly not as sturdy-looking) but the size is different. A piece 3 cubes tall was just the right height for me standing – and they made that configuration!

So here’s what I used.

  • 2 – 9 cube (3×3) pieces
  • 4 – 6 cube (3×2) pieces
  • 1 – 3 ft. x 6 ft. sheet of medium density fiberboard (you’ll need to buy a 4×8 sheet, but you can ask the folks at Lowe’s to cut it down to size for you)
  • 1 piece of trim 1 1/2 inches wide x 3 feet long x 3/8 inch thick (optional – for cutting guide)
  • 2 elevator bolts to hold the cutting guide in place (optional)

Assemble all the Cubicals cabinets.

Stand them in a rectangle with the cubes facing out. The two 3×3 cabinets are on the ends. There are two 2×3 cabinets (standing tall, not wide) on each side between each of the end cabinets. There’s some empty space in the middle.

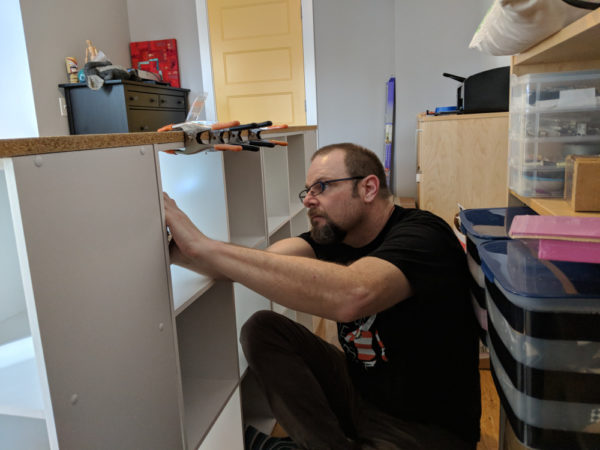
Get everything lined up neatly – exactly where you want it because this is NOT movable) and set the big MDF sheet on top. Drilling up from underneath the table (up through the top of the cabinets) screw the table top into place. We used 1 inch wood screws and put some tape on the drill bit to make sure we didn’t drill all the way through to the top of the table.

That’s my husband – bestselling author Alan Gratz – helping me attach the table top. 🙂

That’s pretty much it – except for a special feature I added to the top for cutting fabric bundles. I don’t know how many of you will need this feature – but you can see it in action in this video.

I sanded the sides and just barely rounded the top edge, and added several coats of pretty purple paint. Those colorful fabric drawers that fit right in the cubes are fun – but Lowe’s doesn’t carry many colors. You can find a bigger selection at Target.

One more thing. They make Cubicals with two different size cubes. These are the smaller ones (each cube is 11 inches). The cabinets with the larger cubes look and feel more sturdy (and more polished), but they won’t work for a table like this because they’ll end up way too tall for most humans. These smaller cubes feel a little less sturdy until they’re all assembled and now it seems pretty super strong.

Make sure you’re getting the right size. 🙂

Here are handy links to all the posts about quilting tools and supplies.

Sewing Machine

Iron

Rotary Cutting Tools

Scissors

Other General Sewing Room Supplies

One More Hugely Popular Post that Seems to Fit Here Better than Anywhere Else

Return to the Let’s Make a Quilt main Table of Contents.

Move on to the posts about choosing your quilt pattern.

Have fun!

A plan for organizing your yarn stash!

A Plan to Organize Your Yarn Stash - from FreshStitches and Shiny Happy World

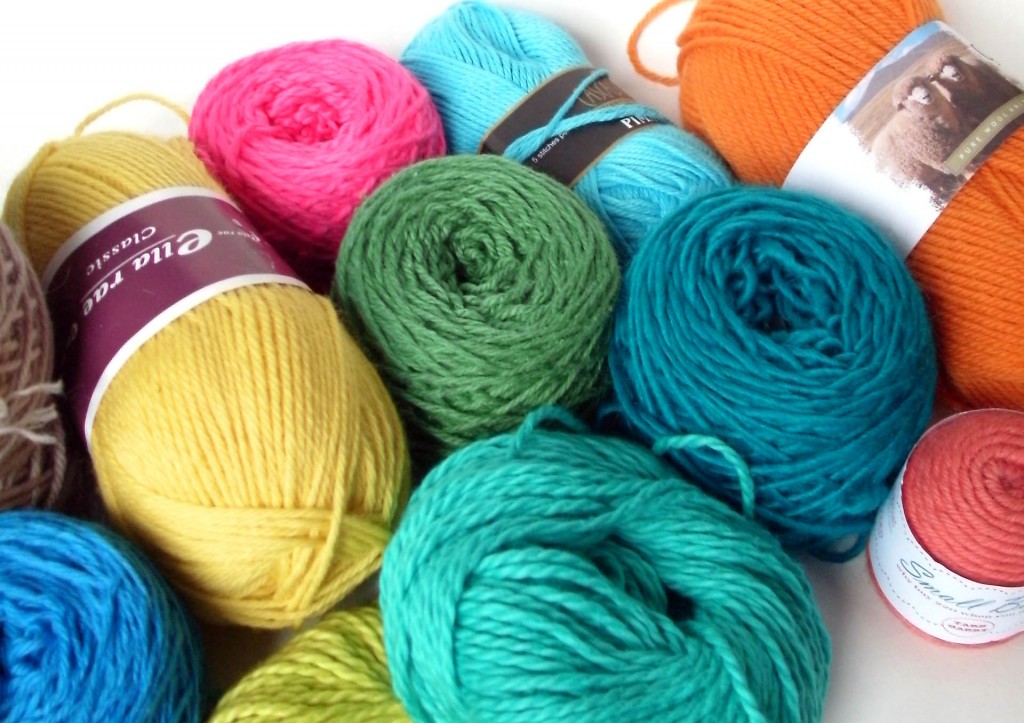
Every knitter and crocheter has one… it’s called a ‘yarn stash’. And, if left unchecked, your stash can quickly turn into an unkept mess that just seems to keep on growing (on it’s own, of course!). But don’t worry! I’m here with a step-by-step-guide to organize yarn and get your stash under control.

Finding yarn in your stash is the key to using it

How many times have you bought yarn for a project… only to later discover that you had a very similar yarn at home? That’s because if you can’t find a yarn quickly and easily, you’ll forget that it’s there.

So, organizing your yarn so that you know what you have (and know how to get to it) is key. I’m not going to go into details about a specific organizational system (bins vs. shelves vs. baskets), because you have to find what works for you.

I am going to show you how to go through what you own and get your yarn under control.

Step one: drag it all out and sort it

Now, I know that some of you with larger stashes are rolling your eyes right now. But seriously, how can you know what you have unless you actually get it all out and look at it?

You can’t just say, ‘oh, I know what’s in that bin’… because you probably don’t. So get it all out.

Now that it’s out, sort it into piles. You’ll have to pick categories that make sense to you. Mine are: yarn for ‘real projects’ (i.e. yarns I have multiple skeins of), yarn for one skein projects (usually pretty sock yarn), yarn for custom stuffed animal orders (worsted weight yarns that are partial skeins), scrap yarns, and yarn to get rid of.

It’s important to be honest about your piles. Yarns only make it into my ‘scrap yarn pile’ if it’s a partial skein that I would actually use to make a scrap afghan. Nothing under 20 yards. No laceweight. No eyelash. Be honest with yourself!

Now these piles may take up your entire living room. I know it’s scary… but you’re after something better!

Catalog, wind and store

Now that you’ve divided your yarn into piles, resist the temptation to just put it back on the shelf!

Is some of your yarn tangled? Were you able to see it in its old storage space? If not, it’s time to rethink your strategy. Here’s what I do:

Catalog

Of course, we all fantasize about beautiful shelves that allow us to store pretty skeins in full view. But, many of us don’t have that kind of space, and need to use bins or boxes. So it’s important to take note of what you have.

I love the ‘stash’ tool on Ravelry – it allows you to list the yarn that you have and even list it ‘for sale or trade’ if it’s a yarn that you don’t want anymore.

Wind

If your yarn is in full skeins, then it’s probably behaving itself without getting tangled. However, if you have partial skeins, they have a propensity to get themselves in knots.

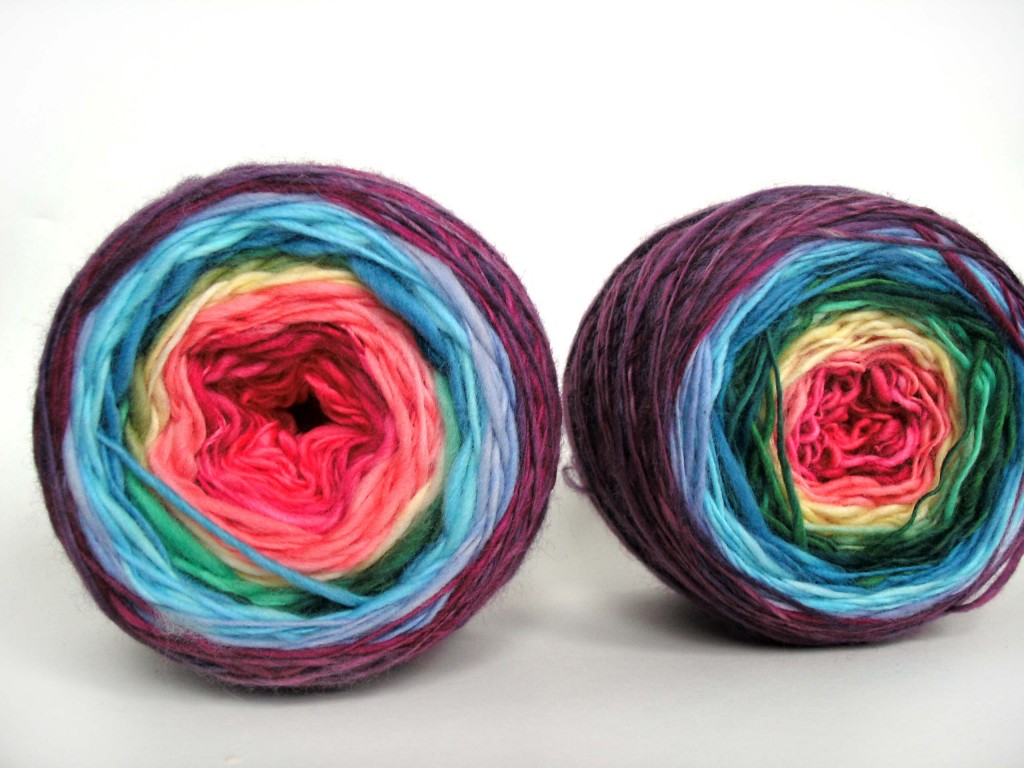
I have a Lacis Ball Winder that I use to wind partial skeins into cakes (see a how-to-video, here). When wound, the yarns stack nicely, and lay in a bin without getting tangled.

Store

NOW that your yarn is neat and cataloged, you can put it back on your shelf!

Make plans

Sure, your yarn looks neat… but don’t stop there! Do yourself a favor and make plans with the yarn while it’s still fresh in your mind.

When I’ve gone through my yarn, I like to match yarn with projects. That way, when I’ve finished a project and am itching to start another… I already have one (that uses yarn from my stash!) set up. That keeps me from buying more yarn on a whim.

For example, I have 10 skeins of this yarn in a color that just doesn’t flatter me at all:

My plan is to over-dye the yarn in brown and knit a Buttercup. If I didn’t make the plan, I would probably just leave that yarn languishing!

Weigh your yarn for project planning

If you have partial skeins, it can be hard to know how much yarn you have- making it hard to plan a project. A real help is to weigh your yarn. I have an inexpensive digital scale that I use to weigh mystery bits of yarn. By using the information on the ball band, you can calculate the yardage… and plan a project!

Enjoy!

Phew! That was a lot of work… but now you can sit back, knit, and enjoy your beautiful stash!

Want tips for organizing and decluttering your whole craft room? Wendi has a great post here.