What’s the feature that every amigurumi covets?
Is it long shapely legs? A bikini-ready body? Of course not! It’s a nicely defined neck!
Fortunately, creating a shapely neck is easy!
How to create a shapely neck
Sometimes, amigurumi come down with ‘Thick Neck Syndrome’… it’s not their fault, and it’s up to you (their maker) to help them out a little bit.
The secret to creating a defined neck is to tug the yarn tight every few stitches when you’re attaching the head to the body.
Step 1: Begin attaching with the whipstitch
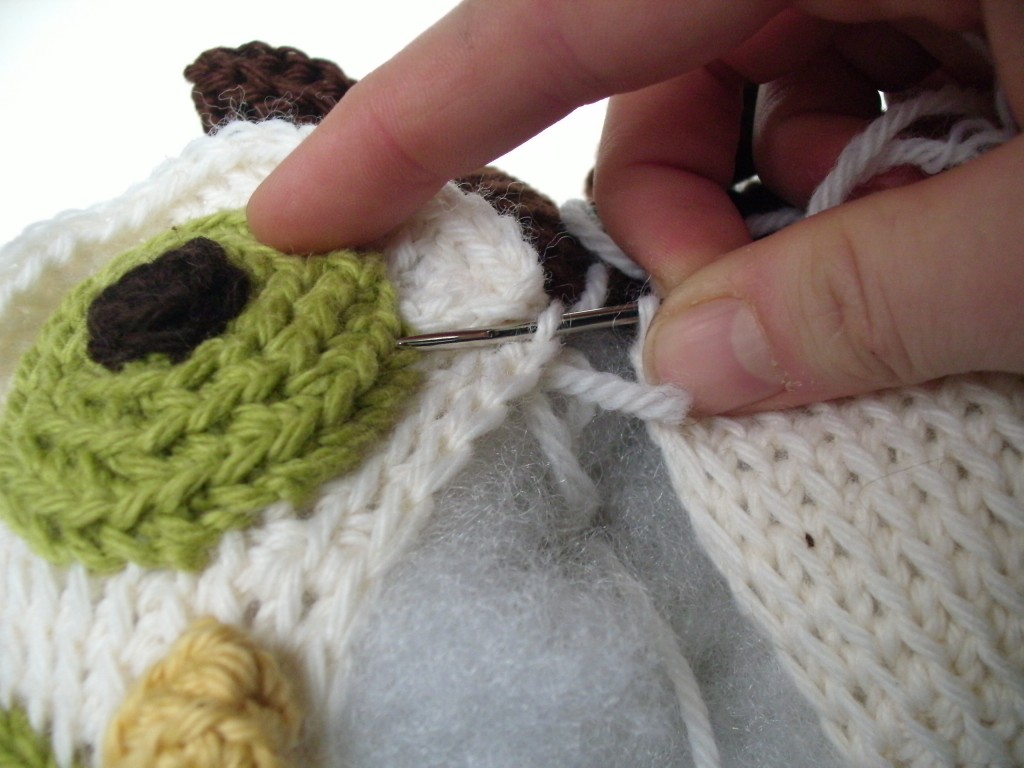
To attach the head to the body, you’ll use a whipstitch (as instructed in the pattern): using a tapestry needle to stitch through one stitch on the head and the corresponding stitch on the body:
Whipstitch the head and body together for about 3-4 stitches.
Step 2: Tug!
Now that you’ve done a few stitches… tug! That’s right, just pull on the yarn and the neck will cinch up a little bit.
Step 3: Repeat steps 1-2
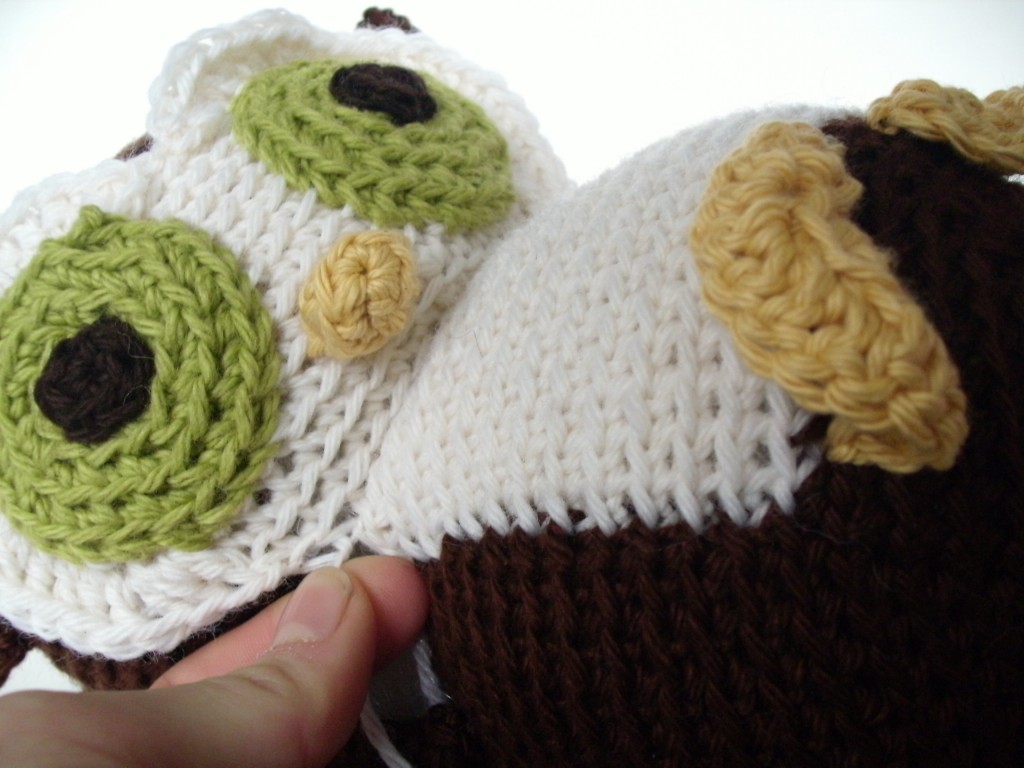
Continue stitching and tugging as you work your way around the neck:
See how I’m tugging? And see how the neck is becoming defined?
Why so much tugging?
You may be asking yourself… why is it important to tug every few stitches? Can’t you just wait until the end?
It’s risky.
If you wait to do a HUGE tug at the end, one of two things can happen:
- The yarn will break (trust me… this is really sad! It means you’ll have to start all over with attaching the head)
- The neck will be very gathered close to the end, but not very shapely towards the start- since the tugging won’t evenly distribute
Doesn’t your amigurumi deserve the best?
Don’t you want him to have the most shapely neck possible? Then treat him well… follow this trick and he’ll be the envy of all of his friends!
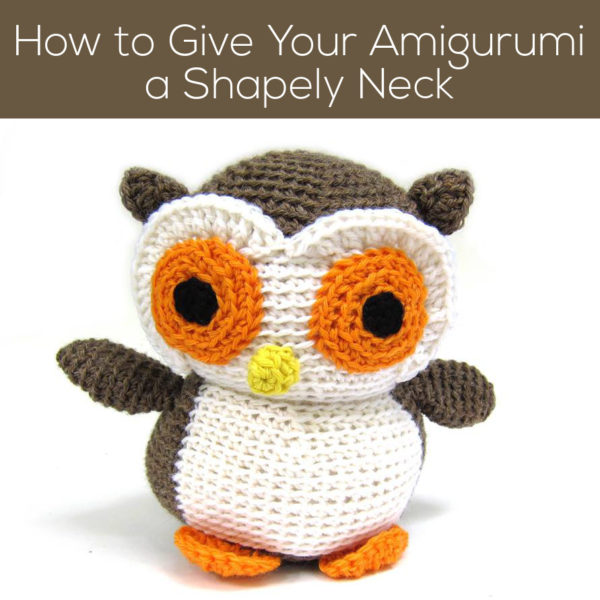
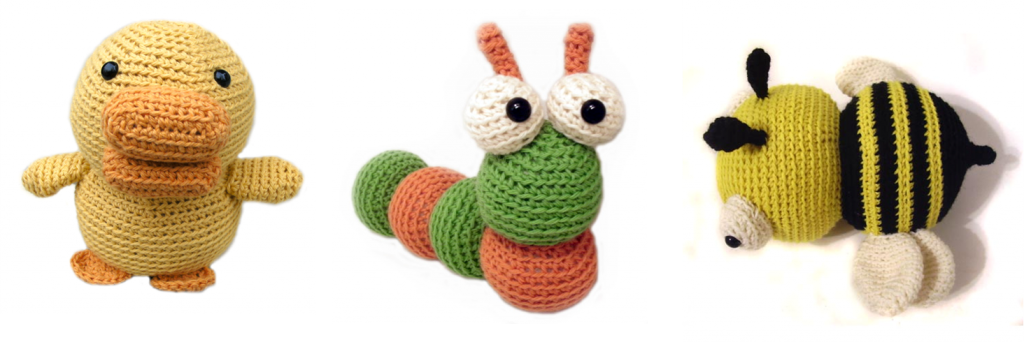
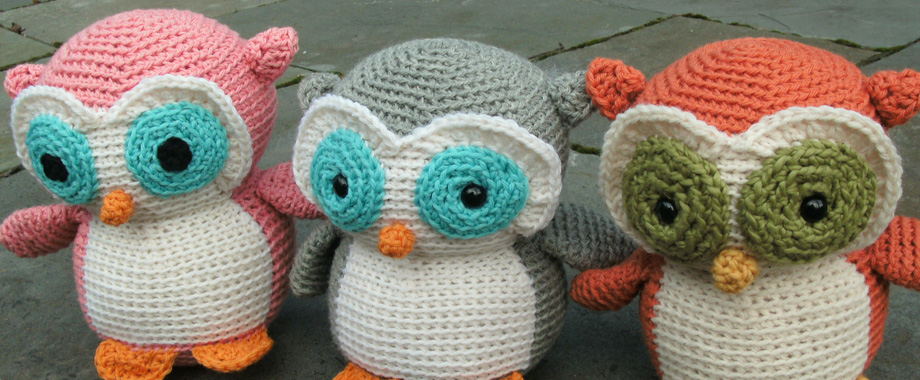
Look at all those adorable owls!

Here are handy links to all the posts about attaching parts. . .
- How to Attach Limbs to Amigurumi
- How to Attach Amigurumi Arms and Legs with Single Crochet
- Tips for Attaching Amigurumi Features
- Which Loop Do You Use When Attaching Pieces?
- How to Attach Nicely Rounded Amigurumi Pieces
- How to Give Your Amigurumi a Shapely Neck
- How to Attach a Flattened Piece to Amigurumi
- How to Attach a Folded Ear to Amigurumi
- How to Attach a Folded Ear to Two Rounds
- How to Attach Flat Spots Using Running Stitch
- How to Attach with Single Crochet
- Tips for Attaching a Dress to Your Doll
Return to the main table of contents for Let’s Learn to Crochet Amigurumi.
Move on to the lessons about faces and details.
Happy stitching!


Nice advice! I prefer to crochet when posible the head and the body in one piece because the union is difficult to do for me.
This made me freak a bit and go look at my amigurumi necks. Whew! They look alright. 🙂 I will definitely proceed with caution next time I attach a head and body together, though. lol
Your posts are always excellent. 🙂
Just be careful not to tug too much, or you might become victim of another problem, the floppy head!
Ah! Those are simply adorable! Love them!
hi stacy,thanks for the tip.love your work very much.
It is people like you who are willing to share your talent with the people who enjoy making these little critters as a hobby. My grandchildren love these little critters as do I. I get so much pleasure out of making them.
Thank you for all your helpful information.
Nancy
Love your tutorial but I always seem to end up with a wobbly head. What am am doing wrong? 🙁
Hi Terry-
If the head is wobbly, then it sounds like you haven’t added enough stuffing. Add more (and make sure some sneaks in between the head and body, and that should stabilize the neck!
Thanks, Stacy, I’ll try that!
My problem is a thick neck when crocheting head body in one. Love your tutorials especially sloppy start hate magic circle.
You can always try adding in one extra decrease round before you start increasing again. That should tighten things up a bit.
You have been such a help to me. I finished crocheting a unicorn about 3 weeks ago but have been afraid to sew it together. I feel more comfortable after reading your advice and I am going to do it now. Thanks.