Squee! Can you believe there are so many ways to dye yarn with Kool-Aid?

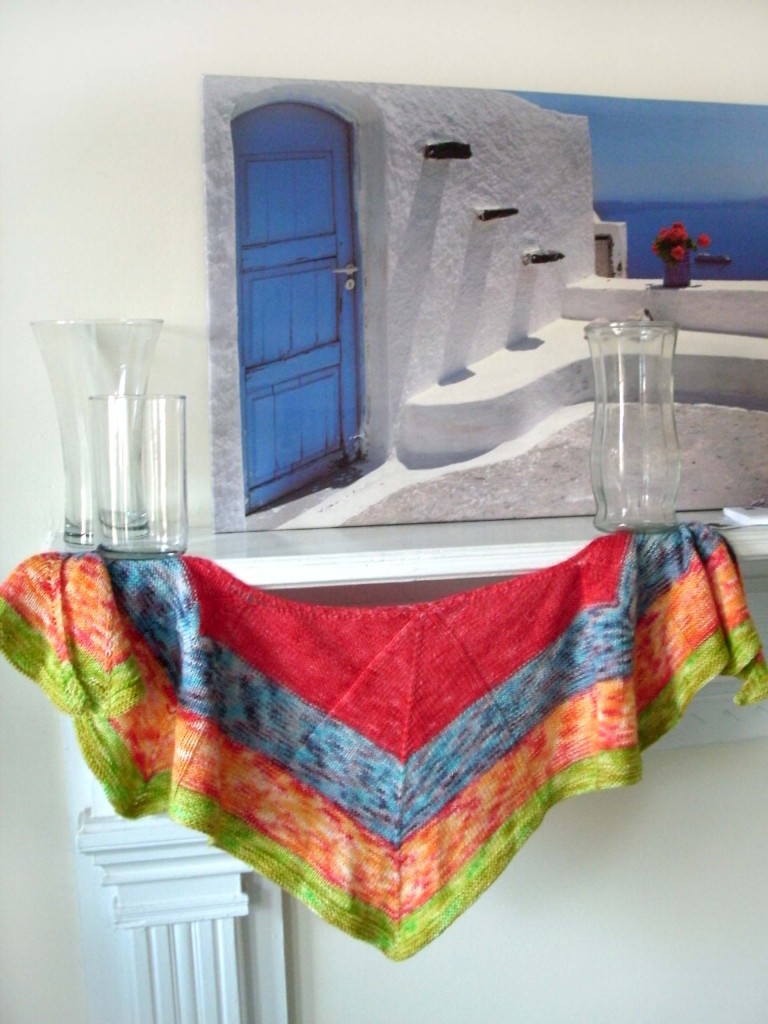
Today, I’m going to tell you how to dye yarn go get long colorways, or self-striping yarn. It’s the technique I used to get the colors for this shawl:
Don’t you love the stripes? It’s a time-consuming technique, but in my opinion, well-worth the result! I’ll be showing you the technique over two days, since it’s a lot of steps… but follow along, because I know you’re going to want to try it for yourself!
Materials
You’ll need:
- yarn made from natural animal-fibers (undyed is best), wound into a center-pull ball
- a few packets of Kool-Aid (see yesterday’s post about testing colors)
- a glass bowl or dish for each different color
- boiling water
The Process
Like I said, this process takes quite a few steps… but none of them are very difficult. Besides, you already know all the basics!
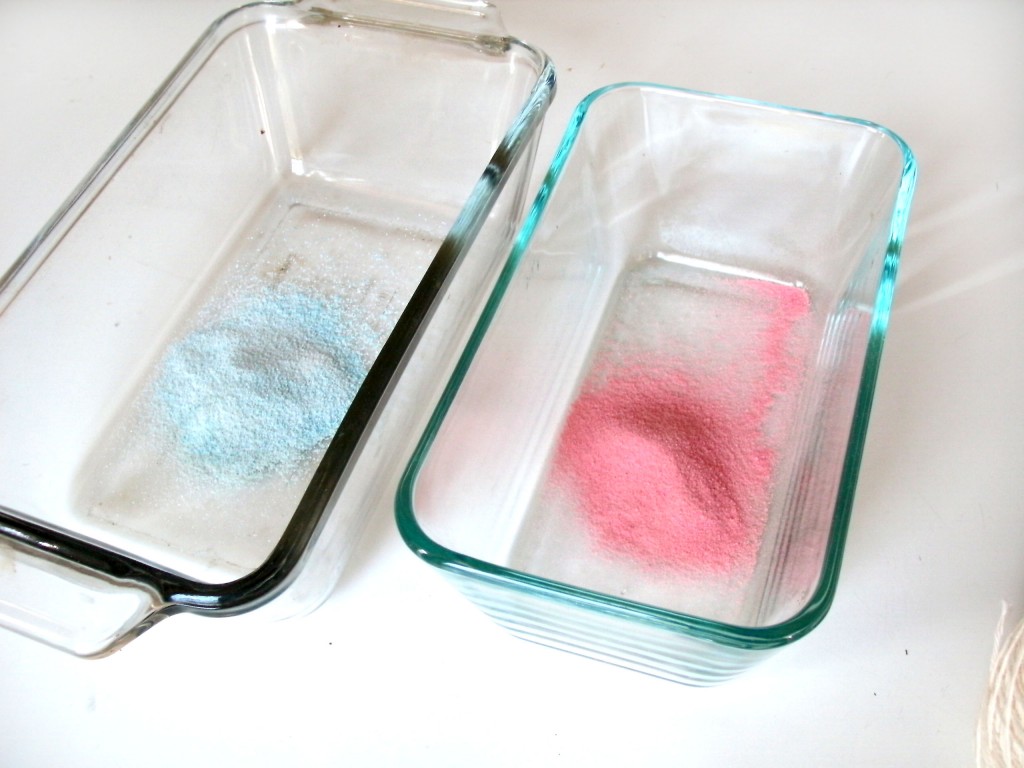
Step 1: Add packets to your bowls
You’ve seen this step before! Add your color to your bowls… in this case, I’m doing orange and blue stripes, so I have a bowl for each:
Add boiling water to your bowls.
Step 2: Divide up your yarn
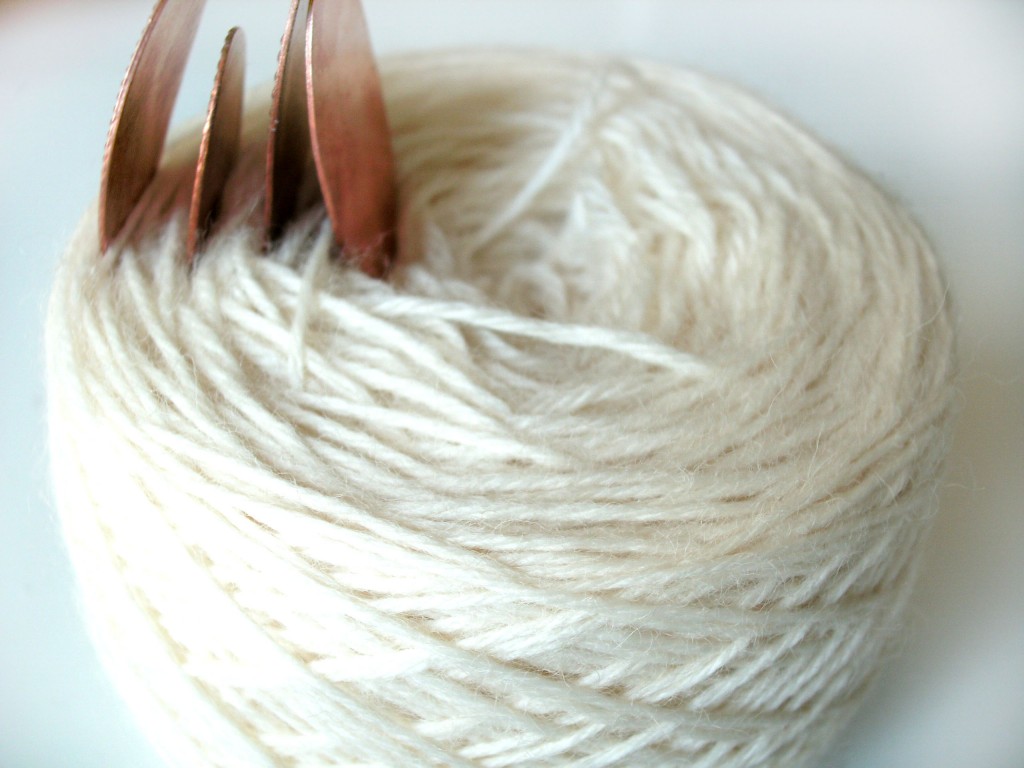
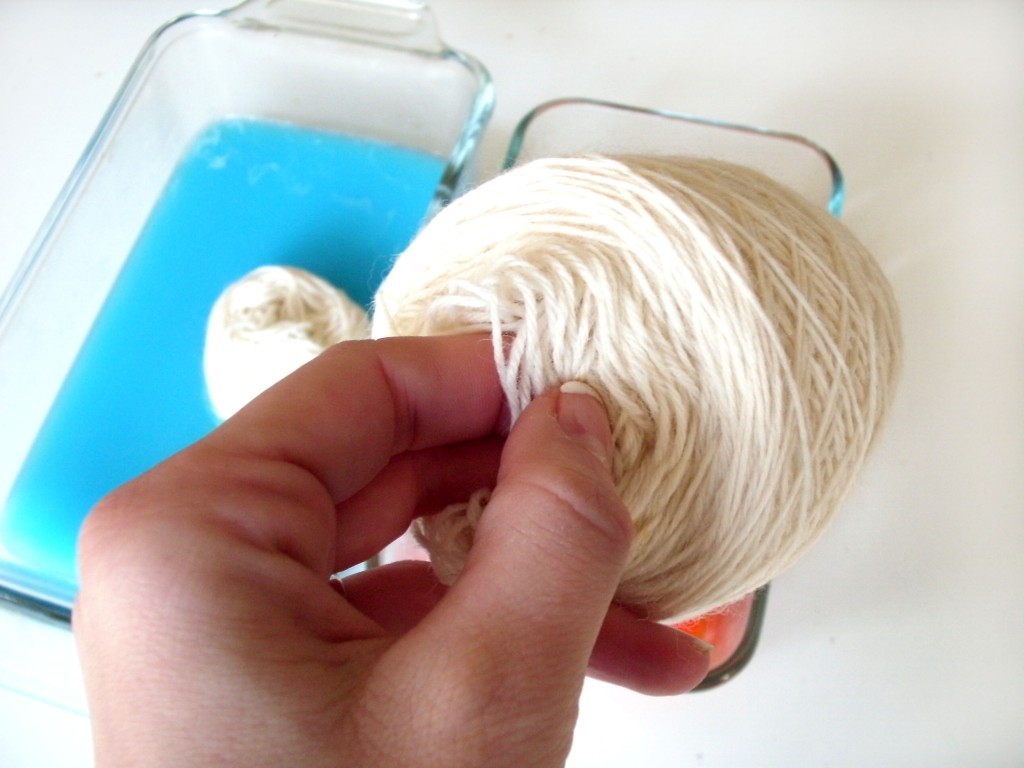
Remember I said to wind your yarn into a center-pull ball? (You may want to have a ball winder.)
That’s because a center-pull ball will make it super-easy to divide up your yarn into small sections. I’ve used dividers to mark off where I want each color to be, but you can eyeball it, if you’d like.
Step 3: Dye the first section of yarn
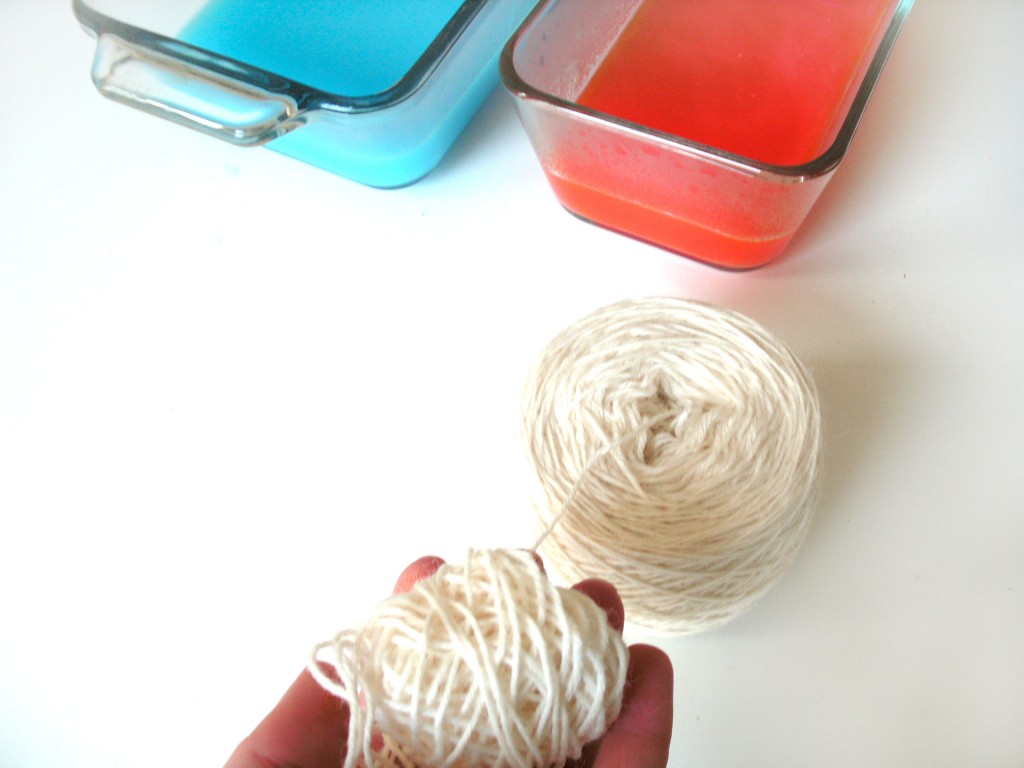
So, here’s what do to… pull out your first little section of yarn, and put it in your first color:
Keep in mind that the size of this section will determine your color repeat! So, if you pull out 20 yards, your stripe will be 20 yards long. If it’s bigger, your stripe will be longer.
Step 4: Continue dyeing each section
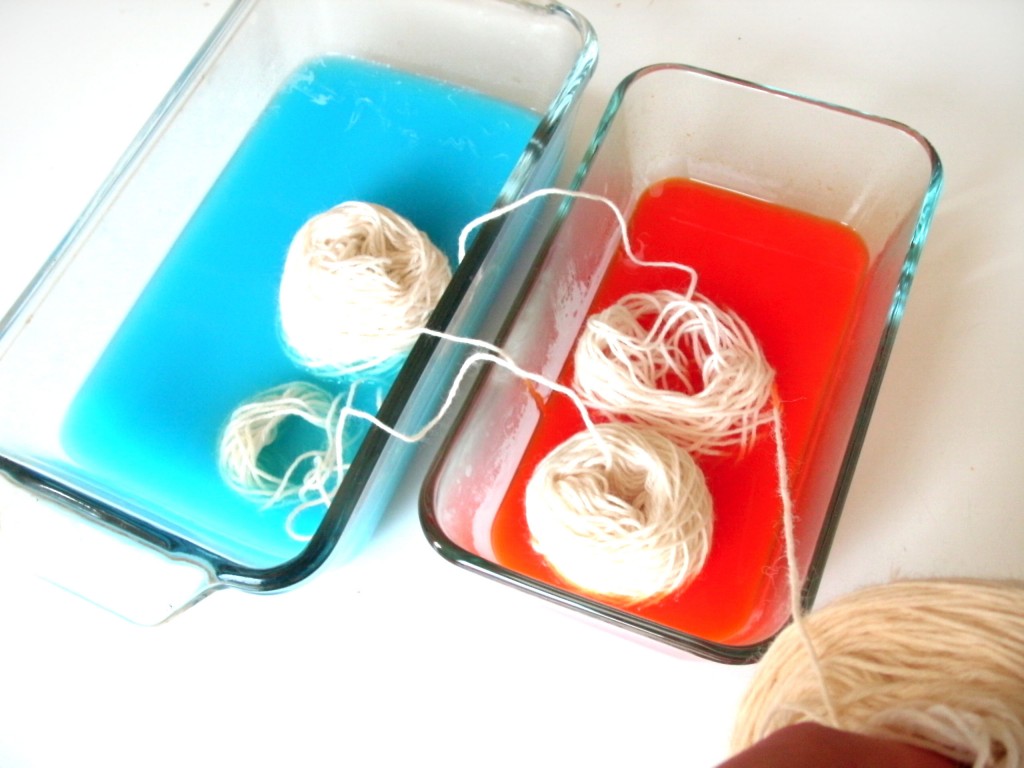
Now, pull out the next little bit and put in your 2nd color of yarn:
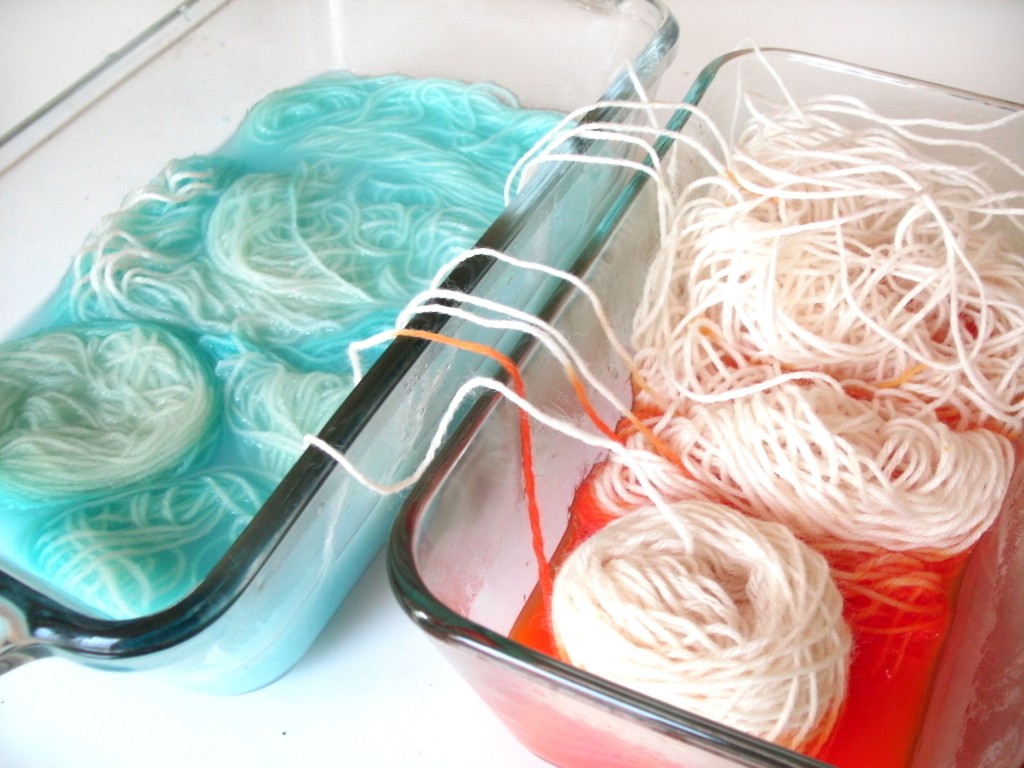
Continue doing this with each subsequent section of yarn.
And keep going…
Things to keep in mind:
- It sounds obvious, but the order that you put your yarn in colors is the order they’ll be in the yarn! I’m using 2 colors and want alternating stripes, so I’m putting a ball in blue, then orange, then blue…
- If you want do use more colors (like the shawl I showed at the start), then plop one ball of yarn in your first color, the next in your second color, then your third…
- The length of the stripes you want depends on what you’re knitting. If you’re making socks, then the color repeat doesn’t need to be as long as it does to get stripes on a shawl.
- It’s very important to not get your yarn tangled. Be careful, be neat… and just don’t get it in a knot!
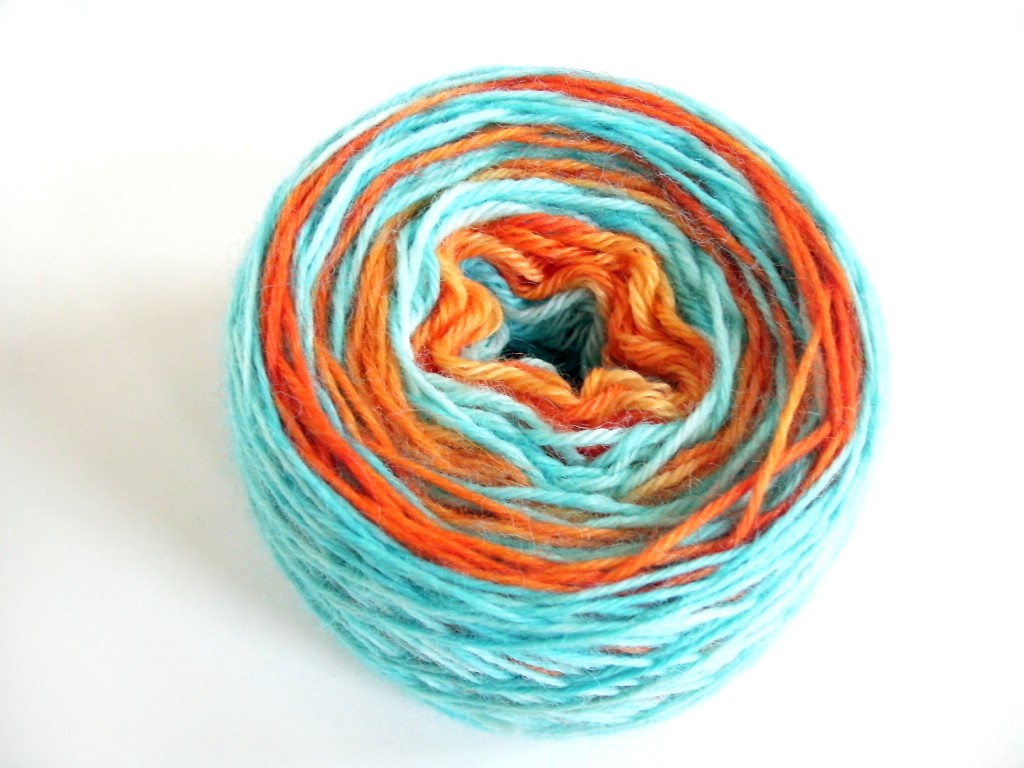
Okay folks… we’re only halfway through. I’ll give you a sneak peak of the end result:
Come back tomorrow, and I’ll show you how to finish up! Update – here’s the link to Part 2. 🙂
Best,
Stacey


Love, love, love the shawl! This definitely stretches what is possible with kool-aid dyeing!
Thanks for the tips on the dividers. I was imagining measuring the yarn out as you were about to dye it, and that didn’t seem like much fun.
I love this method!!! SOOO simple compared to the last time I tried this!
Hi Stacey! Thanks for the Kool idea! I was totally inspired to try it myself, and it turned out awesome. I hope you don’t mind, I put a link to this when I wrote about it on my blog.
http://www.crochetdynamite.com/2012/06/it-was-all-fun-and-games-until-bird.html
Jaime
I came here via a link posted on Crochet@Craft Gossip. Your method of caking the yarn and pulling out chunks from the middle rocked my world!!! I was making it waaaaaay too complicated, trying to figure out how to divide it up evenly. I would have never thought of doing it your way, and I can’t WAIT to try it!
So happy to rock your world! 🙂