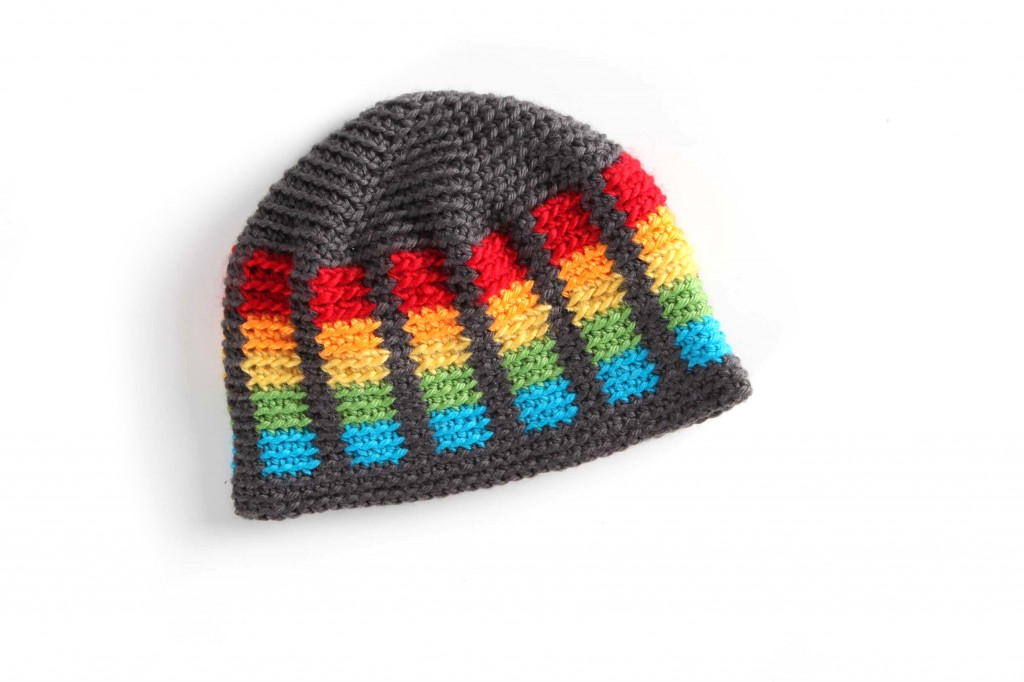
I love rainbows! So, today, I’m going to show you how to add a fun rainbow detail to any hat pattern!

First, gather up some rainbow colored yarns, along with a neutral color:

This is a great opportunity to use scraps, as you won’t need a lot of each color!
It’s easy to add a rainbow!
I’m using the basic hat pattern from my Crochet Hats class on Craftsy, but you can follow these steps for almost any hat pattern! I find that hats made with simpler stitches (single or double crochet) are the ones that end up looking best with this type of colorwork.
Step 1: Find your multiple
The first thing you want to do is find a number that evenly divides the number of stitches in the main body of your hat. For example, if the body of your hat has 60 stitches, then both 4 and 6 are numbers that divide the stitches evenly!
Step 2: Crochet vertical stripes!
It’s easiest to crochet the increase section with your neutral color, and begin the rainbow when you have completed the increases.

For my hat, I used a 6 stitch repeat for my color changes. I crocheted 4 stitches of red, then 2 stitches of the neutral. Do this for a couple of rounds, then do 4 stitches of orange and 2 stitches of the neutral. Continue, making your rainbow!

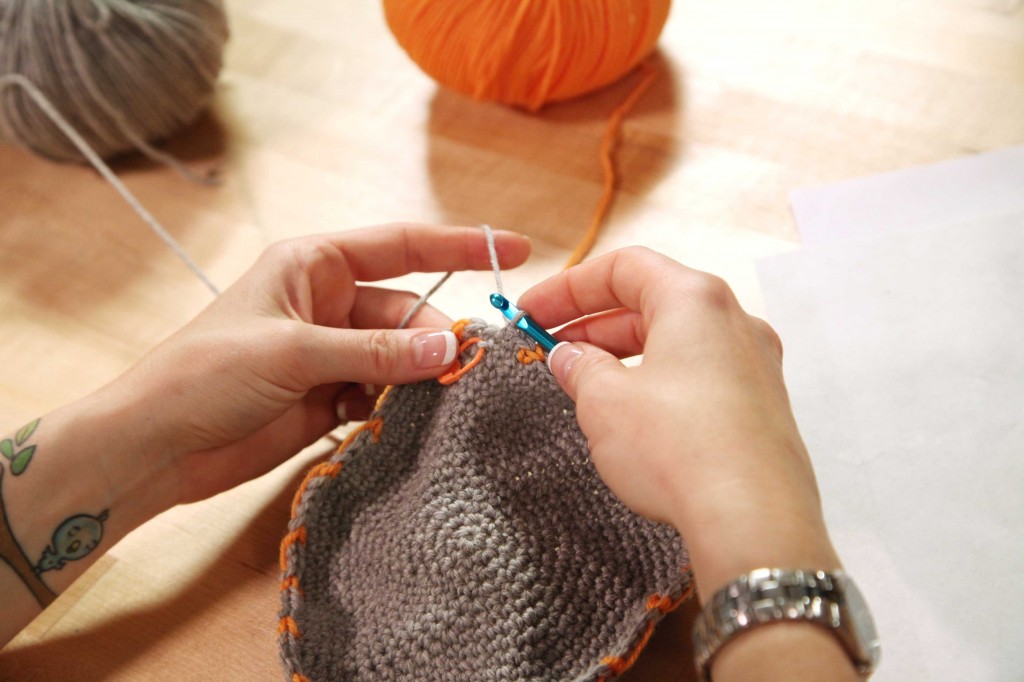
If this is your first time crocheting vertical stripes, then this tutorial on stranding with two colors is for you!
Try it!
I hope this technique has given you some ideas… there are lots of possibilities!


Love this! Thanks for sharing Stacey!