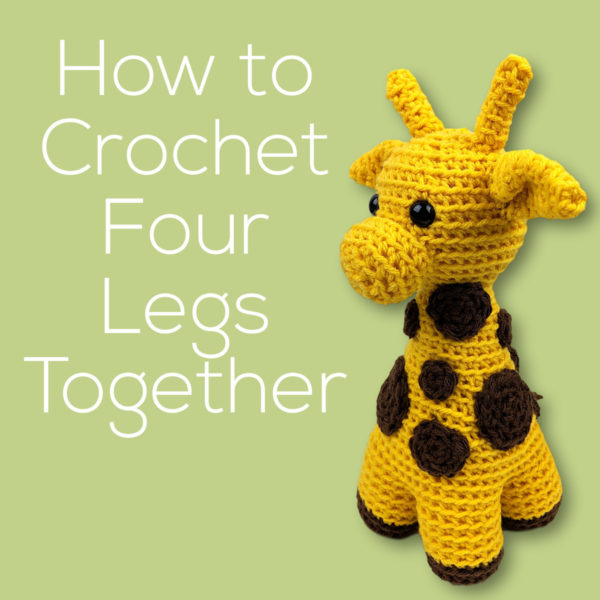
I was a little stiumped when I started to design this giraffe. How to crochet four legs together?
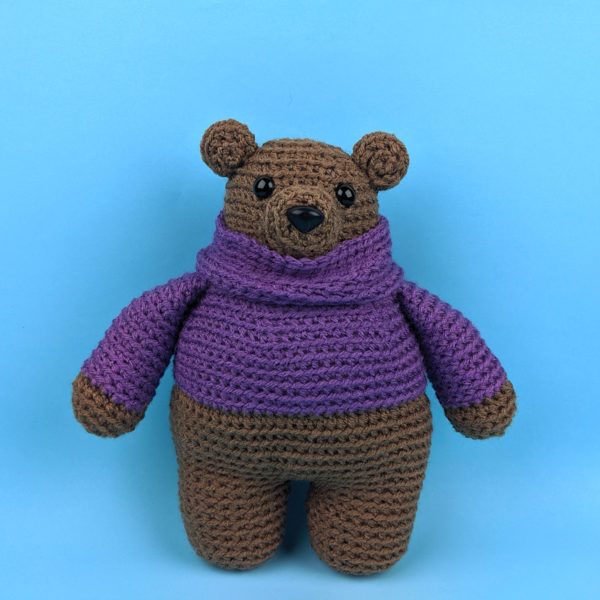
I really love making amigurumi that stand on two legs. Some of my favorite patterns use this basic shape and it’s really easy to do. Byron Bear here is a good example.

There’s a video here showing how to crochet two standing legs.
But when I designed this giraffe I wanted him to stand on four legs.
I did some digging online and I found that there are a lot of very different methods out there to do this, but all of them felt a little trickier than I wanted for beginners, so I came up with my own method based on how I like to crochet two legs together. The process is really the same – just with more parts!
Here’s a video showing how. . .
It works really well – and it’s pretty easy! If you can crochet two legs together (as I do in so many of my patterns) you can definitely crochet four legs together for this guy.
Want to give it a try? Get the Jacob the Giraffe crochet pattern here.
Now that I’ve got this new tool in my toolbox, I’ve got all kinds of ideas for standing four-legged cuties. 🙂

Here are all the handy links to posts about crocheting standing legs. . .
- How to Crochet Standing Legs
- How to Crochet Standing Legs with No Hole
- How to Crochet Four Legs Together
Return to the main table of contents for Let’s Learn to Crochet Amigurumi.
Move on to the lessons showing how to change colors.
Happy stitching!


